Mailchimp is a well-known SaaS-based Email Marketing service that also serves as a platform for Marketing Automation. Mailchimp’s major goal is to make it easier for you to communicate with and manage your customers, clients, and other stakeholders.
Mailchimp provides a large number of templates from where you can choose based on your individual requirements to meet the needs of your customers. It includes a variety of templates ranging from the most basic to most responsive and customizable templates that will help you expand your business and attract customers.
On a complete walkthrough of this article, you will gain a decent understanding of the Mailchimp Customer Journey along with the steps to set up the Mailchimp Customer Journey.
Table of Contents
Introduction to Mailchimp
Mailchimp is a software program that allows you to establish and manage mailing lists, automate campaigns, and send out newsletters, among other things. It allows its users to have complete control over their Email Marketing Campaigns from start to finish.
Mailchimp is simple to use and provides users with access to a variety of Email Marketing solutions in one convenient location. It includes pre-built and configurable Email Automation, allowing organizations to engage with the appropriate individuals at the right time without having to redo the job every time.
Mailchimp’s features make it simple to build a Sales Pipeline using targeted personal emails, allowing users to convert emails into sales. It also provides free design templates that customers may customize to meet their specific needs.
Key Features of Mailchimp
Custom Forms, Social Profiles, Geo Locations, Subscriber Profiles, A/B Testing, Segmentation and Groups, Integrations, Automation, Spam Filter Diagnosis, and Delivery by Time Zone are among the most popular features. Let’s discuss a few of the key features of using Mailchimp for Email Marketing and Automation:
- Analytics and Reporting: Mailchimp has a Reporting and Analytics function that allows you to get high-level insights from your data rapidly.
- Provide Value: You may provide value to your customers in a variety of ways. Discount coupons are one such method. You can quickly customize the Email Templates in Mailchimp for your promotional efforts.
- Automated E-Mail Campaigns: You may completely automate your Marketing Campaigns and have them run seamlessly when a customer satisfies certain criteria.
- Divide Your Mailing List: You can segment your mailing list into multiple groups to make it easier to tailor your Email messages for different recipients. For example, you could construct a separate category for consumers who have been unresponsive for a long period and use this list to target a re-engagement campaign.
- E-Commerce Functionalities: Mailchimp’s E-Commerce features allow you to track campaign-specific earnings and purchases. This makes it easier to manage and monitor the performance of individual Marketing Campaigns.
- Email Templates: Mailchimp has a large template collection to choose from. To use the platform, you must first create an account. Users can import their own Email Templates, which sets this platform unique from others. Users can also make changes to current templates using a point-and-click editor without having to know how to code.
- Grow Your Email List: Mailchimp allows you to expand your mailing list by embedding configurable and simple signup forms on your website.
- Low Costs: Mailchimp is a user-friendly solution that can be utilized by small businesses with few resources to get started. Mailchimp’s free plan is ideal for businesses with less than 2000 subscribers and fewer than 12,000 emails sent each month.
- Geo-Targeting: Mailchimp’s geo-targeting feature lets you target Leads situated across certain locations or regions.
- Track Email Results: Mailchimp gives you crucial information about how your campaigns are doing. This means you’ll always know how many people are opening your emails, as well as how many are subscribing or unsubscribing.
- Custom Forms: Sign-up forms are a crucial component of attracting customers to your Sales Funnel. Mailchimp allows you to personalize signup forms and include your company’s logo. On these forms, users may also add their social network profiles. Users can also sync data between devices by integrating their contact lists from mobile devices with Mailchimp lists.
- Multiple Integrations: Users may connect their favorite apps to Mailchimp for more Imaginative Marketing. There are a number of Third-Party Integrations available, including WordPress and Squarespace. You can manually connect a website or connect an E-Commerce store that is supported. Users may link Social Media Networks, Developer-friendly Tools, Connect Form and Survey Data, Chat Support, Subscription Data, Designer Tools, and a lot more.
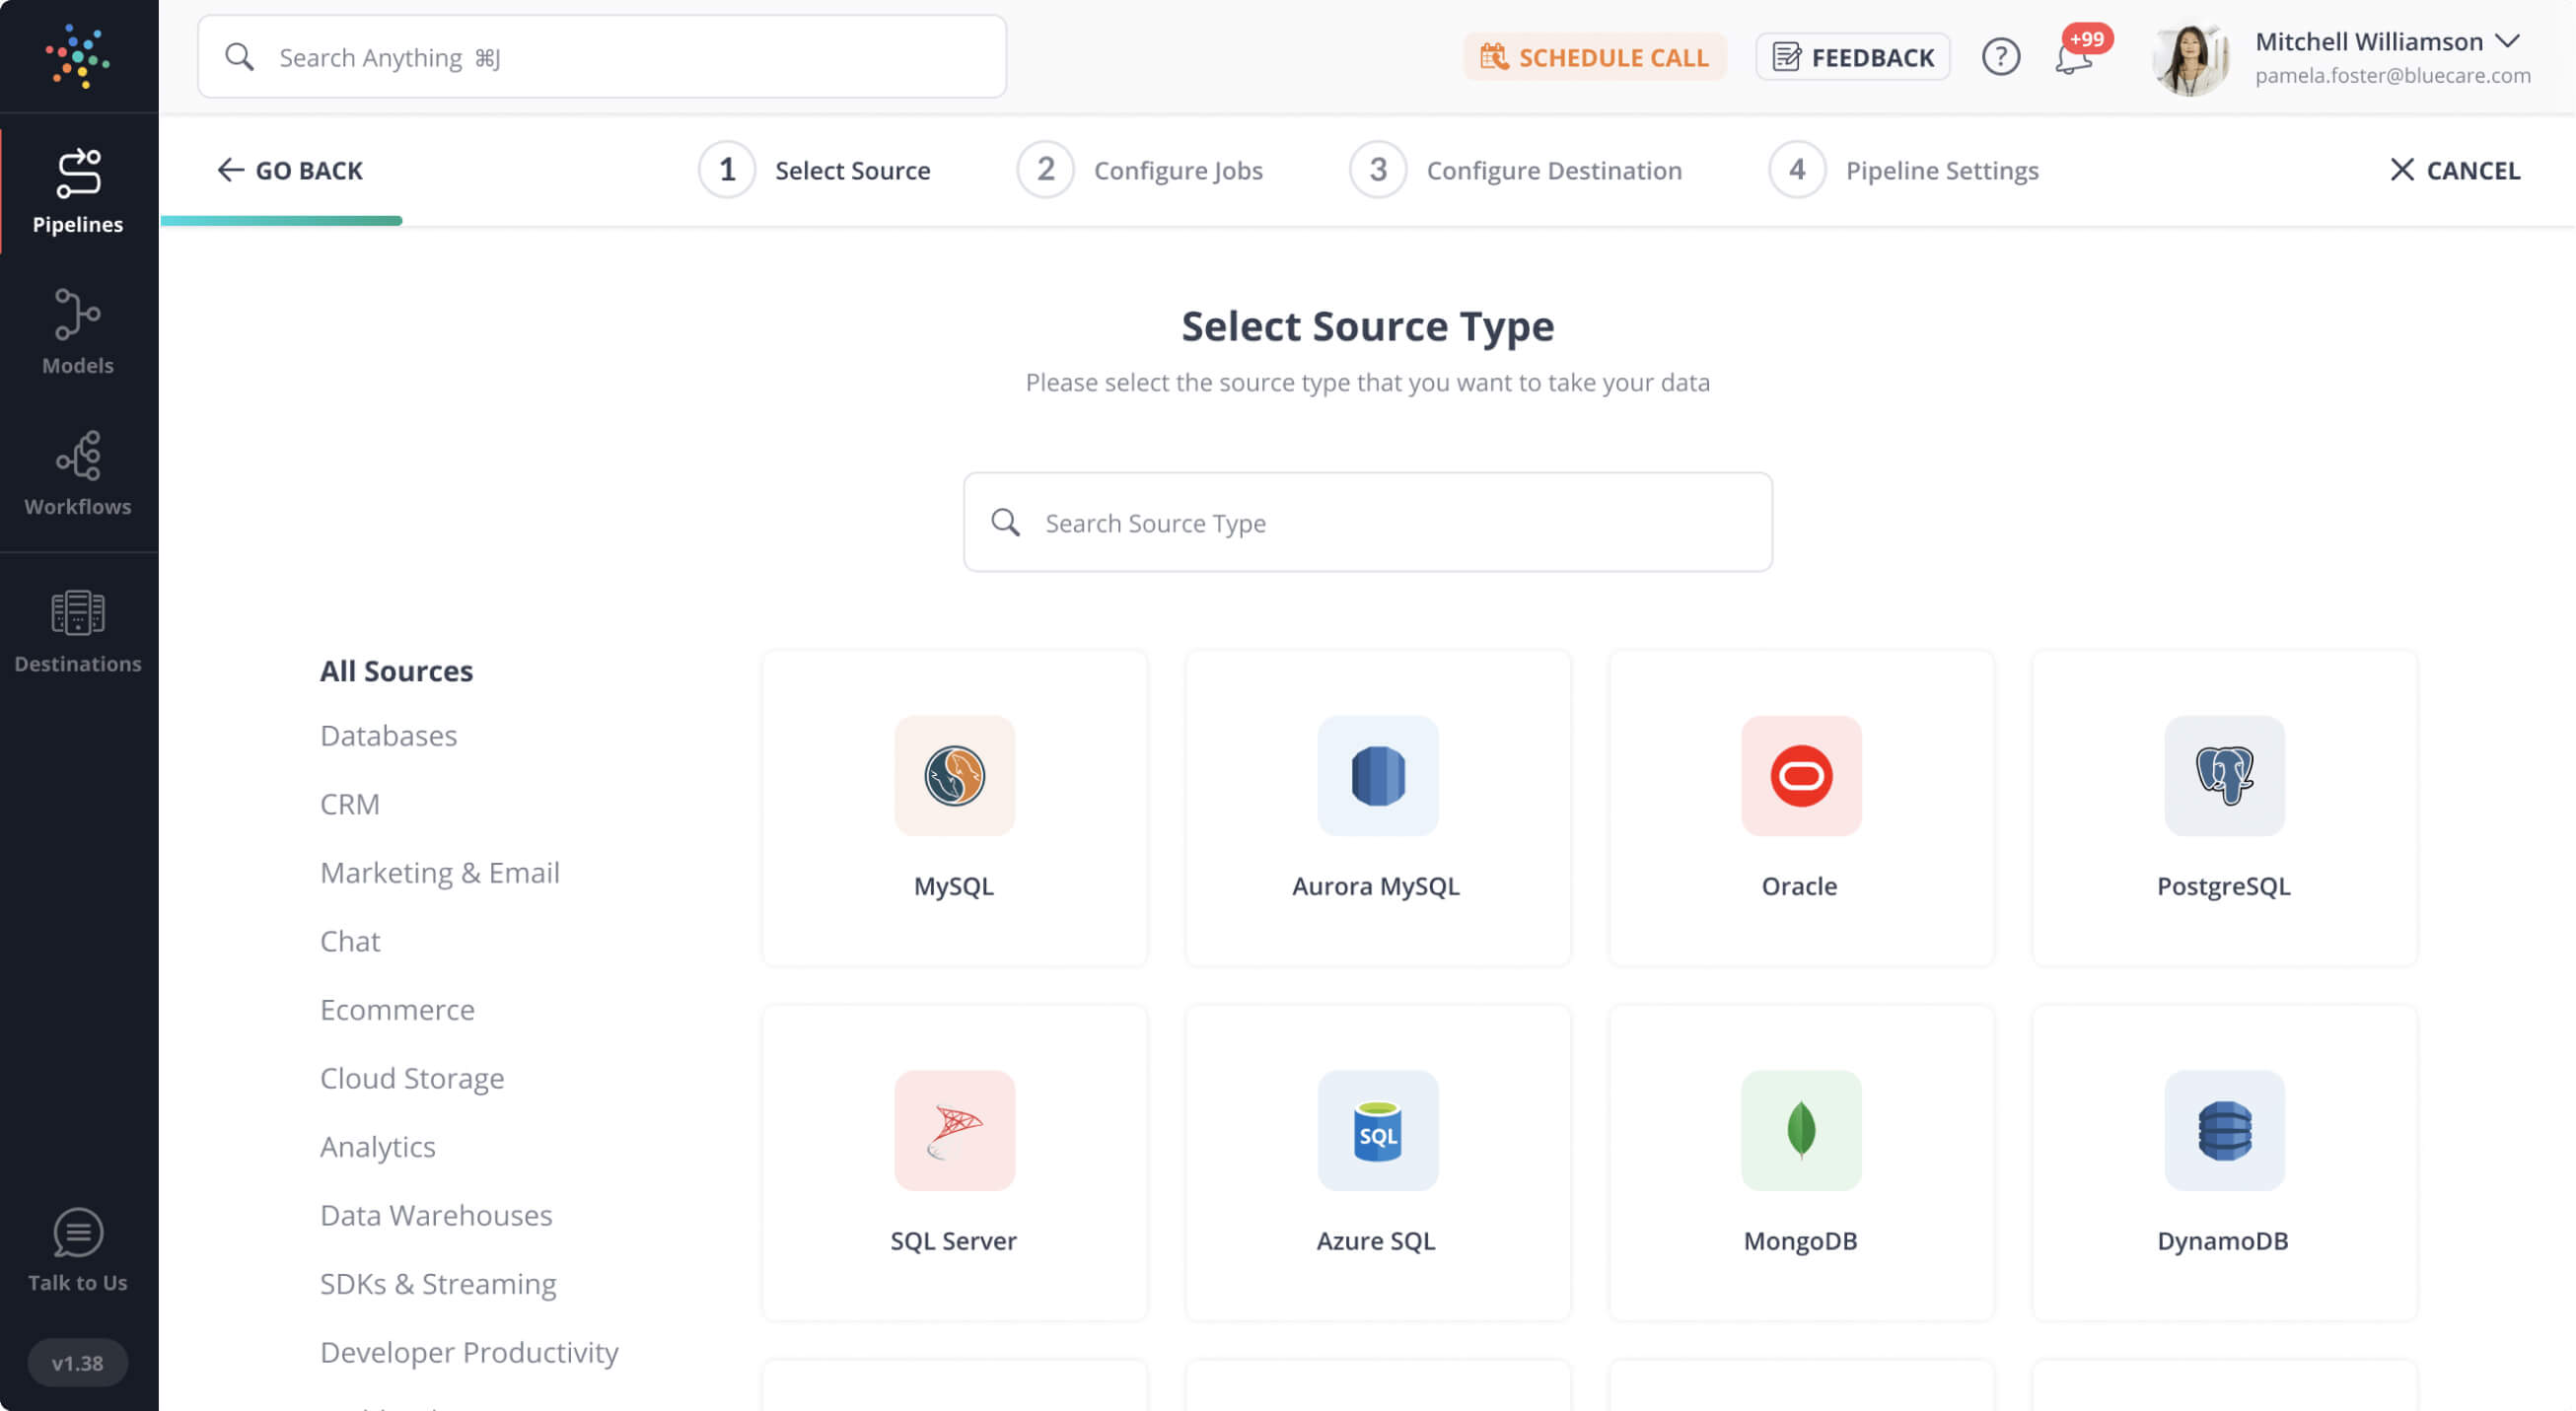
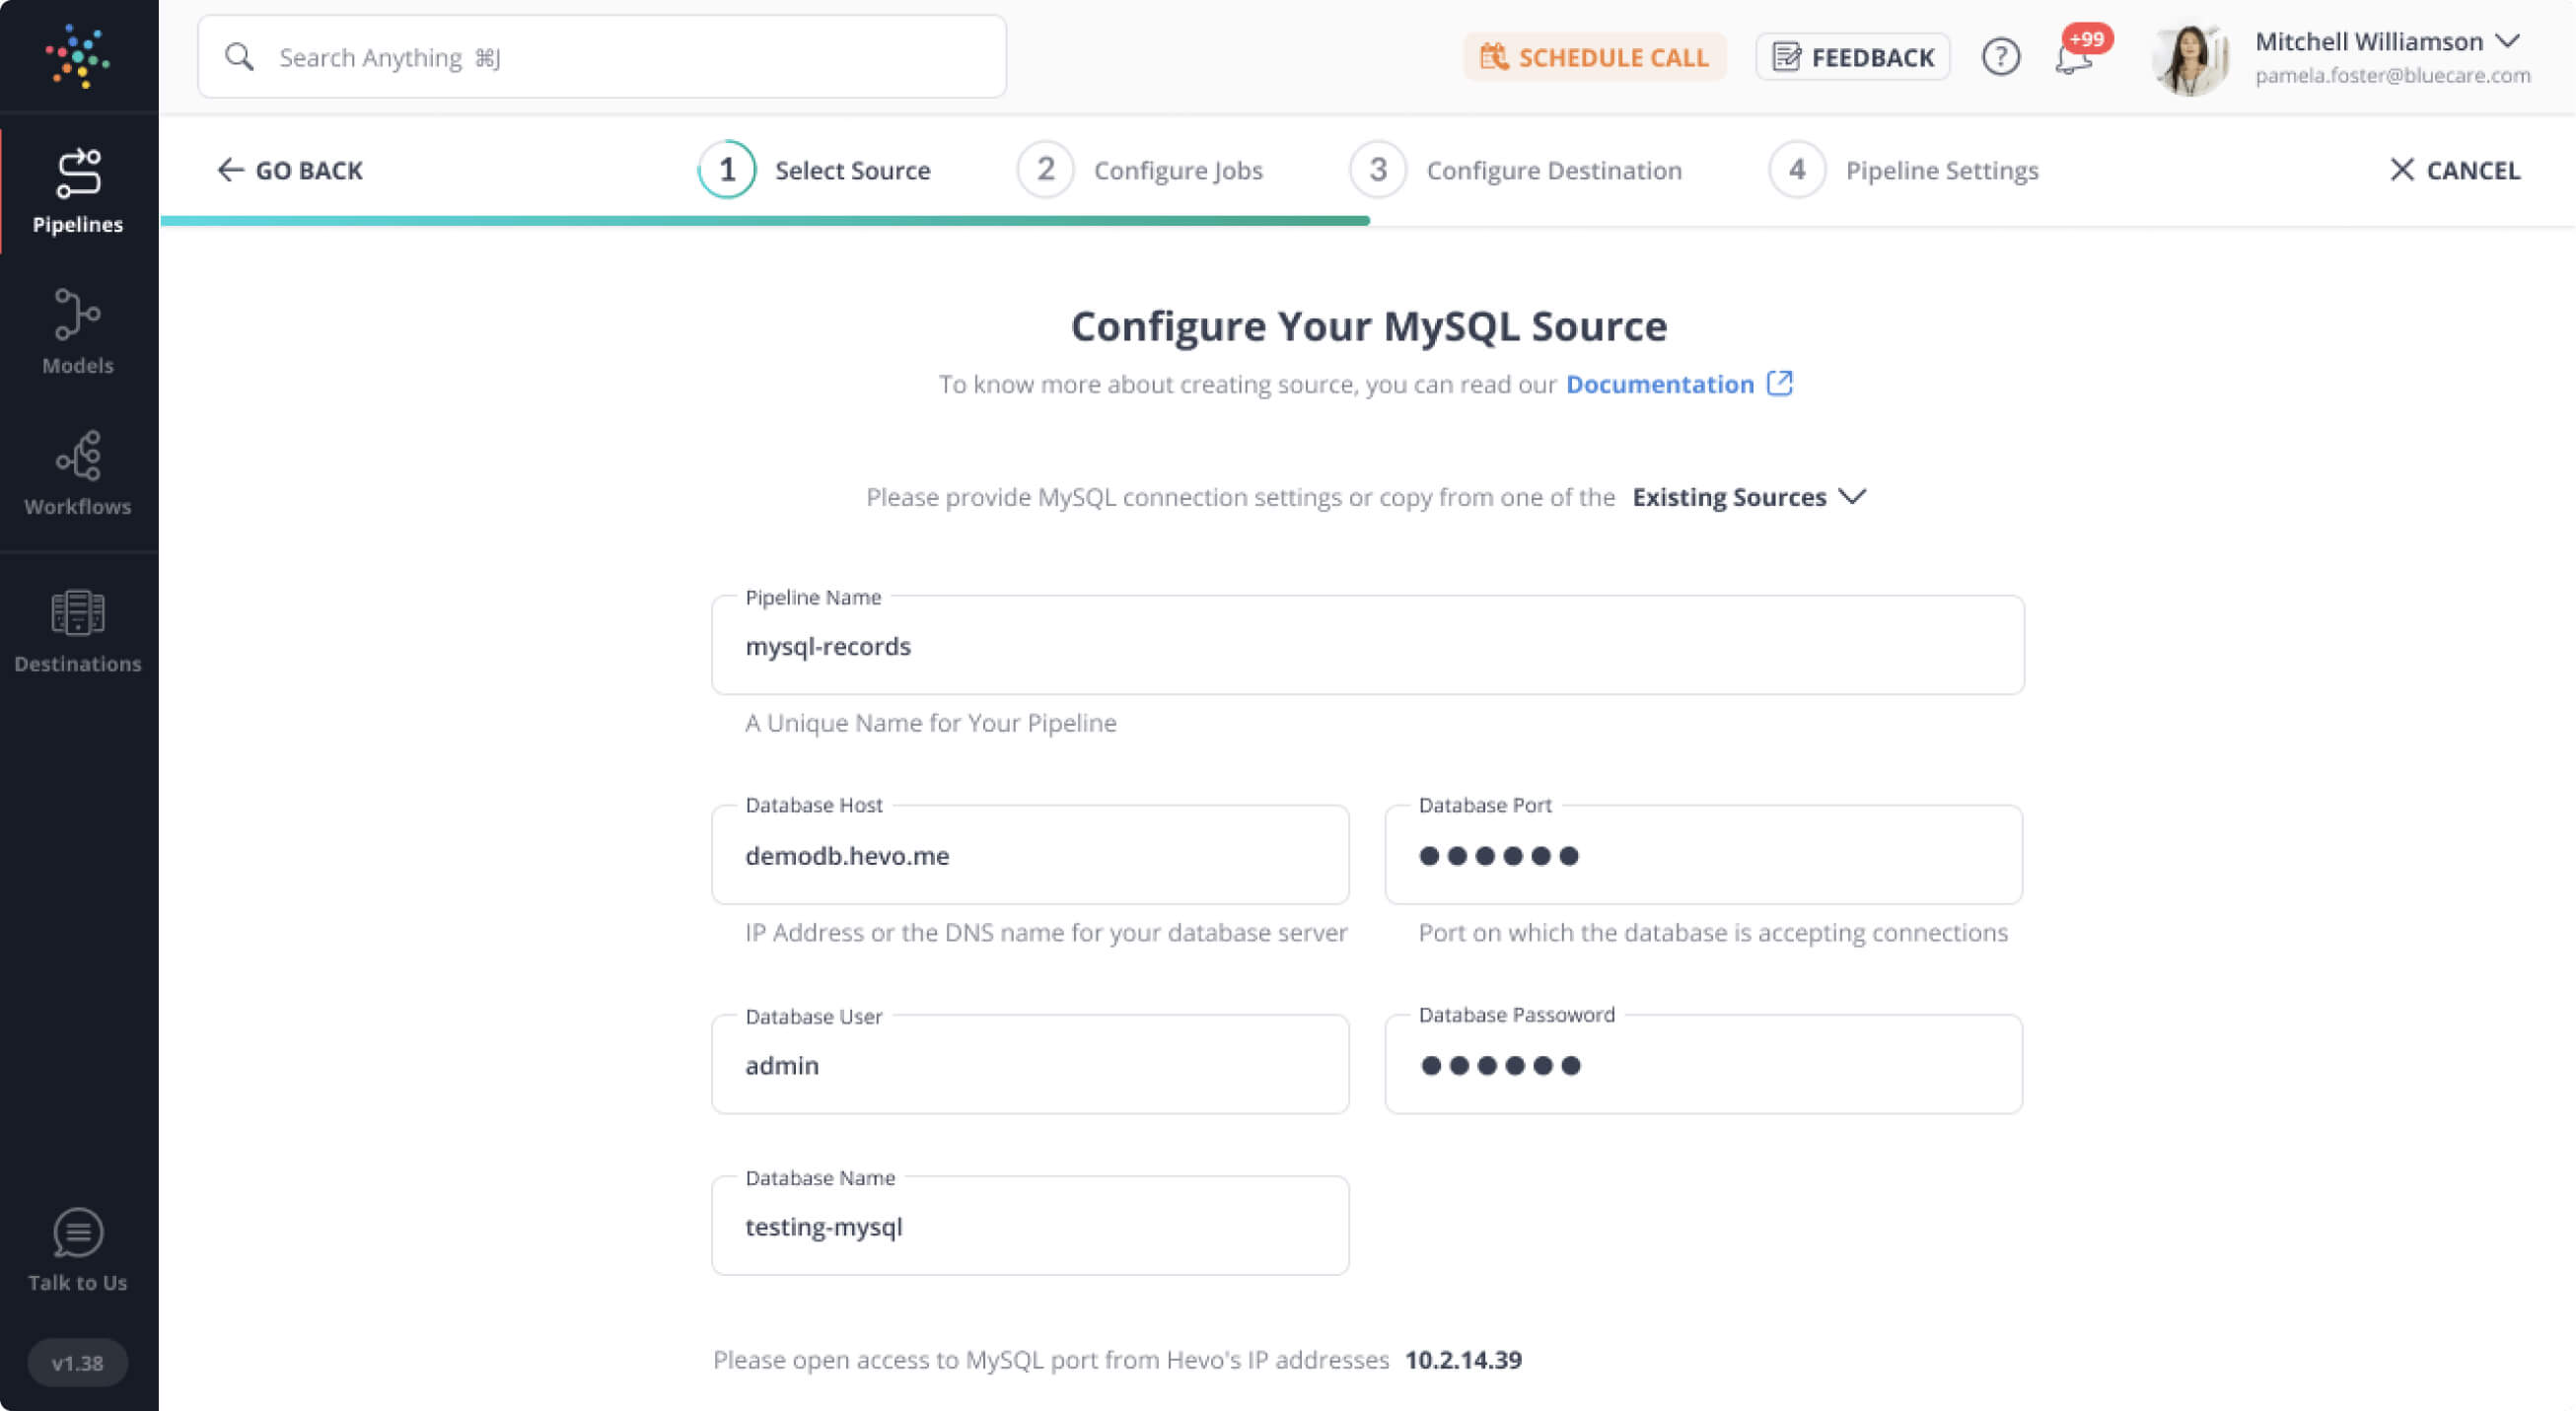
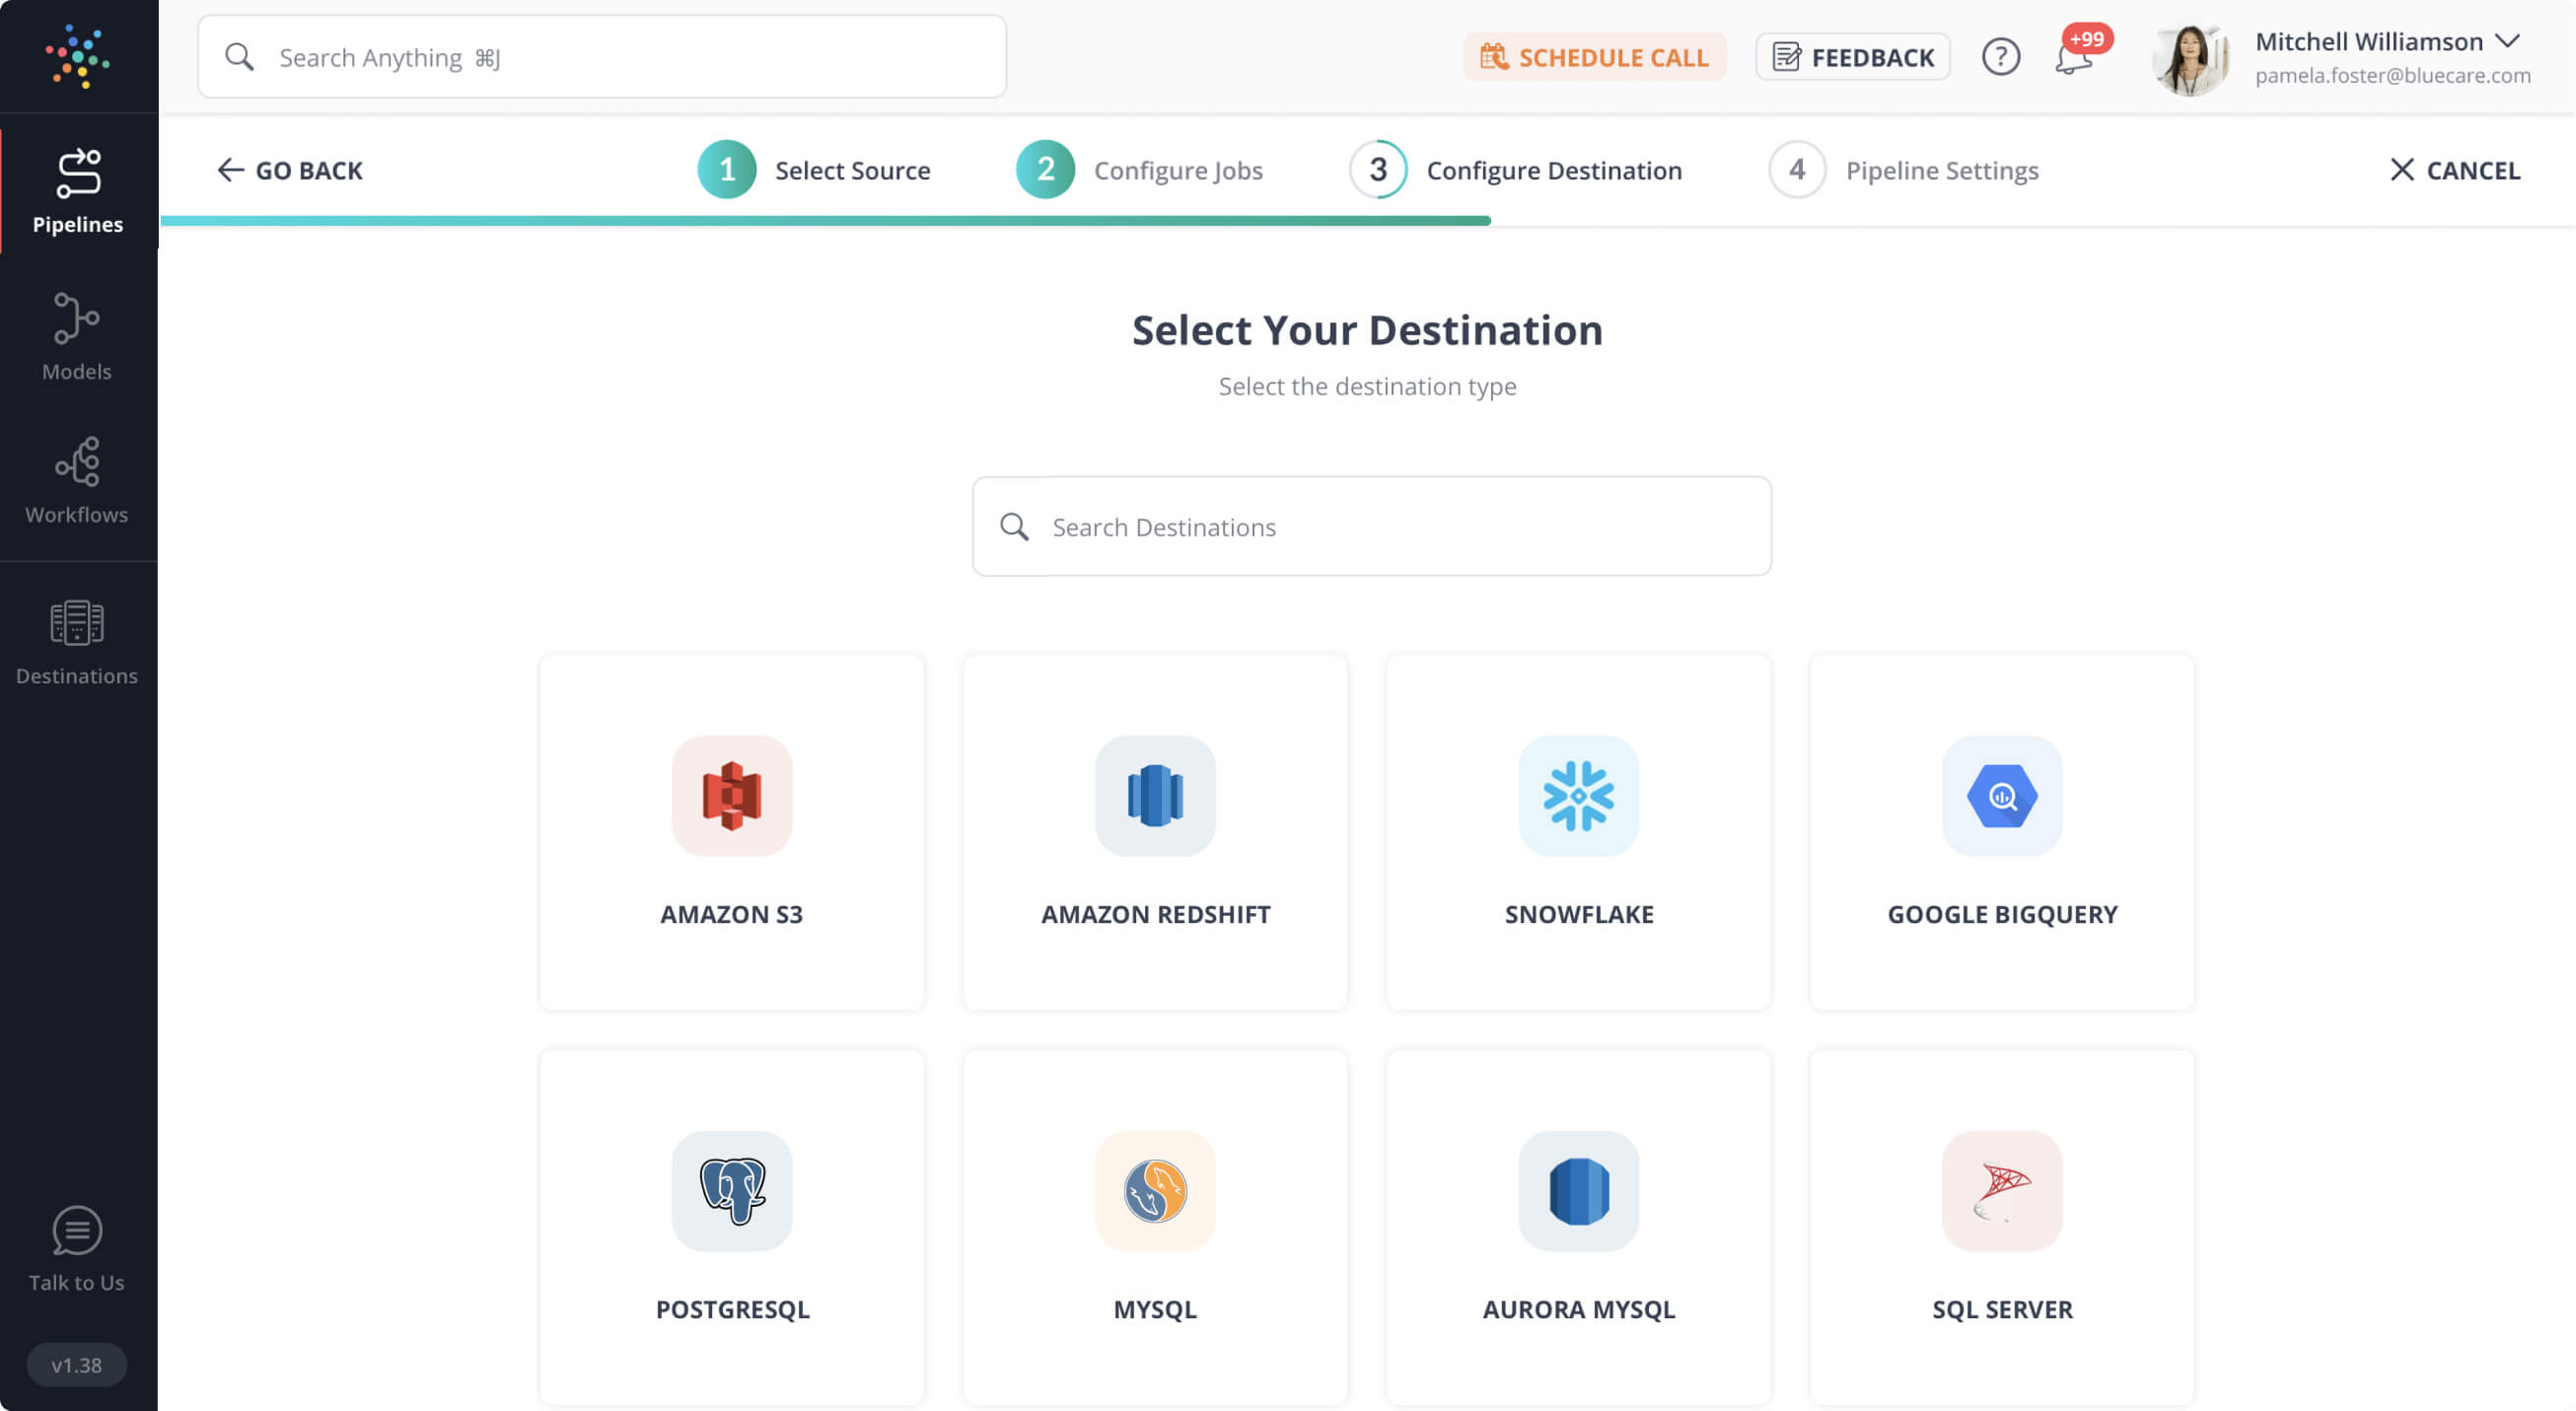
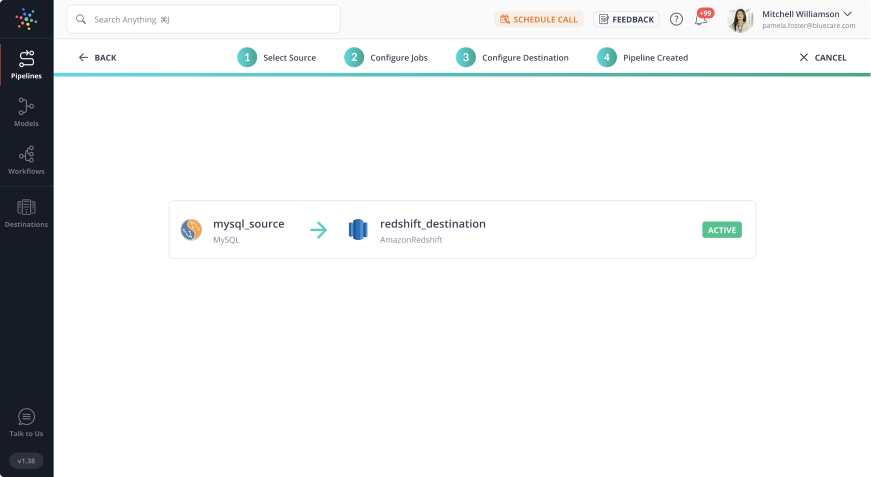
Are you looking for an ETL tool to migrate your Mailchimp data? Migrating your data can become seamless with Hevo’s no-code intuitive platform. With Hevo, you can:
- Automate Data Extraction: Effortlessly pull data from various sources and destinations with 150+ pre-built connectors.
- Transform Data effortlessly: Use Hevo’s drag-and-drop feature to transform data with just a few clicks.
- Seamless Data Loading: Quickly load your transformed data into your desired destinations, such as BigQuery.
- Transparent Pricing: Hevo offers transparent pricing with no hidden fees, allowing you to budget effectively while scaling your data integration needs.
Try Hevo and join a growing community of 2000+ data professionals who rely on us for seamless and efficient migrations.
Get Started with Hevo for FreeIntroduction to Mailchimp Customer Journey
A Mailchimp Customer Journey is divided into phases, which represents the stages that a consumer goes through as they are guided to take various actions. The phases you include will be determined by your company’s objectives. These stages are commonly included in most of the Mailchimp Customer Journey:
1) Awareness
This is how someone finds out about your business, usually through a Search Engine or Paid Advertising. Let’s imagine a new potential consumer sees an ad for your latest collection of “I Have the World’s Okayest Cat” mugs and decides to learn more about the company and product by visiting your website. Your company is now ingrained in their minds.
2) Acquisition
As they liked the ‘I Have the World’s Okayest Cat’ mugs so much, they bought one, you can now call that new potential consumer an actual customer. Not only that, but they also signed up for your email list using a form on your website, ensuring that they are the first to hear about new products.
3) Onboarding
Once you’ve gained a new client, you may send them a series of emails to welcome them, show them other items in your store that they might like (like matching “I Have the World’s Okayest Cat” coasters), and explain when and how they can expect to hear from you in the future.
4) Engagement
This relates to how you can attract customers to use your product or service regularly, shop at your store, or read your material regularly. To enhance your consumers’ experience, consider employing email, social media, in-product communications, and personalization.
5) Advocacy
Make your customers so satisfied that they’ll tell their friends about your company. This is most likely one of the most effective methods for attracting new clients.
The Mailchimp Customer Journey Tool allows you to create dynamic, automated marketing journeys for your contacts. You can make a journey map with multiple starting locations, branching, and distinct actions so that each of your contacts gets a unique and personalized experience. As you construct your Mailchimp Customer Journey, you will come across the following words.
| Journey point | Type | Description |
| If / Else | Rule | Splits contacts down one of two branching paths based on up to 5 conditions you choose. This starting point is included with the Standard plan or higher. |
| Percentage split | Rule | Divides contacts between two separate journey paths. This starting point is included with the Standard plan or higher. |
| Wait for Trigger | Rule | Prevents contacts from continuing down the path until they meet a condition that you choose. You can include up to 10 wait rules in one journey map. |
| Time delay | Rule | Prevents contacts from continuing down the path for a period of time that you choose. |
| Send email | Action | Sends your contacts an email that you design. |
| Send email with a survey | Action | Sends your contacts an email with a Mailchimp survey that you design. |
| Send SMS | Action | Sends your contacts an SMS message that you create. SMS Marketing is available as an add-on with the Standard plan or higher. |
| Group/Ungroup | Action | Adds contacts to a group or removes them from it. |
| Tag/Untag | Action | Adds a tag to contacts or removes it. |
| Unsubscribe | Action | Unsubscribes contacts from your email marketing. |
| Update contact | Action | Updates or deletes data from an audience field in the contact’s record. |
| Archive contact | Action | Archives contacts from your audience’s contact table. |
| Webhook | Action | Syncs Mailchimp activity with a third-party app. This starting point is included with the Standard plan or higher. |
| Meta Custom Audience | Action | Adds Mailchimp contacts to your Meta Custom Audience or removes them from it. This starting point is included with the Standard plan or higher. |
Steps to Set up Mailchimp Customer Journey
The steps to set up Mailchimp Customer Journey are as follows:
- Step 1: Creating Journey Map
- Step 2: Adding Starting Points
- Step 3: Adding Journey Points
- Step 4: Activating Journey
- Step 5: Managing Journeys
- Step 6: View Stats
- Step 7: Edit Journeys
Step 1: Creating Journey Map
On the Mailchimp Customer Journey homepage, you’ll create and manage your Customer Journey. You can either create your route from the very beginning or leverage the Explore tab to select from a range of pre-built alternatives and Starting Points.
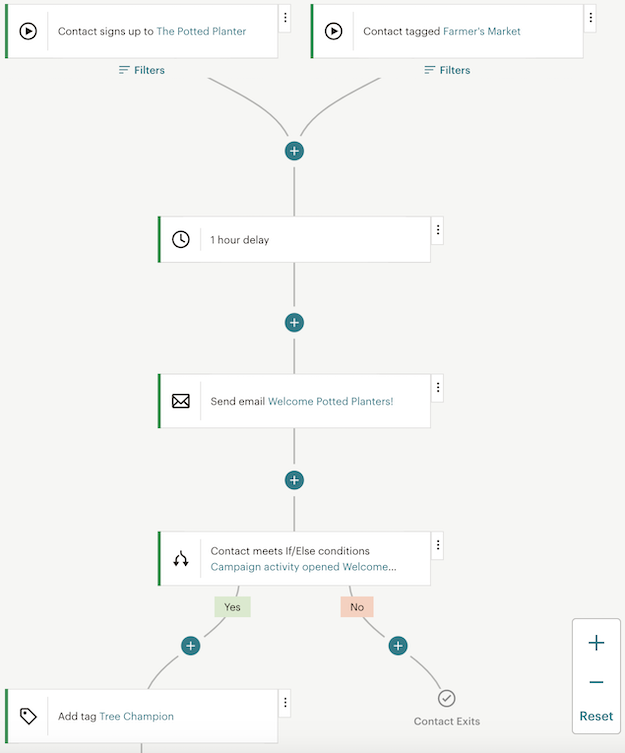
Select Automations from the drop-down menu. Create a new project by clicking Create from scratch. Enter a name for your Customer Journey, then select an audience from the drop-down option. Click Start Building. You may now add beginning places, actions, and rules to each contact’s path once you’ve built a journey. To accomplish so, you’ll use a Mailchimp Customer Journey Map to plot these points. This diagram will show you a sample Mailchimp Customer Journey Map:
Step 2: Adding Starting Points
You’ll begin by deciding on a starting point. The activity or event that adds contacts to a Journey is called a Starting Point. There can be up to three Starting Points on each Mailchimp Customer Journey map. To begin with, Mailchimp Customer Journey Map Click Choose A Starting Point. Choose the specific settings for your Starting Point type. Click Save Starting Point. You can choose among the following Starting Points:

Once you’ve added a Starting Point, you can use a filter to further customize it. Filters allow you to narrow down who will embark on a journey. To add contacts that best meet the goal of your Customer Journey, you can use up to five filters.

Step 3: Adding Journey Points
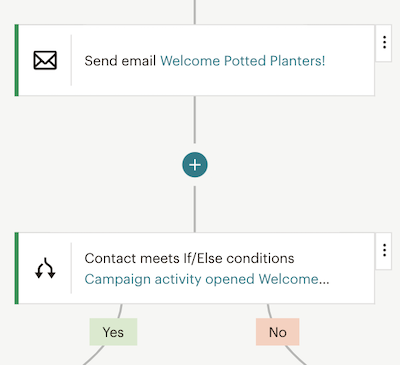
You’ll choose the rules and acts that make up your Customer Journey after you’ve added a Starting Point. These are referred to as “Journey Points.” To develop a unique customer process that matches your Marketing goals, try any combination of Journey Points.
The path builder’s side panel contains all of the actions and rules you can employ. Click Hide, if you need to get the side panel out of the way. When you’re ready, click on Show Actions to bring up the side panel again.
The different types of Journey Points in Mailchimp Customer Journey Map are:
Step 4: Activating Journeys
Select a Marketing Objective after your Mailchimp Customer Journey Map is designed and click Continue. Mailchimp will be able to deliver more personalized recommendations and reports as a result of this. If necessary, you can change this in your Journey options later. Now, click on the Turn On option, this will Activate your Journey.
Click Pause & Edit at any moment to pause and edit an active Mailchimp Customer Journey. New contacts will not be queued for paused Journeys. When you’re ready to resume your journey, click Turn Back On. If the journey was paused for longer than the Delay Time, contacts at the Delay Point will be moved to the next Journey Point.
Step 5: Managing Journeys
Mailchimp Customer Journey and other automation are created, viewed, and managed through the Mailchimp Customer Journey website. To get to this page, go to Automations and select Customer Journey. Then select My Journeys from the drop-down menu and you can filter by Audience, Status, or Objective using the drop-down menus.
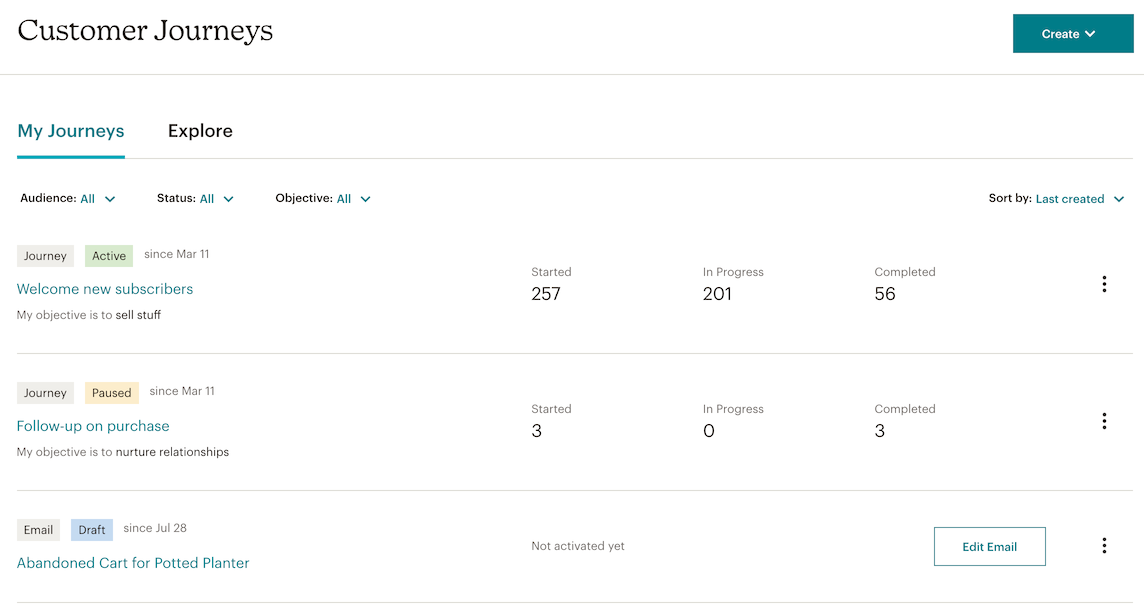
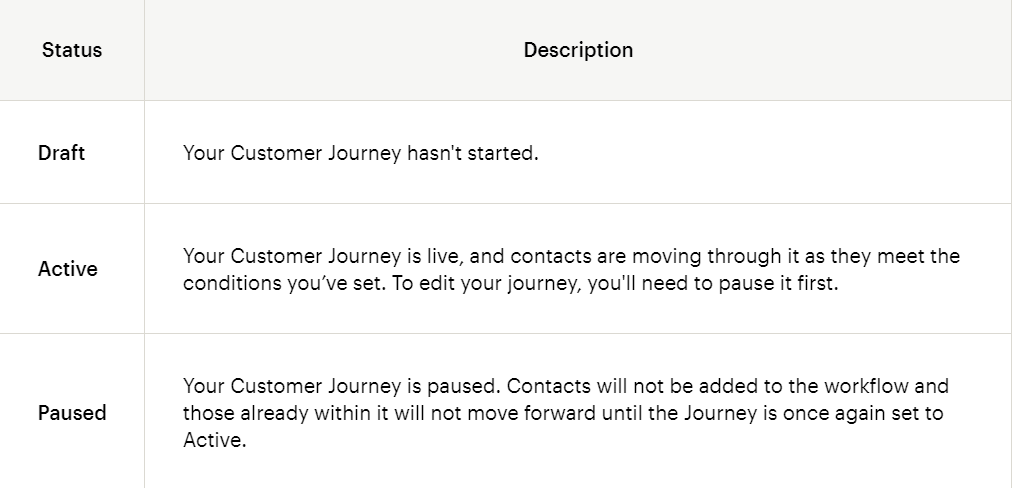
Mailchimp presents a label to reflect the state of your Journey or Automation, so you can easily see if everything is going properly. The following are some of the various Mailchimp Customer Journey status circumstances.
Step 6: View Stats
The number of contacts who have begun is in the middle of or have completed a Mailchimp Customer Journey may be found on the Mailchimp Customer Journey webpage. As contacts reach the specific Journey Stages, key stats will surface on Tag and Email activities. To view the complete report for an email, click the Report icon.

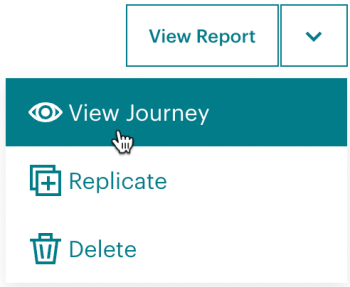
Click the three-dots icon and select View Contact Queue to see how many contacts have reached a Journey Point.
Step 7: Edit Journeys
You can pause an active Mailchimp Customer Journey to add, remove, or update the Starting Points or Journey Points. From the map or the My Journeys tab, you can pause and edit an active Journey. Click a point on the map to delete it, then click Remove. Remove the rule or action by following the prompts.
Change the Journey Name or Marketing aim, manually add or delete contacts from the Journey, or choose whether contacts can repeat the Journey after they complete it by going to your Journey Settings. Here’s a rundown of the various options and what they mean.
Conclusion
This article introduced you to Mailchimp and its features. It also explained how to build/design a Mailchimp Customer Journey with a few easy steps. Now that you have Mailchimp Customer Journey set up on your website and application, it is time to start leveraging its awesome features to take your business to the next level. Extracting complex data from a diverse set of data sources such as Mailchimp can be a challenging task and this is where Hevo saves the day!
For insights on integrating Facebook Lead Ads into Mailchimp and optimizing your campaigns, check out how Hevo Data can simplify the process.
Hevo Data provides its users with a simpler platform for integrating data from 150+ sources such as Mailchimp for Analysis. It is a No-code Data Pipeline that can help you combine data from multiple sources. You can use it to transfer data from multiple data sources into your Data Warehouse, Database, or a destination of your choice. It provides you with a consistent and reliable solution to managing data in real-time, ensuring that you always have Analysis-ready data in your desired destination.
Want to take Hevo for a spin? Sign Up for a 14-day free trial and experience the feature-rich Hevo suite first hand.
Share your experience of learning about the Mailchimp Customer Journey process! Let us know in the comments section below!


