 Key Takeaways
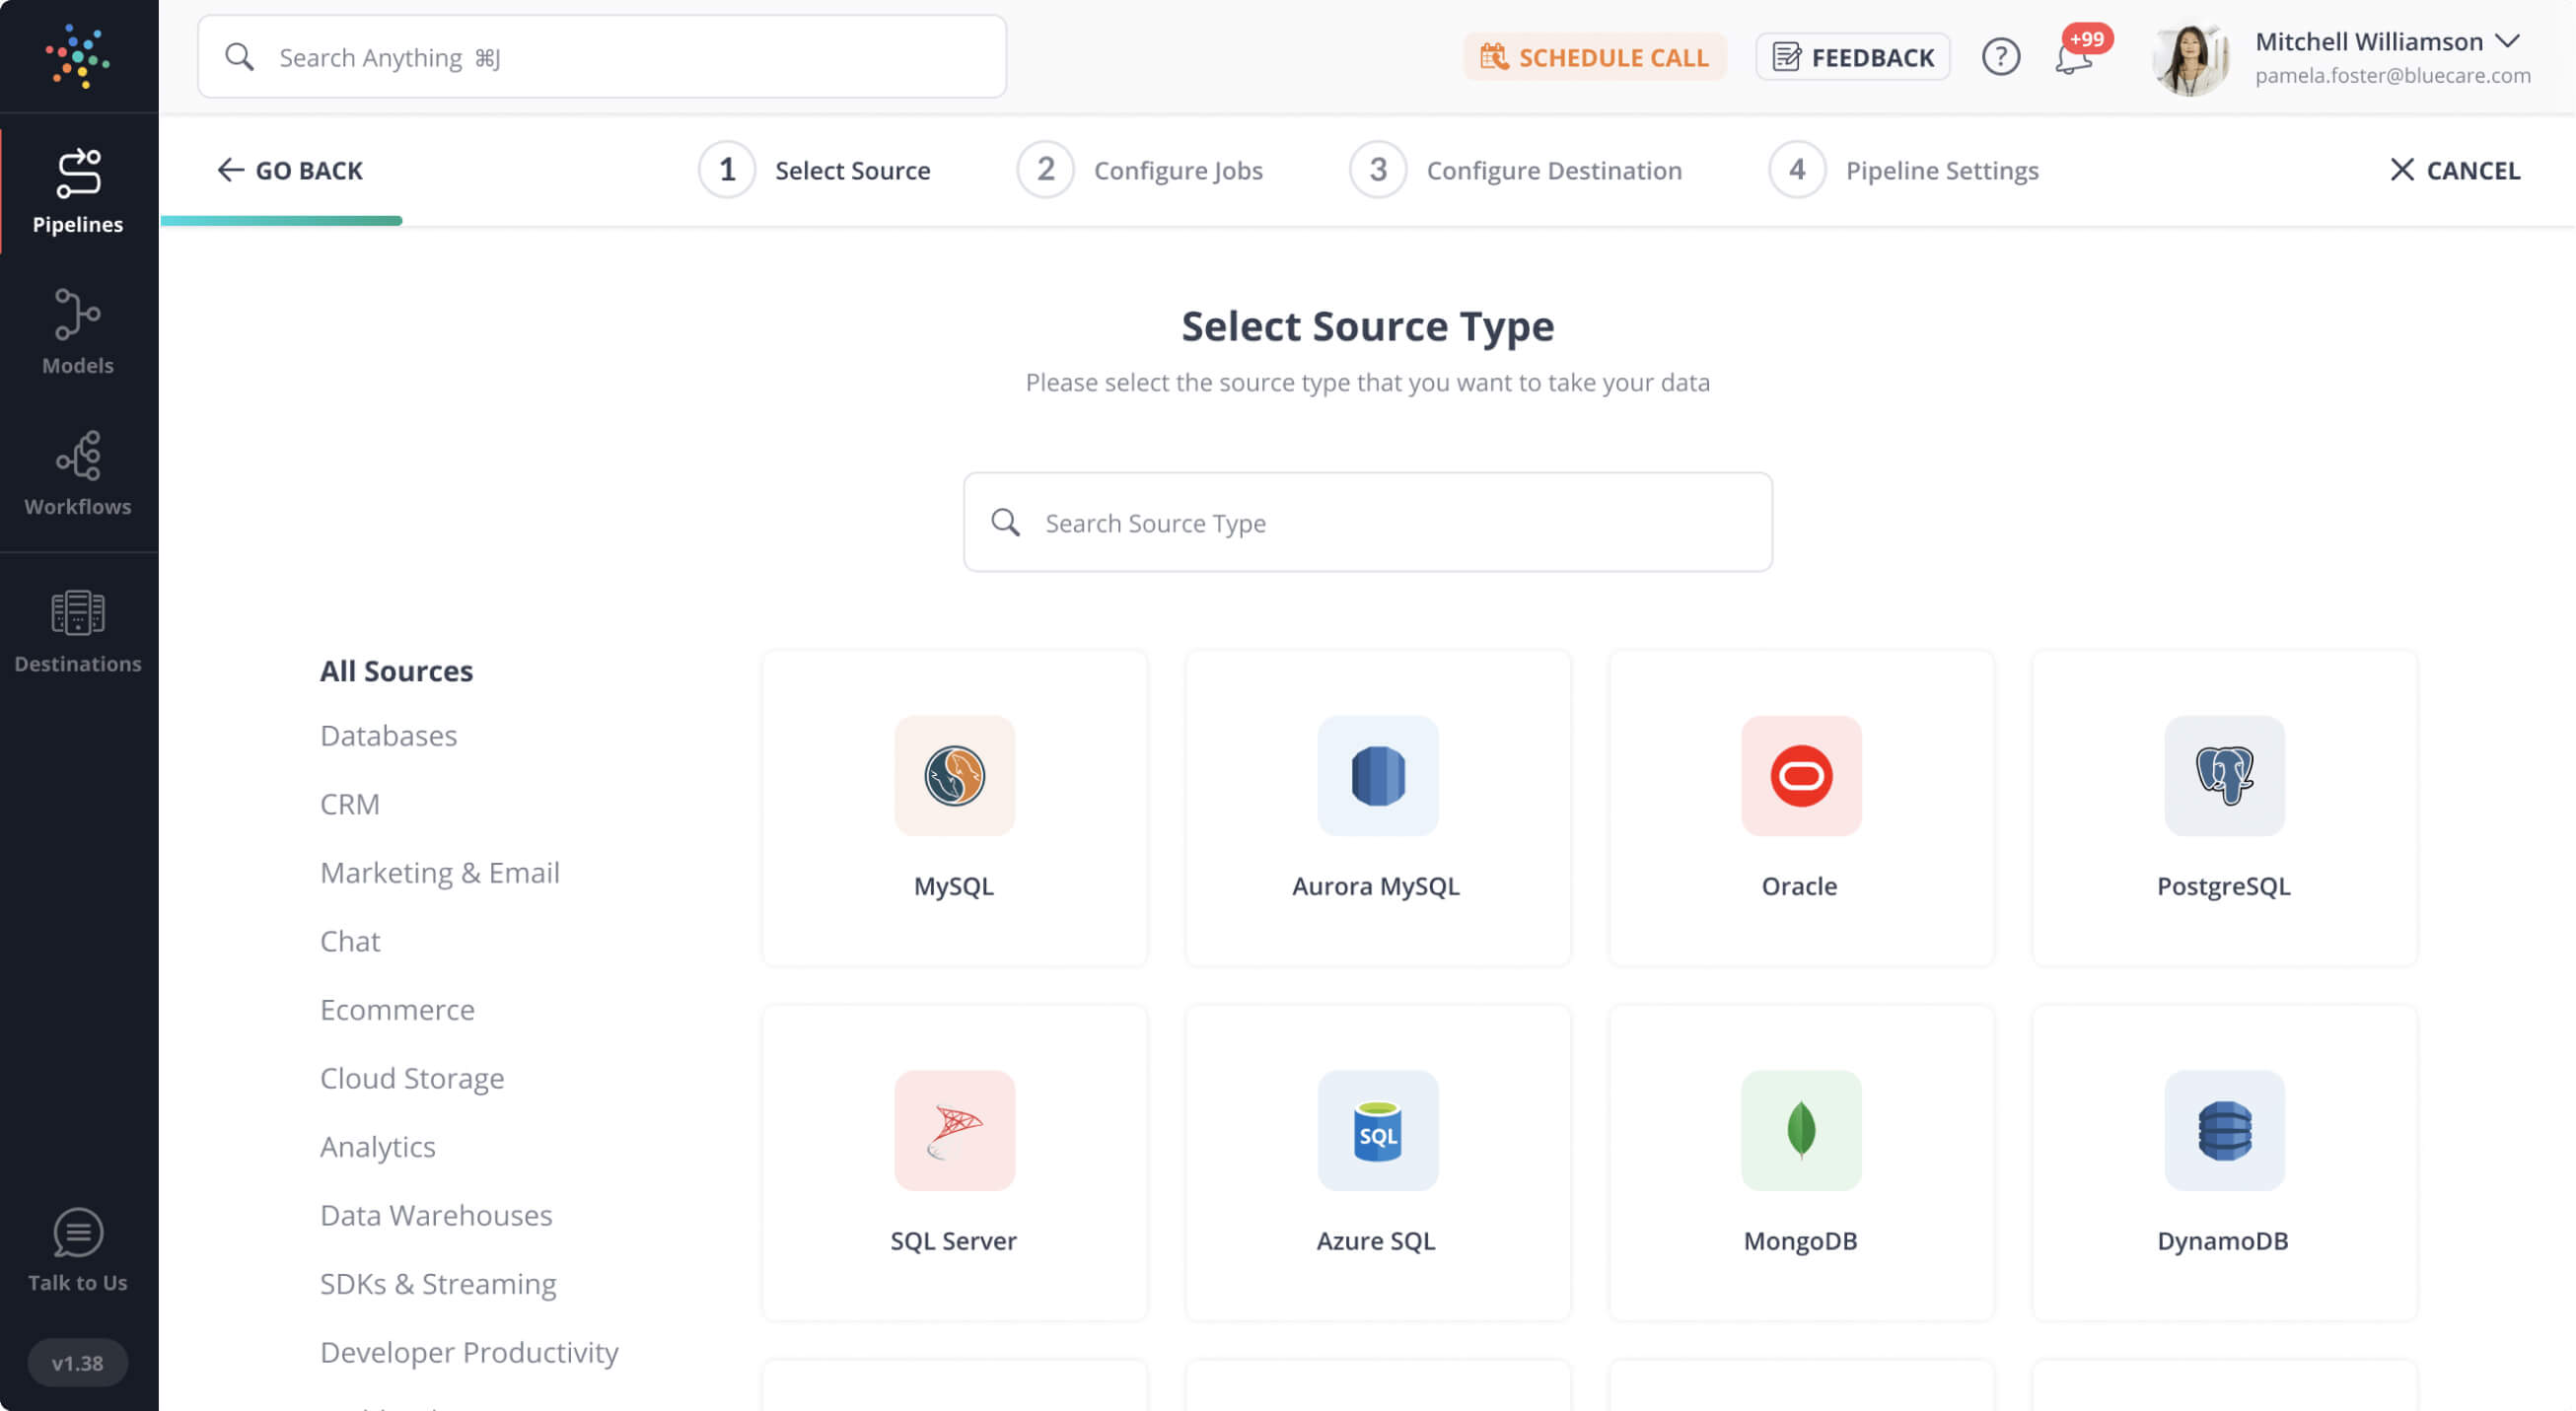
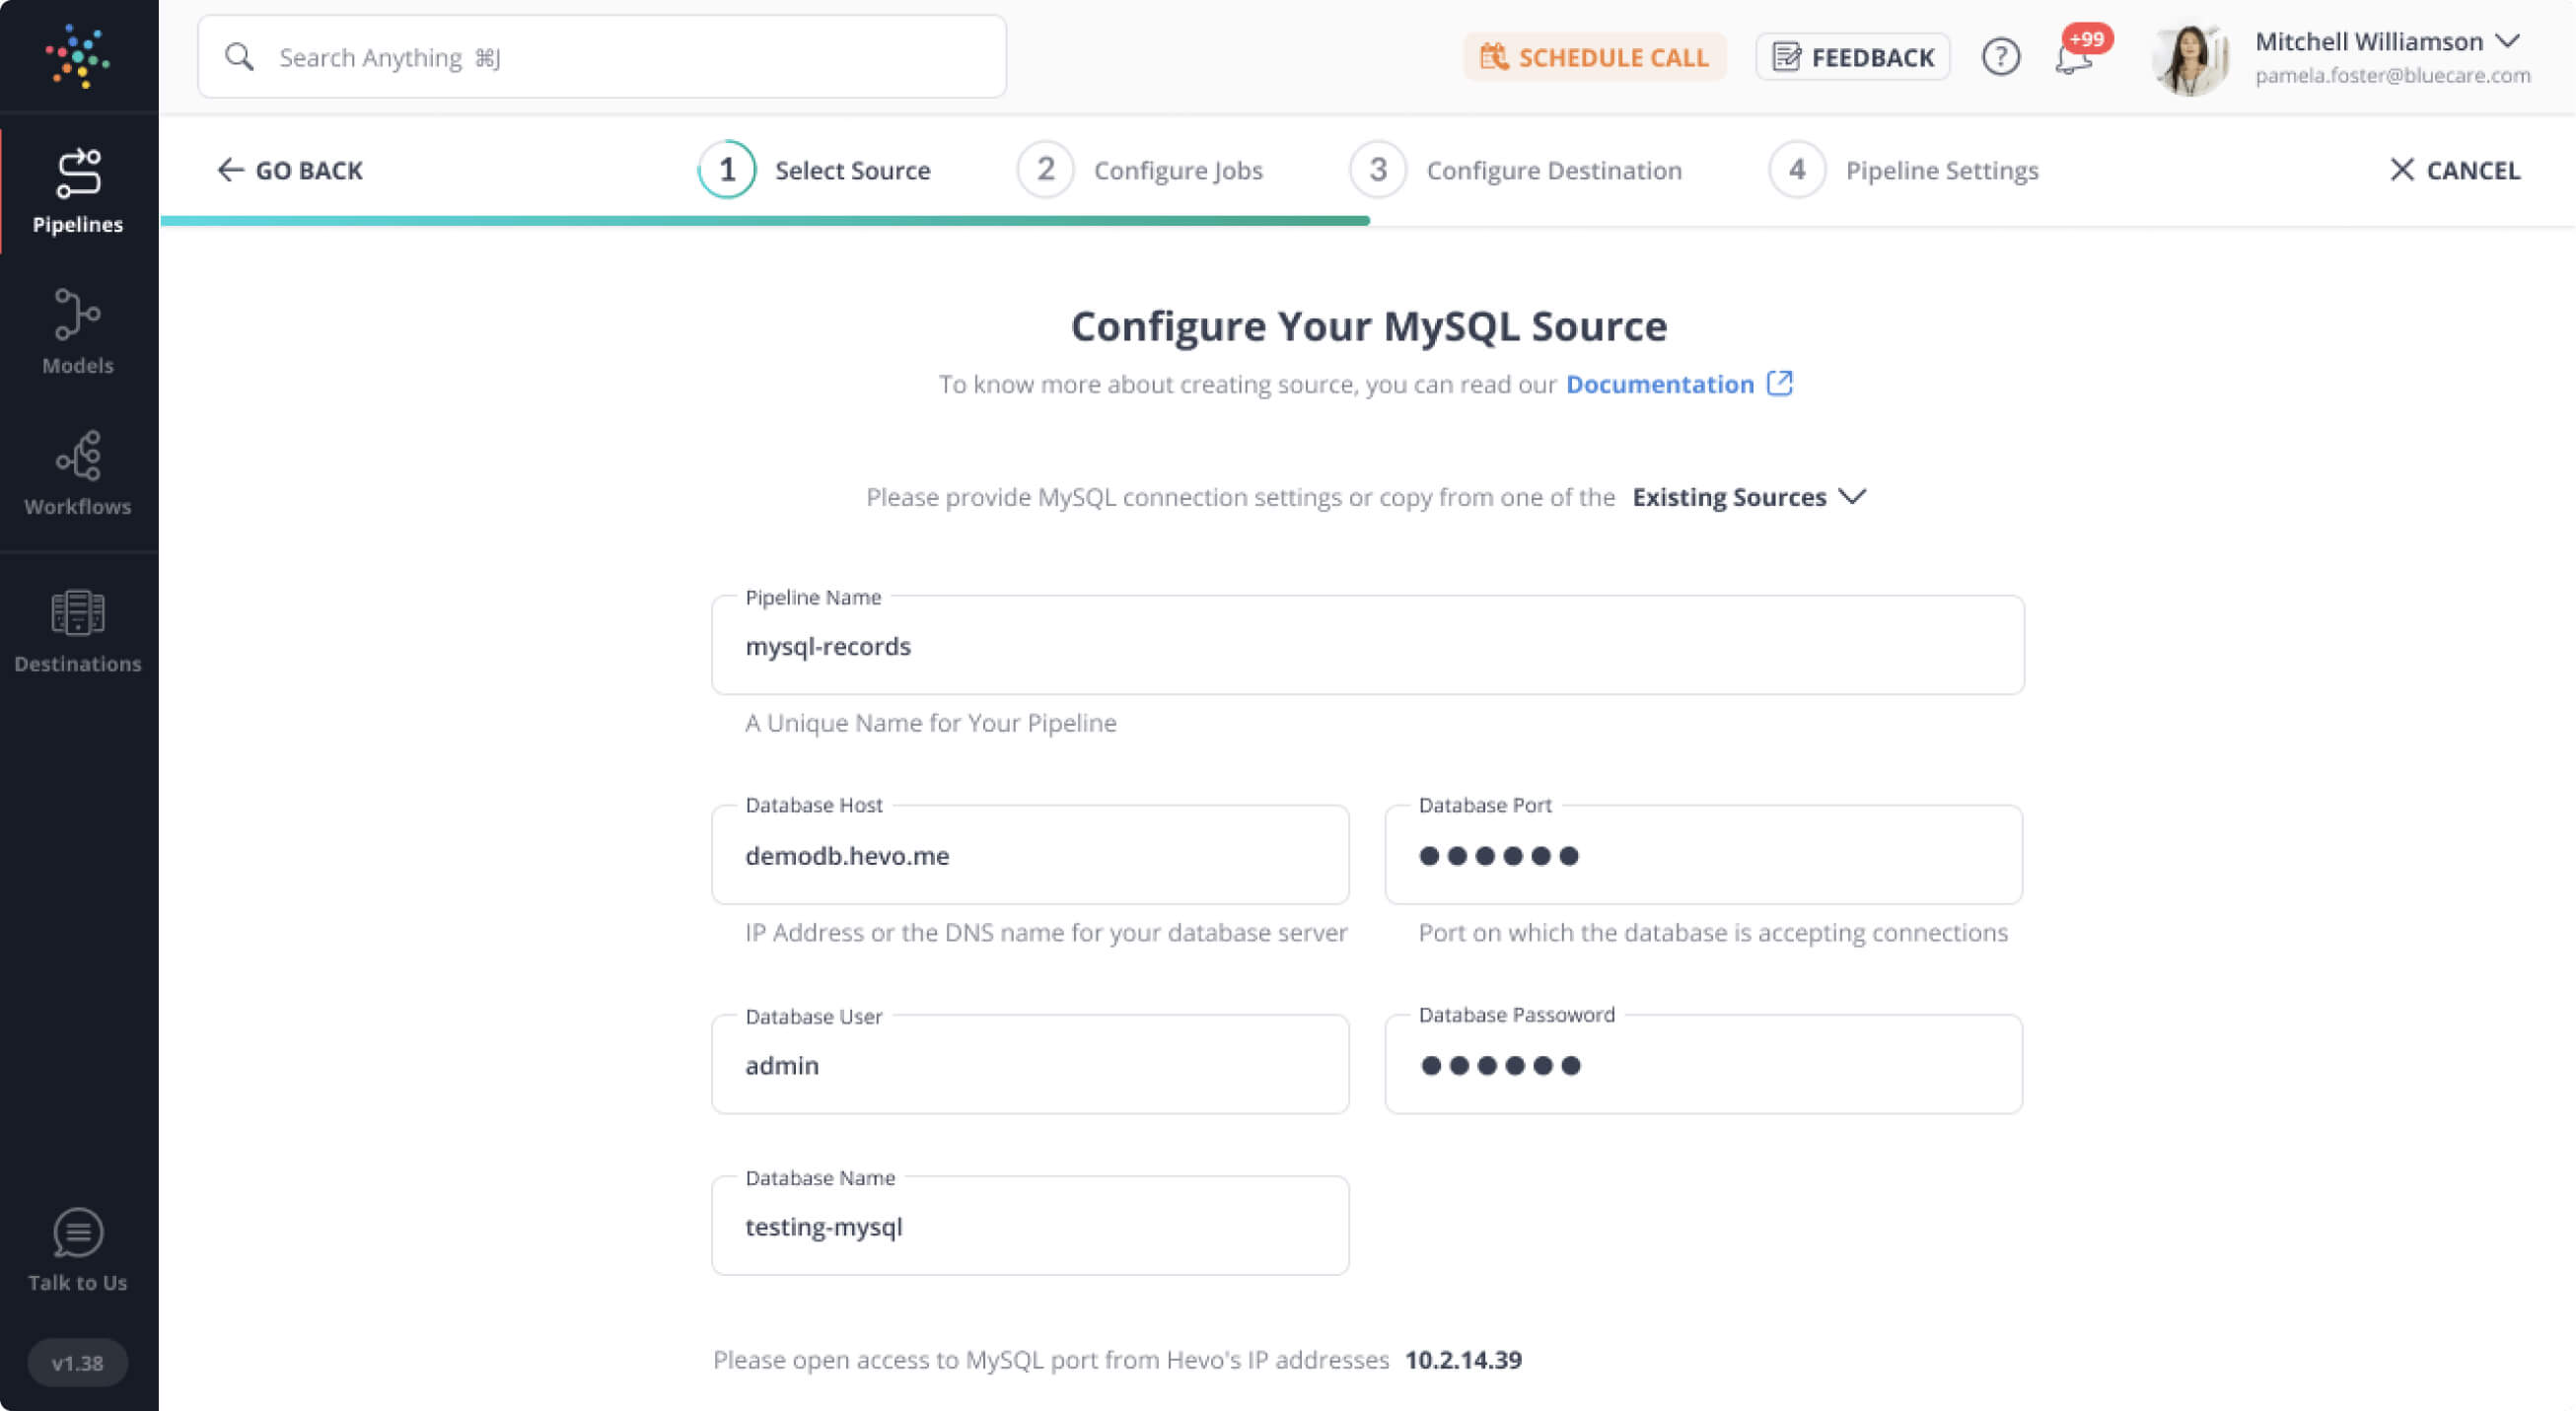
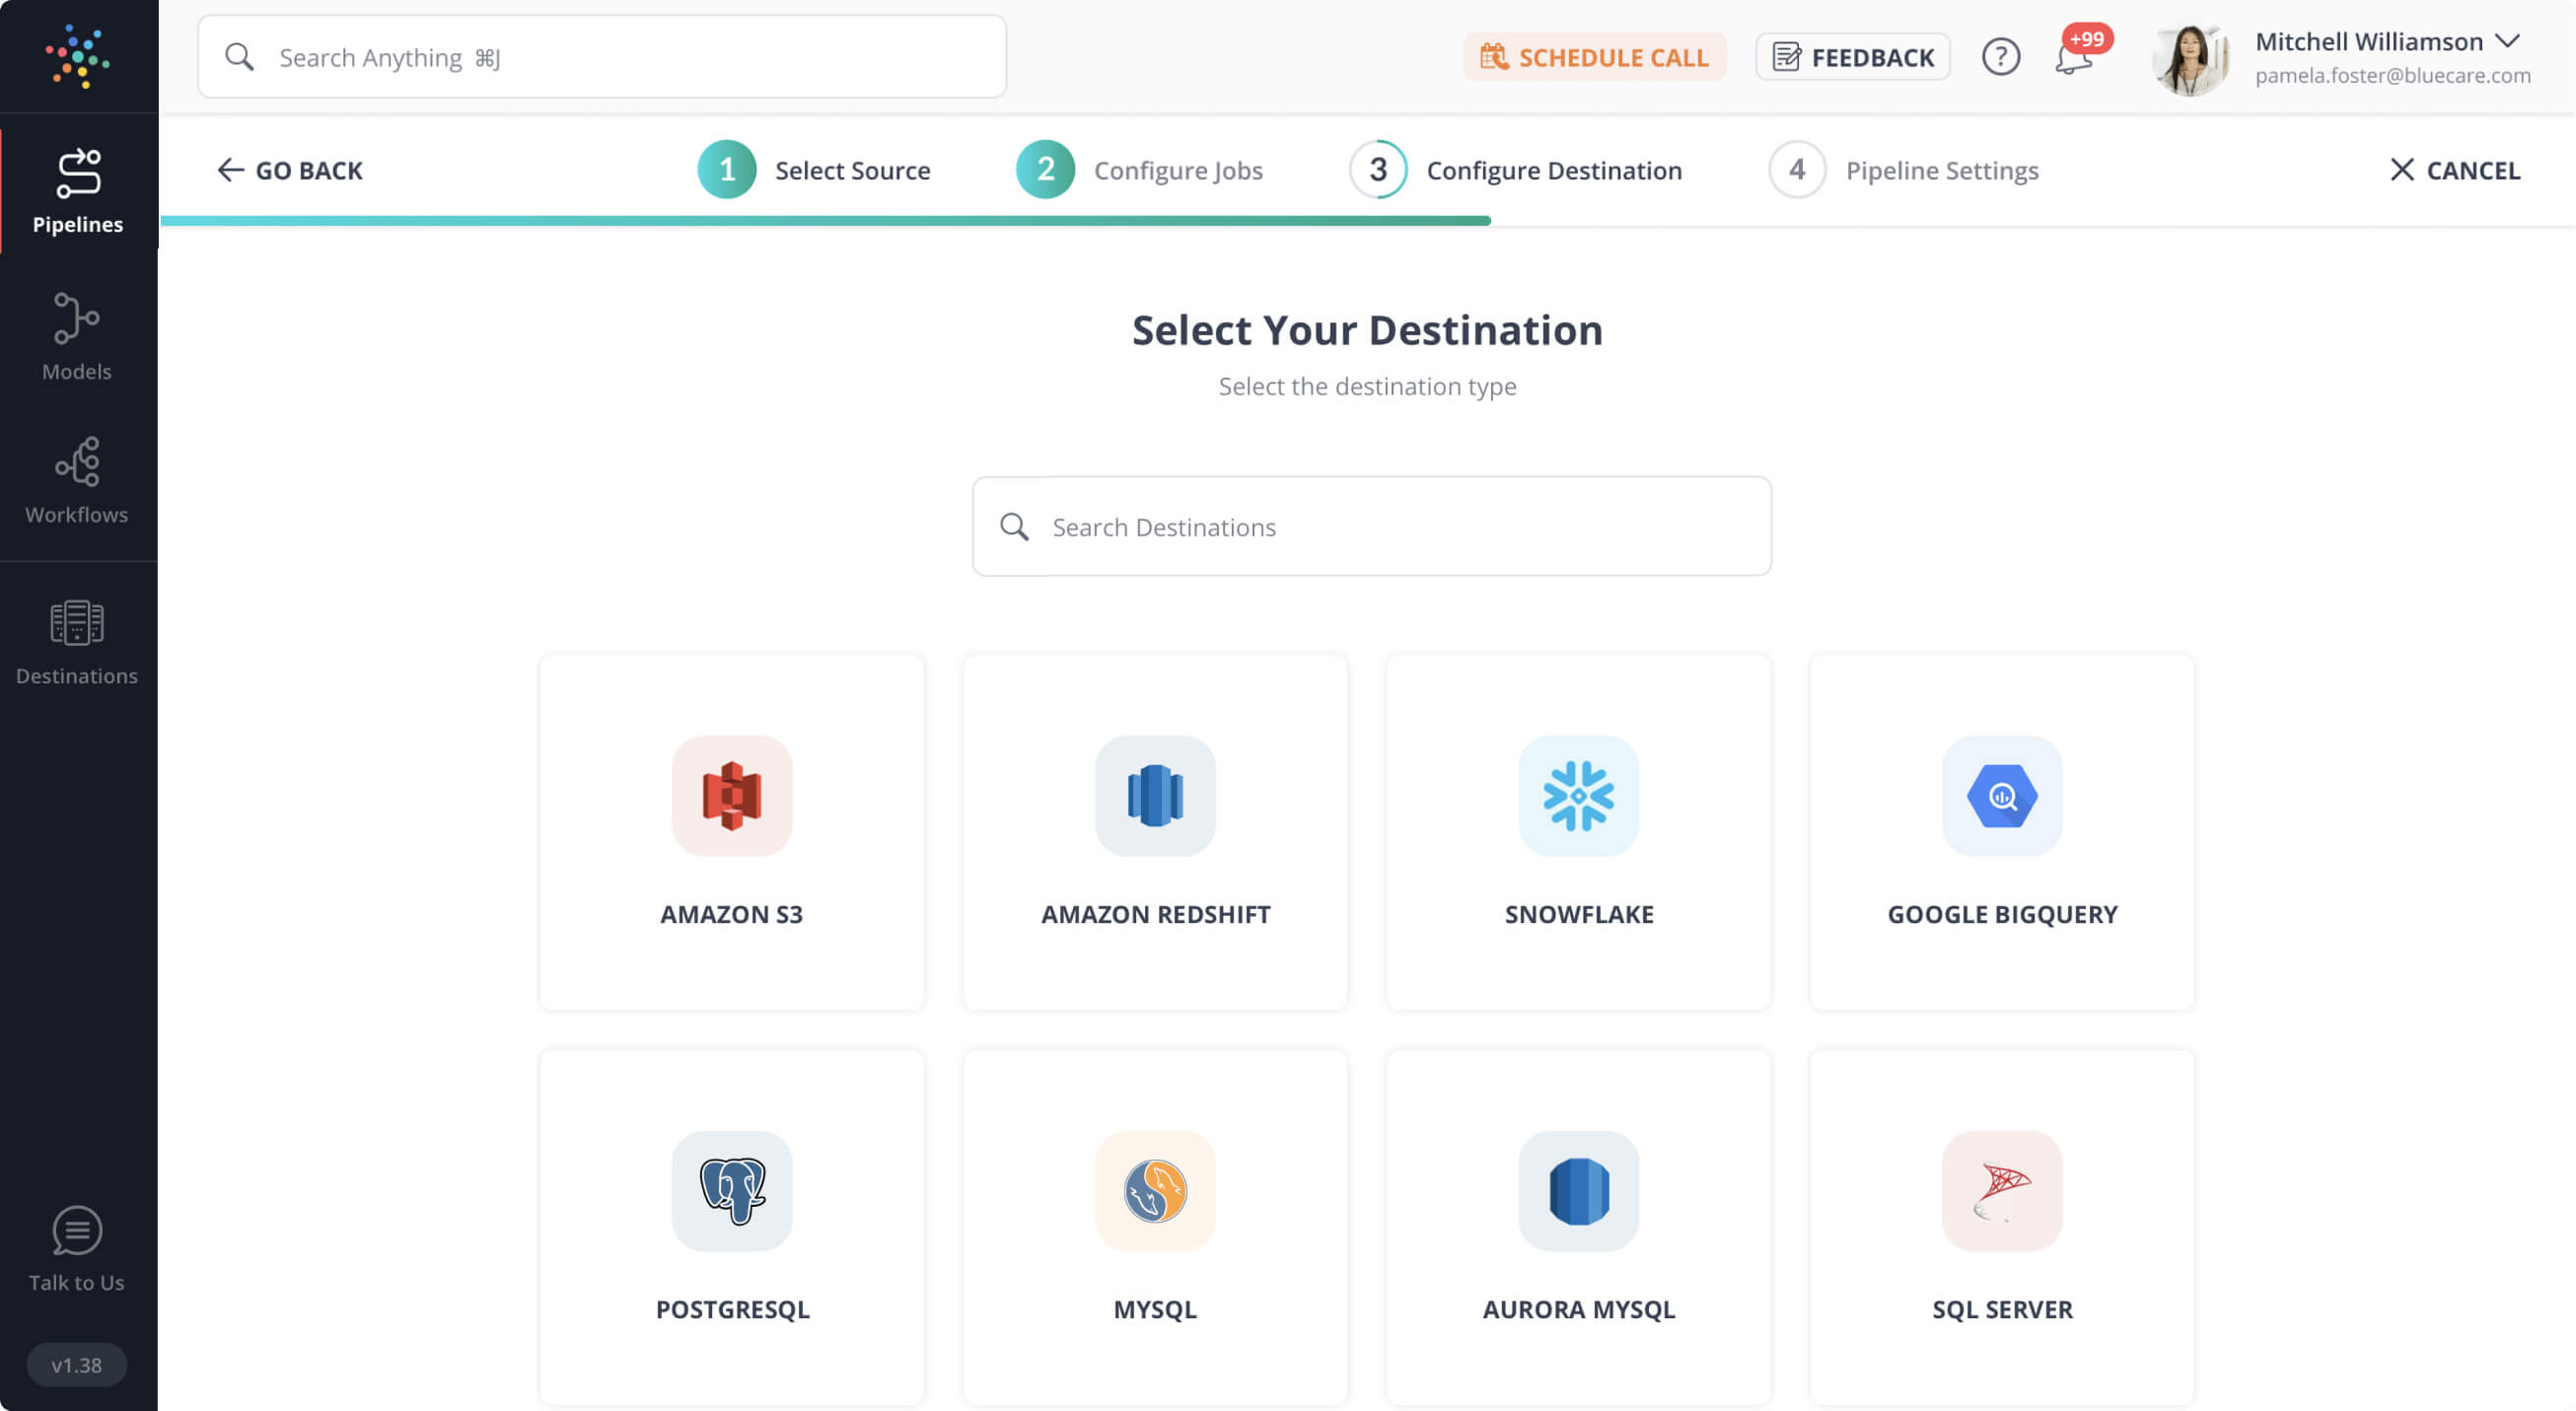
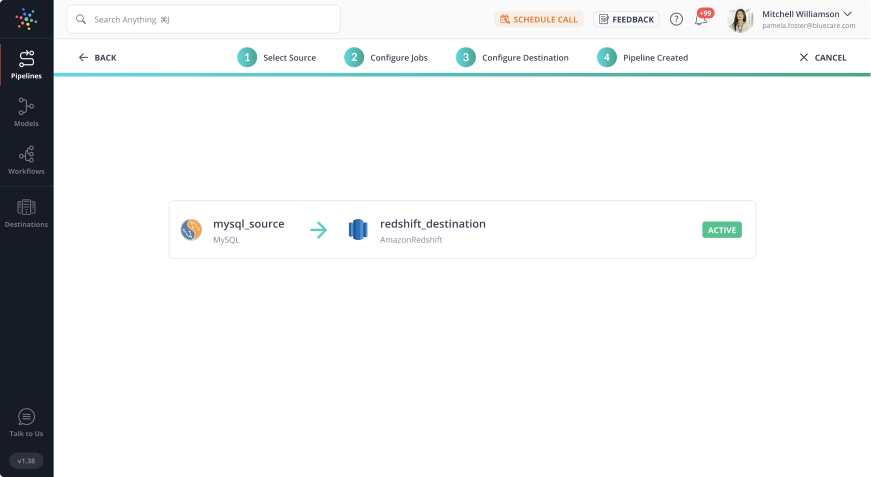
Snowflake’s SELECT INTO automates the process of transferring and transforming data into Snowflake without manually writing SQL queries. Hevo’s no-code platform simplifies data integration by providing seamless data pipelines that automate the extraction, transformation, and loading (ETL) processes.
Instead of using traditional SQL methods like SELECT INTO, Hevo allows users to effortlessly move data from various sources into Snowflake, ensuring that data is transformed and loaded with minimal manual intervention. This ensures both efficiency and scalability in your data management workflows.
Snowflake is a Data Warehouse that uses AWS, Azure, or GCP resources in the background (you can select the cloud service provider as well as the region). It provides a scalable warehouse as a Software-as-a-Service (SaaS) offering, delineating compute and storage, allowing you to resize your warehouse when your compute requirements increase and pause it if there is no load.
A Data Warehouse is different from a database in that a database is optimized for transactions (OLTP) whereas a data warehouse is optimized for analytics (OLAP). However, the method of dealing with data remains largely the same: SQL. There are differences, of course. For instance, Snowflake and several other data warehouses organize data in columns instead of rows. This helps them perform parallel queries. The SQL syntax is all you need to worry about for processing data.
One aspect of Snowflake’s SQL syntax will be the focus of this article: SELECT INTO Snowflake statement. While Snowflake does not support the traditional SELECT INTO Snowflake statements, you will see an alternative that can help us get equivalent results as a SELECT INTO Snowflake statement.
Table of Contents
Prerequisites
You will need a basic understanding of SQL to understand the contents of this article. If you wish to follow along and execute the example queries of this article yourself, you will need a snowflake account. You can sign up for an account if you do not have one, and get a 30-day free trial.
What is Snowflake?

Snowflake is a Data Warehouse-as-a-Service platform developed for the Cloud. It has a Data Architecture that uses scalable, elastic Azure Blobs Storage as the internal storage engine and Azure Data Lake for storage of Unstructured, Structured, and On-premise data ingested via the Azure Data Factory.
Snowflake provides security and protection of data using Amazon S3 Policy Controls, SSO, Azure SAS Tokens, and Google Cloud Storage access permissions. You can also scale your storage depending on your storage needs. Thus, when you use a Snowflake Data Warehouse to store your data, while enjoying its features like scalability, security of your data, among many other benefits.
Hevo Data is now available on Snowflake Partner Connect, making it easier than ever to integrate your data seamlessly. With Hevo’s powerful data integration capabilities, Snowflake users can connect to Hevo directly from their Snowflake environment and streamline their data pipelines effortlessly. Hevo offers:
- More than 150 source connectors from databases, SaaS applications, etc.
- A simple Python-based drag-and-drop data transformation technique that allows you to transform your data for analysis.
- Automatic schema mapping to match the destination schema with the incoming data. You can also choose between Full and Incremental Mapping.
- Proper bandwidth utilization on both the source and destination allows for the real-time transfer of modified data.
- Transparent pricing with no hidden fees allows you to budget effectively while scaling your data integration needs.
Explore Hevo’s features and discover why it is rated 4.3 on G2 and 4.7 on Software Advice for its seamless data integration.
Get Started with Hevo for FreeKey Features of Snowflake
Some of Snowflake’s key characteristics are as follows:
- Scalability: Snowflakes’ Multi-Cluster Shared Data Architecture separates compute and storage resources. This strategy allows users to scale up resources when large amounts of data must be loaded quickly and scale back down when the process is finished without interfering with other operations
- No Extracurricular Activity: It enables businesses to set up and manage a solution without relying on Database Administrators or IT teams. It does not require any software or hardware to be installed or activated.
- Security: Snowflake has a number of security features that range from how users access Snowflake to how data is stored. You can manage Network Policies by whitelisting IP addresses to restrict access to your account. Snowflake supports a number of authentication methods, including Two-Factor Authentication and SSO through Federated Authentication.
- Support for Semi-Structured Data: By utilizing the VARIANT schema on the Read data type, Snowflake’s architecture allows for the storage of Structured and Semi-Structured data in the same location. VARIANT has the ability to store both structured and semi-structured data. Snowflake automatically parses the data, extracts the attributes, and stores it in Columnar Format once it is loaded
SELECT INTO Statement
Note: This statement is not supported by Snowflake. The equivalent is provided in the next section
The general SELECT INTO statement helps you copy the contents of one table into a new table. If you wish to copy contents into an existing table, you would use the INSERT INTO syntax, but that is a topic for another article. Coming back to SELECT INTO, the statement syntax is:
SELECT col1, col2, ..., coln
INTO new_table
FROM existing_table
WHERE condition
Here, col1, col2, etc. are the column names you would want to copy into the new table (you could use * if you wish to copy all columns). The WHERE condition acts as a filter allowing you to copy only rows meeting specific conditions.
An example would be
SELECT *
INTO marks_backup_2021
FROM marks
WHERE year = 2021
As you can see, in the above query, you copy all the columns from the marks table into the marks_backup_2021 new table. The year=2021 acts as a filter on the marks table.
A Snowflake-native app to monitor Fivetran costs.
Snowflake Equivalent: CREATE TABLE AS SELECT
The Select Into Snowflake equivalent is quite similar to SELECT INTO. The syntax is
CREATE [OR REPLACE] TABLE db_name.schema.table_name AS (SELECT ...)As you can see, this is a more generalized version of the SELECT INTO Snowflake statement. This lets you store the results of any SELECT Into Snowflake statement into a new table. This helps you modify column types, choose only specific columns to copy, change the names of columns, and a lot more. Let us consider an example.
When you sign up for a Snowflake account, you get a SNOWFLAKE_SAMPLE_DATA DB. This contains a WEATHER schema with a daily_14_total table. You will use this table and copy some rows into a new table. First, you can run a simple query on this table to get an idea of the data.
SELECT * from snowflake_sample_data.weather.daily_14_total LIMIT 10If you see, it has two columns, V (a json containing the weather info, and location information, like coordinates, name of the city, etc.), and T (timestamp).
Now, we would like to take a backup of all the weather data for Mumbai city. Let us see how that can be done using the CREATE TABLE AS SELECT syntax.
If you have an existing database and schema, you can use them. Otherwise, create a database called MY_DATABASE and a schema within it called BACKUP_DATA. Your query will look like this:
CREATE TABLE my_database.backup_data.mumbai_daily_14_total_backup AS
(SELECT * from snowflake_sample_data.weather.daily_14_total
WHERE V:city:name = 'Mumbai')
After execution, you should see the table creation message
You can then query this table and verify that the column names and types are similar and that the rows indeed correspond to Mumbai city only.
Note that the above example also shows that a table from one database can be copied into another. Over here, a table from SNOWFLAKE_SAMPLE_DATA DB was copied into MY_DATABASE.
You can make changes to the column names, add additional columns, and even remove some columns, as the query below shows.
CREATE TABLE my_database.backup_data.weather_data_cleaned AS
(SELECT V:city:name as city, V:city:id as city_id, V:data as weather_data, to_timestamp(V:time) as ts
 from snowflake_sample_data.weather.daily_14_total
 LIMIT 100)
As you can see, this query creates a new table weather_data_cleaned which extracts 100 rows of some derived columns from the V JSON column of daily_14_table and removes the T column altogether.
You can query this newly created table and check that the columns have been created as expected (notice the ts column, which was converted into the timestamp data type from the int data type, using the to_timestamp function).
Conclusion
You saw the purpose of a SELECT INTO statement, and what its syntax looks like. Next, you saw Snowflake’s equivalent for the SELECT INTO Snowflake, i.e., CREATE TABLE AS SELECT. You saw how this was like a generalization of the SELECT INTO Snowflake statement, allowing us to store the results of any SELECT statement into a table. You saw examples that illustrated the use of this syntax for modifying column names, types, etc. when copying into the new table. In case you want to export data from a source of your choice into your desired Database/destination like Snowflake, then Hevo Data is the right choice for you!
If you want to export data from a source of your choice into your desired database/destination, like Snowflake, then Hevo Data is the right choice! Sign up for Hevo’s 14-day free trial to improve your data management experience and achieve more with your data.
Frequently Asked Questions
1. How to view data in Snowflake?
To view data in Snowflake, you can use the Snowflake Web UI by navigating to the Worksheets tab and running SQL queries like SELECT * FROM table_name;. Alternatively, you can use SnowSQL for command-line access or connect via SQL clients like DBeaver or SQL Workbench/J to execute SQL queries.
2. How do you query in Snowflake?
To query in Snowflake, use SQL statements as you would in other databases. You can run these queries via Snowflake’s Web UI, SnowSQL command-line client, or any compatible SQL client.
3. How to insert into in Snowflake?
To insert data into a table in Snowflake, use the INSERT INTO statement.
4. How do you select data from a table in a Snowflake?
To select data from a Snowflake table, use the SQL SELECT statement. For all columns, use SELECT * FROM table_name;. For specific columns, use SELECT column1, column2 FROM table_name;.


