


E-commerce businesses, including online stores, are experiencing phenomenal growth, and an increasing number of people are switching their focus to e-commerce enterprises. Shopify is a type of e-commerce platform that allows users to quickly and easily set up their online stores.
Because of the exponential growth of data in the current environment, businesses worldwide are being forced to spend money on hardware resources to simply keep up with the massive amounts of data they have. Businesses are rapidly shifting their focus toward cloud-based data warehouses like Snowflake, which are more affordable but also secure and scalable.
Connecting Shopify Webhook to Snowflake helps in fetching data when any specific event occurs. In this article, you will learn about Shopify and Snowflake. You will read about the two methods to connect Shopify Webhook to Snowflake.
Table of Contents
What is Shopify?

The e-commerce platform known as Shopify makes it possible for users to construct an online store as well as retail point-of-sale systems in a matter of minutes. It is a market-leading online store builder that is used extensively by both novices and experienced users. This platform makes it easy for business owners to manage their operations by providing design templates, website hosting, marketing tools, and even a blog for their use.
Shopify is a great option for first-time online business owners who want to get their feet wet by opening a modest-sized storefront before eventually transitioning to a personal website. Shopify’s user-friendly interface makes it possible for users to construct online stores without the need to write even a single line of code, which means that users do not require any prior experience or training to get started with building a Shopify site.
What is Snowflake?
Snowflake is a cloud data warehouse platform that is offered as a SaaS solution to users. It leverages the ANSI SQL protocol that allows it to handle structured and semi-structured data formats like JSON, XML, and Parquet.
Snowflake employs shared disk architecture, which allows all compute nodes in the platform to access a common data repository for persisting data. Snowflake also executes queries utilizing MPP compute clusters, which use shared-nothing architecture to store a subset of the complete data set locally on each node in the cluster, which helps with performance control. In a shared-nothing configuration, each computational node has its private memory and storage or disk space.
Why Connect Shopify Webhook to Snowflake?
The process of connecting Shopify Webhook to Snowflake offers a number of advantages. You have the option of selecting the data that should be replicated, and this applies to each destination where you would like your Shopify data to be replicated to.
You have the option of getting the raw data, or you can explore all of the nested API objects in separate tables. You have the ability to add any dbt transformation model you want and even sequence them in the order that best suits your needs in Shopify Webhook to Snowflake Integration. As a result, the data can be obtained in Snowflake in the precise format that you require.
Methods to Connect Shopify Webhook to Snowflake
Method 1: Connect Shopify Webhook to Snowflake using Hevo
Hevo provides a simple two-step technique for easily migrating your data from Shopify Webhook to Snowflake and creating a robust data backup solution for the upcoming analytical workload. Hevo provides industry-leading features such as:
- Fully Managed: Hevo requires no management or maintenance as it is a fully automated platform.
- Data Transformation: Hevo provides a simple interface for perfecting, modifying, and enriching the data you want to transfer using a drag-and-drop feature.
- Schema Management: Hevo can automatically detect the schema of the incoming data and map it to the destination schema.
- Scalable Infrastructure: Hevo has built-in integrations for 100+ sources (with 40+ free sources) that can help you scale your data infrastructure as required.
- Live Support: The Hevo team is available 24/7 to provide exceptional customer support through chat, email, and support calls.
Try Hevo today and experience seamless data migration..
Method 2: Manually Connect Shopify Webhook to Snowflake
In this method, you’ll manually code the script and set up the connection from Shopify Webhook to Snowflake. This method is quite complex. This strategy is best for those who want to spend time designing and managing pipelines.
Move Data to Snowflake for Free with Hevo!Method 1: Connect Shopify Webhook to Snowflake using Hevo
Hevo provides Snowflake as a Destination for loading/transferring data from any Source system, which also includes Shopify Webhook. You can refer to Hevo’s documentation for Permissions, User Authentication, and Prerequisites for Snowflake as a destination.
Configure Shopify Webhook
Configure Shopify Webhook as a Source in your pipeline for Shopify Webhook to Snowflake Integration:
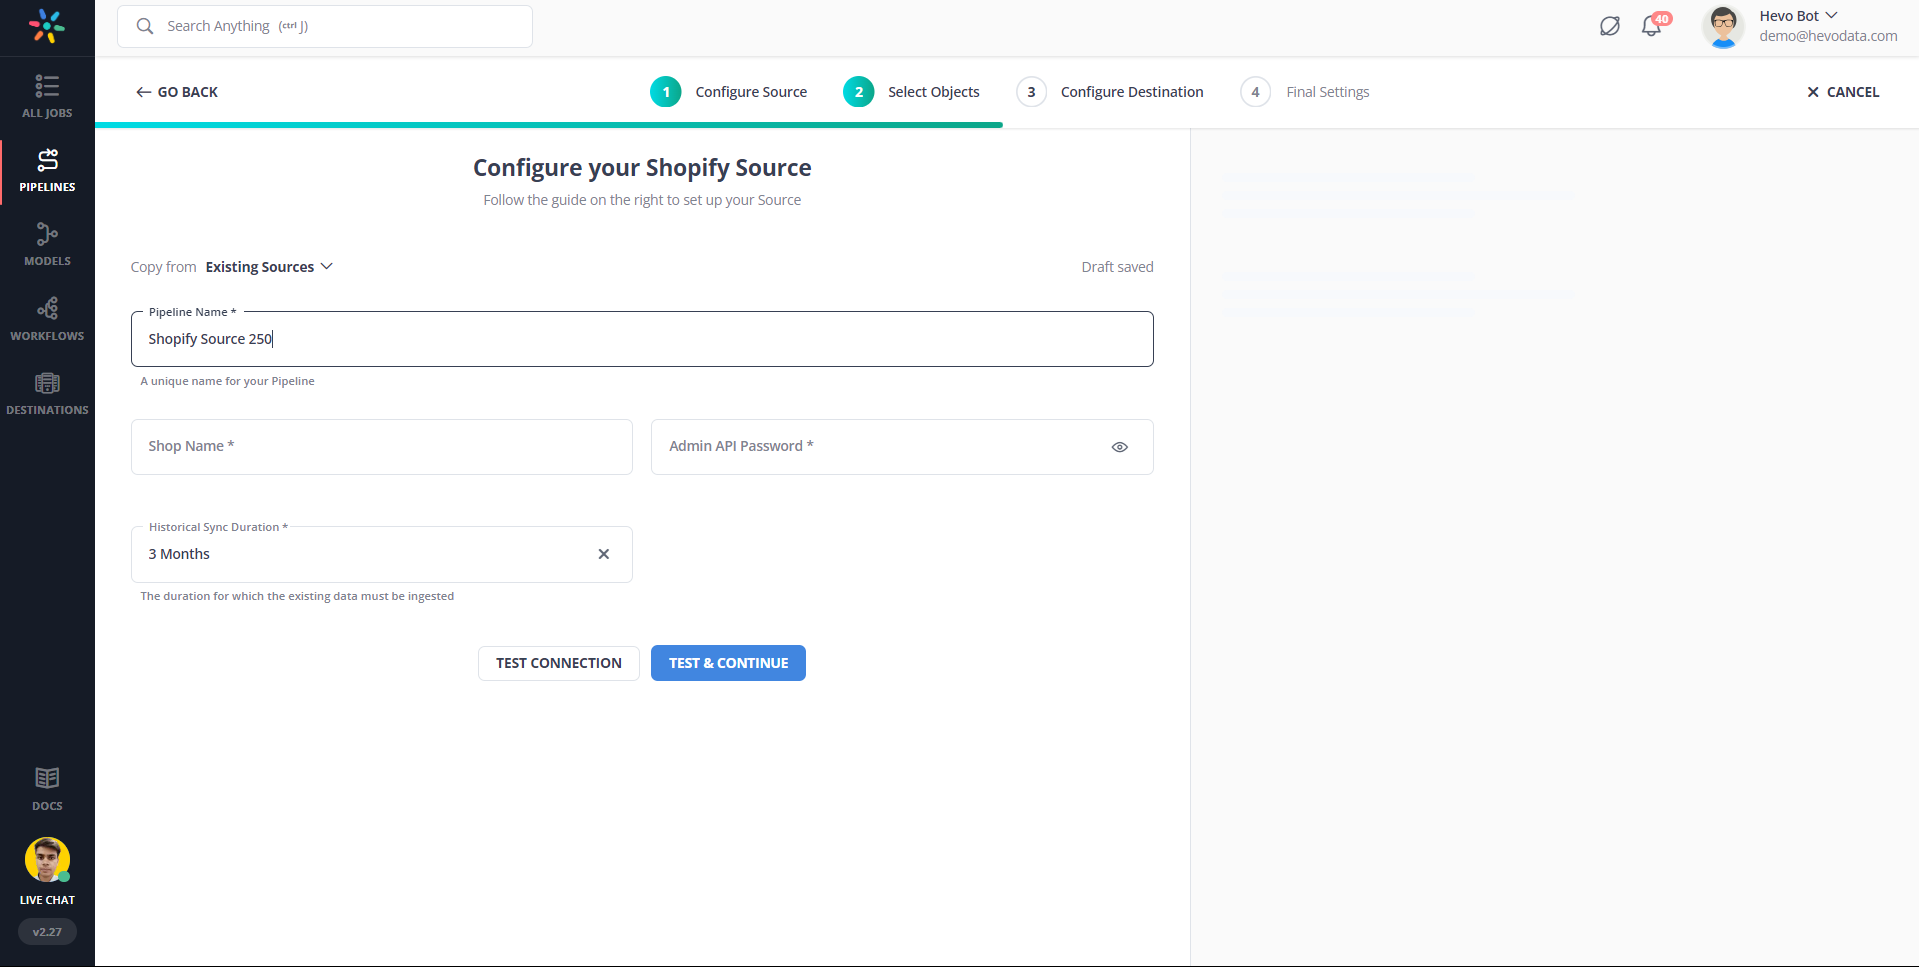
- Step 1: From the list of sources provided, select Shopify as the source.
- Step 2: Enter the Pipeline name and click Continue.
- Step 3: In this step, you will be given the option to select the destination (If already created). You can either choose an existing destination or create a new one by clicking on the ‘Create New Destination’ button to connect Shopify Webhook to Snowflake.
- Step 4: On the final settings page, you will be given the option to select ‘Auto-Mapping’ and JSON parsing strategy.
- Step 5: Click Continue to integrate Shopify Webhook to Snowflake. You should be seeing a webhook URL generated on the screen.
- Step 6: Copy the generated webhook URL and add it to your Shopify account to connect Shopify Webhook to Snowflake.
Configure Snowflake as a Destination
To set up Snowflake as a destination in Hevo for Shopify Webhook to Snowflake Integration, follow these steps:
- Step 1: In the Asset Palette, select DESTINATIONS.
- Step 2: In the Destinations List View, click + CREATE.
- Step 3: Select Snowflake from the Add Destination page.
- Step 4: Set the following parameters on the Configure your Snowflake Destination page to integrate Shopify Webhook to Snowflake:

- Destination Name: Give your destination a unique name.
- Database Cluster Identifier: The IP address or DNS of the Snowflake host is used as the database cluster identifier.
- Database Port: The port on which your Snowflake server listens for connections is the database port. 5439 is the default value.
- Database User: In the Snowflake database, a user with a non-administrative position.
- Database Password: The user’s password.
- Database Name: The name of the destination database into which the data will be loaded.
- Database Schema: The Destination database schema’s name. The default setting is public.
- Step 5: To test connectivity of Shopify Webhook to Snowflake Integration, click Test Connection.
- Step 6: When the test is complete, select SAVE DESTINATION.
Method 2: Manually Connect Shopify Webhook to Snowflake
If you want to manually code the scripts necessary to set up the connection from Shopify Webhook to Snowflake, you can use this method. Full disclosure, if you want to spend time building and managing pipelines, you should choose this method. Choose a solution that does the heavy lifting for you instead if you want to save time for other, more important tasks. This will allow you to save time in Shopify Webhook to Snowflake Integration.
For the Shopify Webhook to Snowflake Integration, you need to first connect Shopify Webhook to Redshift and then connect Redshift to Snowflake.
Connect Shopify Webhook to Redshift
The first step in Shopify Webhook to Snowflake Integration is to connect Shopify Webhook to Redshift. There are only six easy steps required to do this:
- Step 1: After logging into your Shopify account for the first time, you will need to initiate the creation of a Shopify Webhook. In this section, you will be prompted to select the events for which you wish to send data when that particular event occurs. After you have decided on the data format, URL, and webhook API version, you are ready to proceed to the next step in the process.

- Step 2: The next step is to retrieve the AWS Redshift Cluster Public Key as well as the Cluster Node IP Addresses.
- Step 3: Establishing a safe SSL connection between the remote host and the Amazon Redshift cluster can be done with the help of the Amazon Redshift Cluster Public Key.
- Step 4: Creating a manifest file on your local machine is the next step in the process, which you can read more about here. The manifest file will have entries for the SSH host endpoints and the commands that need to be executed on the machine before the data can be sent to Amazon Redshift.
- Step 5: The manifest file can then be uploaded to an Amazon S3 Bucket, and read permissions can be granted to all of the users who have access to the bucket.
- Step 6: In conclusion, to load data into Amazon Redshift, you can connect to your local machine by using the COPY command and then load the data into Redshift which was extracted from Shopify Webhook.
Connect Redshift to Snowflake
The only method available for migrating data from Amazon Redshift to Snowflake is the migration-only approach, which involves cloning schemas and tables within Redshift. You can run both outdated and up-to-date procedures with this. You will be able to gain the necessary confidence through the use of this side-by-side approach while you are in the transformation phase itself.
For this method, the schemas and tables that were developed in Redshift must be cloned while avoiding significant alterations to the data structure. The secret to successfully migrating large, complicated systems that are rife with dependencies is to confine one’s attention solely on the migration process, without making any changes to the structure. This method also enables you to easily compare the data stored on the old system and the new system while simultaneously operating both of them in parallel. This gives you the confidence to make the switch when the time comes.
In a nutshell, the migration-only approach is useful for simultaneously comparing data from the legacy system and the new one, bringing about gradual improvements in operational efficiency and maturity.

Limitations of Manually Connecting Shopify Webhook to Snowflake
Since the manual method of Shopify Webhook to Snowflake Integration involves transferring data from Redshift to Snowflake, a number of difficulties arise:
- Amazon Redshift and Snowflake both use different variants of SQL syntax, which may cause some users to experience confusion. Even though some people favor Snowflake’s “correct syntax,” Redshift’s approach to SQL’s syntax is more lenient than Snowflake’s when it comes to deleting tables, so the DML changes were widely visible. For instance, Redshift can work with delete_name even when the “from” keyword is absent.
- The Snowflake Information Schema uses only capital letters, which may come to be interpreted as a nuance. In addition, while you are using the UPPER function with the SELECT query, you might run into schema problems. Snowflake will return the following error message if the Information Schema is not selective enough: “Information schema query returned too much data.”
- Because the default account time zone setting for Snowflake is America/Los Angeles, the clock time for the database is set to Pacific Standard Time (PST). Many times, teams will become stuck because of the different time zones, which has the potential to become a significant barrier on your journey to migrate data. You can get around this difficulty by adjusting the time zone settings to suit your requirements.
- The problem is with the date, yes. You will discover that Redshift was significantly more lenient when it came to storing future dates in a timestamp column during the migration, simply because Snowflake does not accept them. In addition, you will see an error message that does not provide sufficient detail. The team from Instamart solved the problem by using the NULL IF operator in the copy command.
Conclusion
To conclude, you have learned two methods to connect Shopify Webhook to Snowflake. In the first method, you created a Hevo pipeline that automatically migrates data from Shopify Webhook to Snowflake. The second method is manually connecting the two through Amazon Redshift.
However, as a Developer, extracting complex data from a diverse set of data sources like Databases, CRMs, Project management Tools, Streaming Services, and Marketing Platforms to your Database can seem to be quite challenging. If you are from non-technical background or are new in the game of data warehouse and analytics, Hevo can help. Sign up for Hevo’s 14-day free trial and experience seamless data migration.

Share it with your connections.
-
 Share To X
-
 Share To LinkedIn
-
 Share To Facebook
-
 Copy Link


