


What are the methods you follow for storing your data from a staging area to Snowflake? Snowflake storage integration is a way which allows easy authentication without directly giving credentials in the stage configuration. This helps to limit the access to your staging at the integration level and you can only create stages connecting to authorized staging through the integration.
In this article, I will walk you through how to use Snowflake storage integration and learn how to configure this with the example of Amazon S3.
Let’s get started!
Table of Contents
What is Snowflake storage integration?
Snowflake storage integration implies a Snowflake object which stores a generated identity and access management (IAM) entity for external cloud storage. It comes with optional storage locations that includes Amazon S3, Google Cloud Storage, or Microsoft Azure. The Cloud provider administrators in the team should provide permissions on the storage locations to the generated entity. This helps users to avoid providing credentials when stages are created or data is loaded or unloaded.
Syntax
CREATE [ OR REPLACE ] STORAGE INTEGRATION [IF NOT EXISTS]
  <name>
  TYPE = EXTERNAL_STAGE
  cloudProviderParams
  ENABLED = { TRUE | FALSE }
  STORAGE_ALLOWED_LOCATIONS = ('<cloud>://<bucket>/<path>/' [ , '<cloud>://<bucket>/<path>/' ... ] )
  [ STORAGE_BLOCKED_LOCATIONS = ('<cloud>://<bucket>/<path>/' [ , '<cloud>://<bucket>/<path>/' ... ] ) ]
  [ COMMENT = '<string_literal>' ]
Where:
cloudProviderParams (for Amazon S3) ::=
  STORAGE_PROVIDER = 'S3'
  STORAGE_AWS_ROLE_ARN = '<iam_role>'
  [ STORAGE_AWS_EXTERNAL_ID = '<external_id>' ]
  [ STORAGE_AWS_OBJECT_ACL = 'bucket-owner-full-control' ]

cloudProviderParams (for Google Cloud Storage) ::=
  STORAGE_PROVIDER = 'GCS'

cloudProviderParams (for Microsoft Azure) ::=
  STORAGE_PROVIDER = 'AZURE'
  AZURE_TENANT_ID = '<tenant_id>'
Next, let’s look into the required parameters.
Required parameters
name
It is the String that adds the identifier for the integration. It must be distinct in your account.
Also, the identifier should start with an alphabetic character and shouldn’t contain spaces or special characters if the entire identifier string is not within double quotes. Remember, the Identifiers within double quotes are case-sensitive.
<strong>TYPE = EXTERNAL_STAGE</strong>Mention the type of integration:
- EXTERNAL_STAGE: Creates an interface between Snowflake and an external cloud storage location.
<strong>ENABLED = <em> TRUE | FALSE </em></strong>This says if this storage integration is for usage in stages.
- TRUE will let you create new stages that help with this integration. Existing stages that make use of this integration function fine.
- FALSE stops you from creating new stages that reference this integration. Existing stages that reference this integration have no access to the storage location in the stage definition.
STORAGE_ALLOWED_LOCATIONS = ('cloud_specific_url')Specifically limits external stages that utilize the integration to reference one or multiple storage locations such as S3 bucket, GCS bucket, or Azure container. It supports a comma-separated list of URLs for the already existing buckets. And, paths used to store data files for loading or unloading will be optional. Also, it supports the * wildcard, which implies “allow access to all buckets and/or paths”.
Amazon S3
STORAGE_ALLOWED_LOCATIONS = ( 's3://bucket/path/' [ , 's3://bucket/path/' ... ] ) | STORAGE_ALLOWED_LOCATIONS = ( 's3gov://bucket/path/' [ , 's3gov://bucket/path/' ... ] )- The s3 prefix implies S3 storage in public AWS regions.
The s3gov prefix implies S3 storage in government regions. - bucket is the name of an S3 bucket which stores the data files.
- path is an optional case-sensitive path for files in the cloud storage location (the files which have names that start with a common string) that restricts access to a set of files. Paths are also named as prefixes or folders by various cloud storage services.
Google Cloud Storage
STORAGE_ALLOWED_LOCATIONS = ( 'gcs://bucket/path/' [ , 'gcs://bucket/path/' ... ] )- bucket is the name of a GCS bucket that stores the data files.
- path is an optional case-sensitive path for your files in the cloud storage location (the files that have names that start with a common string) that restricts access to some files. Paths are also called prefixes or folders by various cloud storage services.
Microsoft Azure
STORAGE_ALLOWED_LOCATIONS = ( 'azure://<em>account</em>.blob.core.windows.net/<em>container</em>/<em>path</em>/' [ , 'azure://<em>account</em>.blob.core.windows.net/<em>container</em>/<em>path</em>/' ... ] )- account is the Azure storage account name. Use the blob.core.windows.net endpoint for all supported types of Azure blob storage accounts. This includes Data Lake Storage Gen2.
- container is the name of a Azure blob storage container that stores the data files.
- path is an optional case-sensitive path for those files in the cloud storage location (those files having names that start with a common string) that restricts access to a set of files. Paths are also called prefixes or folders by various cloud storage services.
How to use Snowflake storage integration?- Example of accessing Amazon S3
Let’s learn how to use storage integrations to let Snowflake read and write data to an Amazon S3 bucket referenced in an external stage.
Integrations are named, first-class Snowflake objects which prevent passing specific cloud provider credentials like secret keys or access tokens. Integration objects can store an AWS identity and IAM user ID. An administrator in the team provides the integration IAM user permissions in the AWS account.
An integration can list buckets and other optional paths that restricts the locations users can mention when they create external stages which use the integration.
The diagram below shows the integration flow of a S3 stage:

- An external stage is a storage integration object.
- Snowflake automatically connects the storage integration with a S3 IAM user made for your account. Snowflake makes a single IAM user that is referenced by all S3 storage integrations in your Snowflake account.
- An AWS administrator in your team can provide permissions to the IAM user to access the bucket referenced in the stage definition. Various external stage objects can reference the buckets and paths and utilize the same storage integration for authentication.
When a user moves data from or to a staging area, Snowflake cross checks the permissions provided to the IAM user on the bucket prior to giving or denying access.
Steps for configuring secure access to Cloud Storage
In this section, let’s learn how to configure a Snowflake storage integration object to assign authentication responsibility for cloud storage to a Snowflake IAM entity.
Step 1: Configure access permissions for the S3 bucket
AWS access control requirements
The following are the permissions required by Snowflake on an S3 bucket and folder to access files:
- s3:GetBucketLocation
- s3:GetObject
- s3:GetObjectVersion
- s3:ListBucket
Note
The additional permissions required are the following:
| Permission | SQL Action |
| s3:PutObject | Unload files to the bucket. |
| s3:DeleteObject | automatically purge files from the stage after a successful load or execute REMOVE statements to remove files manually. |
Note: It is recommended by Snowflake to create an IAM policy for Snowflake access to the S3 bucket. After that, you can attach the policy to the role and utilize the security credentials by AWS for the role to access files.
Create an IAM policy
The following step-by-step instructions describe how to configure access permissions for Snowflake in your AWS Management Console so that you can use an S3 bucket to load and unload data:
- Sign into the AWS Management Console.
- Find and select IAM in the dashboard.
- Select Account settings from the navigation panel.
- Under Security Token Service (STS) in the Endpoints list, browse the Snowflake region where your account is active. (In case, the STS status is inactive, make it to Active.)
- Choose Policies from the left hand menu.
- Choose Create Policy.
- For Policy editor, Click on JSON.
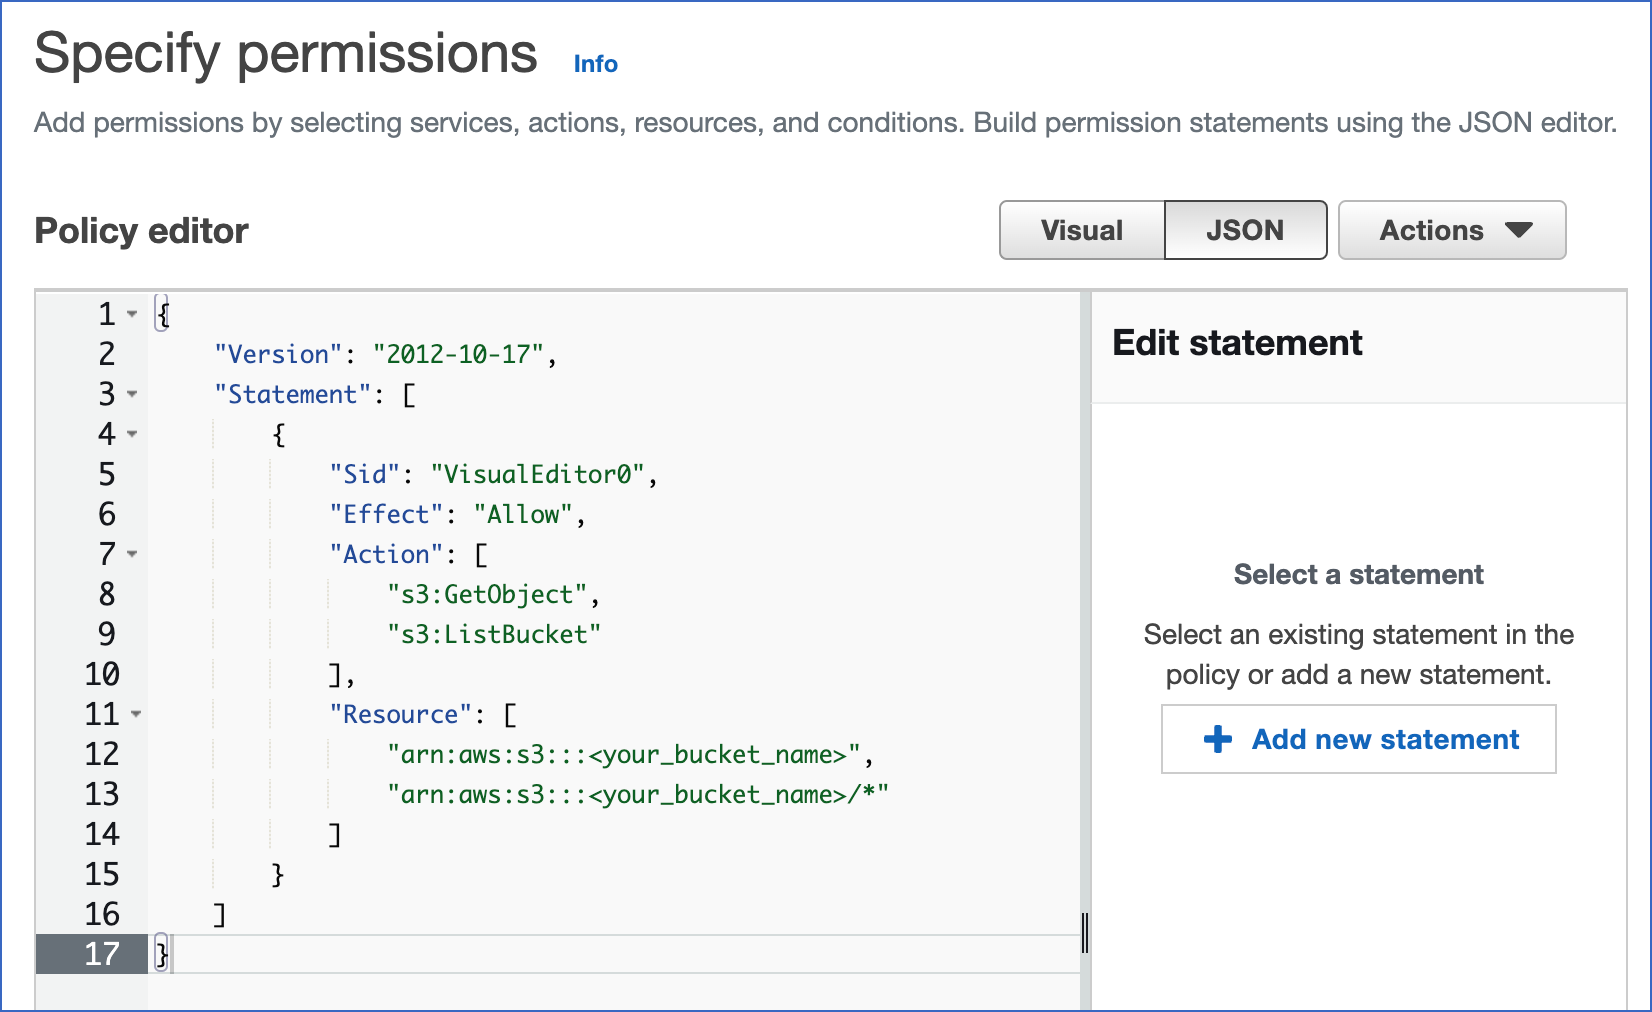
- Update a policy document that can help Snowflake to access the S3 bucket and file.
Given below is a policy in JSON format that gives Snowflake with the right permissions to load or unload data using a bucket and folder path. You can also purge data files using the PURGE copy.
Copy text and paste it into the policy editor.
{
    "Version": "2012-10-17",
    "Statement": [

            "Effect": "Allow",
            "Action": [
              "s3:PutObject",
              "s3:GetObject",
              "s3:GetObjectVersion",
              "s3:DeleteObject",
              "s3:DeleteObjectVersion"
            ],
            "Resource": "arn:aws:s3:::<bucket>/<prefix>/*"
        },
        {
            "Effect": "Allow",
            "Action": [
                "s3:ListBucket",
                "s3:GetBucketLocation"
            ],
            "Resource": "arn:aws:s3:::<bucket>",
            "Condition": {
                "StringLike": {
                    "s3:prefix": [
                        "<prefix>/*"
                    ]
                }
            }
        }
    ]
}
The policy given below provides Snowflake the right permissions to load data from a single read-only bucket and folder path. It includes s3:GetBucketLocation, s3:GetObject, s3:GetObjectVersion, and s3:ListBucket permissions:
Alternative policy: Load from a read-only S3 bucket
{
    "Version": "2012-10-17",
    "Statement": [
        {
            "Effect": "Allow",
            "Action": [
              "s3:GetObject",
              "s3:GetObjectVersion"
            ],
            "Resource": "arn:aws:s3:::<bucket>/<prefix>/*"
        },
        {
            "Effect": "Allow",
            "Action": [
                "s3:ListBucket",
                "s3:GetBucketLocation"
            ],
            "Resource": "arn:aws:s3:::<bucket>",
            "Condition": {
                "StringLike": {
                    "s3:prefix": [
                        "<prefix>/*"
                    ]
                }
            }
        }
    ]
}
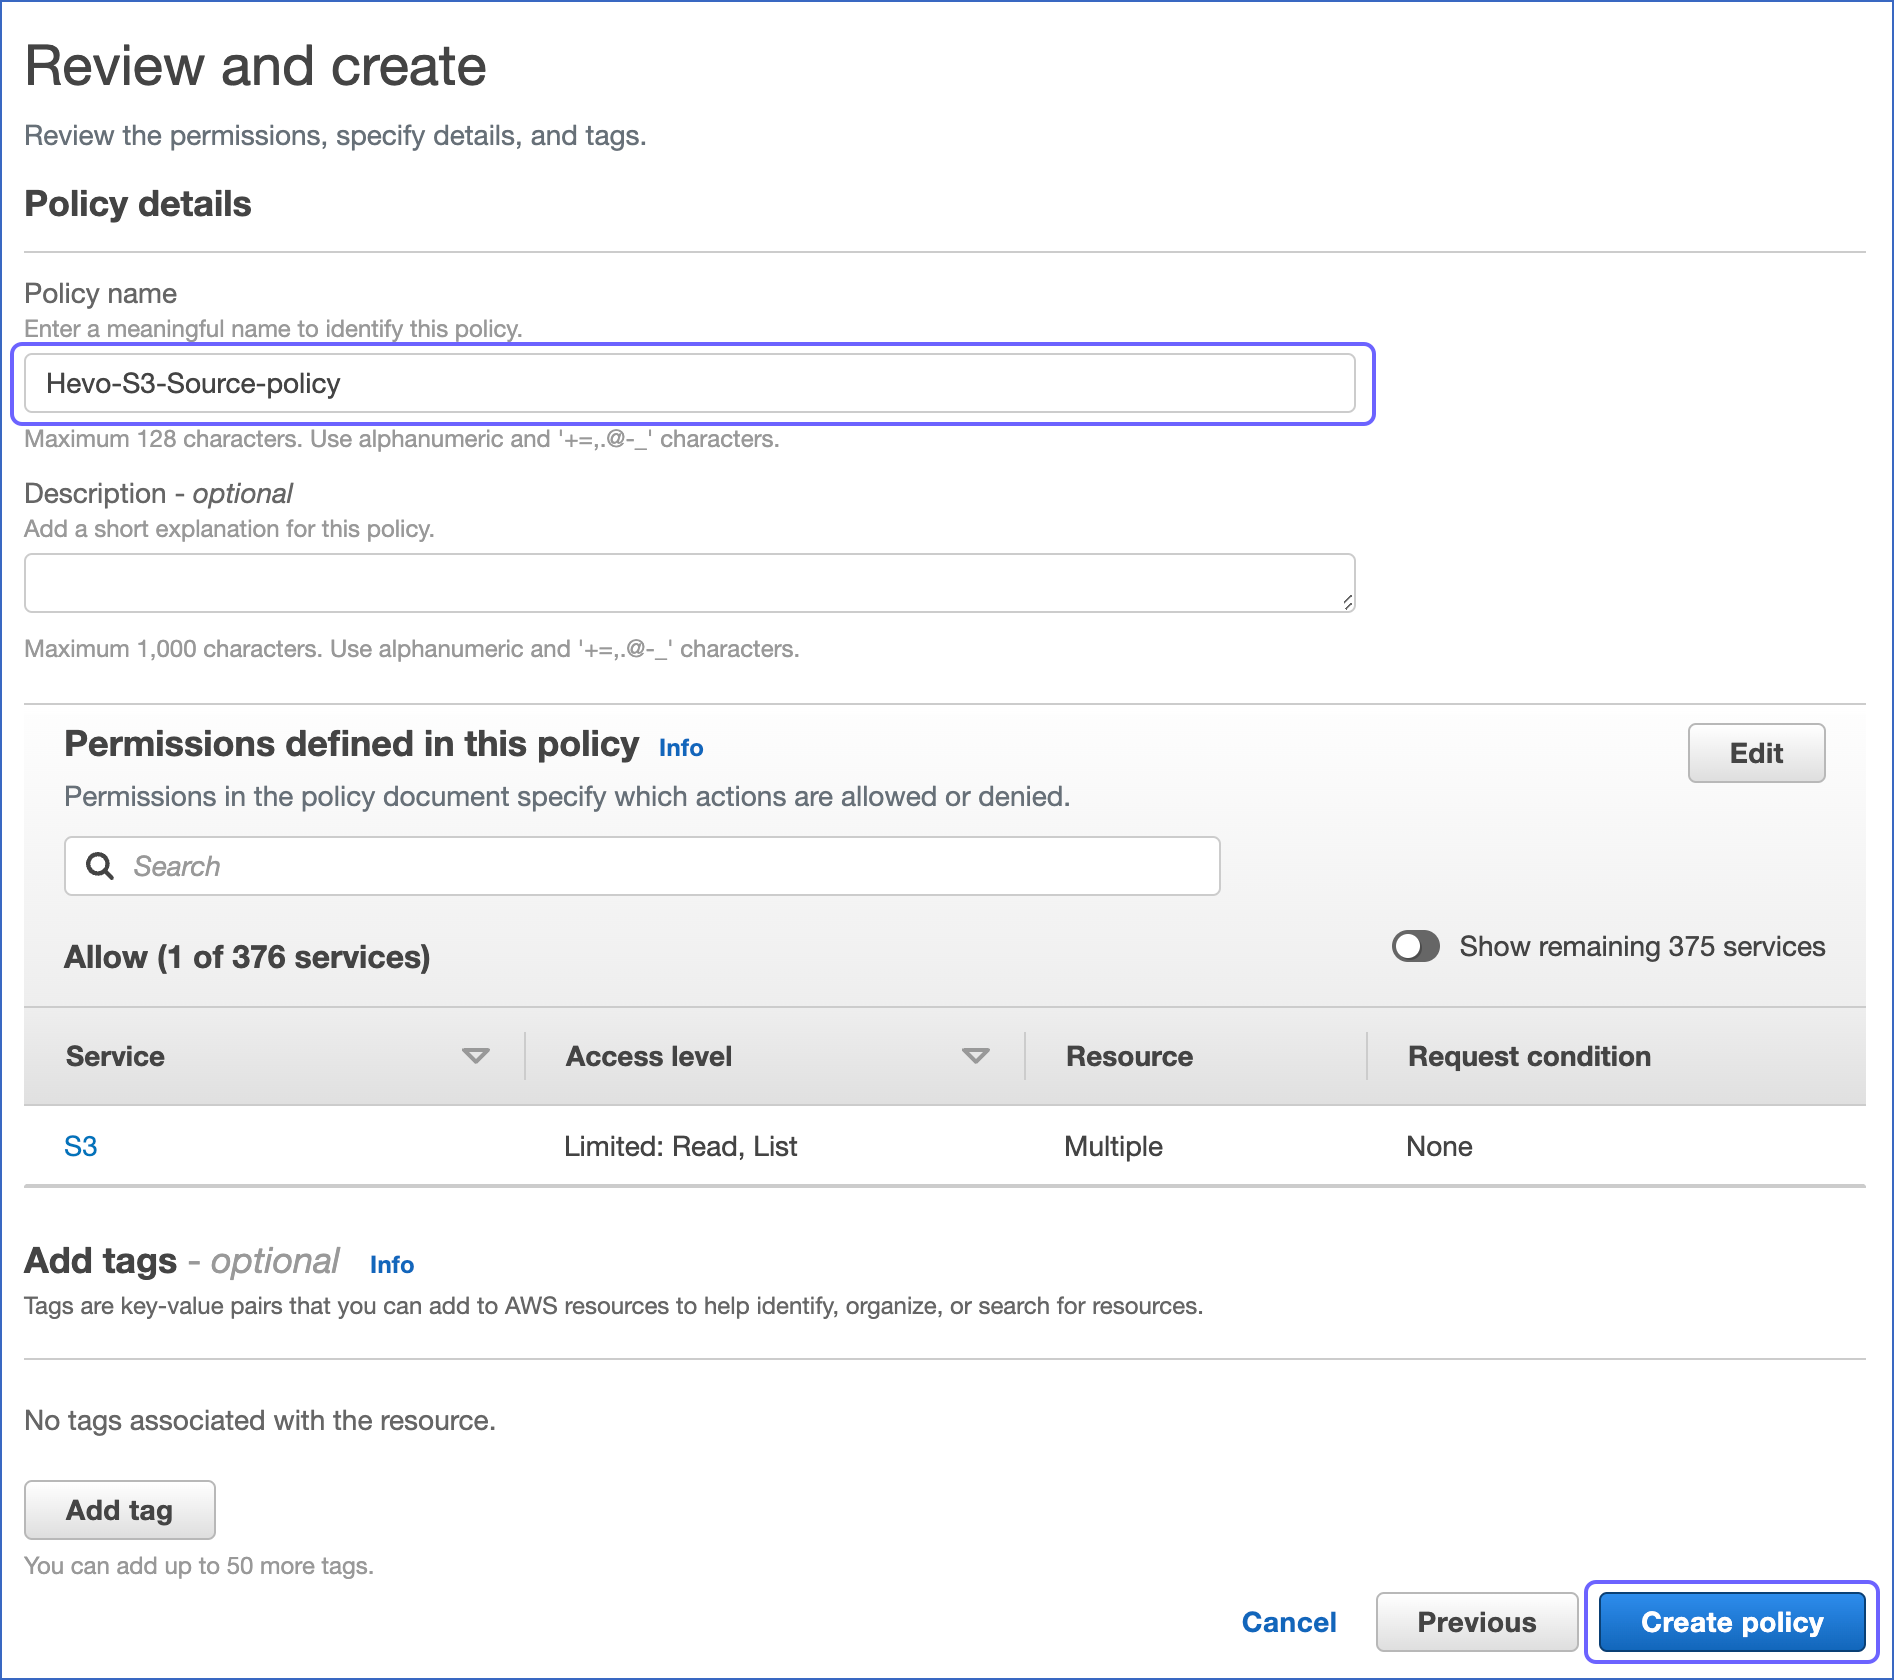
- Click Next.
- Type in the Policy name and an optional Description.
- Choose Create policy.
Step 2: Create the IAM Role in AWS
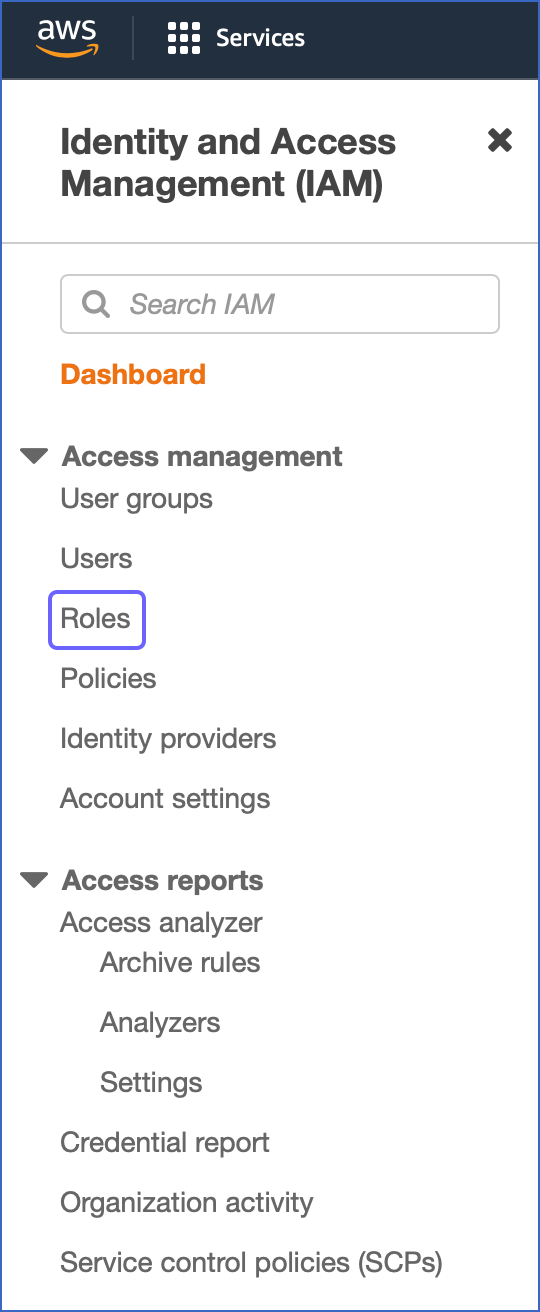
The following are the action steps to configure access permissions for Snowflake in the AWS Management Console:
- From the menu in the IAM Dashboard, choose Roles.
- Click Create role.
- Choose an AWS account as the trusted entity type.
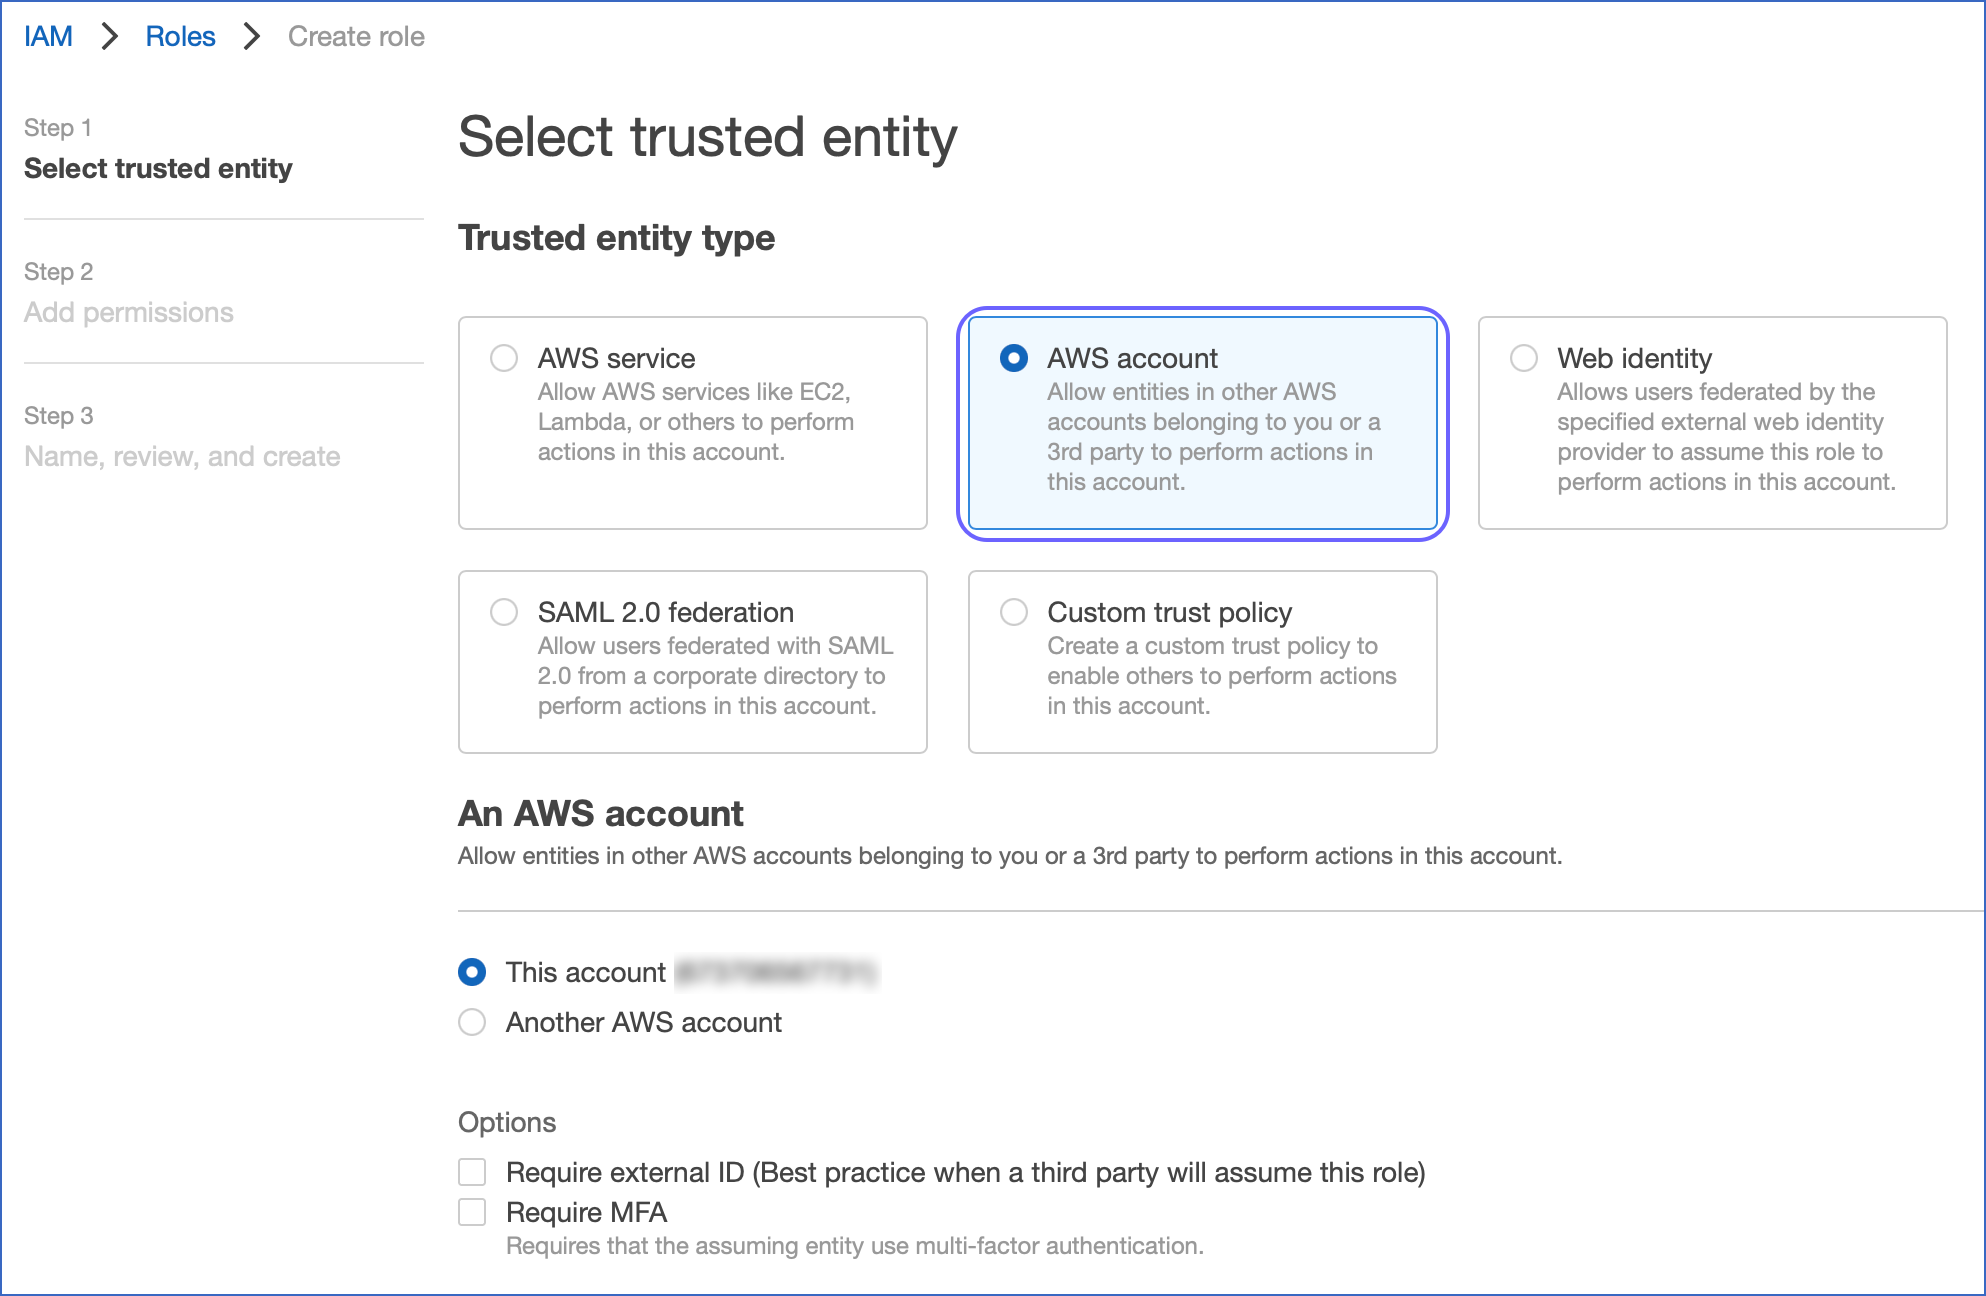
- Under the Account ID, type in your own AWS account ID temporarily. Later, you can update the trust relationship and provide access to Snowflake.
- Choose the Require external ID. An external ID is required to provide access to your AWS resources to Snowflake.
Type in a placeholder ID. Later, you can change the trust relationship for your IAM role and mention the external ID for the storage integration. - Choose Next.
- Click the policy you created in the first Step.
- Click Next.

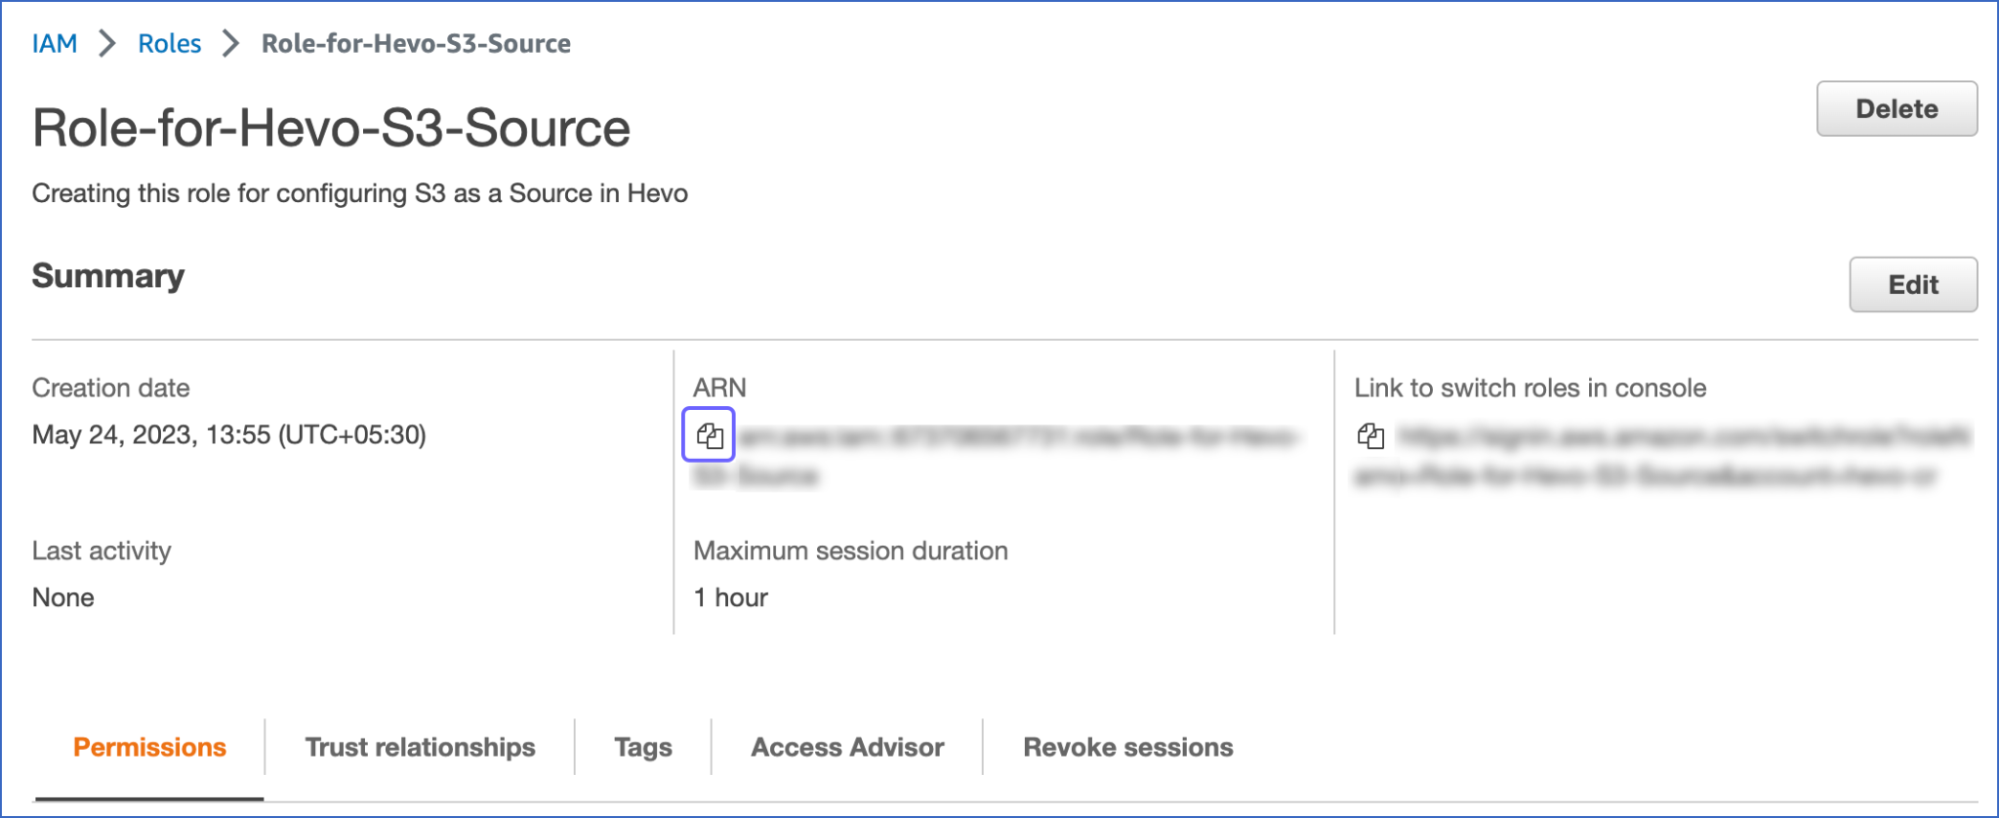
9. Update a name and description for the role, and click on Create role.
10. Now, an IAM policy is created for a bucket, has an IAM role, and we have added the policy to the role.
Find and record the Role ARN value in the role summary page.
Step 3: Create a Cloud Storage Integration in Snowflake
You can create a storage integration using the CREATE STORAGE INTEGRATION command.
When you create a single storage integration, that can support more than one external stage. The URL in the stage definition should align with the S3 buckets and other optional paths for the STORAGE_ALLOWED_LOCATIONS parameter.
CREATE STORAGE INTEGRATION <integration_name>
  TYPE = EXTERNAL_STAGE
  STORAGE_PROVIDER = 'S3'
  ENABLED = TRUE
  STORAGE_AWS_ROLE_ARN = '<iam_role>'
  STORAGE_ALLOWED_LOCATIONS = ('s3://<bucket>/<path>/', 's3://<bucket>/<path>/')
  [ STORAGE_BLOCKED_LOCATIONS = ('s3://<bucket>/<path>/', 's3://<bucket>/<path>/') ]
Note:
- integration_name is the new integration name.
- iam_role is the Amazon Resource Name (ARN) of the role you created in Step 2.
- bucket is the S3 bucket name that stores your data files. The required STORAGE_ALLOWED_LOCATIONS parameter and optional STORAGE_BLOCKED_LOCATIONS parameter limit or block access to the buckets, when there are stages that reference this integration is created or changed.
- path is an optional path for providing in-depth control over objects in the bucket.
Step 4: Retrieve the AWS IAM User for your Snowflake Account
To get the ARN for the IAM user that was created automatically for the Snowflake account, use the DESCRIBE INTEGRATION.
DESC INTEGRATION <integration_name>;
- Where:
- integration_name is the name of the integration you created in Step 3.
- Note down the values for the following properties:
| Property | Description |
| STORAGE_AWS_IAM_USER_ARN | The AWS IAM user created for your Snowflake account |
| STORAGE_AWS_EXTERNAL_ID | The external ID that Snowflake uses to build a trust relationship with AWS. If you didn’t specify an external ID when you created the storage integration, Snowflake generates an ID for you.. |
- Let’s give these values now.
Step 5: Grant the IAM User Permissions to Access Bucket Objects
- Sign in to the AWS Management Console.
- Choose IAM.
- Go to Roles in the left menu bar.
- Choose the role you created in Step 2
- Click on the Trust relationships tab.
- Select Edit trust policy.
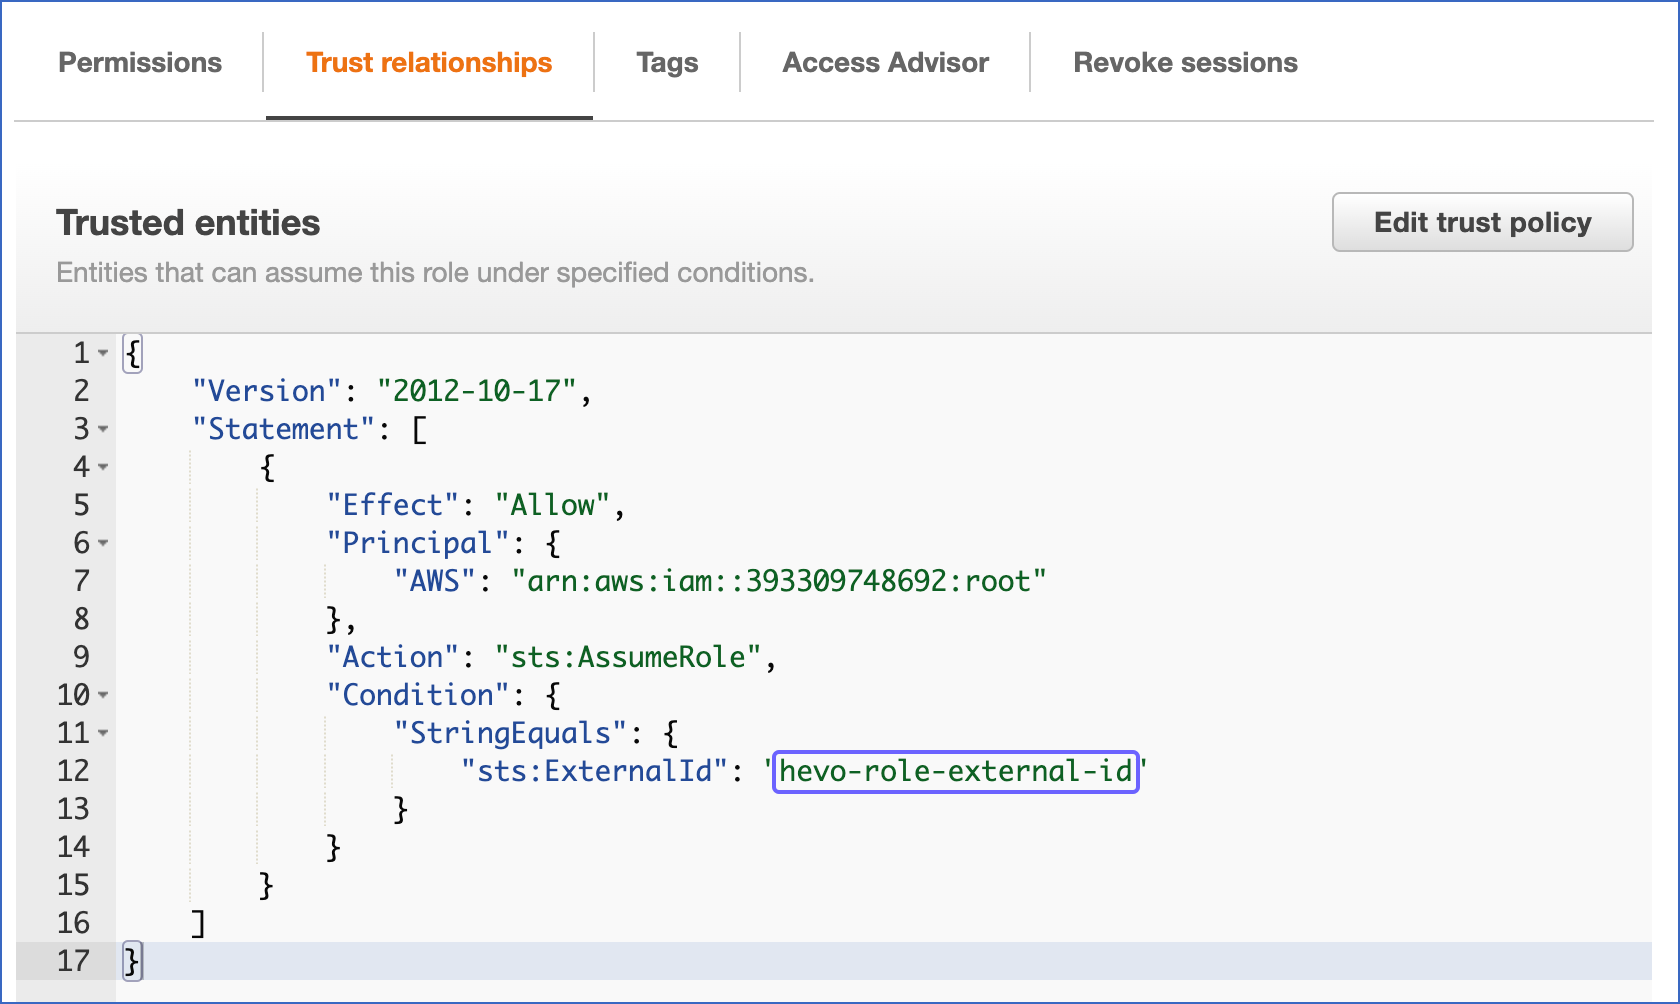
Edit the policy document with the DESC STORAGE INTEGRATION output values you recorded in Step 4.
Policy document for IAM role
{
  "Version": "2012-10-17",
  "Statement": [
    {
      "Sid": "",
      "Effect": "Allow",
      "Principal": {
        "AWS": "<snowflake_user_arn>"
      },
      "Action": "sts:AssumeRole",
      "Condition": {
        "StringEquals": {
          "sts:ExternalId": "<snowflake_external_id>"
        }
      }
    }
  ]
}
Points to note:
- snowflake_user_arn is the STORAGE_AWS_IAM_USER_ARN value that you noted.
- snowflake_external_id is the STORAGE_AWS_EXTERNAL_ID value that you noted.
- Click on the Update policy to save your changes.
Step 6: Create an external stage
Create an external stage that references the storage integration you created in Step 3.
To create a stage that uses a storage integration needs a role that has the CREATE STAGE privilege for the schema and the USAGE privilege on the storage integration.
Proceed with creating the stage using the CREATE STAGE command.
Points to be noted:
- The stage owner should have the USAGE access on the storage integration.
- Add a forward slash (/) to the URL to filter to the specified folder path. If the forward slash is eliminated, all files and folders that begin with the prefix for the specified path are added. This forward slash is needed to access and get unstructured data files in the stage.
- To load or unload data from or to your stage area which uses an integration, a role should have the USAGE access on the stage. It is not necessary to have the USAGE privilege on the storage integration.
- The STORAGE_INTEGRATION parameter is managed separately from other stage parameters, like FILE_FORMAT. Support for these other parameters is the same regardless of the integration for accessing the S3 bucket.

Conclusion
As discussed in the article, Snowflake storage integration implies a Snowflake object which stores a generated identity and access management (IAM) entity for external cloud storage. We have seen how to use the storage integration with examples and how to configure the integration with Amazon S3. Now, it’s time for you to leverage this integration for your use cases.
Optimize your data sharing and collaboration efforts using Snowflake Data Exchange. Check out the details at data exchange in Snowflake.
But, what if you want to move data from other data systems to Snowflake? Here’s where Hevo Data can help you. Hevo is the only real-time data pipeline that can integrate your data cost effectively and by giving flexibility to you. It will help you transform your Snowflake data to make it analysis-ready.
FAQs
1. How do you create an external stage with storage integration in Snowflake?
In the menu bar, click on Create » Stage » External Stage. Click on one of the external stages where the files are seen: Amazon S3, Microsoft Azure, or Google Cloud Platform. Under the Create Stage, type in a Stage Name. Choose the database and schema to create a stage.
2. Does Snowflake have storage?
Snowflake’s storage layer, using scalable Cloud blob storage, hosts data, tables, and query results, is designed to scale independently from compute resources. To know more about this, read Snowflake’s documentation on this.
Share it with your connections.
-
 Share To LinkedIn
-
 Share To Facebook
-
 Share To X
-
 Copy Link


