Snowflake offers a Cloud-based, configurable Data Warehouse platform with a focus on providing robust solutions to enterprise problems as well as offering a remarkable ecosystem of work collaborations, BI, Analytical tools, and SaaS partners.
Snowflake stands out among Data Warehouse technologies because of its key features, immediate, real-time, and always-on experiences. Snowflake TRUNCATE TABLE feature maintains deleted data for archive purposes. Snowflake TRUNCATE TABLE is a command that deletes all records from a table while preserving the schema or structure of the table.
In this post, you will understand what Snowflake TRUNCATE TABLE is. You will learn the key steps to use the Snowflake TRUNCATE TABLE command. Let’s get started with a brief overview of Snowflake.
Table of Contents
What is Snowflake?
Snowflake is a highly scalable SaaS (Software as a Service) that offers a unique database management system warehousing, data lakes, statistical modeling, information science, data app development, and safe real-time / shared data sharing and consumption.
Key Features of Snowflake
- To meet the demanding demands of growing companies, Snowflake includes out-of-the-box capabilities such as storage and compute separation, on-the-fly scaling computation, information exchange, data clones, and third-party tool support. All of your data can be stored in one place and scale your computing independently with Snowflake.
- Snowflake allows you to create data-intensive apps with minimal effort. It supports programming languages such as Go, Java,.NET, Python, C, Node.js, and others. Snowflake provides data warehousing, computing, and analytic capabilities that are significantly quicker, easy to use, and more adaptable than traditional systems.
Migrating to Snowflake is effortless with Hevo Data. Our platform supports Snowflake as a destination, allowing you to leverage Snowflake SQL for powerful data transformations. Simplify your migration process and take full advantage of Snowflake’s features with our user-friendly, no-code solution.
Check out why Hevo is the Best:
- Live Monitoring: Hevo allows you to monitor the data flow and check where your data is at a particular time.
- Schema Management: Hevo takes away the tedious task of schema management & automatically detects the schema of incoming data and maps it to the destination schema.
- Incremental Data Load: Hevo allows the transfer of data that has been modified in real-time. This ensures efficient utilization of bandwidth on both ends.
- Live Support: The Hevo team is available round the clock to extend exceptional customer support through chat, E-Mail, and support calls.
What is Snowflake TRUNCATE Table?
- The Snowflake TRUNCATE TABLE component is a Feature offered by Snowflake that deletes all existing rows from a table or partition while maintaining the table’s integrity. However, you can’t use it on a view, an external, or a temporary table.
- Depending on whether the flow of current is in the midst of a database transaction, Snowflake TRUNCATE TABLE is executed in one of two ways.
- The first is to use the TRUNCATE command. The second option is to use a DELETE FROM statement, which itself is recommended if the current job is a transaction. It eliminates all rows from a table while maintaining the table’s integrity.
- After the command completes, the load metadata for the table is deleted, allowing the same files to be uploaded into the table again. For the duration of the data retention term, Snowflake TRUNCATE TABLE keeps deleted data for archival purposes (e.g., utilizing Time Travel). The load metadata, on the other hand, cannot be restored when a table is truncated.
- Snowflake TRUNCATE TABLE is used to delete all records from a table while keeping the table’s schema or structure. Despite the fact that Snowflake TRUNCATE TABLE is regarded as a DDL command, rather than a DML statement so it can’t be undone, truncate procedures, especially for large tables, drop and recreate the table, which is much quicker than deleting rows one by one. TRUNCATE operations result in an implicit commit, therefore they can’t be undone.
Delete or TRUNCATE: Which is better?
- TRUNCATE is quicker than DELETE since it does not check all records before deleting them.
- Snowflake TRUNCATE TABLE locks the entire table to drop the data from the table. As a result, this command needs significantly low transaction space than DELETE.
- TRUNCATE, unlike DELETE, does not revive the no. of rows that have been deleted from the table.
TRUNCATE TABLE – Syntax, Parameters & Usage
TRUNCATE TABLE – Syntax
TRUNCATE [ TABLE ] [ IF EXISTS ] <name>TRUNCATE TABLE – Parameters
- Provides the table to truncate an identifier.
- If the identifier comprises spaces or special characters, double quotes must be used to surround the entire string.
- The identifiers’ case is also taken into consideration.
- In case the table identifier isn’t completely qualified, the Snowflake TRUNCATE Table command searches the latest table’s schema for the session.
TRUNCATE TABLE – Usage Notes
- Snowflake TRUNCATE Table keep deleted data for future reuse for the duration of the data retention period; however, the load information cannot be restored when the table is truncated.
- If the table name is completely qualified or the database schema is presently in use for the session, the table keyword is not required.
- The Snowflake TRUNCATE Table command is a DML (Data Manipulation Language) command that is used to add (insert), delete (delete), and alter (update) data in a database.
Steps to Work with Snowflake TRUNCATE Table Command
Now that you understand why you need to use the TRUNCATE command, in this section you will learn the key steps to work with the Snowflake TRUNCATE Table command. Follow the steps below:
- Step 1: Sign in to your Account
- Step 2: Create a Snowflake Database
- Step 3: Choose a Database
- Step 4: Create a Table in Snowflake
- Step 5: Insert a Row of Data in the Table
- Step 6: Fetch your Data
- Step 7: Truncate your Snowflake Table
Step 1: Sign in to your Account
We must first log into our Snowflake account. To log in, go to snowflake.com and enter your credentials. Follow the instructions in the link above to complete the process.
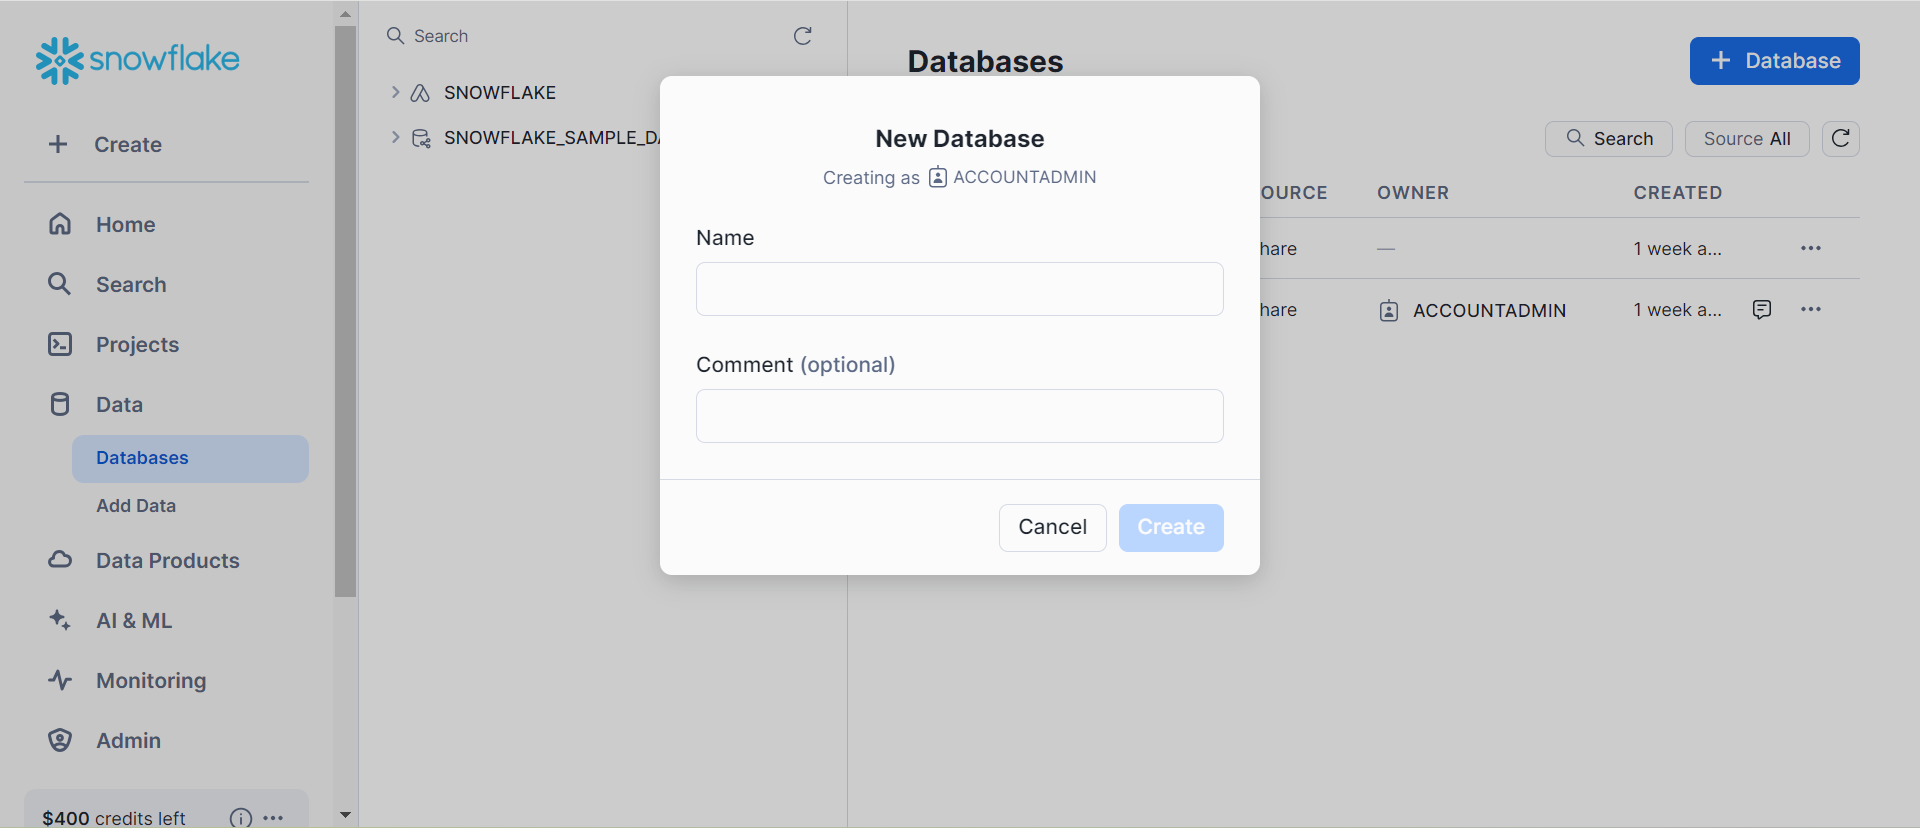
Step 2: Create a Snowflake Database
The CREATE DATABASE statement can be used to create it in one of two ways. Note as Snowflake includes a default schema labeled public with every database it creates, so you do not require to build a schema in the database.
Syntax:
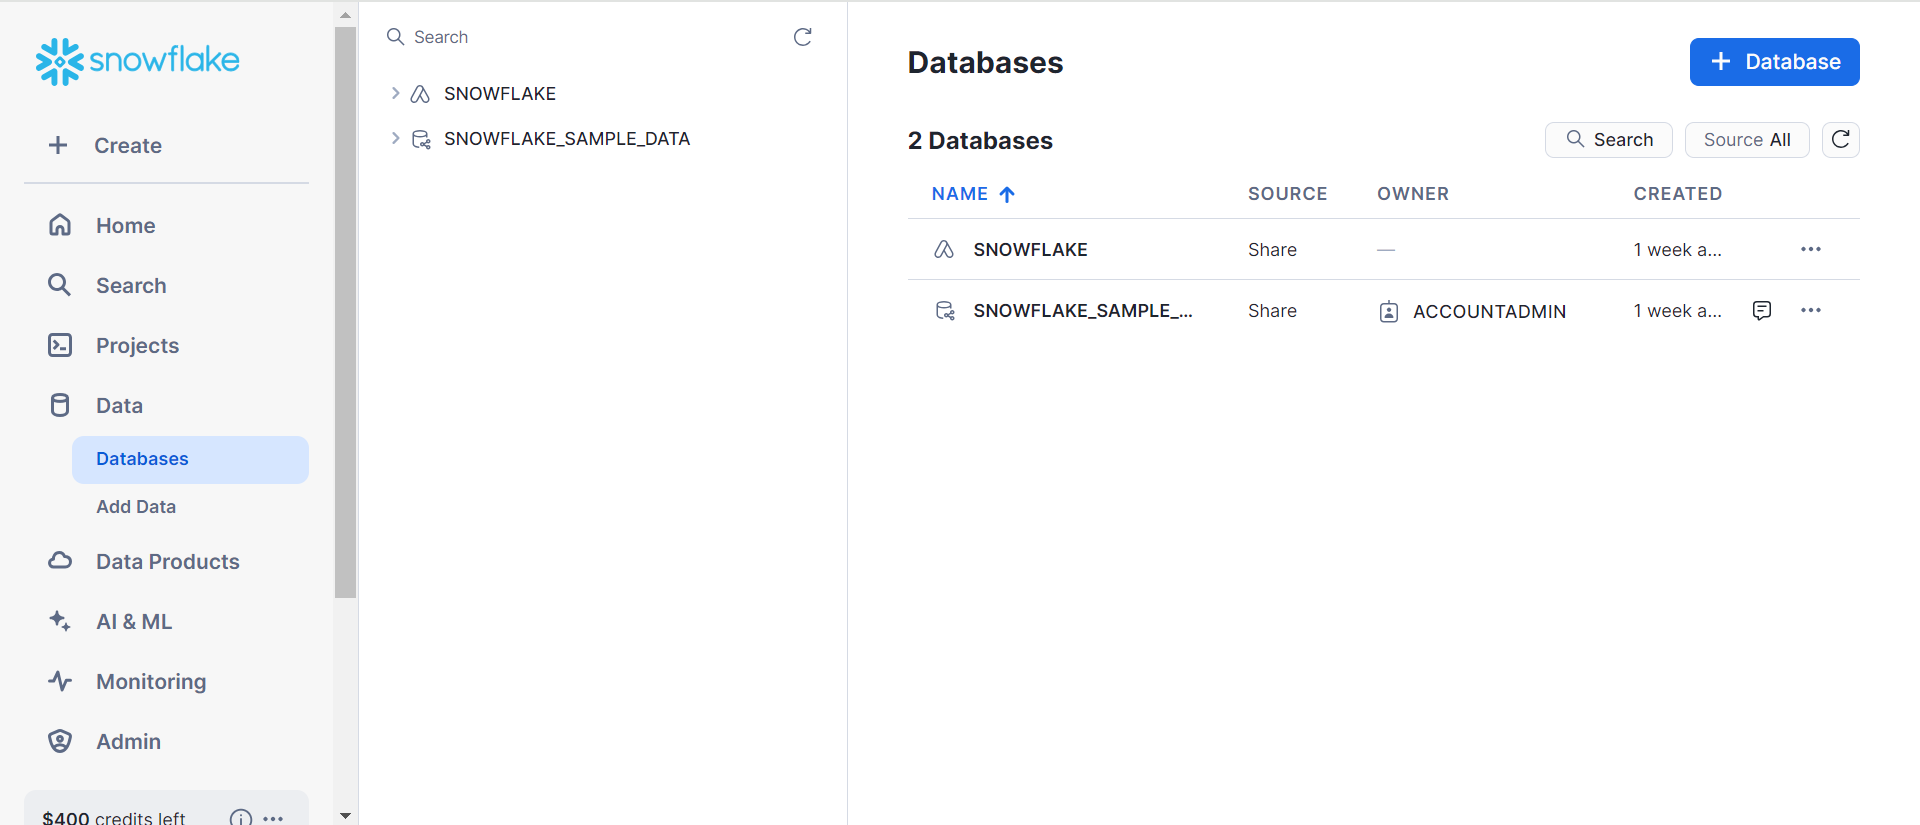
create or replace database [database-name] ; The output of the above statement: In the screenshot below, you can see that the above statement is properly executed.

Step 3: Choose a Database

You will use the “use” command to choose the database user-built prior.
Syntax:
Use database [database-name]; Step 4: Create a Table in Snowflake

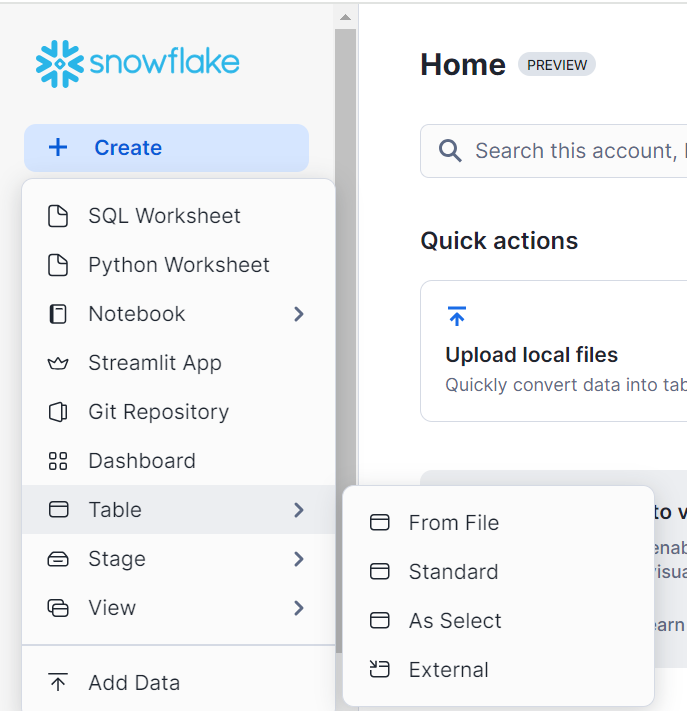
Here, we’ll use the CREATE, a statement to make a table, as shown below. It either creates a new table or replaces an existing table in the specified schema.
Syntax:
CREATE [ OR REPLACE ] TABLE [ ( [ ] , [ ] , ... ) ] ; Step 5: Insert a Row of Data in the Table
The INSERT statement within the Snowflake system database will be used to insert rows into the table. The DDL instruction is the INSERT statement. That is, we are inserting one or perhaps more rows into the database to update it.
Syntax:
INSERT [ OVERWRITE ] INTO [ ( [ , ... ] ) ] { VALUES ( { | DEFAULT | NULL } [ , ... ] ) [ , ( ... ) ] | }The above command, as you can see, adds a single row to the customer table. You can see the output of the above query below:

Step 6: Fetch your Data
We’ll use the SELECT statement to check the row inserted in the table, as seen below.

Step 7: Truncate your Snowflake Table
We’re going to delete all rows from the table but keep the schema using the Snowflake TRUNCATE Table command as mentioned below:
Syntax:
TRUNCATE [ TABLE ] [ IF EXISTS ] table_name Conclusion
In this post, you learned more about Snowflake TRUNCATE Table and also understood the basic differences between DELETE & TRUNCATE. In addition, you learned the detailed steps to work with your Snowflake Database and how you can truncate your Snowflake table using the Snowflake TRUNCATE Table command.
However, extracting complex data from a diverse set of data sources like Databases, CRMs, Project management Tools, Streaming Services, Marketing Platforms to your Snowflake can seem to be quite challenging. This is where a simpler alternative like Hevo can save your day!
Hevo Data is a No-Code Data Pipeline that offers a faster way to move data from 150+ Data Sources including 40+ Free Sources, into your Data Warehouse such as Snowflake to be visualized in a BI tool. Hevo is fully automated and hence does not require you to code.
Sign up for a 14-day free trial and simplify your data integration process. Check out the pricing details to understand which plan fulfills all your business needs.
Frequently Asked Questions
1. What does TRUNCATE table do in Snowflake?
TRUNCATE removes all rows from a table quickly without logging each deletion, but it keeps the table structure intact.
2. What is the difference between TRUNCATE and DELETE in Snowflake?
TRUNCATE removes all rows instantly and cannot be undone, while DELETE lets you remove specific rows and can be rolled back if needed.
3. How do I DELETE all rows in a table in Snowflake?
You can use the DELETE FROM <table_name>; command to remove all rows in the table.


