


Looking to seamlessly transfer data from Facebook Page Insights to Snowflake? With Hevo’s powerful no-code platform, automate the entire pipeline for quick, real-time insights. See how easy it is in our 1-minute demo below!
Insights Data for a Facebook page as a whole (like followers and impressions) and page posts are fetched by Facebook Pages using the Graph API (such as likes, shares, comments, and video plays).
Snowflake’s Data Cloud is built on a cutting-edge data platform that is delivered as Software-as-a-Service (SaaS). Snowflake provides data storage, processing, and analytic solutions that are faster, easier to use, and more flexible than traditional options.
This article talks about the ways to load data instantly from Facebook Page Insights to Snowflake. It also gives a brief introduction to Facebook Page Insights and Snowflake.
Table of Contents
What are Facebook Page Insights?

Facebook Insights, an analytics dashboard, allows you to monitor user behavior and the effectiveness of your posts on your Facebook business page. The platform also recommends competitor pages to watch and track and provides important metrics for paid and organic posts, such as page views and post reach.
Facebook Insights makes incoming data from your company page visually appealing so you can understand how visitors interact with it, what content they find interesting, and how it compares to rival pages.
You can retrieve ad data to monitor the effectiveness of your ads using the Facebook Insights API, also referred to as the Ads Insights API. The API is especially helpful because it enables marketers to extract the precise data they need to track, regardless of how detailed.
To ensure that only your team has access to the data you pull from the API, you must select the data you want to use and create an access token for that ad.
Looking for the best ETL tools to connect your Facebook Pages to your Snowflake account? Rest assured, Hevo’s no-code platform seamlessly integrates with Snowflake streamlining your ETL process. Try Hevo and equip your team to:
- Integrate data from 150+ sources(60+ free sources).
- Simplify data mapping with an intuitive, user-friendly interface.
- Instantly load and sync your transformed data into Snowflake.
Choose Hevo and see why Deliverr says- “The combination of Hevo and Snowflake has worked best for us. ”
Get Started with Hevo for FreeWhat is Snowflake?

Snowflake is a fully managed SaaS (Software as a Service) that combines Data Warehousing, Data Lakes, Data Engineering, Data Science, Data Application Development, and Secure Sharing and Consumption of Real-time / Shared Data into a single platform.
Snowflake isn’t based on any existing database technology or “Big Data” software platforms like Hadoop. However, it combines a brand-new SQL query engine with cutting-edge Cloud Architecture. Snowflake also gives users all of the features and capabilities of an enterprise analytic database, plus a lot more.
Snowflake is a hybrid of shared-disk and shared-nothing Database architectures, which allows it to deliver results quickly. It uses a central repository for persisted data, similar to a shared-disk database, which is accessible from all compute nodes. It uses MPP (Massively Parallel Processing) compute clusters, in which each node stores a portion of the entire data set locally, similar to shared-nothing architectures.
Key Features of Snowflake
Here are some of the features of Snowflake as a Software as a Service (SaaS) solution:
- Snowflake enables you to enhance your Analytics Pipeline by transitioning from nightly Batch Loads to Real-time Data Streams, allowing you to improve the quality and speed of your analytics. By enabling Secure, Concurrent, and Monitoring Access to your Data Warehouse across your organization, you can improve the quality of analytics at your company.
- Snowflake uses the Caching Paradigm to deliver the results from the cache swiftly. To avoid re-generation of the report when nothing has changed, Snowflake employs Persistent (within the session) Query results.
- Snowflake allows you to analyze Customer Behaviour and Product Usage better. You can also use the whole scope of data to ensure Customer Satisfaction, drastically improve product offers, and foster Data Science innovation.
- Snowflake allows you to create your own Data Exchange, which securely communicates live, controlled data.
The Easiest Way to Connect Facebook Page to Snowflake- Using Hevo
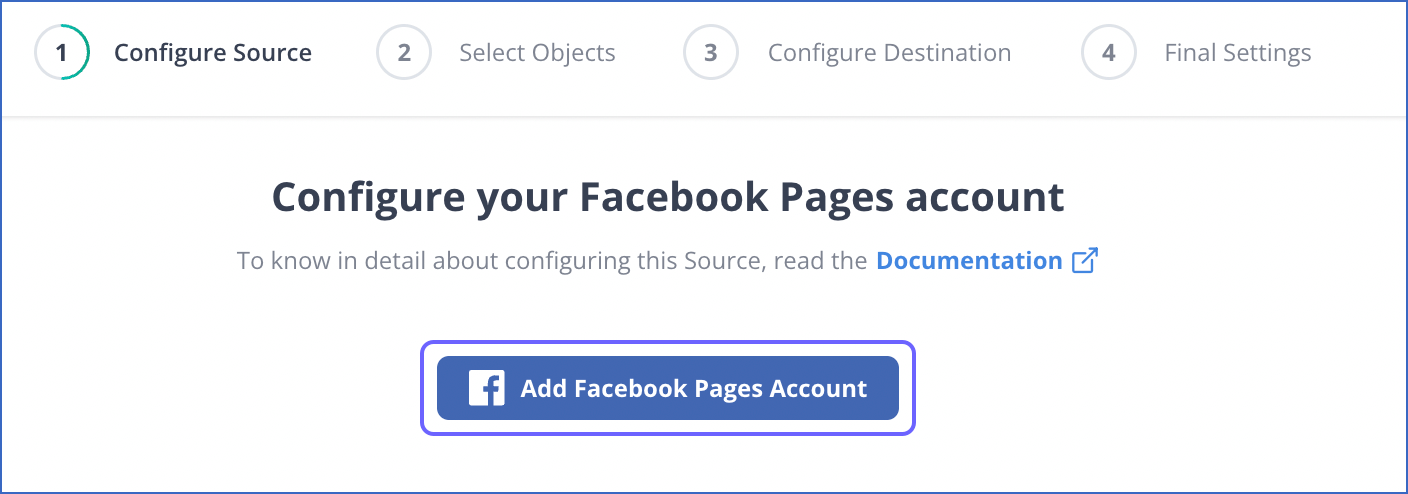
Step 1: Configure Facebook Page Insights as the Source
Step 1.1: Add your Facebook Account.
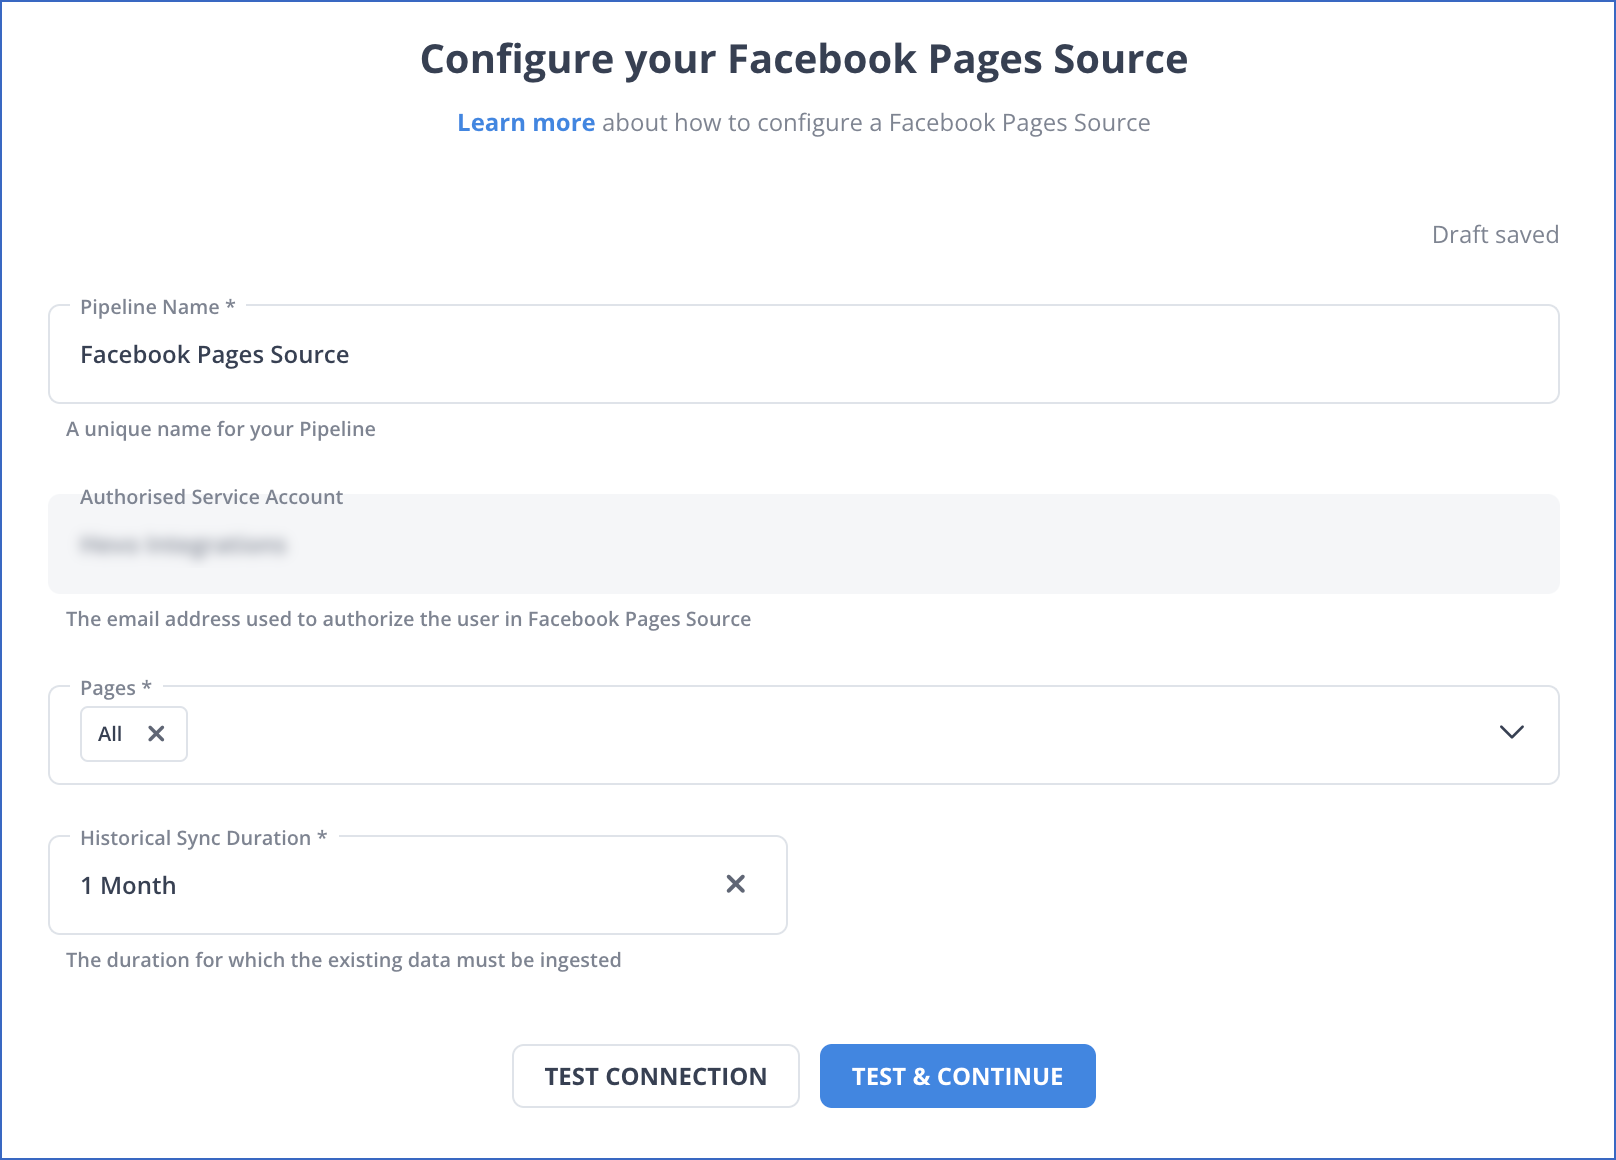
Step 1.2: Select the Page that you want to connect.
Step 2: Set up Snowflake as a destination

Use cases of Connecting Facebook Page Insights to Snowflake.
Connecting Facebook Page to Snowflake enables organizations to integrate social data with all their other enterprise data for further analysis and actionable insights. Here are a few common use cases:
1. Marketing Performance Analysis: A business can synchronize Facebook Page Insights data (for example, likes, shares, comments, reach) to Snowflake and analyze the campaign’s performance together with all other channels of marketing, including Google Ads and email.
2. Customer Engagement Insights: The data coming from Facebook is merged with that of customers in Snowflake, allowing one to track correlation between customer engagement on Facebook with sales, CLV, and retention rates for a given business.
3. Ad Spend Optimization: It helps businesses analyze the ROI on ad spend by Facebook as ad performance metrics are merged with financial data in Snowflake, thereby optimizing budget allocation across campaigns.
4. Sentiment and Trend Analysis: In general, Facebook Page Insights, together with sentiment analysis tools, will allow brands to monitor and track customer sentiment, trending topics, or even the overall public perception of the brand in real-time.

Conclusion
To summarize, this blog has taught you how to load data from Facebook page insights to Snowflake within minutes. With Hevo, creating data pipelines takes minutes, and the data integration possibilities are endless. Sign up for Hevo’s 14-day trial today and experience seamless data integration for free.
FAQs
1. Is Facebook insights the same as Facebook analytics?
No, Facebook Insights focuses on page-level data like engagement and reach, while Facebook Analytics (discontinued) provided in-depth user behavior tracking across platforms and touchpoints.
2. How to analyze a Facebook page?
To analyze a Facebook page, use Facebook Insights for data on engagement, reach, demographics, and post performance. Tools like Hevo Data can further automate and integrate this data into broader analytics platforms for deeper insights.
3. How to extract data from a Facebook page?
You can scrape some data from a Facebook page by using their Insights for page metrics, while using the Graph API will get you more detailed extracted data. On the other hand, tools like Hevo Data provide automatic and integrated solutions.

Share it with your connections.
-
 Share To X
-
 Share To LinkedIn
-
 Share To Facebook
-
 Copy Link


