


Have you ever wondered if you could get notified instantly whenever an event happens in your GitLab repository? That is precisely what webhooks can help you with. This guide will help you understand how to set up and use GitLab Webhooks.
Before we start, let us get an understanding of GitLab and webhooks.
Leverage Hevo’s No-Code Data Pipeline to seamlessly integrate, transform, and sync data from 150+ sources. Hevo helps you ensure that:
- Your analytics and project management tools are always up-to-date and accurate.
- You get real-time notifications.
- Rely on Live Support with a 24/5 chat featuring real engineers, not bots!
Take Hevo’s 14-day free trial to experience a better way to manage your data pipelines. With a 4.3 rating on G2, users appreciate its reliability and ease of use—making it worth trying to see if it fits your needs.
Get our 14-day Free Trial to connect Webhooks or Gitlab!Table of Contents
Introduction to GitLab

GitLab is a Cloud-based Software Development Life Cycle tool. It comes with its own Git repository manager. GitLab also has an issue-tracking system built into it that helps in basic project management activities.
GitLab is one of the few cloud repositories that offers free private repositories. It also has provisions for integrating CI/CD Pipeline frameworks like Jenkins.
Introduction to Webhooks

Before discussing the details of setting up GitLab Webhooks, it is advisable to understand the basics of how Webhooks work.
A Webhook is just a POST web service that can be called with a JSON data packet and authentication information. Implementing a Webhook at the subscribing application end is as easy as implementing a simple web service.
The notifying application must have an option to register Webhook URLs from multiple subscribing clients. It should also be possible to specify which data changes will be notified to the subscribing application. The notifying application triggers the Webhook call every time a relevant change happens.

Prerequisites
To successfully set up GitLab Webhooks, you need to meet the following requirements:
- Access to GitLab instance owner rights in a project.
- Basic understanding of Software Development Life Cycle.
Steps to Create and Set Up GitLab Webhooks
To create a webhook for a project or group:
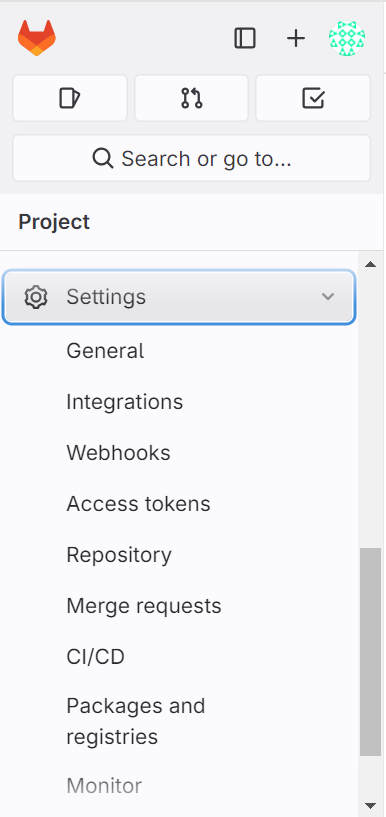
Step 1: In your project or group, expand the Settings link on the left sidebar. Click on Webhooks, as shown below.
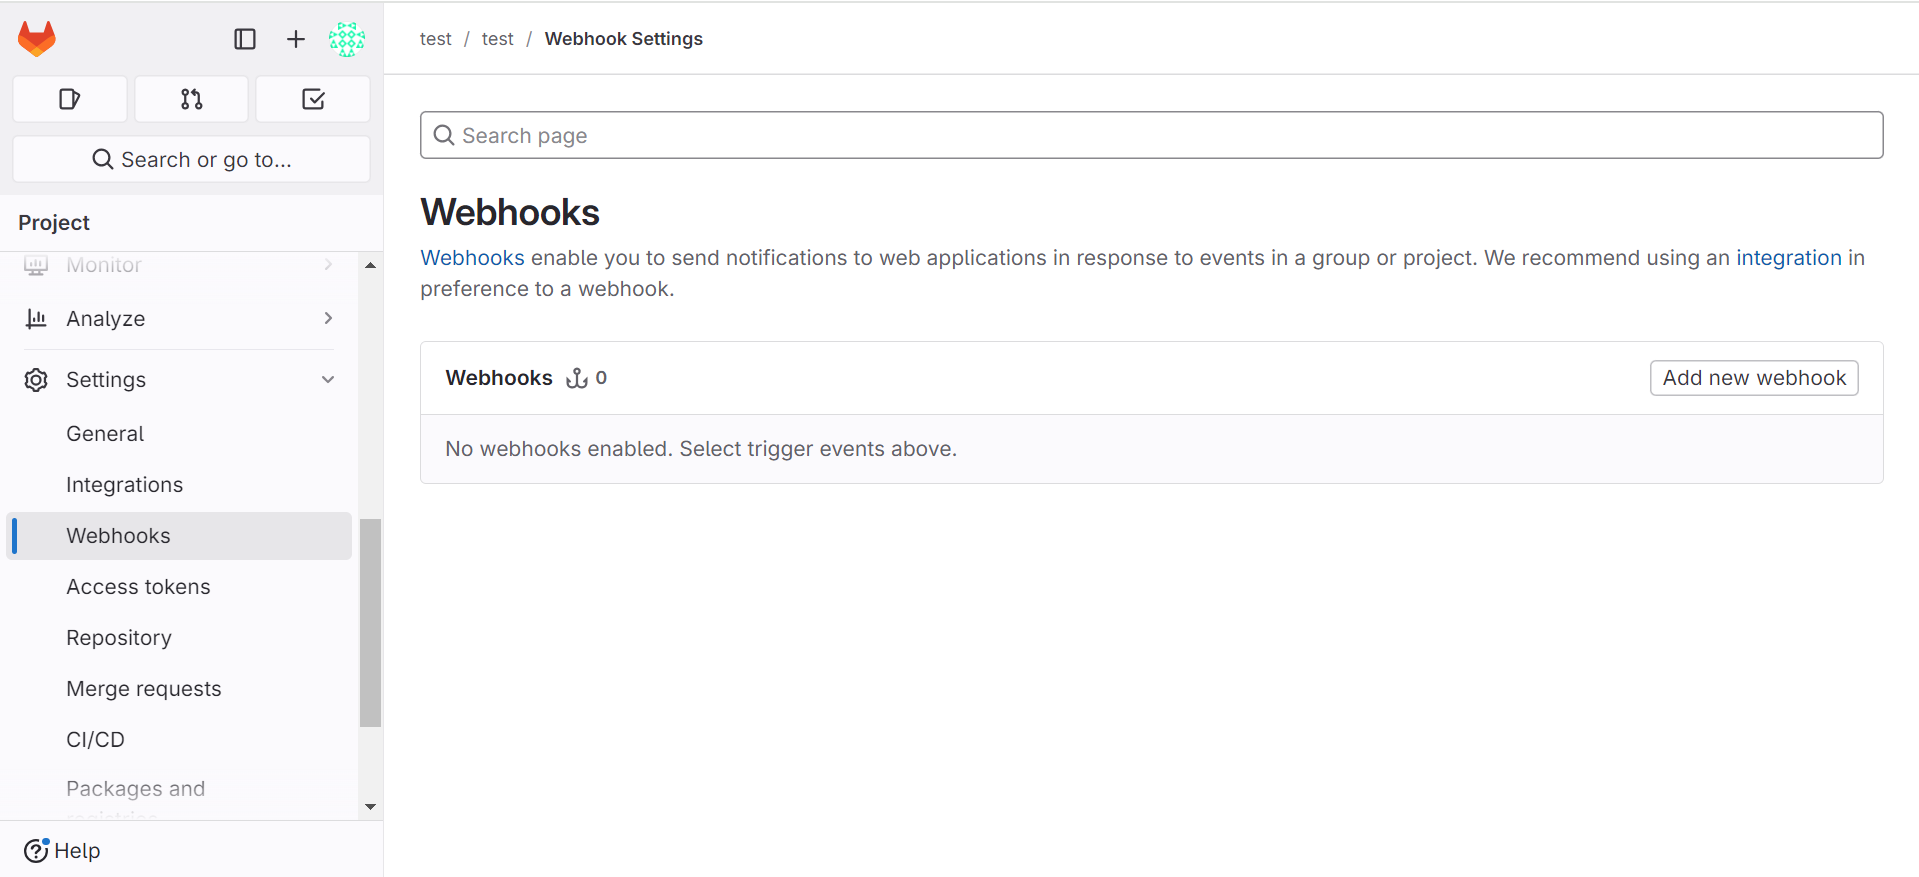
Step 2: Select Add new webhook.
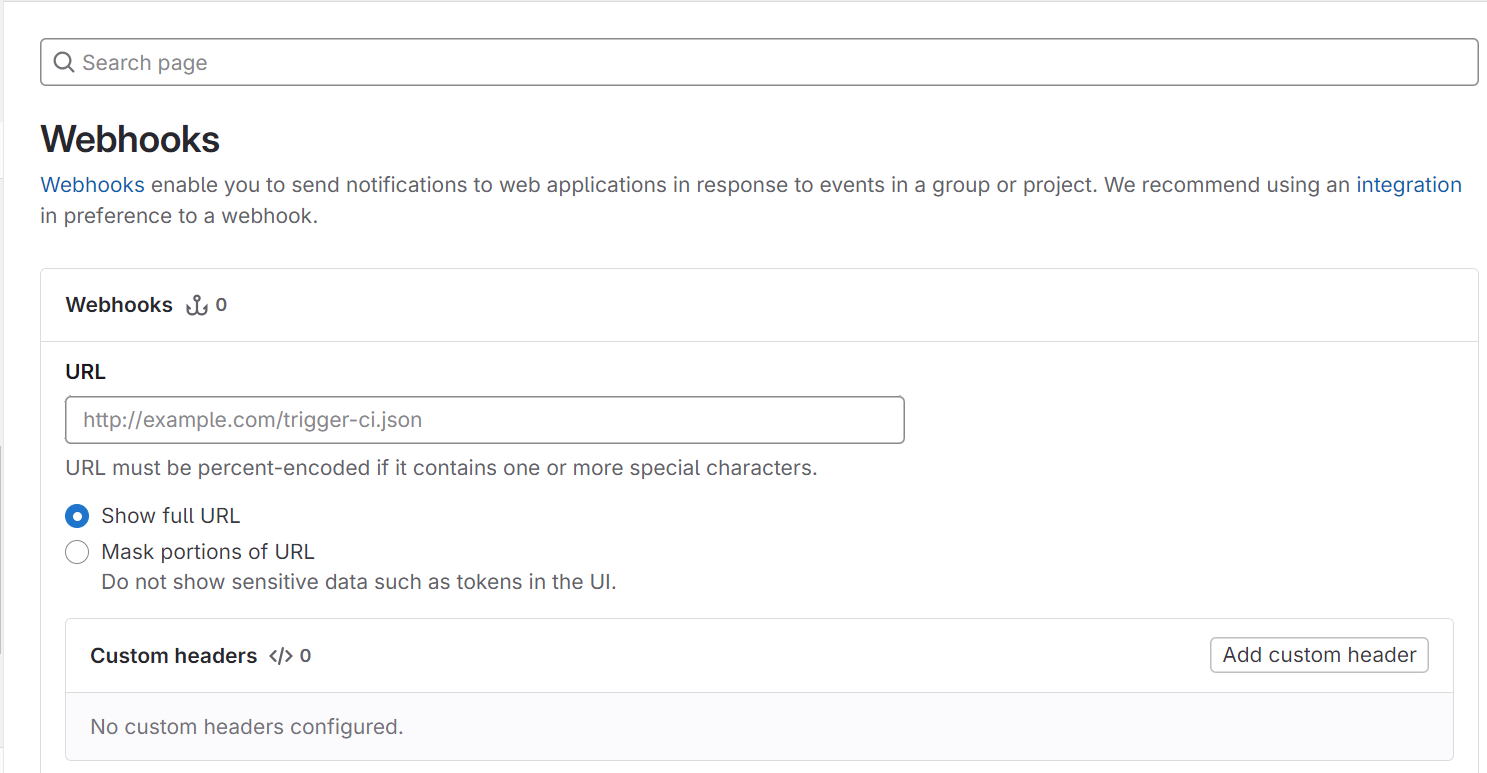
Step 3: You will be greeted with a page to configure your GitLab Webhooks, as shown below. The most important detail here is the GitLab Webhook URL, which must be triggered when specific events happen. The URL must be percent-encoded if it contains one or more special characters
There is a section for adding a Secret Token. Whatever is added in this section, Gitlab will add it to all of the Webhook triggers. Inside the Webhook, the Developer must include logic to verify the Secret Token. This is done to ensure no malicious entity is able to push data to the GitLab Webhook.
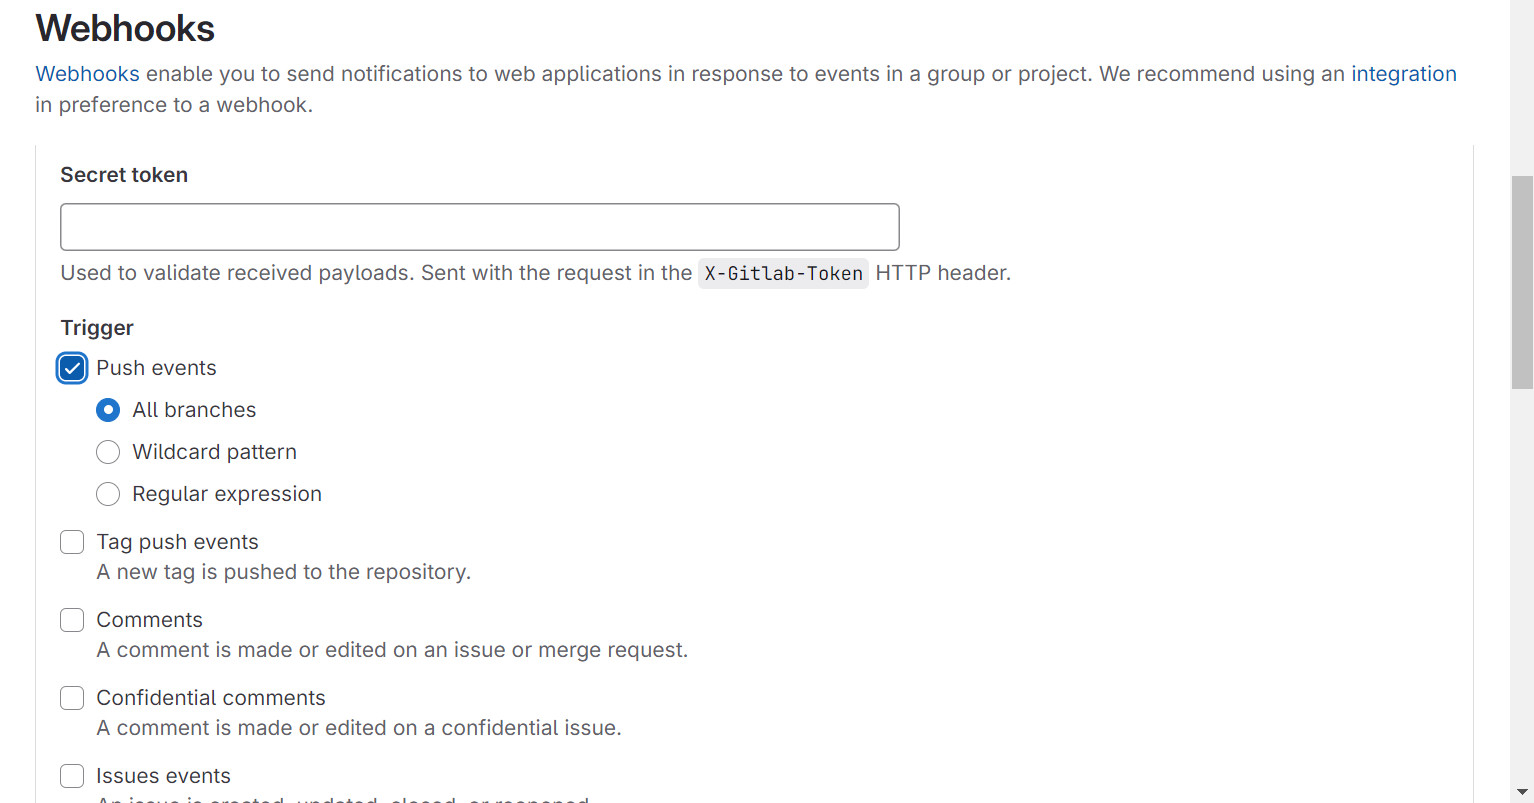
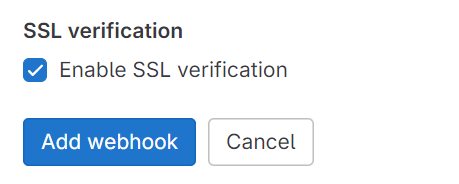
Step 4: Enter the URL and Secret Token mentioned in the above step. Tick the events that you want to be notified about. In this case, let’s move forward with ‘Push’ events. This means that everything a Developer pushes to the repository will trigger the webhook. Ensure that you have ticked the SSL verification for security, as shown below.
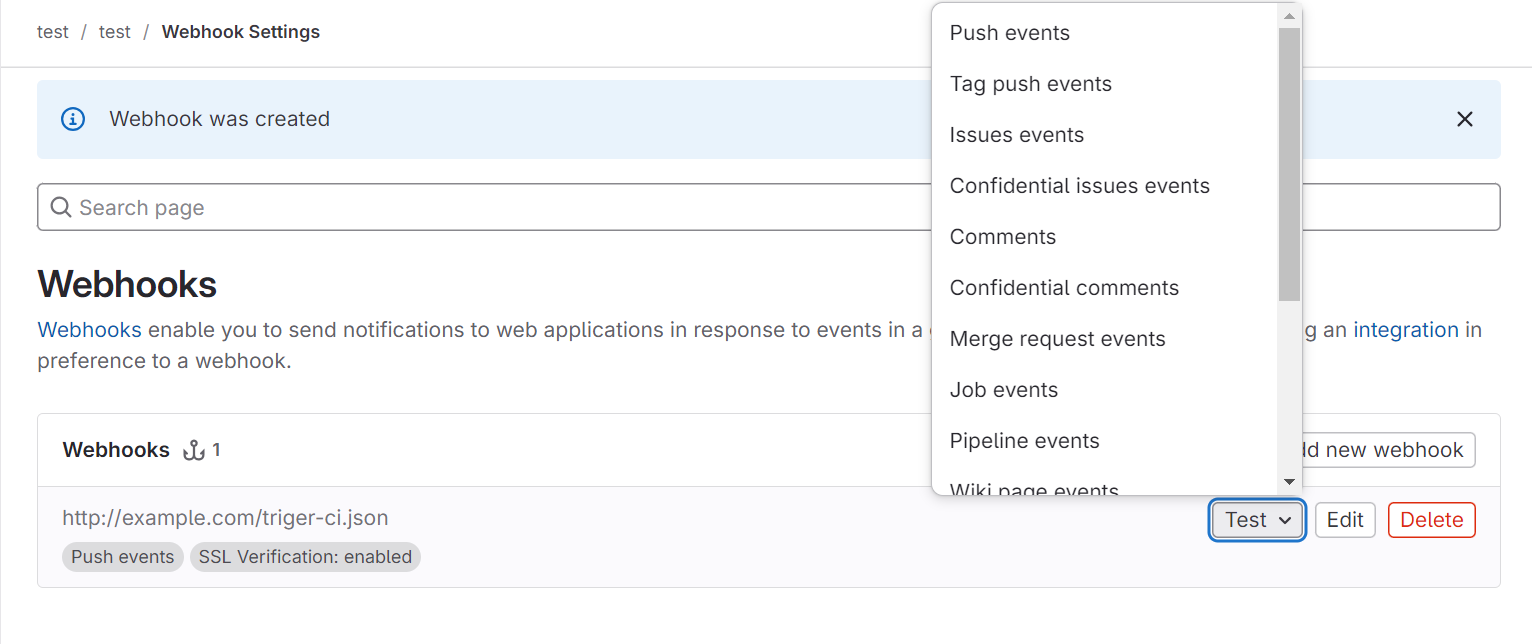
Step 5: Towards the end of the page, you can see a test section that can be used to trigger events from Gitlab. Click on the drop-down to expand the event list and choose the one you ticked in the first part. This will trigger the GitLab Webhook calls and help you test the Webhooks.
That’s it! Setting up GitLab Webhooks is easy. The hard part is implementing the actual Webhook that will respond to the call from GitLab. Implementing a secure GitLab Webhook with the required validation and scaling ability requires good development skills.
Use Cases for GitLab Webhooks
There are endless use cases for the number of GitLab events that are used along with the Webhooks. Let us take a look at some key uses below:
- Continuous Integration (CI) Pipeline Triggers: GitLab Webhooks can be used to automatically start CI/CD pipelines in response to code commits or merge requests to ensure efficiency.
- Real-Time Notifications: GitLab Webhooks allow you to send instant notifications to Slack, email, or other communication platforms when specific GitLab events occur
- Custom Analytics: GitLab Webhooks makes it possible to push data from GitLab activities to external analytics tools for custom reporting and monitoring project activity.
- Integration with Issue Tracking Tools: GitLab Webhooks also enables you to automatically create or update issues in project management tools like Jira whenever changes or new features are added in GitLab repositories.
Conclusion
- This article gave an overview of GitLab and Webhooks.
- You understood the steps to create and set up a GitLab Webhook in detail.
- To summarize, Webhooks provide a way to notify the subscribing application in real time whenever a relevant change occurs in GitLab.
- If you need to get real-time data from your desired Data Source to another Cloud-based or on-premise application, you should check out Hevo.
Hevo is a cloud-based, completely managed No Code Pipeline ETL tool that offers built-in support for Webhooks. It can move data from 150+ Data Sources, including 60+ Free Sources, to most of the common Data Destinations used in the enterprise space.
Want to take Hevo for a spin? Sign up for a 14-day free trial and simplify your data integration process. Check out the pricing details to understand which plan fulfills all your business needs.
Share your experience of setting up GitLab Webhook in the comments section below!
FAQs on GitLab Webhooks
1. Does GitLab have webhooks?
Yes, GitLab does have webhooks that can be used to trigger CI/CD jobs, update external issue trackers and backup mirrors, or deploy to your production server.
2. What is the use of webhooks in Git?
Webhooks can be used for various purposes, including Triggering CI (continuous integration) pipelines on an external CI server. For example, sending notifications about events on GitHub to collaboration platforms.
3. What are webhooks used for?
Webhooks are used to send data or trigger events in real-time between
two applications when something happens, like updating a database or sending a notification.

Share it with your connections.
-
 Share To X
-
 Share To LinkedIn
-
 Share To Facebook
-
 Copy Link


