


Easily move your data from GitHub Webhook To Snowflake to enhance your analytics capabilities. With Hevo’s intuitive pipeline setup, data flows in real-time—check out our 1-minute demo below to see the seamless integration in action!
A GitHub App, a specific repository, or an organization can all have webhooks installed on them. The webhook will be sent after installation each time one or more subscribed events take place. Github Webhook to Snowflake allows you to build or set up integrations, such as GitHub Apps or OAuth Apps, which subscribe to certain events on GitHub.com. When one of those events is triggered, you get an HTTP POST payload to the webhook’s configured URL.
Snowflake’s Data Cloud is built on a cutting-edge data platform that is delivered as Software-as-a-Service (SaaS). Snowflake provides Data Storage, Processing, and Analytic Solutions that are faster, easier to use, and more flexible than traditional options.
This article explains the different ways for Github Webhook to Snowflake Integration. It also gives an overview of Snowflake and Github Webhook.
Table of Contents
Why Integrate Github Webhook to Snowflake?
- Monitor Team Metrics: Use GitHub Webhook to Snowflake to track team performance, metrics, and trends in real-time.
- Automate Actions: Automate specific actions (e.g., triggering workflows) whenever a commit is made to the codebase.
- Centralized Data Storage: Store all past and present GitHub data in Snowflake for easy access and analysis.
- Streamlined Access: Team members can access and analyze data directly from Snowflake without downloading large files.
- Enhanced Insights: Integrate Snowflake with BI tools to derive actionable insights from GitHub data, improving decision-making.
- Improved Workflow: Simplify data use in ongoing projects by eliminating manual downloads and facilitating data-driven development.
Looking for the best ETL tools to connect your GitHub account to Snowflake? Rest assured, Hevo’s no-code platform seamlessly integrates with Snowflake to streamline your ETL process. Try Hevo and equip your team to:
- Integrate data from 150+ sources(60+ free sources).
- Simplify data mapping with an intuitive, user-friendly interface.
- Instantly load and sync your transformed data into Snowflake.
Choose Hevo and see why Deliverr says- “The combination of Hevo and Snowflake has worked best for us. ”
Get Started with Hevo for FreeWhat are the ways to integrate GitHub WebHook to Snowflake?
Method 1: Hevo: The Fastest Way to Connect Your GitHub Webhook to Snowflake!
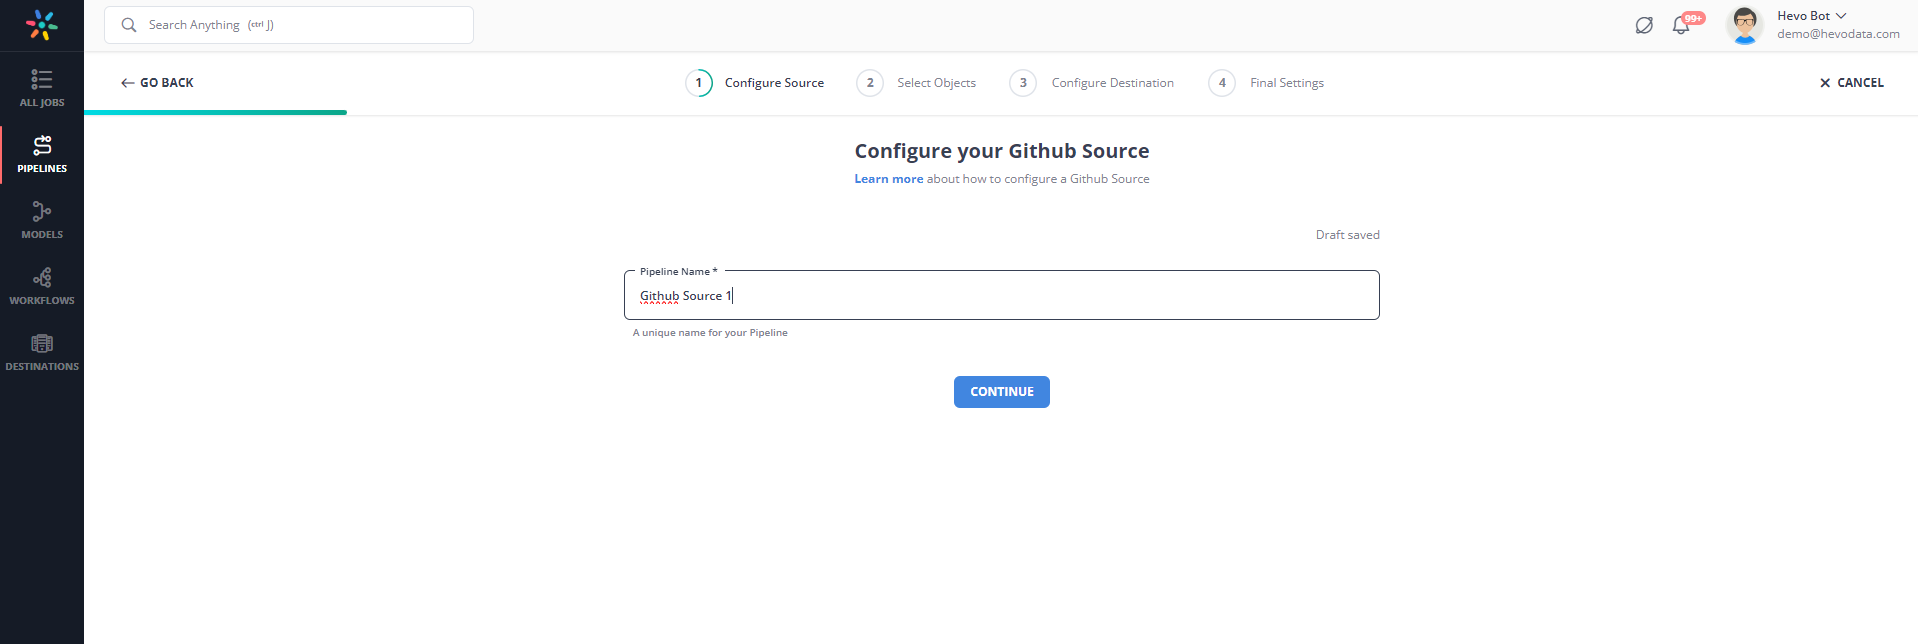
Step 1: Connect you Github account as the source.
Step 2: Connect your Snowflake account as the destination.

Method 2: Using Custom Code to Move Data from Github Webhook to Snowflake
Prerequisites:
- Snowflake Account: Ensure you have SYSADMIN role access.
- AWS Configuration: Set up IAM roles, Lambda functions, and S3 buckets with appropriate permissions.
- Development Environment: A local machine configured with the AWS CLI and the Serverless Framework.
- Git to clone the repository- https://github.com/datalytyx/snowflake-webhooks
In this method, I will use the repository mentioned above as a reference to explain the steps for connecting the GitHub webhook to Snowflake. So let’s get started!
Step 1: Installation
Step 1.1: Clone Repository
git clone https://github.com/datalytyx/snowflake-webhooks.git
cd snowflake-webhooks
<strong>Step 1.2: Set Environment Variables
</strong>
export SNOWFLAKE_METADATA_DATABASE="WEBHOOK_METADATA"
export SNOWFLAKE_METADATA_SCHEMA="PUBLIC"
export AWS_KEY_ID="<your aws key>"
export AWS_SECRET_KEY="<your aws secret>"
export AWS_S3_REGION="eu-west-1"
export S3_BUCKET="your_desired_s3_bucket_location" Step 1.3: Customize Template Files
cat setup.sql.template | sed -e "s~{SNOWFLAKE_METADATA_DATABASE}~$SNOWFLAKE_METADATA_DATABASE~g" | sed -e "s~{SNOWFLAKE_METADATA_SCHEMA}~$SNOWFLAKE_METADATA_SCHEMA~g" | sed -e "s~{S3_BUCKET}~$S3_BUCKET~g" | sed -e "s~{AWS_KEY_ID}~$AWS_KEY_ID~g" | sed -e "s~{AWS_SECRET_KEY}~$AWS_SECRET_KEY~g" > setup.sql

cat serverless.yaml.template | sed -e "s~{S3_BUCKET}~$S3_BUCKET~g" > serverless.yaml

cat lambda.js.template  | sed -e "s~{AWS_S3_REGION}~$AWS_S3_REGION~g" > lambda.js
Step 1.4: Deploy Lambda Functions
serverless deployAs an alternative, you can namespace this by specifying —stage stagename>. Details can be found in the serverless documentation.
Step 2: Setting Up Snowflake
Step 2.1: Execute the contents of setup.sql in your Snowflake account.
Step 2.2: Grant SELECT and UPDATE privileges to the roles that will call the webhook.
Step 3: Testing the Integration
Step 3.1: Create Test Variable
This is to verify that everything is operational. Run the command:
set myid='anything I want, this is just for me';
set payload='THIS IS A TEST';
set good_webhook_url='https://webhook.site/<yoururl>';
set notfound_webhook_url='https://google.com/iamnotavalidpath';
set bad_webhook_url='https://iamnotavalidurl.com';
Step 3.2: Run Test Cases
call call_webhook_async ($myid,$good_webhook_url,'POST',$payload);
call call_webhook_async ($myid,$notfound_webhook_url,'POST',$payload);
call call_webhook_async ($myid,$bad_webhook_url,'POST',$payload);
You will get a response message: Webhook successfully registered for execution.
This means that a row has been written to the SNOWFLAKE_METADATA_DATABASE you defined, and a file has been created in the S3 bucket.

Limitations of Manually Connecting GitHub Webhook to Snowflake
Manually connecting the GitHub webhook to Snowflake has the following limitations:
- No native support: There is no native support in Snowflake for webhooks; hence, for instance, it is not easy to hit actions directly from Snowflake to any system outside like that of GitHub
- Network access cannot be enabled: Snowflake does not allow the execution of arbitrary code with network communication, limiting its capability to call external APIs.
- Complex to setup: It is a more complex architecture because manual setting up of the integration provision involves creating AWS services such as Lambda, S3, and IAM roles that act as interim stages between the Snowflake system and GitHub webhooks.
- Maintenance Overhead: Its maintenance overhead is incessant, through the AWS Lambda functions, S3 buckets, and the logic of the webhooks to get operational and also to tackle the possibility of failure.
To overcome these limitations, try Hevo. Hevo’s no-code automated platform simplifies the entire process by connecting github with snowflake in just two steps. Sign up for Hevo’s 14-day free trial to know more.
Conclusion
This article talks about how to connect Github Webhook to Snowflake in two simple methods. In addition to that, it also describes Github Webhook and Snowflake briefly.
Hevo offers a No-code Data Pipeline that can automate your data transfer process, hence allowing you to focus on other aspects of your business like Analytics, Marketing, Customer Management, etc.
This platform allows you to transfer data from 150+ sources (including 60+ Free Sources) such as Github Webhook and Cloud-based Data Warehouses like Snowflake, Google BigQuery, etc. It will provide you with a hassle-free experience and make your work life much easier.
FAQ on GitHub Webhook to Snowflake Integration
How to connect GitHub to Snowflake?
Using a Data Pipeline Tool
Custom Scripts
Does Snowflake support Webhooks?
No, Snowflake does not support webhooks.
Can Snowflake connect to API?
Snowflake can connect to APIs indirectly using custom integrations or external tools. Snowflake does not have built-in support for directly calling external APIs.

Share it with your connections.
-
 Share To X
-
 Share To LinkedIn
-
 Share To Facebook
-
 Copy Link


