This article will also provide you with a step-by-step guide on how to build Gravity Forms Webhooks Integration from scratch. Read along to learn more about Gravity Forms Webhooks Integration!
If you are looking for a simple way to process data collected from Gravity Forms in your web applications or use it in your business workflows then Webhook is a one-stop solution for you.
By using Webhooks, you can receive form submissions as soon as they are collected without any need for APIs.
Table of Contents
Prerequisites
- Basic hands-on experience on WordPress.
Introduction and Key Features of Gravity Forms
- Conditional Logic: It is one of the most important features of Gravity Forms. You can use Conditional Logic to show/hide form fields based on the data the user entered in the previous field.
- Visual Drag and Drop Builder: Gravity Forms houses a visual Drag and Drop Builder that allows you to add new form fields to the form area by simply dragging and dropping them. It is also possible to rearrange the field sequence by dragging them to the desired location.
- Easy Entry Management: All form submissions in Gravity Forms are stored as Entries. Entries offer a centralized backend area in your WordPress installation where you can check all of the submissions.
- Email Notifications: With Conditional Logic, you can set up Email notifications for form submissions. This way, notifications will be sent to different people based on the information entered by them in the form.
- Limit Number of Submissions: You can impose restrictions on your form, such as the maximum number of entries that can be submitted.
Ditch the manual process of writing long commands to migrate your data and choose Hevo’s no-code platform to streamline your data migration and transformation.
With Hevo:
- 150+ connectors (including 60+ free sources).
- Eliminate the need of manual schema mapping with the auto-mapping feature.
- Seamlessly perform both pre-load and post-load data transformations.
- Benefit from transparent, pay-as-you-go pricing with tiers to meet different data needs.
Experience Hevo and see why 2000+ data professionals including customers, such as Thoughtspot, Postman, and many more, have rated us 4.3/5 on G2.
Get Started with Hevo for FreeIntroduction and Key Features of Webhooks

- A Webhook is a method of altering and modifying the behavior of web pages or web applications through the use of Custom Callbacks.
- It is essentially a user-defined HTTP Callback that is triggered by specific events. When the trigger event occurs on the source website, the Webhook Records it, Collects the Data, and Sends it in the form of an HTTP request to the URL specified in the form.
- A trigger event can be a Blog Comment, a Sign-up, Form Submission, etc.
- A Webhook delivers data to other applications as it happens, which means you get data immediately, unlike traditional APIs, which require you to poll data frequently in order to get it in real-time.
- Webhooks are now much more efficient for both providers and consumers. Webhooks are commonly used to connect two distinct applications. You can even leverage Webhooks to set up an event on one site to trigger an action on another.
Steps to Set up Gravity Forms Webhooks Integration
- Gravity Forms Webhooks Add-On allows you to make remote HTTP requests to external services or APIs once a form is submitted.
- You can leverage Webhooks to send form data to third-party services even if there is no official Add-on for it. Follow the steps given below to build integration with Gravity Forms Webhooks.
Step 1: Install the Gravity Forms Webhooks Add-Ons
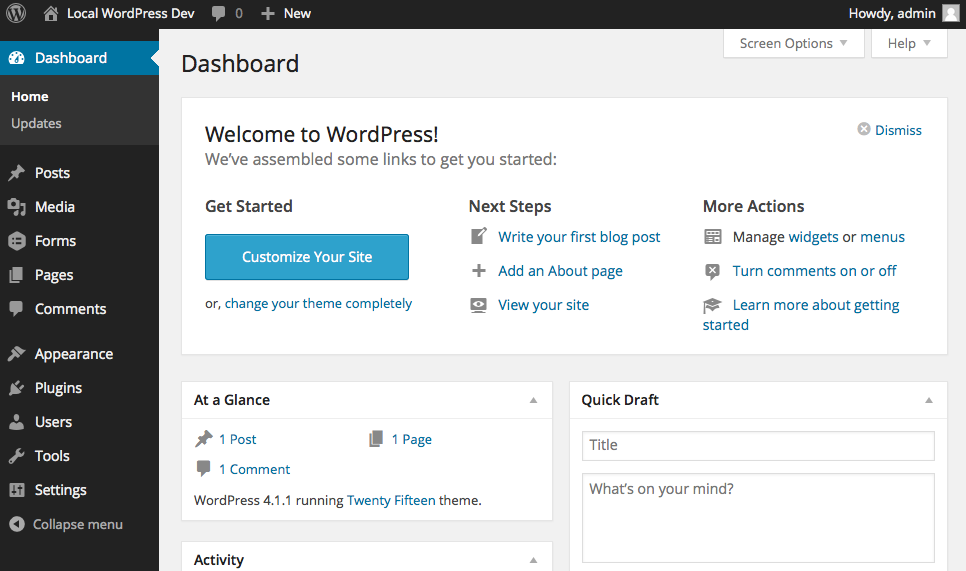
- Login to your WordPress account.
- Navigate to the Dashboard section
- Hover over the Forms section and click on Add-ons. This will give you a list of all the available Add-ons.
- To install the Gravity Forms Webhooks Add-on, simply search for the Webhooks Add-on and click on Install. WordPress will handle the download and installation process of the Gravity Forms Add-On once the Install button is clicked.
- To activate the Add-on, click on Activate Plugin.
Step 2: Configure Webhook Settings
- Open the Settings of the Webhook Add-on that you installed in the previous step.
- Click on the Webhooks tab and fill out the following fields:
- Name: Enter a name for the feed that you want to create.
- Request URL: Enter the desired URL to which this request should be sent.
- Request Method: Choose the HTTP method as the desired mechanism for making the request. The following methods are supported: GET, POST, PUT, PATCH, and DELETE.
- Request Format: Enter the format for the Webhook request. JSON and FORM are the two supported formats.
- Webhook Condition: You can apply Conditional Logic while using the Webhooks Add-on which means you can configure the rules/conditions which should be satisfied for the request to be sent. To enable the Conditional logic, mark the Enable Condition box.
- Once you have filled all the required fields, click on Update Settings to finish the configuration.
Learn More About:
Conclusion
- This article teaches you how to successfully set up Gravity Forms Webhooks Integration. It also provides in-depth knowledge about the concepts behind every step to help you understand and implement them efficiently.
- If you want to integrate data from various data sources into your desired Database/destination for free and seamlessly visualize it in a BI tool of your choice, Hevo Data is the right choice for you! It will help simplify the ETL and management process of both the data sources and destinations.
Sign Up for a 14-day free trial and experience the feature-rich Hevo suite firsthand.
FAQs
1. Can I use multiple webhooks with Gravity Forms?
Yes, you can set up multiple webhooks to send data to different services based on form submissions.
2. What are the benefits of using WP Webhooks with Gravity Forms?
It automates data flow by connecting to third-party systems, saves time, reduces manual errors, and extends the functionality of your forms.
3. Can I test the webhook before going live?
Yes, WP Webhooks offers a testing facility to test whether your webhook is working fine before going live.


