


Today, in every organization, data is growing at a rate faster than ever before. To efficiently handle large amounts of data, organizations are in greater need of Business Intelligence (BI) tools. These tools enable organizations to make sense of their data, stay competitive, make better business decisions, and maximize revenue streams.
BI is often described as the procedural and technical infrastructure that collects, stores, and analyzes the data generated by the activities of the organization. One such powerful, leading BI tool is Microsoft Power BI. It is a business analytics tool that allows individuals and businesses to visualize data. There are four ways to install Power BI on your desktop and mobile.
Table of Contents
What is Power BI?

Power BI is a robust ecosystem of business intelligence tools and technologies developed by Microsoft. It was initially created in 2010 by Ron George and named Project Crescent. Later, in 2013, the project’s name was changed to Power BI and was unveiled by Microsoft.
With time, Microsoft added a slew of new features, including Question and Answers, enterprise-level data connectivity, and security protocols. Since then, Power BI has been immensely growing and is now one of the leading BI tools. On July 24, 2015, Power BI was made available to the general public for the first time.
Although Power BI is often described as a visualization tool, it is a collection of interrelated tools and services that forms a complete business intelligence ecosystem. This ecosystem includes everything from data modeling, analysis, and visualization.
The ecosystem of Power BI is so vast and complex that to understand it better, it can be categorized into:
- Core and Power BI-specific
- Non-core and Power BI-specific
- Core and non-Power BI-specific
- Natively integrated Microsoft technologies
- Extended ecosystem
However, we will for now focus on the Power BI specific categories:
- Core and Power BI-specific: Core products of Power BI.
- Non-core and Power BI-specific: Products that utilize the strengths of the Power BI.
Core and Power BI specific
- Power BI Desktop
Power BI Desktop is a popular Windows-based application that can be installed on any local desktop or laptop for free. It is a primary tool for ingesting, cleansing, and transforming data from diverse sources. It can also perform data analysis and visualize insights through reports.
- Power BI Service
The Power BI service is a SaaS (Software as a Service) internet platform hosted on the cloud. Also, It can be used to create, edit, share, collaborate, and view reports.
Non-Core and Power BI specific
- Install Power BI Report Server
Power BI Report Server is a superset of SSRS (SQL Server Reporting Services), an on-premises technology. The Report Server works in a similar way to the Power BI service; it allows reports written in Power BI Desktop and Excel to be published and viewed on-premises.
- Power BI mobile applications
Power BI mobile applications are native Windows, Android, and iOS applications downloaded from the Microsoft Store, Google Play, and Apple App Store, respectively. For viewing and engaging with Power BI reports published to the Power BI service, Power BI mobile applications are touch-optimized.
Hevo’s no-code platform is designed for quick and easy integration between 150+ sources to a destination of your choice. Check out the cool features of Hevo:
- Live Support: With 24/5 support, Hevo provides customer-centric solutions to the business use case.
- Schema Management: Hevo Data automatically maps the source schema to perform analysis without worrying about the changing schema.
- Real-Time: Hevo Data works on the batch as well as real-time data transfer so that your data is analysis-ready always.
Prerequisites
Basic knowledge about Power BI.
A Complete Guide to Install Power BI
Install Power BI Desktop
Technical Requirements
Following are the requirements to successfully install Power BI:
- Good internet connection.
- Windows 10, Windows 8.1, or Windows Server 2012 R2 or later.
- .NET 4.6.2 or later.
- Internet Explorer 11 or later, for Microsoft Power BI Desktop.
- Minimum of 2 GB of memory (RAM).
- A monitor with a resolution of 1440×900 pixels or above.
- Microsoft Power BI Desktop is available for 32-bit (x86) and 64-bit (x64)
Three Different Versions – Power BI
The Power BI Desktop application is available in three different versions.
1. Power BI Desktop (the trusted Microsoft Store app)
Step 1: Enter http://aka.ms/pbidesktop into a web browser’s address bar and click Enter.
Step 2: The Microsoft Store application will automatically open and display the Power BI Desktop application.
Step 3: Click Get and the installation process will begin.
Step 4: Once the process is completed, hit the Launch button to install power BI.
2. Power BI Desktop (MSI- Microsoft Installer files)
Sometimes, users with unclear corporate policies or 32-bit (x86) desktop version might not be able to install the trusted Microsoft Store app version of Power BI Desktop. Therefore, the alternate option is to install the Power BI Desktop (MSI) is as follows:
Step 1: Enter https://powerbi.microsoft.com/desktop/ in a web browser and hit Enter.
Step 2: Click See download or language options.
Step 3: Once a new browser tab opens, select your language and click Download.
Step 4: Now, choose PBIDesktopSetup.exe or PBIDesktopSetup_x64.exe and then click
Next.
Step 5: As the downloading completes, run the EXE installer file.
Step 6: Once the installation launches, follow the prompts.
3. Power BI Desktop (Report Server edition)
Step 1: Enter https://powerbi.microsoft.com/reportserver/ in a web browser’s address bar and hit Enter.
Step 2: Select Advanced Download Options.
Step 3: Once a new browser tab opens, select the language you want and then click Download.
Step 4: Now, choose PBIDesktopRS.msi or PBIDesktopRS_x64.msi and then click Next.
Step 5: Once the downloading is complete, run the MSI installer.
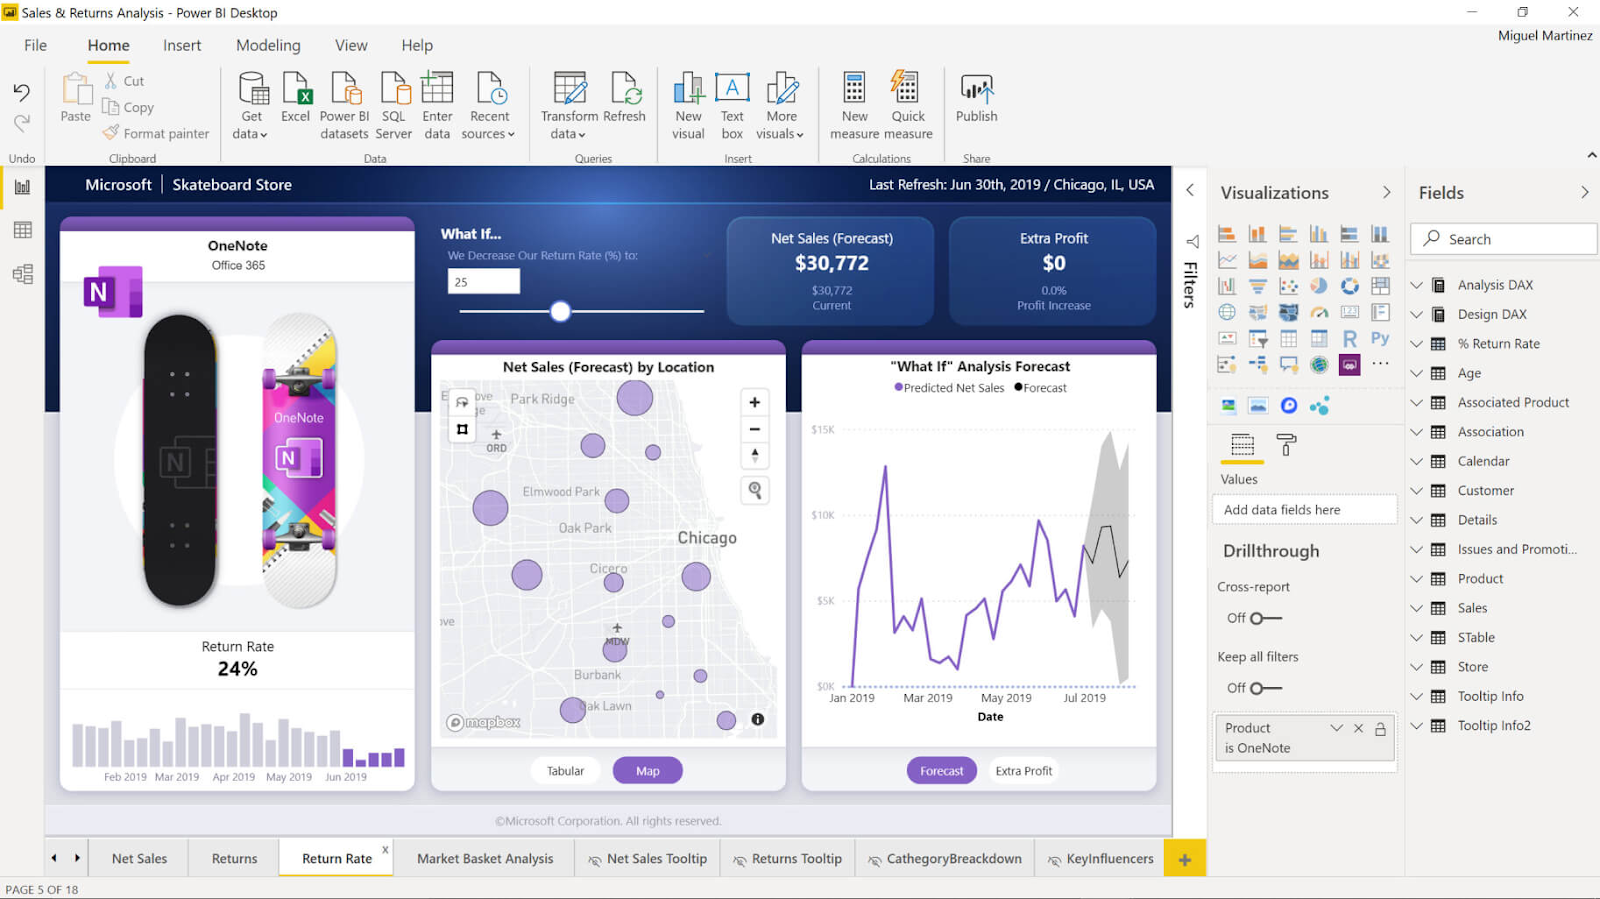
Desktop Interface
Following is the interface Screenshot of the Power BI Desktop.
Install Power BI Service
Technical Requirements
Following are the requirements for completing a successful installation of Power BI:
- A good internet connection.
- Microsoft Power BI Desktop.
- An Office 365 account or Power BI trial.
Getting Started With the Services
The Power BI service is commonly used for publishing and sharing reports. However, Office 365 is necessary to sign up for a free Power BI trial.
If you have an Office 365 account already installed:
1. Use that account’s email address to sign up for a free trial of Power BI
or
2. Have your IT department or Office 365 administrator assign you a free or Pro Power BI license.
If you do not have an Office 365 account:
1. Sign up for a free Office 365 trial.
For a free trial, sign up here: https://www.microsoft.com/en-us/microsoft-365/try.
2. Under the Try Office 365 for free heading, click on Try 1 month free.
Power BI License
Now that you have set up Office 365, you’ll need a Power BI trial, Pro, or Premium Per User (PPU) license.
Step 1: Visit https://powerbi.com.
Step 2: Click the Try free button under the heading New to Power BI, click the Try free button.
Step 3: Enter your Office 365 email address and follow the prompts from there.
After signing up and activating your Power BI trial, you are ready to log in to the service.
Install Power BI Service Interface
Following is the interface Screenshot of the Power BI Service.

Install Power BI Report Server
Note: Power BI Report Server Installation is supported on x64 processors only.
Technical Requirements
- Before we install Power BI .NET Framework 4.8 on Windows 8.1 and Windows Server 2012 R2, install KB2919355.
- A minimum of 1 GB of hard-disk space.
- Database server version requirements: Azure SQL Managed Instance (Power BI Report Server January 2020 version and after), SQL Server 2019, 2017, 2016,2014, 2012.
Report Server product key
You can obtain the product key for Power BI Report Server to install Power BI from two sources:
1. Power BI Premium
You can access your Power BI Report Server product key on the Premium settings area of the Power BI admin interface if you purchased Power BI Premium.
2. SQL Server Enterprise Software Assurance (SA)
You can acquire your product key through the Volume Licensing Service Center if you have a SQL Server Enterprise SA agreement.
Step 1: Locate PowerBIReportServer.exe and launch the installer.
Step 2: Install Power BI Report Server.
Step 3: Select the edition to install, then click Next.
Step 4. Select the Developer or Evaluation edition. Otherwise, enter the product key.
Step 5. Read and agree to the licensing terms and conditions before moving on to the next step.
Step 6: A Database Engine must be installed in order to hold the report server database. To install only the report server, choose Next.
Step 7: Specify the report server’s installation location. To proceed, choose Install.
Step 8: To open the Reporting Services Configuration Manager, choose Configure Report Server after a successful setup.
Conclusion
In this blog, we understood what is Power BI. We also learned how to download and install Power BI. Microsoft Power BI is extensively used to find insights from an organization’s data. Popular companies like Amazon, Adobe, Rolls Royce, and many more have incorporated Power BI in their businesses.
Hevo Data provides an Automated No-code Data Pipeline that empowers you to overcome the above-mentioned limitations. Hevo caters to 150+ data sources (including 60+ free sources) and can seamlessly transfer your data within minutes. Try a 14-day free trial and experience the feature-rich Hevo suite firsthand. Also, check out our unbeatable pricing to choose the best plan for your organization.
FAQs
1. What’s the difference between Power BI Desktop and Power BI Service?
Power BI Desktop is used for creating reports, while Power BI Service (cloud-based) is for sharing, collaborating, and managing data online.
2. How do I troubleshoot installation errors?
Check system requirements, confirm you have admin privileges, and ensure you have .NET Framework and Windows updates installed.
3. Can Power BI be integrated with other tools?
Power BI integrates with many tools like Excel, SQL Server, Google Analytics, and cloud services to help access data streams anywhere in the world.
Share it with your connections.
-
 Share To LinkedIn
-
 Share To Facebook
-
 Share To X
-
 Copy Link


