


You are currently at a stage where your organization might need to analyze your data on Intercom to unearth invaluable patterns and insights from your customers’ interaction data. You have chosen to set up a Snowflake Data Warehouse to house your Intercom data (and possibly, data from a lot of other sources as well). If you want to learn about the methods to move data from Intercom to Snowflake, you have landed on the right post.
In this guide, I’ll show you two clear and practical methods to get your data from Intercom to Snowflake, so you can start analyzing without the usual headaches.
Table of Contents
Prerequisites
- Working knowledge of Snowflake.
- Working knowledge of Intercom.
- An Intercom account.
- Access to the Intercom Developer Hub.
- Required credentials to access Snowflake.
Method 1: Using Hevo
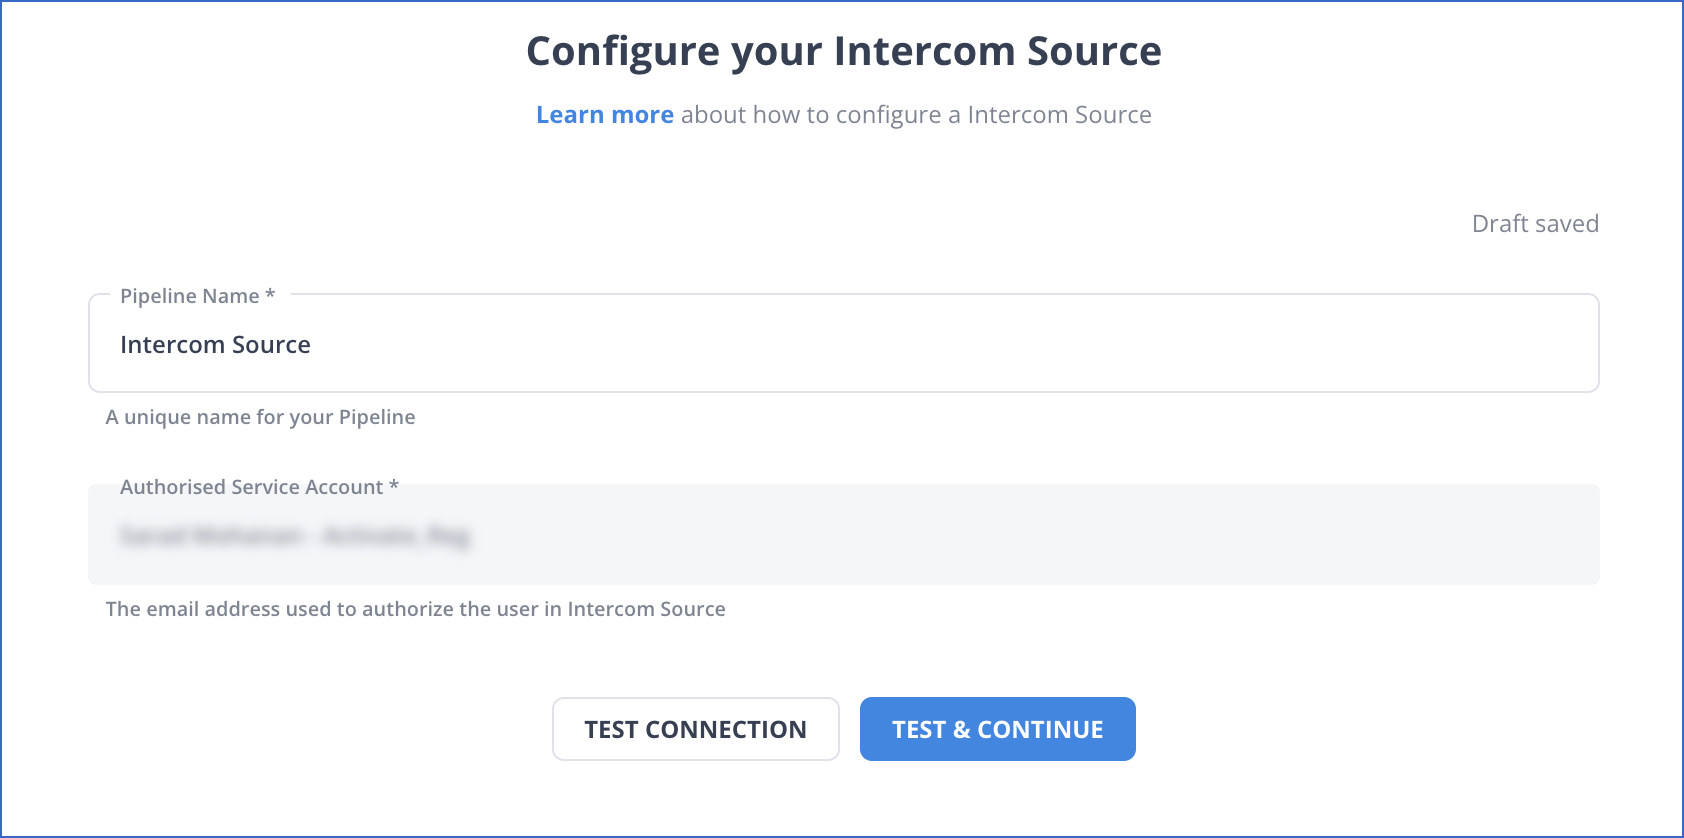
Step 1: Configure Intercom as your Source
You can select Intercom or Intercom Webhooks from the list of sources Hevo supports.
Step 2: Configure Snowflake as the Destination

Method 2: Using Custom ETL Scripts
Step 1: Extract Data from Intercom
Exporting your Intercom data as a CSV file using the RESTful Web API is easy. There are four types of datasets that you can export:
- Inbox reports
- Messages reports
- Articles reports
- Operators reports
You may want to get a list of all messages to analyze their performance, or join message engagement data with user data external to Intercom to attribute performance. In this case, you must use the Export API to provide the range of dates you want exported. To learn more about RESTful API, visit the official website.
To export all of your conversation data for a specific date range (UNIX Epoch time), you are going to use a simple CURL (Request).
curl https://api.intercom.io/export/messages/data
-X POST
-H 'Authorization:Bearer <Your access token>'
-H 'Accept: application/json'
-H 'Content-Type: application/json' -d '
{
  "created_at_after": 1577836800,
  "created_at_before": 1582900395,
}'
You can view the status of your job by using this curl command:
curl https://api.intercom.io/export/messages/data/{job_identifier}
-X GET
-H 'Authorization:Bearer <Your access token>'
-H 'Accept: application/json'
When a job has a status of complete, and thus it has generated a download URL, you can download your data by hitting the provided URL.
HTTP/1.1 200 OK
{
  "job_identifier":"2b8ec70207b7af4",
  "status":"complete",
  "download_expires_at": "1582870440",
  "download_url": "https://api.intercom.io/download/messages/data/message-data-export.d79d41-092f7-182e0-c24a5-124b9-c4c7a8.csv",
}'
Your exported message data will be available to you in a zipped CSV format that you will need to unzip using this command.
curl --compressed https://api.intercom.io/download/messages/data/message-data-export.d79d41-092f7-182e0-c24a5-124b9-c4c7a8.csv
-X GET
-H 'Authorization:Bearer <Your access token>'
-H 'Accept: application/octet-stream'
Step 2: Prepare Data to Load
Snowflake natively supports structured data, which means structured data can be loaded into SQL relational tables. Any valid single-byte delimiter is supported; the default is CSV.

Step 3: Upload the CSV File to Amazon S3
To upload the CSV file to Amazon S3, you must create an Amazon S3 bucket to hold your data. Next, install the AWS CLI on your system, after which you should execute the following command:
aws s3 cp /path/to/messages.csv s3://{YOUR_BUCKET_NAME}Looking for the best ETL tools to connect your Snowflake account? Rest assured, Hevo’s no-code platform seamlessly integrates with Snowflake, streamlining your ETL process. Try Hevo and equip your team to:
- Integrate data from 150+ sources(60+ free sources).
- Simplify data mapping with an intuitive, user-friendly interface.
- Instantly load and sync your transformed data into Snowflake.
Choose Hevo and see why Deliverr says- “The combination of Hevo and Snowflake has worked best for us. ”
Get Started with Hevo for FreeStep 4: Create a Database with a Predefined Table
A Database automatically includes a schema named ‘public’. However, we are going to specify a schema that maps to the CSV data we extracted from Intercom.
/*-----------------------------------------------------------------------

 Create a database.
-----------------------------------------------------------------------*/

create or replace database intercom_database;

/*-----------------------------------------------------------------------

Create target tables for your Intercom CSV data. The tables are temporary, meaning they persist only for the duration of the user session and are not visible to other users.

------------------------------------------------------------------------*/

create or replace temporary table intercom_csv_table (
  user_id string,
  user_email string,
  conversation_id string,
  message_id string,
  message_title string,
  message_type string,
  message_channel string,
  campaign_reference string,
  campaign_name string,
  message_version  string,
  message_style string,
  delivered_as string,
  sent_as string,
  opened_at timestamp,
  clicked_at timestamp,
  hit_goal_at timestamp,
  responded_at timestamp,
  unsubscribed_at timestamp,
  bounced_at timestamp,
  marked_as_spam_at timestamp);

/*----------------------------------------------------------------------

Create a warehouse

----------------------------------------------------------------------*/

create or replace warehouse intercom_warehouse with
  warehouse_size='X-SMALL'
  auto_suspend = 120
  auto_resume = true
  initially_suspended=true;

/*----------------------------------------------------------------------

Create a file format object. File format objects are specified depending

on the type of data you plan to load.
----------------------------------------------------------------------*/

create or replace file format intercom_csv_format
  type = 'CSV'
  field_delimiter = '|'
  skip_header = 1;
Step 5: Create an External Stage
An external stage specifies where the CSV files are stored so that the data can be loaded into a Snowflake table.
create or replace stage intercom_csv_stage url='s3://{$YOUR_AWS_S3_BUCKET}/'
  credentials=(aws_key_id='{$YOUR_KEY}' aws_secret_key='{$YOUR_SECRET_KEY}')
  encryption=(master_key = 8e2e0e469e494a58e16bb956cd071656)
  file_format = intercom_csv_format;
Step 6: Load Data into Snowflake
/*-----------------------------------------------------------------------
Load the pre-staged Intercom data from AWS S3
-----------------------------------------------------------------------*/

list @intercom_csv_stage;

/*-----------------------------------------------------------------------
Load the data
-----------------------------------------------------------------------*/

copy into intercom_csv_table

  from @intercom_csv_stage/message.csv

  on_error = 'skip_file';
Step 7: Validate your Data
Following the data load, verify that the correct files are on Snowflake.
/*----------------------------------------------------------------------

This process returns errors by query ID and saves the results to a table for future reference.

----------------------------------------------------------------------*/

create or replace table save_copy_errors as select * from table(validate(intercom_csv_table, job_id=>'<query_id>'));

/*----------------------------------------------------------------------

Query the results table

---------------------------------------------------------------------*/

select * from save_copy_errors;

/*---------------------------------------------------------------------

Verify the loaded data

---------------------------------------------------------------------*/

select * from intercom_csv_table;
Limitations of Using the Custom Code Method
- Cumbersome Process: This process has many steps and decision points, which introduce unnecessary complexity in your workflow. This process is lengthy and tedious, and debugging is even more cumbersome because it lacks error-handling functionality.
- Data is not available in Real-time: This method does not account for real-time data, which means you’ll have to perform full data refreshes if you wish to include the latest data in your analysis. In case your use case demands you to deliver data in real time, you will need to set up cron jobs to run the above process on a set schedule.
- Maintenance Overhead: Intercom is continuously updating its API, which means you have to commit time and budgets to enable your developers to keep up with new changes and replicate the same on your infrastructure.
- Data Transformations: If you have a use case where you need to transform your data before loading it into Snowflake, for example, say you want to standardize time zones of when the conversations occurred, you will need to build additional code to handle this.
Read More About:
Conclusion
The article provided you with a detailed explanation of 2 methods using which you can easily transfer data from Intercom to Snowflake. The first method requires a lot of your time and resources. If you have no qualms about troubleshooting errors and setting your ETL process manually, then the first method is good for you. However, you should opt for the second method for a simplified and automated data transfer process.
Hevo removes the need to write and maintain custom scripts by letting you move data from Intercom and 150+ other sources effortlessly. It helps your team save time and focus on more valuable tasks. Try Hevo free for 14 days and check out affordable pricing that fits teams of all sizes.
FAQs
1. How to load data from MySQL to Snowflake?
You can load data from MySQL to Snowflake by exporting MySQL data to CSV files and using Snowflake’s COPY INTO command or Snowpipe to load the data directly into Snowflake tables from a stage.
2. What are integrations in Snowflake?
In Snowflake, integrations typically refer to connections or linkages established between Snowflake and external systems, services, or tools.
3. What is SQL API in Snowflake?
In Snowflake, the SQL API refers to the REST API that allows developers and applications to interact programmatically with Snowflake using SQL commands.
4. How to list stages in Snowflake?
You can list stages in Snowflake using the SQL command SHOW stages.
Share it with your connections.
-
 Share To LinkedIn
-
 Share To Facebook
-
 Share To X
-
 Copy Link


