If you want to know everything about JIRA and its key features, gain a decent understanding of Time Tracking Software, you have landed at the right place. You will also learn how to generate JIRA Time Tracking Reports. You will get to know about the Metrics used in Time Tracking Report to analyze so that the best conclusions could be drawn.
On a complete walkthrough of this article, you will gain a decent understanding of JIRA Time Tracking. Also, you will be able to configure JIRA Time Tracking and start building JIRA Time Tracking Reports.
Table of Contents
Introduction to JIRA
JIRA is a Project Management Software program, developed by Atlassian for Bug Tracking and Agile Project Management use cases. JIRA is a multilingual tool because it supports languages such as English, French, German, Japanese, and Spanish.
It is frequently used as an Issue-Tracking tool for all forms of testing. It’s a tool for Incident Management and can be used for Project Management, Bug Tracking, Issue Tracking, and Workflow, among other things. It is quite adaptable and may be customized to meet any process. JIRA supports MySQL, Oracle, PostgreSQL, and SQL servers at the backend.
Key Features of JIRA
A few of the many key features of JIRA are:
- Agile Project Management
- Wide Range of Customization
- Engaging Workflow
- Rich Toolkit for Developers
- Accessible Data
- Flexible Deployment Options
- Robust Integration Support
- Enterprise-Grade Security Control
- Scalable
- Mobile Apps
1) Agile Project Management
The platform primarily focuses on Agile Project Management, with Scrum and Kanban methodologies available. It’s also capable of capturing regulatory evidence at various stages of the development process. JIRA Software further supports a variety of Estimation Methods, Including Hours, Storey Points, and more. This way, you can always be sure you’re dealing with the most up-to-date information.
2) Wide Range of Customization
JIRA was envisioned as a flexible system that could adapt to the needs of various niches and industries. It evolved over time into a highly adaptable and feature-rich solution that uses a hybrid Scrumban strategy that mixes Scrum and Kanban to adapt to every user circumstance, driven by such intent.
3) Engaging Workflow
JIRA also gives you a 360-degree perspective of your processes, which is really useful. This ensures that everyone on the team is aware of the Workflows and that no steps are missed. Team members, in fact, receive quick updates on things that interest them, and they may converse, share ideas, and attach critical documents.
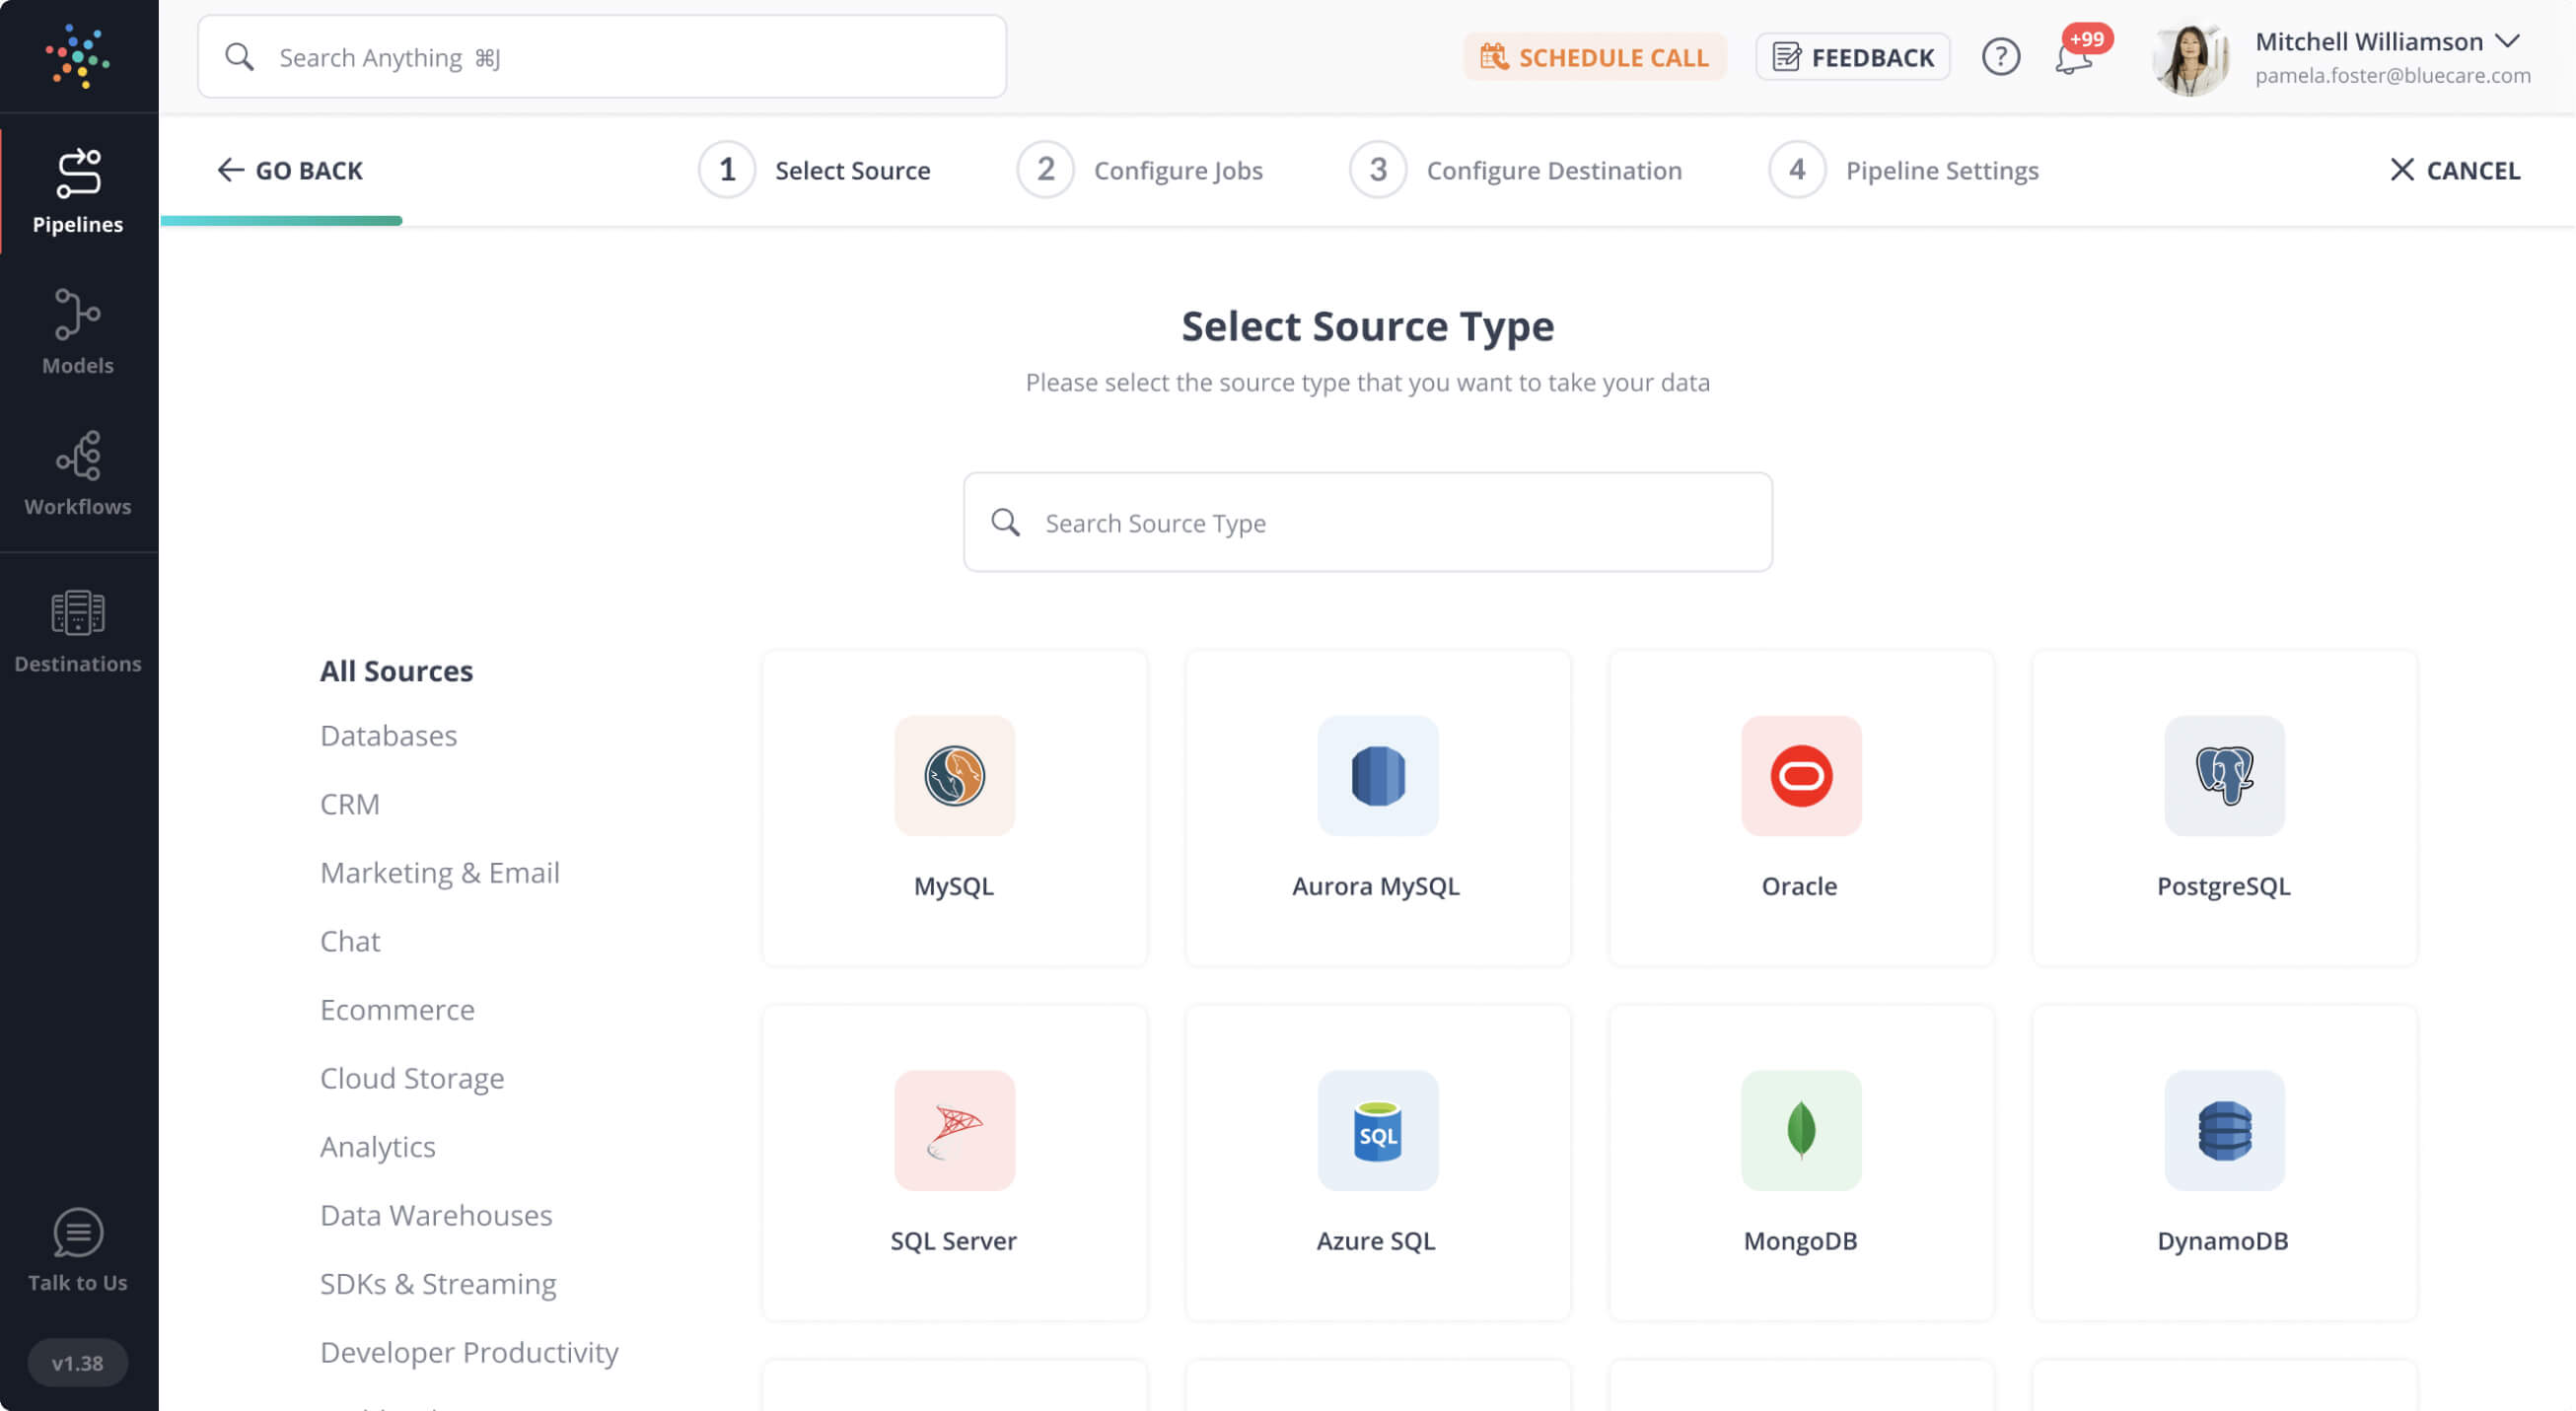
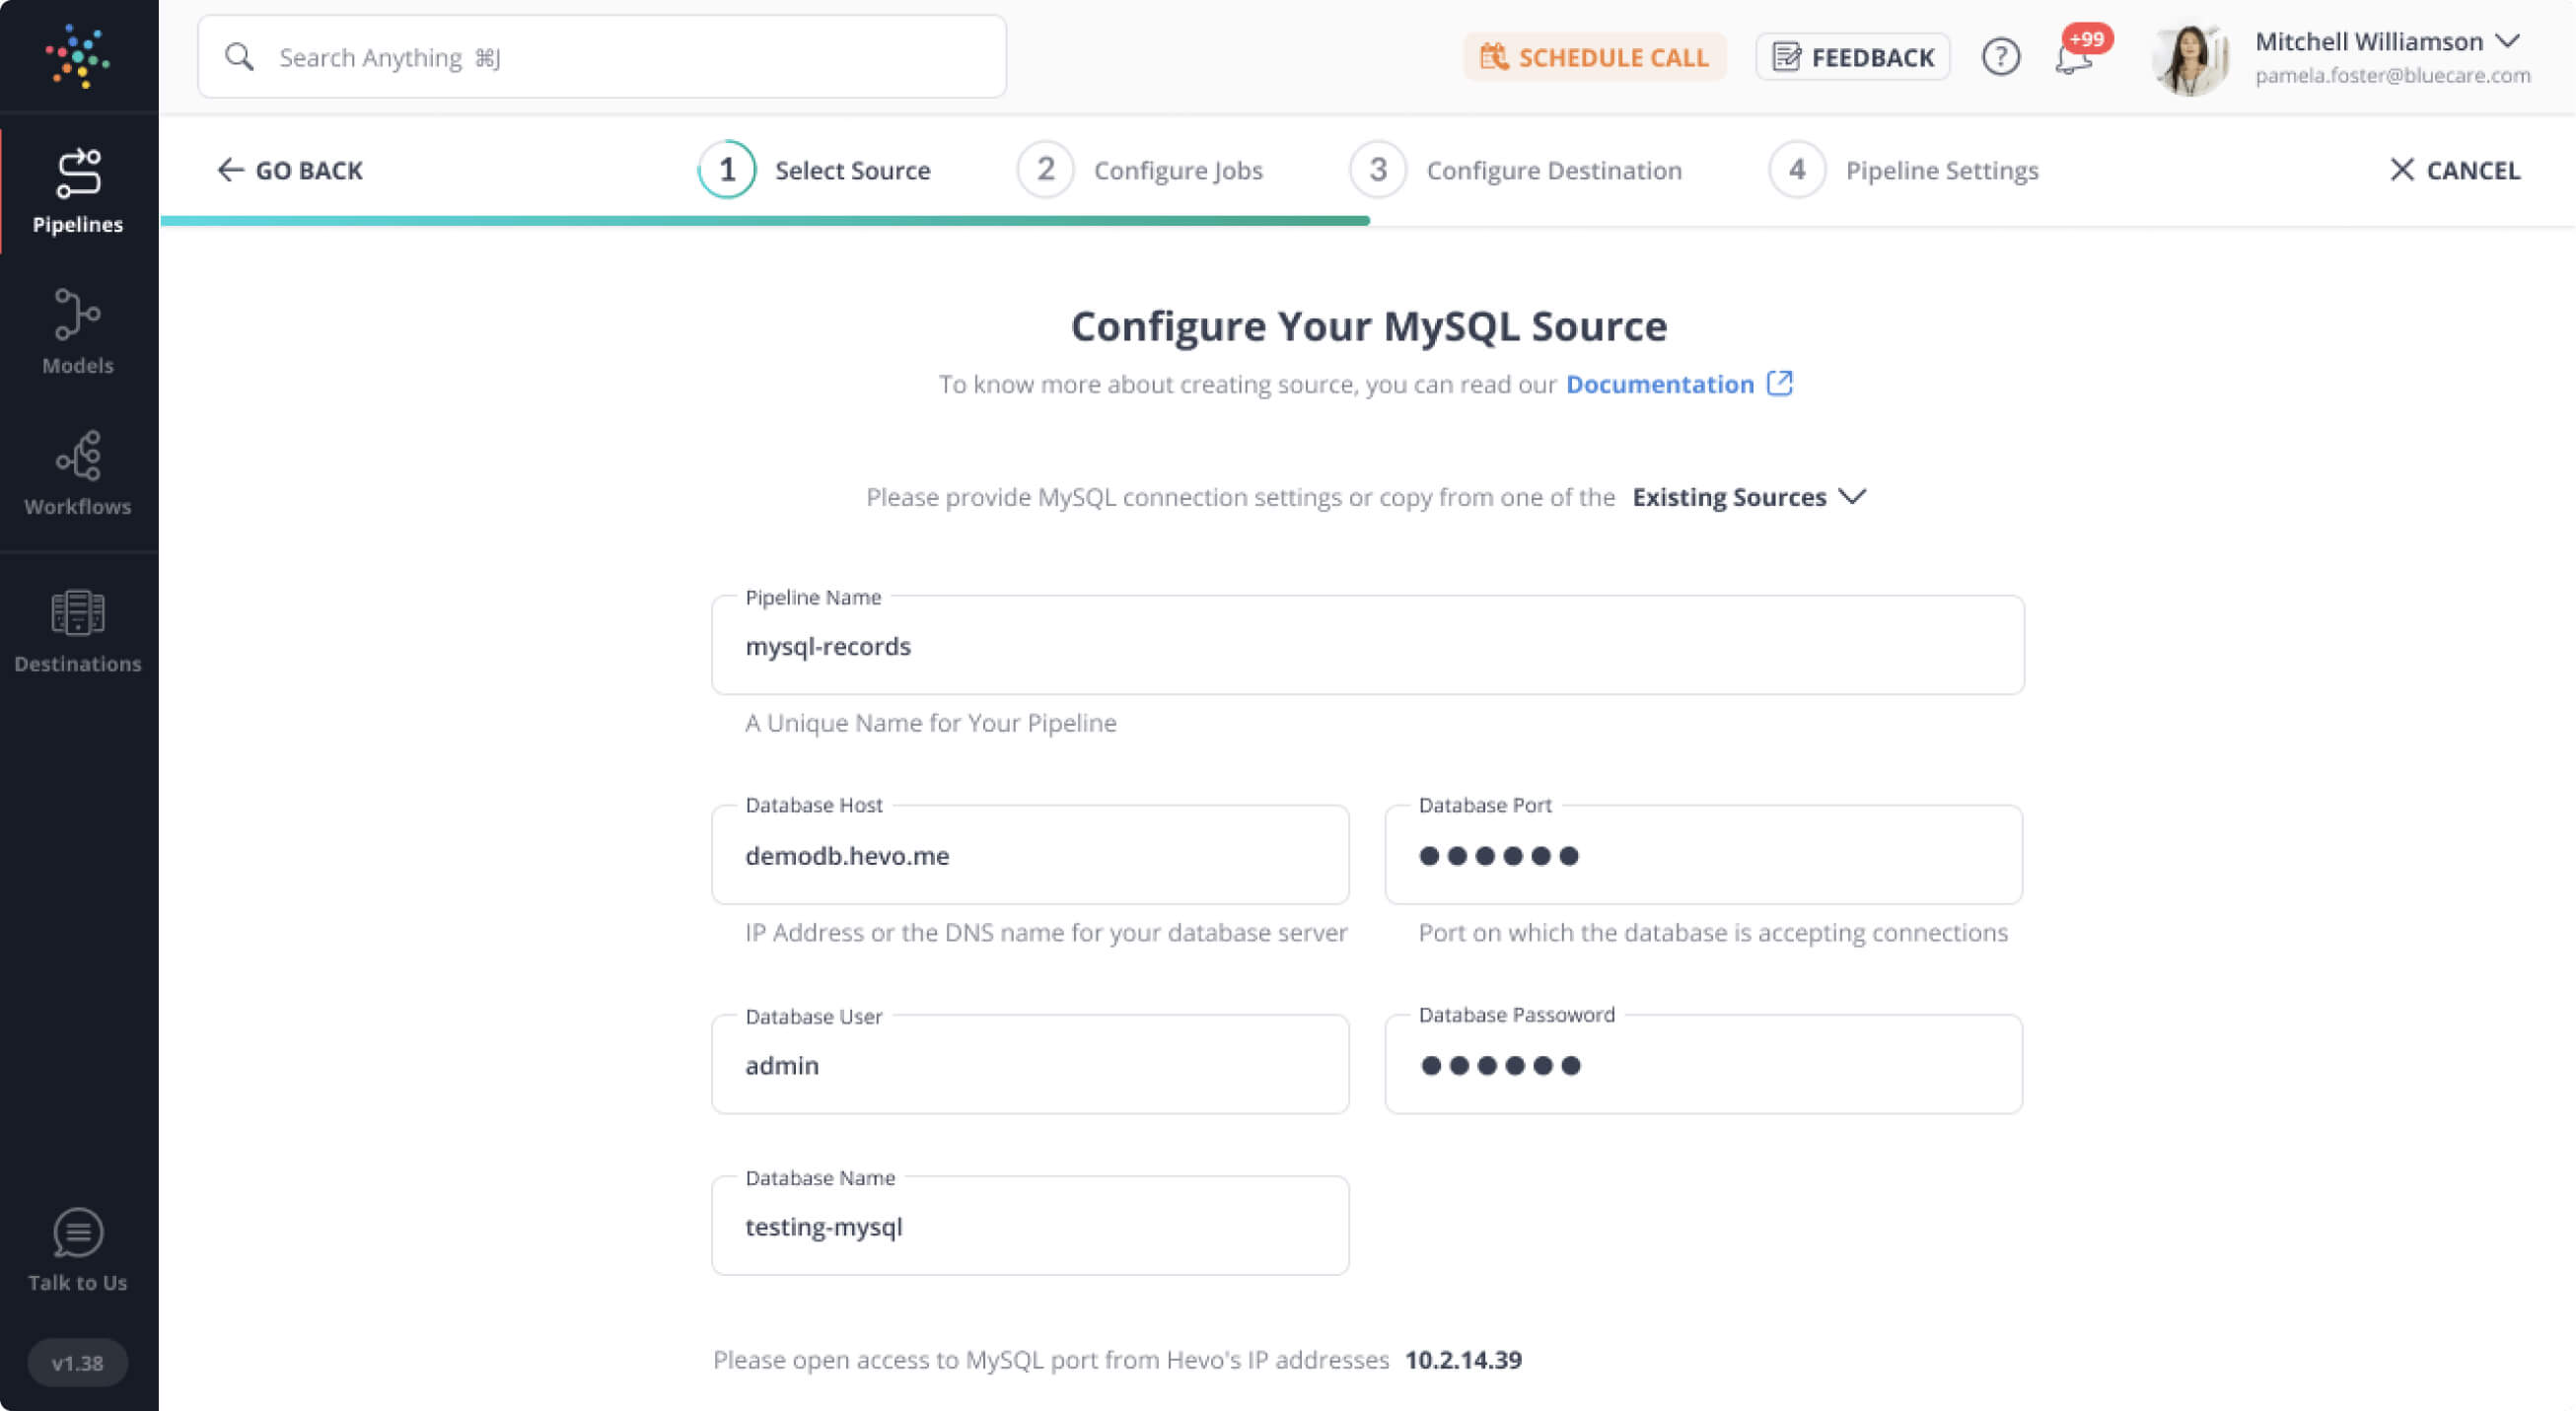
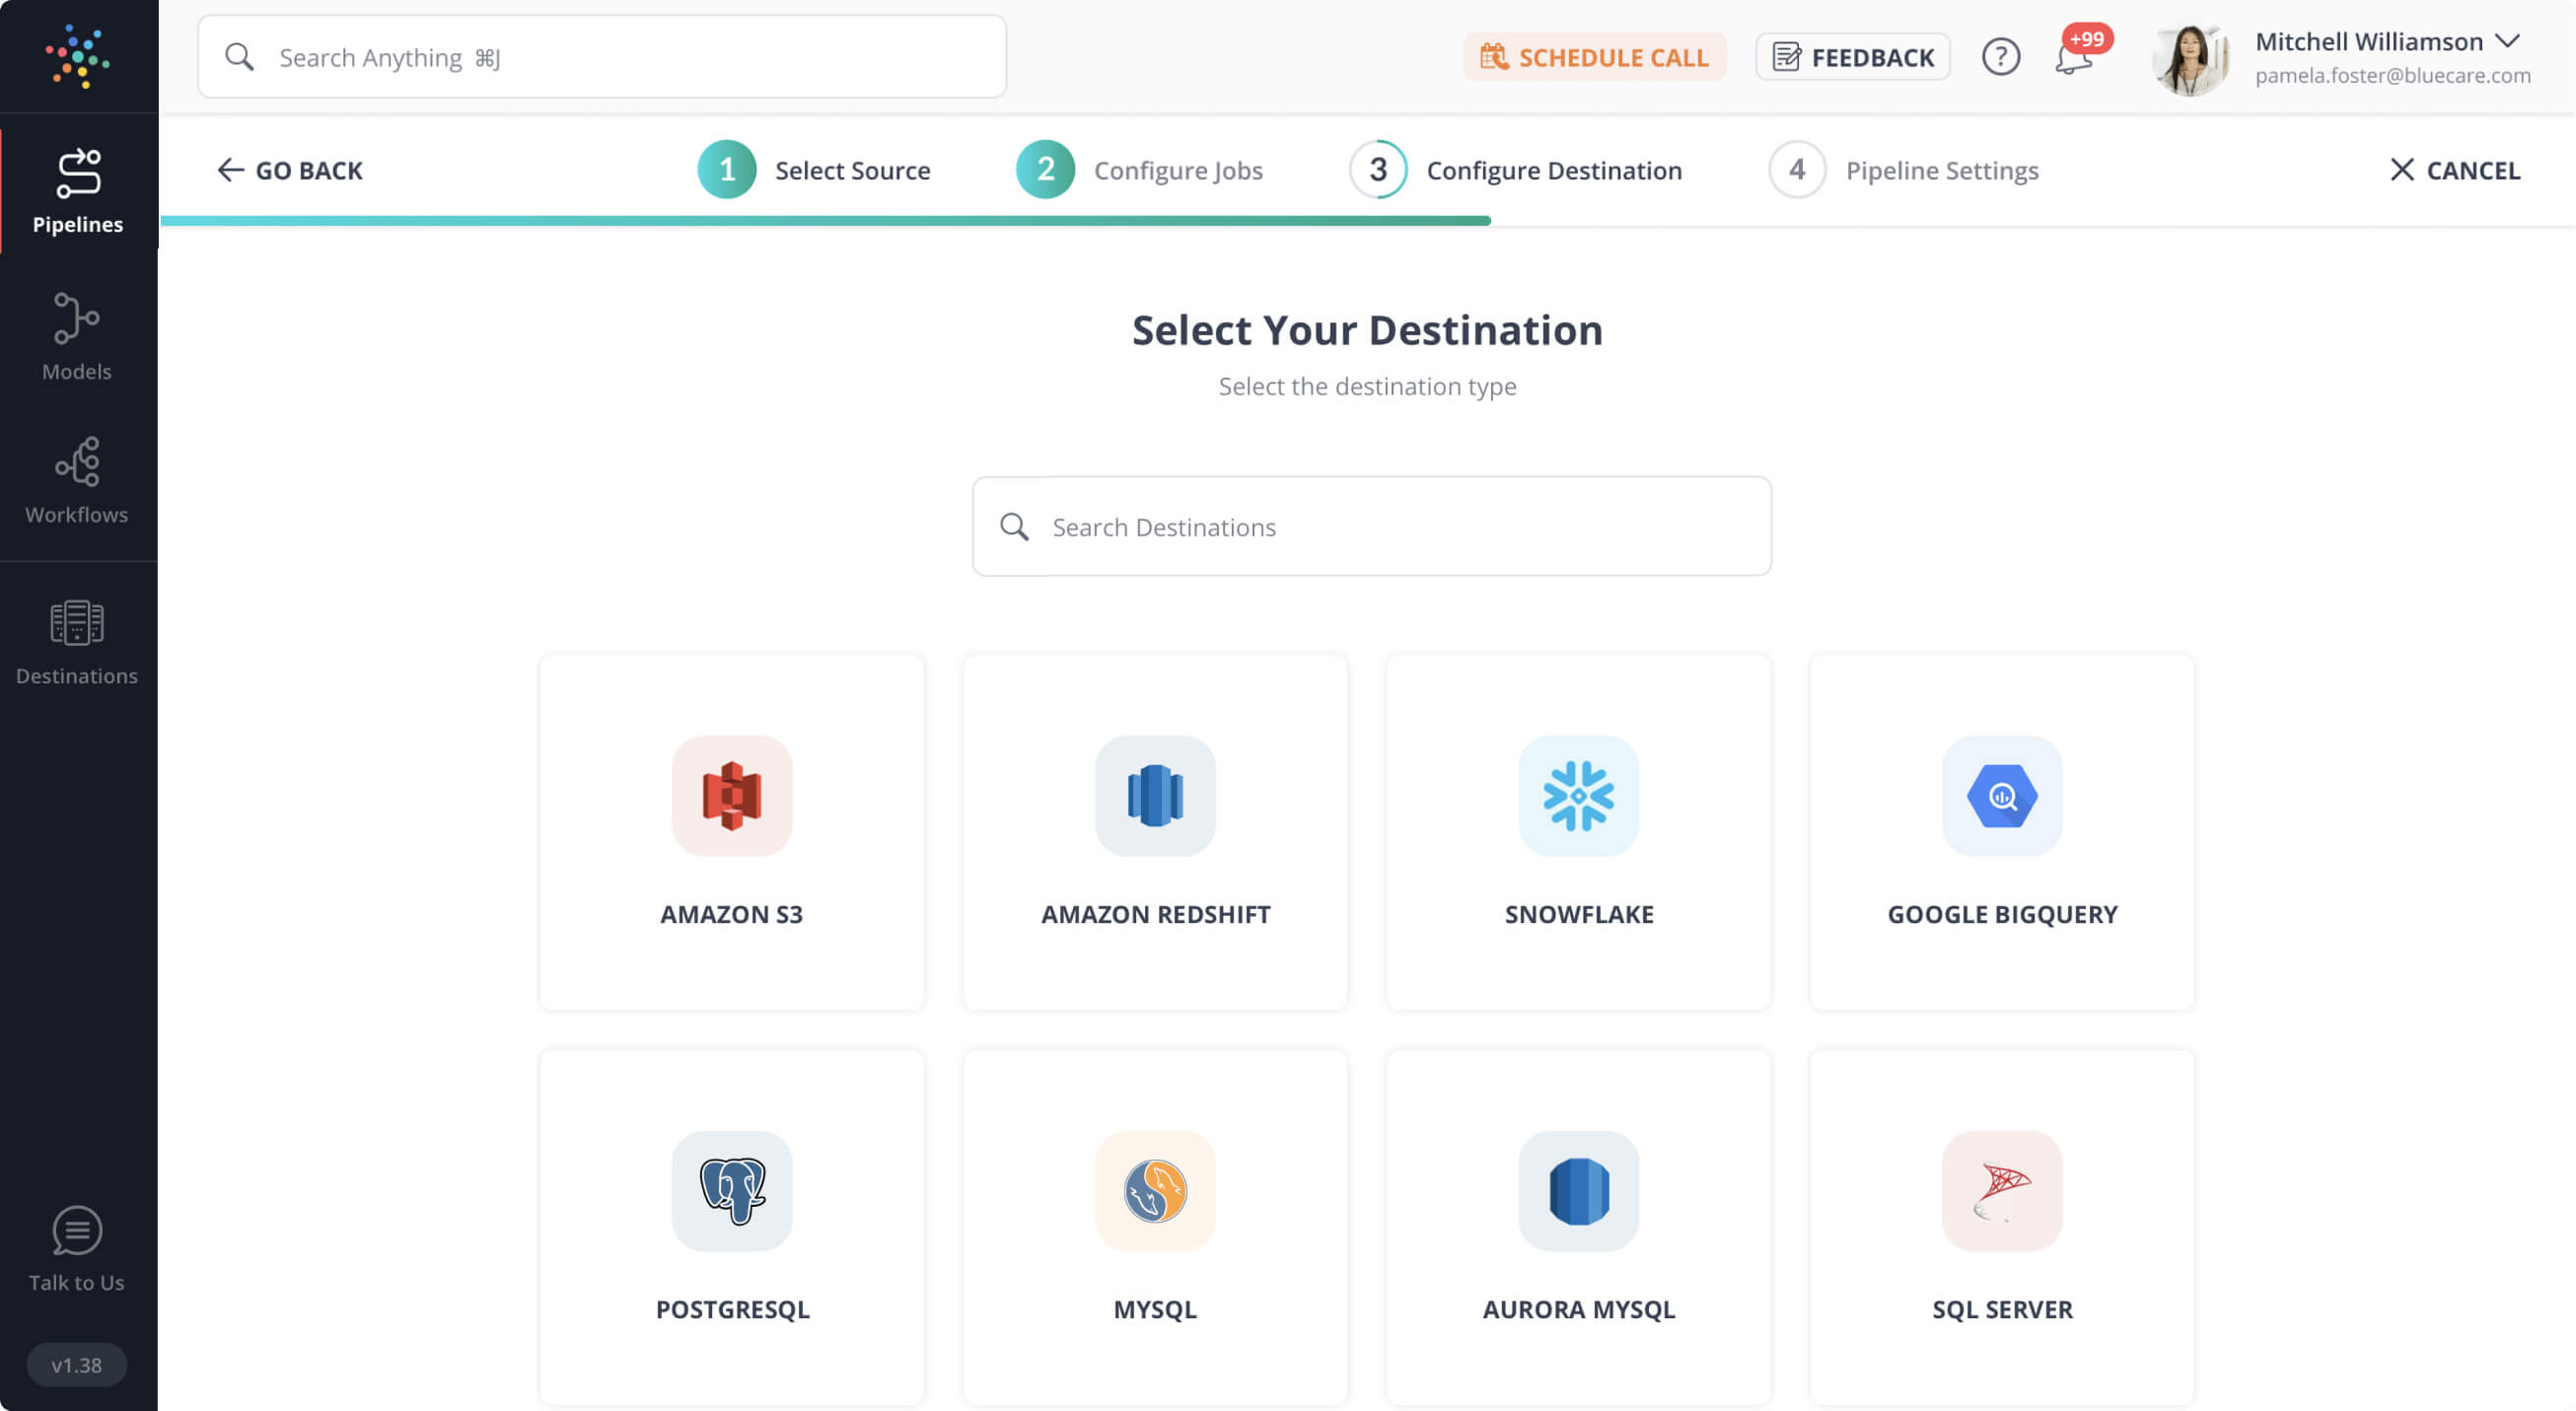
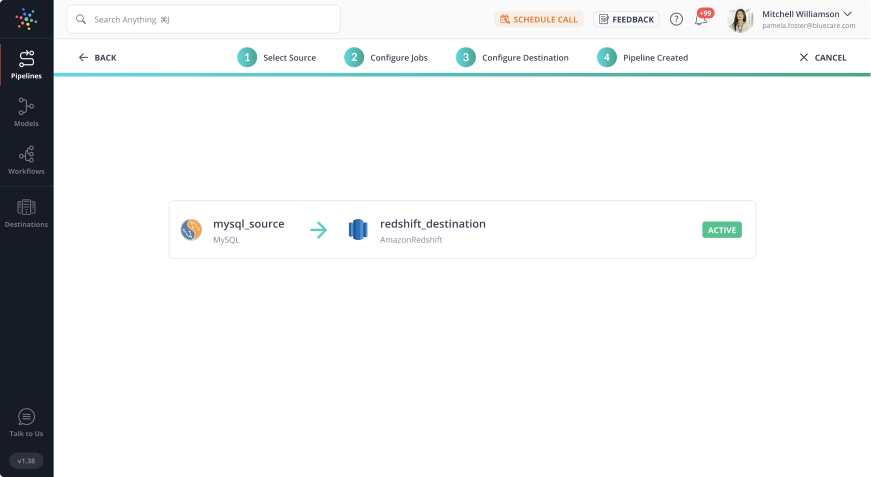
Effortlessly connect Jira Cloud and automate your workflows with Hevo! Streamline data sync, gain instant insights, and boost team productivity—no coding, just seamless integration. Get started now! Ensure seamless data migration using features like:
- Seamless integration with your desired data warehouse, such as BigQuery or Redshift.
- Transform and map data easily with drag-and-drop features.
- Real-time data migration from 150+ connectors.
Still not sure? See how Postman, the world’s leading API platform, used Hevo to save 30-40 hours of developer efforts monthly and found a one-stop solution for all its data integration needs.
Get Started with Hevo for Free4) Rich Toolkit for Developers
The developers will have access to a specific JIRA Query Language (JQL) that they may use to quickly design filters and manipulations. JIRA may be linked to BitBucket and GitHub to offer backlog-to-deployment traceability, and new processes can be established to coordinate the many ways users build, test, and release their apps. JIRA’s rich collection of APIs may also be used to connect it to Third-Party Software and get the exact Data Migration patterns you want.
5) Accessible Data
JIRA centralizes all of your company’s historical data in one place. Users can simply access and retrieve data from this location whenever they need it. This enables users to do a variety of Statistical Studies including Trend Analysis. It also makes it easier to prepare Constructive Reports on Operational Progress.
6) Flexible Deployment Options
Linux and Windows installers are available for the OnPremise option, depending on their present software infrastructure, but they may also choose JIRA OnDemand, which is hassle-free and requires minimal maintenance. You may easily swap between the OnPremise and OnDemand solutions as your preferences change.
7) Robust Integration Support
Developers are supplied with flexible REST and Java APIs, as well as 3,000+ add-ons and plugins available in the Atlassian Marketplace, so extending JIRA’s power and making it work in line with your business needs will be a breeze. As a result, JIRA is perfectly capable of integrating into any Software environment and is ready to use as soon as your account is set up.
8) Enterprise-Grade Security Control
Through Bank-Grade Security and centralized administration for JIRA Software and other Atlassian Cloud products, the solution protects the safety of data and files. Admins can use the tools or processes that they need to design a flexible governance strategy that doesn’t obstruct access or collaboration. API token control, SAML SSO (single sign-on), user provisioning, and enforced two-factor authentication are just a few examples of such tools or processes.
9) Scalable
If you choose the Premium Package, you can rest be assured that JIRA Software will grow with your company. There is no limit to the number of files or attachments you could post, making collaboration easier for starters.
10) Mobile Apps
JIRA’s native mobile apps keep Android and iOS users linked, making it suitable for big and remote teams working across a multitude of locales. The applications are equally as capable as the system’s desktop and on-premises versions, so you can use them to execute all tasks and processes, as well as access all data in your Database.
Introduction to Time Tracking Software
Time-Tracking Software is a type of computer program that allows employees to track how much time they spend on specific jobs or projects. Many industries, including those that use freelancers and hourly labor, often use the program. Professionals who bill their consumers by the hour also use it. Lawyers, freelancers, and accountants are among a few of them.
The Time-Tracking Software can be used independently or in conjunction with other applications such as Project Management Software, Customer Service, and Accountancy. The Time-Tracking Software replaces the standard paper Timesheet with an electronic version. Time-Tracking Software also includes Time-Recording Software, which employs User Activity Monitoring to track the activities performed on a laptop and the amount of time spent on each task.
Key Features of Time Tracking Software
Businesses can analyze the time spent on activities and better understand what practices drive employees to engage in less productive activities by tracking time spent on tasks. The key features of Time Tracking Software include:
- Invoices to the professional’s clients or customers are generated automatically based on the time spent.
- It is very simple to track cost overruns for fixed-cost projects.
- Metrics like Attendance, Employee Absenteeism, Human Resources Difficulties, Payroll, Talent Management, and Labour Analytics can be tracked by Workforce packages of the Time Tracking Software.
Understanding the Need to Generate JIRA Time Tracking Report
Below are the few use cases, where Time Tracking Reports in JIRA are extremely useful:
- To Keep Track of how much time was spent on each issue, task, or project.
- To Create Client Timesheets and Invoices. The documents can then be attached to the payment method and made visible to consumers and partners.
- To Assess and Allocate Duties in accordance with the current reports.
- To begin Triangulation, Start Estimating Deadlines using prior projects as a primary guide.
- To Create Visual Representations of the amount of time spent on various projects.
- To Integrate Third-Party Tools to help with Time Tracking and Planning. Atlassian Marketplace offers many tools for JIRA Time Tracking Report.
JIRA Time Tracking Report Metrics
There are four JIRA Time Tracking Report Metrics:
- Original Estimate: This is the First Estimate of how long it would take to finish the respective issue.
- Estimated Time Remaining: This is the Current Estimate of how much time it will take to finish the ongoing issue.
- Time Spent: This Metric answers the question “How much time was spent on the problem”. This is the total amount of time that has been spent on the current topic.
- Accuracy: Accuracy is the difference between the Original Estimate field and the sum of the Time Spent and Estimated Time Remaining fields.
Steps to Configure Time Tracking in JIRA
Time Monitoring allows your team to keep track of how much time they spend working on problems. It’s enabled by default in JIRA; if you disable or re-enable it, you won’t lose any existing data. The steps needed to configure Time Tracking in JIRA:
- Step 1: Checking Time Tracking Permissions
- Step 2: Enabling or Disabling Time Tracking
- Step 3: Configure Time Tracking
- Step 4: Selecting Time Tracking Provider
Step 1: Checking Time Tracking Permissions
You must allow users, the Work On Issues permission in their project to track their time. To double-check your project’s Time-Tracking rights, go to the settings menu and click on Issues, then go to Permission Schemes and select Permissions. There you will see a Time Tracking Permission section, simply go to Work On Issues and click Edit.
Now, you can select, de-select users, groups, project roles, and click Grant to give the permissions. There are five different types of permissions available here:
- Work On Issues: A worker can keep track of his or her work associated with a problem.
- Delete All Worklogs: A user can delete all Worklogs, even those added by other users.
- Delete Own Worklogs: Only Worklogs made by the employee can be deleted.
- Edit All Worklogs: All Worklogs, even those added by others, can be edited by this individual.
- Edit Own Worklogs: Only Worklogs that a crew member has personally added can be edited.
Step 2: Enabling or Disabling Time Tracking
For JIRA Cloud projects, Time Tracking is always enabled. You can choose whether or not to use the feature in your projects by:
- In the field configurations of your company-managed projects, you can Show or Hide the Time Tracking field.
- Adding or Removing the Time Tracking field from issue types in your team-managed projects.
Step 3: Configure Time Tracking
To configure Time Tracking in JIRA, select Issues from the menu bar, then select Time Tracking from the Issue Features sidebar. Then, select Edit Global Settings from the menu.
Configure the areas below to customize your Time Tracking settings:
Now, finally click Save, to configure Time Tracking.
Step 4: Selecting Time Tracking Provider
Custom Time Tracking providers are available in the Atlassian Marketplace for JIRA Cloud apps. In place of JIRA’s default Time Tracking tools, Marketplace apps can provide more extensive Time Tracking capabilities.
To change your Time Tracking provider, from the Atlassian Marketplace, Find and Install a custom Time Tracking add-on. Select Issues from the menu bar and then select Time Tracking from the Issue Features sidebar. Now, from the Time Tracking provider dropdown, select the App which you added earlier. You can also add alerts for these apps.
Steps to Generate JIRA Time Tracking Report
The JIRA Time Tracking Report shows crucial Time Tracking data on issues for a certain project version. This report displays the original and current time estimates for all issues and whether they are ahead of or behind schedule. The following steps are needed to be implemented to build JIRA Time Tracking Report:
- Step 1: Navigating to JIRA Time Tracking Report Menu
- Step 2: Selecting Version and Issues for your Report
- Step 3: Sorting Issues for your Report
- Step 4: Selecting Sub-Tasks for your Report
Step 1: Navigating to JIRA Time Tracking Report Menu
To generate JIRA Time Tracking Report navigate to the desired project. In the sidebar, go to Reports and click Forecast & Management and then select JIRA Time Tracking Report. You will now see a configuration page like this:
Step 2: Selecting Version and Issues for your Report
Select the version you want to report from the Fix Version drop-down list. This version’s issues will be included in the report. Choose which issues will be included in the report from the Issues drop-down list:
- To include all issues assigned to this version, select All; or
- Select Incomplete Issues Only to eliminate issues that are either completed (i.e. have no Estimated Time Remaining) or are not Time-Tracked (i.e. do not have an Original Estimate). It’s worth noting that the status of an issue has no bearing on which issues are presented.
This is how you can select the specific version and issue for your JIRA Time Tracking Report.


Step 3: Sorting Issues for your Report
You can choose how the issues in the report will get grouped from the Sorting drop-down list. You can either choose Least Completed Issues first to see issues with the Highest Estimated Time Remaining, or Most Completed Issues first to see issues with the Shortest Estimated Time Remaining.
Step 4: Selecting Sub-Tasks for your Report
Choose which Sub-tasks will be included in the report from the Sub-task Inclusion drop-down list for all parent issues that belong to the Fix Version you have chosen:
- To only include an issue’s sub-tasks if they belong to the same version as the problem, select Only include sub-tasks with the selected version; or
- Select Also Include sub-tasks without a version set to include an issue’s sub-tasks whether they belong to the same version as the problem or no version at all; or
- Select Include all sub-tasks to include all of an issue’s sub-tasks, whether they belong to the same version, a different version, or none at all.
Now, you have to simply click Next. You have now successfully configured and generated JIRA Time Tracking Reports.
If Sub-tasks are disabled, then the final report will look something like this:
If Sub-tasks are enabled, then the final report will look something like this:
This is how you can build a JIRA Time Tracking Report with ease!
Conclusion
This article teaches you how to configure Time Tracking in JIRA and build JIRA Reports for Time Tracking. It provides in-depth knowledge about the concepts behind every step to help you understand and implement them efficiently. You can integrate many such platforms using Hevo.
Visit our Website to Explore HevoHevo Data, a No-code Data Pipeline, helps you transfer data from a source of your choice such as JIRA in a fully automated and secure manner without having to write the code repeatedly. Hevo, with its strong integration with 150+ sources & BI tools, allows you to not only export & load data but also transform & enrich your data & make it analysis-ready in a jiff. Sign up for free trial today and explore more.
Frequently Asked Questions
1. How do I get time in status report in Jira?
To get time in status reports, use Jira’s built-in Time Tracking feature, which allows you to track time spent in different statuses. You can use JQL queries to filter issues based on time spent in specific statuses and create custom reports.
2. How to see time tracking report in Jira?
Navigate to the Reports section of Jira and choose Time Tracking Report. This will display the total time logged on issues within a project, broken down by work logs, time spent, and estimated time.
3. How do you track time in Jira?
To track time in Jira, use the Log Work feature on an issue to manually log hours worked. You can also enable time tracking in your project’s settings to automatically track time for specific tasks or using a Jira time tracking plugin.


