The database industry has undergone a number of changes in recent years, resulting in a greater shift toward a Database as a Service (DBaaS) model versus On-Premise Infrastructure. Most business apps rely on Databases, and Cloud-based DBaaS services provide users with a Flexible, Scalable, and On-demand Platform that eliminates the need to set up costly physical hardware. MongoDB Atlas is a fully Cloud-based Database Service that hosts your data on MongoDB Instances. On the other hand, the Node.js driver provides an interface for connecting MongoDB Atlas Nodejs and communicating with MongoDB Instances.
Upon a complete walkthrough of this article, you will gain a holistic understanding of MongoDB Atlas and Node JS. This article will also provide you with a step-by-step guide on how to connect to MongoDB Atlas from a Node JS application and set up MongoDB Atlas Nodejs Integration.
Table of Contents
What is MongoDB Atlas?
MongoDB Atlas is a fully managed cloud database service for MongoDB. It allows firms to automate infrastructure management in deploying, scaling, and maintaining databases. Highly available on major cloud providers, including AWS, Azure, and Google Cloud, it offers built-in security, global distribution, and backup. It’s generally the best choice for developers looking to focus on building applications rather than database administration. Read the steps to perform MongoDB Transactions on Nodejs to normalize the data.
Prerequisites
- An active MongoDB Atlas account.
Effortlessly integrate your MongoDB data with Hevo’s no-code platform. Hevo automates data ingestion, transformation, and loading from 150+ sources, such as MongoDB, to destinations, including Snowflake, Redshift, and BigQuery.
- No-code setup for faster integrations
- Pre and post-load transformations for data accuracy
- Real-time data ingestion for up-to-date insights
How to Build the MongoDB Atlas Nodejs Integration?
Building the MongoDB Atlas Nodejs Integration is a fairly easy process. Follow the given three steps to set up MongoDB Atlas Nodejs Integration:
Step 1: Create a MongoDB Atlas Cluster
The first step involved in building the MongoDB Atlas Nodejs Integration requires you to create a new cluster. Follow the steps given below to do so:
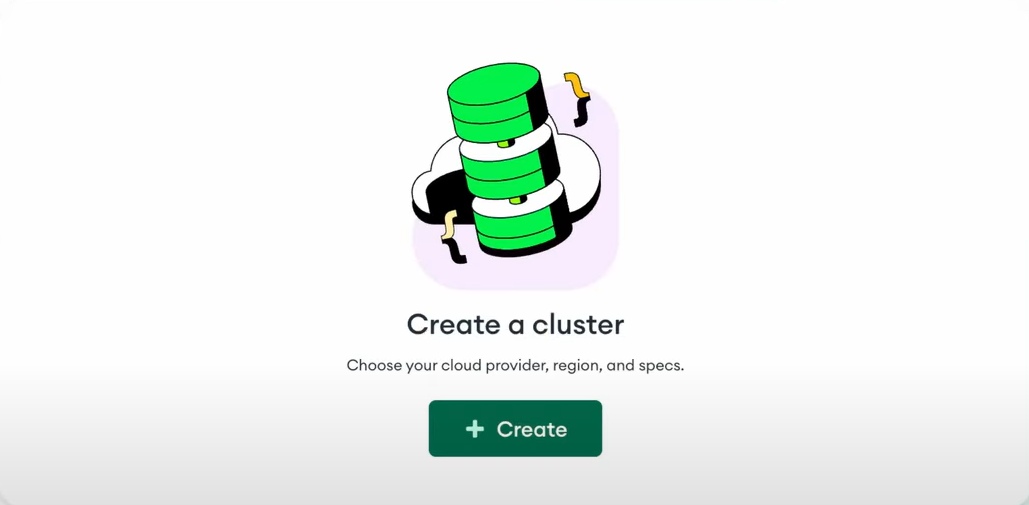
- Log in to your MongoDB Atlas account using the appropriate credentials. If you have never created a Cluster, you will encounter a screen like this:

- Click on the green-colored Build a Cluster button to create a new cluster. Upon clicking, you need to select the Cloud Provider and Region. You can proceed by leaving other settings to their default state.
- Once you have selected the Cloud Provider and Region, MongoDB Atlas will take around 5-10 minutes to configure and create a new cluster.
Step 2: Add User and Whitelist IP address
Once you have successfully created a cluster, it’s time to add a Database User and IP address of your current machine. Follow the steps given below to do so:
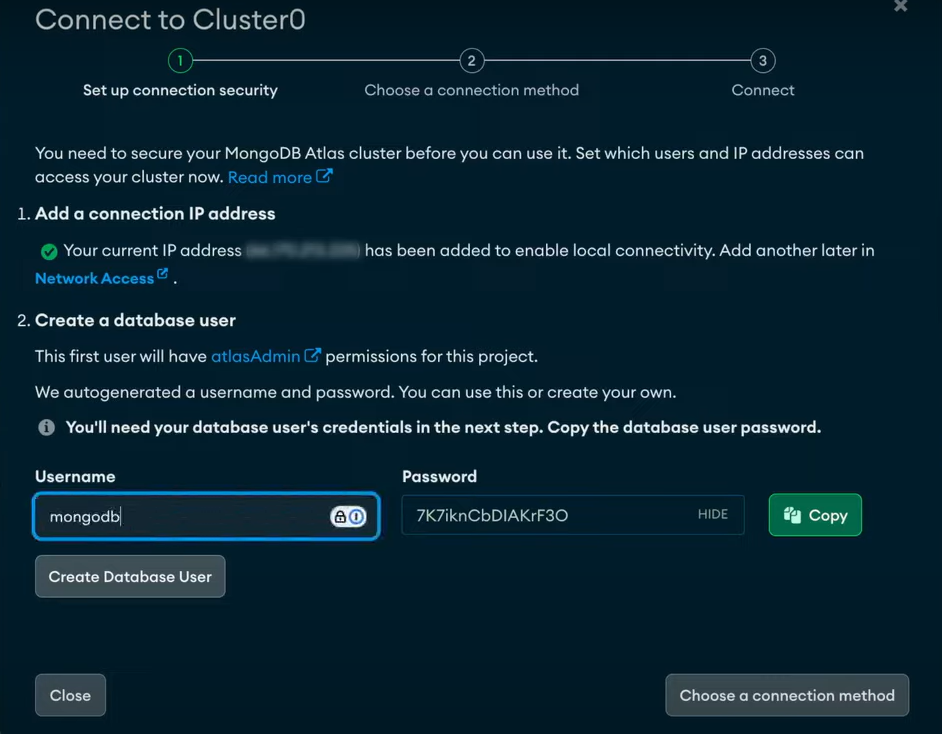
- Navigate to the Database Access option and click on Add New Database User.
- Fill in the Username and Password fields.
- The next step is to Whitelist your IP address so that your machine can be recognized for regular access. To Whitelist an IP address, navigate to the Network Access option and click on Add IP Address.
- Now, click on Allow Access from Anywhere which sets the IP address to global access.

Step 3: Connect to your Database
- Head back to the home page of MongoDB Atlas and select the Clusters option.
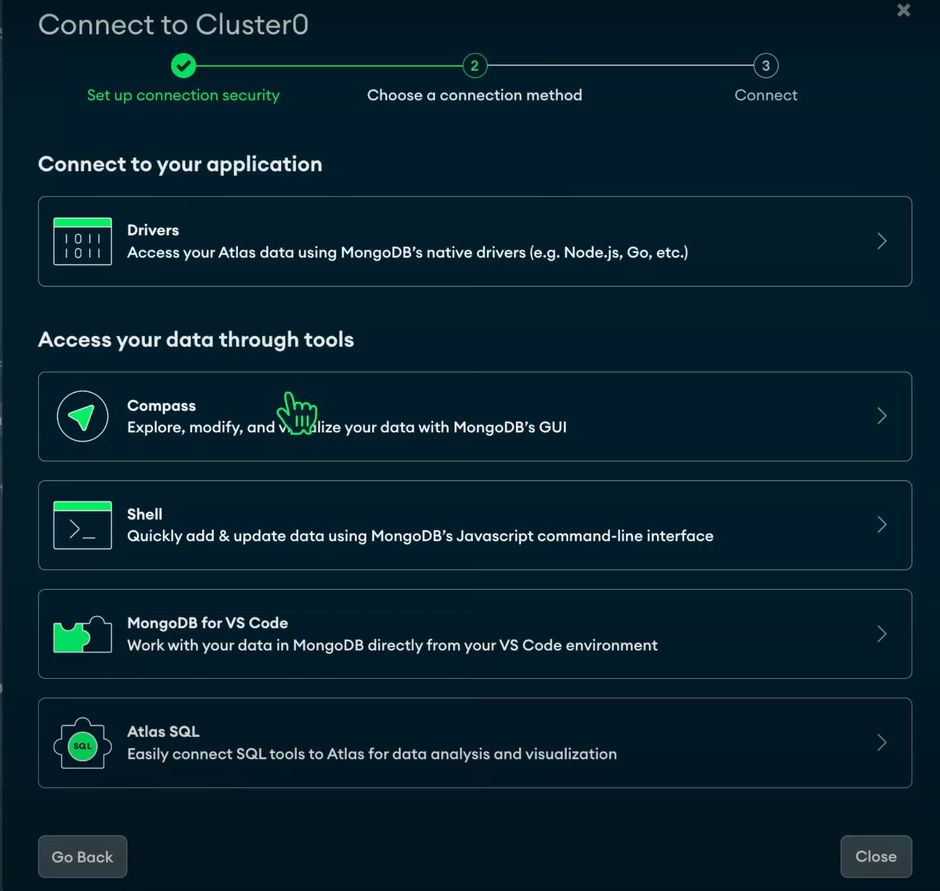
- Now, click on the Connect Your Application option to set up a connection between your application and cluster using MongoDB’s native drivers.
- Select Node.js as the native driver and save the Connection String provided by MongoDB Atlas for further reference.

- It’s now time to use Mongoose to create your database connection. Install Mongoose in your project by using the npm install mongoose command. Copy and paste the code below into db.js.
//db.js

const mongoose = require('mongoose')

const url = `Connection String`;

const connectionParams={
    useNewUrlParser: true,
    useCreateIndex: true,
    useUnifiedTopology: true
}
mongoose.connect(url,connectionParams)
    .then( () => {
        console.log('Connected to the database ')
    })
    .catch( (err) => {
        console.error(`Error connecting to the database. n${err}`);
})- Imports the
mongooselibrary to interact with MongoDB. - Sets up the MongoDB connection string in the
urlvariable. - Configures connection options like
useNewUrlParser,useCreateIndex, anduseUnifiedTopology. - Connects to MongoDB using
mongoose.connect()with the specifiedurland connection parameters. - Logs a success message if the connection is established or an error message if it fails.
- Replace password with your own password and dbname with the name that you would like to give to your database. Once you have successfully executed the above code, you will see a Connected to the Database message on your console.
Once you have followed all the above steps in the correct sequence, you will be able to set up MongoDB Atlas Nodejs Integration in no time.
Conclusion
This article introduced you the steps required to set up MongoDB Atlas Nodejs Integration. As your business begins to grow, data is generated at an exponential rate across all of your company’s SaaS applications, Databases, and other sources. To meet this growing storage and computing needs of data, you would require to invest a portion of your engineering bandwidth to Integrate data from all sources, Clean & Transform it, and finally load it to a Cloud Data Warehouse for further Business Analytics. All of these challenges can be efficiently handled by a Cloud-Based ETL tool such as HevoData.
Want to take Hevo for a spin? Sign Up for a 14-day free trial and experience the feature-rich Hevo suite first hand. You can also have a look at the unbeatable Hevo Pricing that will help you choose the right plan for your business needs.
Share with us your experience of building MongoDB Atlas Nodejs Integration in the comments below!
Frequently Asked Questions
1. How do I give access to MongoDB Atlas?
You can give access to MongoDB Atlas by managing user permissions and network access through the MongoDB Atlas dashboard.
2. Can I run MongoDB Atlas locally?
MongoDB Atlas is a cloud service and cannot be run locally; use the standalone MongoDB server for local environments.
3. How to use MongoDB with Atlas?
Create a cluster on Atlas, configure users and network access, connect via the provided connection string, and optionally use MongoDB Compass for GUI interaction.


