MySQL is a widely used database used by big organizations to run their business activities. Companies Replicate MySQL Database to tackle the challenge of maintaining high data availability. This article provides a comprehensive step-by-step guide to help you replicate the MySQL database on another server.
Upon a complete walkthrough of the content, you will have in-depth knowledge of MySQL and how it handles replication, and you will be able to Replicate MySQL Database to backup/transfer your data with ease!
Table of Contents
What is MySQL?

MySQL is considered to be one of the most popular open-source relational database management systems (RDBMS). MySQL implements a simple client-server model that helps its users manage relational databases, i.e., data stored in the form of rows and columns across tables. It uses the well-known query language, Structured Query Language (SQL), that allows users to perform all required CRUD (Create, Read, Update, Delete) operations.
What is MySQL Database Replication?
- Replication refers to copying data from one server to another to ensure high data availability and accessibility and make the system fault-tolerant.
- MySQL leverages the master-slave replication to achieve replication, allowing users to copy data from their MySQL database (master server) into one or more MySQL databases (slave servers).
- With data replication in place, MySQL distributes the load over multiple databases & helps access and analyze data seamlessly, making the system fault-tolerant.
- In the master-slave mechanism of replication, data replication takes place as a one-way process, and hence, it allows users to copy data only from the master server and store it in the slave servers.
- Here, the master server is responsible for the write operations, whereas the slaves handle the read operations.
Why Replicate MySQL Database to Another Server?
- Improves data availability.
- Increases the speed of accessing data.
- It helps create backups to increase data security.
- Improved analytics.
- You can use replication to create a local copy of data for a remote site.
Types of MySQL Replication
There are several varieties of replication modes, including:
Type 1 – Asynchronous replication
- The master and slave databases are loosely connected in this manner. Events are sent to the slave by the master, although the slave might not use them right away.
- In the case that the master fails before the slave has implemented every event, this might result in possible data discrepancies.
Type 2 – Synchronous replication
- Using this strategy, before committing the changes locally, the master waits for the slave to acknowledge receipt and successful application of each event.
- This guarantees that the slave’s data is always current with the master’s, but the added delay may have an adverse effect on performance.
Type 3 – Semi-Synchronous replication
- The owner waits for a minimum of one slave to confirm receipt of an event before committing the change locally.
- A reconciliation of synchronous and asynchronous replication.
You should consider MySQL sharding to enhance scalability alongside replication.
Replicating MySQL doesn’t have to be complex. Relax and go for a seamless migration using Hevo’s no-code platform. With Hevo, you can:
- Effortlessly extract data from MySQL and over 150+ connectors.
- Tailor your data to the destination’s needs with features like drag-and-drop and custom Python scripts.
- Achieve lightning-fast data loading, making your data analysis-ready.
Try to see why customers like ThoughtSpot have upgraded to a powerful data and analytics stack by incorporating Hevo!
Free 14-Day Trial with HevoMethod 1: Using Hevo Data to Replicate MySQL Database
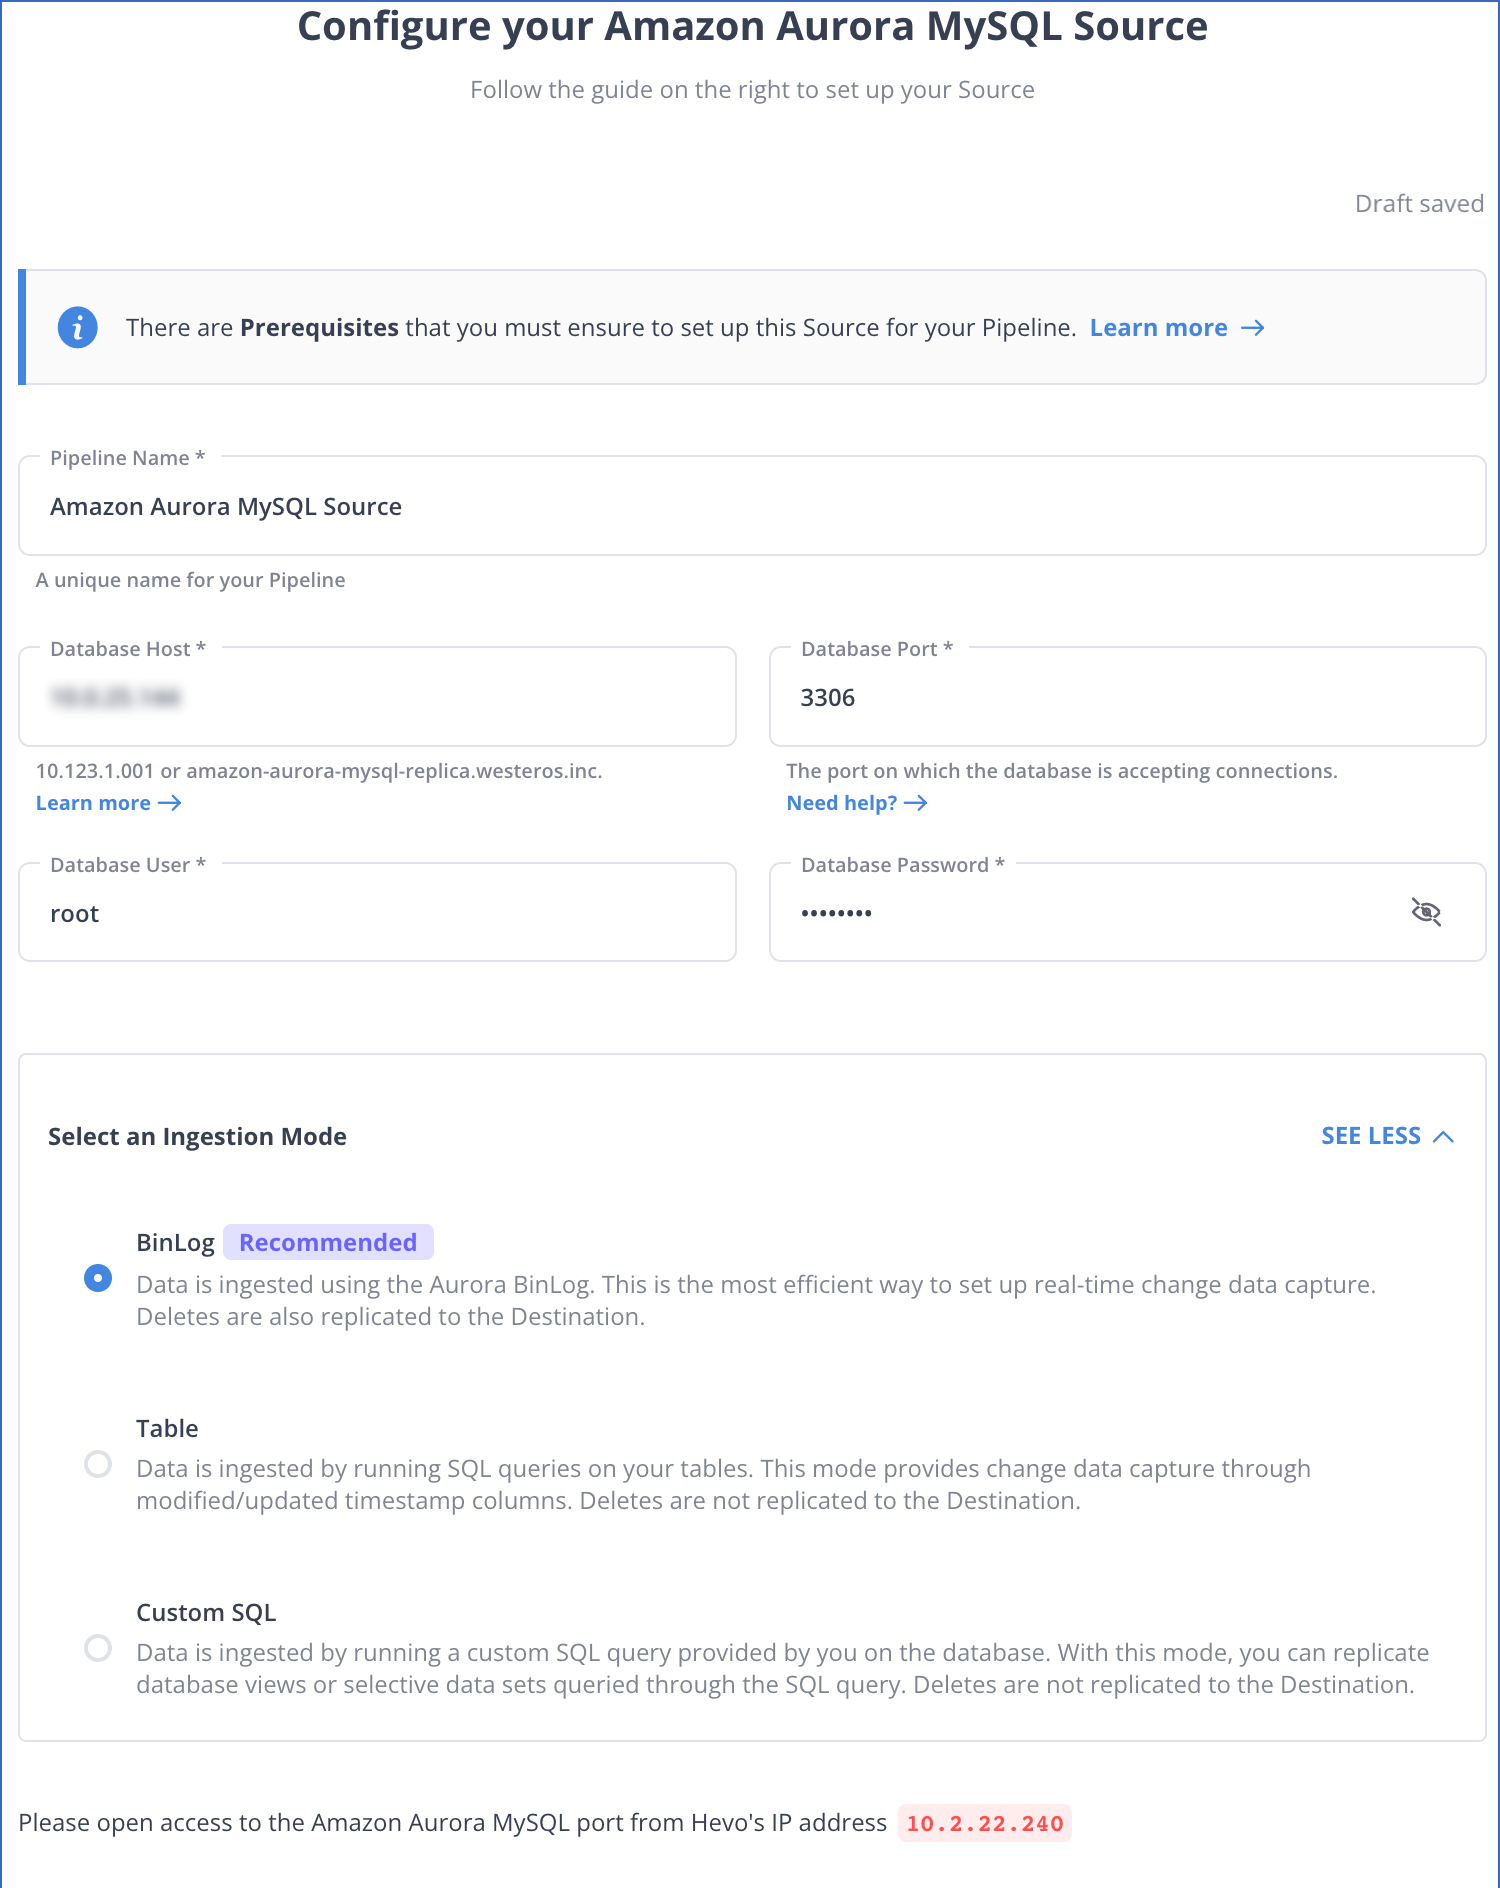
Hevo Data, a No-code Data Pipeline, helps you replicate data from MySQL to Data Warehouses, Business Intelligence Tools, or any other destination of your choice in a completely hassle-free & automated manner. Hevo supports data ingestion for replication from MySQL servers via Binary logs (BinLog).
A binary log is a collection of log files that records information about data and data object modifications made on a MySQL server instance. Hevo utilizes Binary logs to replicate the MySQL Database to another server.
To learn more, check out Hevo’s documentation for MySQL replication.
Method 2: Using Master-Slave Approach to Replicate MySQL Database.
Prerequisites
- Two servers – Master(Source) and slave(destination)- are running on Ubuntu.
- Both Servers should have users with sudo privileges.
- MySQL should be installed on both servers.
- Run mysqlcheck to verify and repair tables prior to setting up replication.
Steps to perform the Master-Slave method to replicate the MySQL database:
Step 1: Adjusting Your Source(Master) Server’s Firewall
Adjust your master server’s IP; otherwise, its firewall will block any connection attempts from your replica. To do this, you can use the following command in your cmd:
sudo ufw allow from replica_servers_ip to any port 3306
Here, replace replica_servers_ip With the IP address of your replica server, and 3306 is MySQL’s default port number.
Check the firewall status using the following command:
sudo ufw statusIf it shows Inactive, then you need to enable the firewall using the command:
sudo ufw enableAfter running this command, you will be prompted with the following output:
Status: active

To                         Action      From

--                         ------      ----

3306                       ALLOW       10.2.69.36
Utilize mysqldump to prepare your databases for replication processes.
Step 2: Configuring the Source Database
To replicate the MySQL database to another server, you must make a few changes to the master server. In Ubuntu 20.04, the default MySQL server configuration file is named ‘mysqld.cnf‘. Open this file and make the following changes.
To open the file and make changes, run the following commands:
cd /etc/mysql/mysql.conf.d
sudo nano mysqld.cnfcd /etc/mysql/mysql.conf.dchanges the current directory to the folder containing MySQL configuration files.sudogrants administrative (root) privileges to modify system files.nano mysqld.cnfopens the MySQL configuration filemysqld.cnfusing the Nano text editor.- This allows you to edit MySQL settings such as server options, ports, and buffer sizes.
- Changes to
mysqld.cnfaffect the behavior of the MySQL server upon restart.
Inside the file, make the following changes:
- Change the
bind-address= source_server_ip - Change the
server_id=1 - Set
log_bin= /var/log/mysql/mysql-bin.log - Set
binlog_do_db = include_database_name
After making these changes, save and close the file. Now, restart MySQL using the command:
sudo systemctl restart mysqlStep 3: Creating a Replication User
We must create a dedicated user to connect to the replica server. To do this, run the following commands in the MySQL shell:
create user 'replica_user'@'replica_server_ip' IDENTIFIED WITH mysql_native_password 'source_server_password';After the new user has been created, you need to grant it all the privileges using the following commands:
GRANT REPLICATION SLAVE ON *.* TO 'replica_user'@'replica_server_ip';FLUSH PRIVILEGES;Step 4 — Retrieving Binary Log Coordinates from the Source
In any case of replication based on binary log file position using MySQL replication, you must specify a set for a replica. The replica uses these locations to determine where it should begin duplicating database events in the log file and which ones it has previously processed.
Now, you must close and lock all the open tables in every database on your source instance. After that, check the current status information for the source’s binary log files. You can do this by running the following commands:
FLUSH TABLES WITH READ LOCK;SHOW MASTER STATUS;After this, you will see a table similar to:
+----------------+--------+-------------+-----------------+-------------------+
|File            |Position| Binlog_Do_DB| Binlog_Ignore_DB| Executed_Gtid_Set |
+----------------+--------+-------------+-----------------+-------------------+
|mysql-bin.000001| 861    | master      |                 |                   |
+----------------+--------+-------------+-----------------+-------------------+

1 row in set (0.00 sec)
Step 5: Create a Database in the Master Server
If your server doesn’t have data stored in the master server, you must create a database and table. To do that, run the following commands:
UNLOCK TABLES;CREATE DATABASE DATABASE_NAME;CREATE TABLE TABLE_NAME(COLUMN1 DATA-TYPE, COLUMN2 DATA-TYPE,....)INSERT INTO TABLE_NAME VALUES(VALUE1,VALUE2,...)After following these steps, you will create a database and a table and insert some records into your table.
NOTE: If your source has existing data to migrate, you can use the mysqldump utility to migrate the historical data. However, you must make a few changes to that database using simple steps.
Step 6: Configuring the Replica Database
Now that you have configured the master database, you need to configure the replica database to establish the connection between them and start the replication. The steps are similar to what you did while configuring the master database.
Create a database with the same name as in the master server.

Then run the following commands to configure the replica:
cd /etc/mysql/mysql.conf.d/sudo nano mysqld.cnfEnter the user’s password, and the configuration file will open. Inside the ‘mysqld.cnf‘ file, make the following changes:
Set server-id= 2log_bin= /var/log/mysql/mysql-bin.logbinlog_do_db=include_database_namerelay-log = /var/log/mysql/mysql-relay-bin.log
Remember that the database name in binlog_do_db should be the same as the one created in the master.
After making these changes, save and close the file. Then, restart MySQL on the replica to implement the new configuration:
sudo systemctl restart mysql

Step 7: Starting and testing the replication
Now that you have configured the replica, you must enable the replication for this instance. After that, it will connect to the source(master) and start reading the data.
To do this, you need to run the following command in MySQL:
CHANGE REPLICATION SOURCE TO

SOURCE_HOST='source_server_ip',

SOURCE_USER='replica_user',

SOURCE_PASSWORD='password',

SOURCE_LOG_FILE='mysql-bin.000001',

SOURCE_LOG_POS=Position from where you want to read;
Note: SOURCE_LOG_POS will be displayed in the table you received as output in step 4.
For example: If I have my source_ip as ‘10.2.69.11’ , user name as ‘replica_user’, password= pass@123 and SOURCE_LOG_POS= 4, then this command will look like:

Now, activate the replica server by giving the command:
START REPLICA;Check the status of the replica using:
SHOW REPLICA STATUS\G;After this, you will get an output similar to:

Now, insert some records into the source database. You will see that the changes are also replicated to the replica server.
For example, I created a table called ‘test’ with columns id and name, which have two records (1, a) and (2,b). Now, if I insert a third record (3,c), the replica will show the following output:

You can also check if the database and the table have been replicated by using the commands:
show databases;show tables in database_name;You will receive an output like:

Congratulations! You have successfully performed the MySQL database replication using the Master-Slave approach.
Helpful and Related Read – Migrating from MySQL to PostgreSQL


Formats for replication
There are two primary replication formats that MySQL supports. Let’s examine each of these formats in more detail to learn how they function and what advantages and disadvantages they have.
Format 1 – Statement-based replication
- In statement-based replication, modifications to a database are stored as SQL statements, which are subsequently replicated to every replica.
- Next, in the same order as the master database, the copies carry out the identical statements. Simple, uncomplicated replication scenarios are best served by the user-friendly and effective SBR replication format.
- It does, however, have certain restrictions. For instance, it might not be able to effectively handle some kinds of non-deterministic assertions, which could lead to issues with replication.
Format 2 – Row-based replication
- Row-based replication stores modifications to a database in the same way that individual data rows are modified.
- Replication conflicts can be resolved more readily and with greater flexibility using this sort of replication than with SBR, since it can manage more complicated data changes.
- It’s a solid option for demanding replication circumstances because it can handle complicated data structures better.
- But because RBR needs greater network bandwidth and storage capacity to send the extra data, it is also more resource-intensive than SBR.
You can also take a look at how you can perform MYSQL Master-Slave Replication.
Conclusion
This article teaches you how to replicate a MySQL Database with ease. It provides in-depth knowledge about the concepts behind every step to help you understand and implement them efficiently. You can also optimize your databases with MySQLTuner for smoother replication processes.
While you can use the Master-Slave method to set up MySQL replication, as described in this post, it is quite effort-intensive and requires in-depth technical expertise. This is where Hevo saves the day. Sign up for Hevo’s 14-day free trial and experience seamless data migration.
Move data effortlessly with Hevo’s zero-maintenance data pipelines. Get a demo that’s customized to your unique data integration challenges.
FAQ on Replication in MySQL
How to replicate the existing MySQL database?
You can replicate your MySQL database using two methods:
1. Using the Master-slave approach
2. Using automated data platforms like Hevo
What is replication in MySQL?
Replication in MySQL involves creating a replica of data from a MySQL server(master) to one or more MySQL servers(slaves) to have redundant data, thus enhancing database availability and performance.
How to check for duplicate MySQL?
You can check for duplicates using SQL queries, the GROUP BY clause, and aggregate functions like COUNT().
Is MySQL replication fast?
MySQL database replication is usually fast, but the speed could depend on several factors, such as the size of the database, network latency, and bandwidth.