MongoDB is a document-oriented database created by MongoDB Inc. to provide software database services. It is classified as a NoSQL database due to its document-oriented nature. Meanwhile, MongoDB documents are represented in a JSON-like structure.
It provides high scalability because of its ability to be updated on the fly without causing downtimes. MongoDB provides shell interactions via tools like Mongo and mongosh. MongoDB shell or mongosh is a superset of mongo, providing improved syntax highlighting, command history, and improved logging. Mongosh works typically like mongo, so a user doesn’t have to learn new syntax.
In this article, you will get to know how to start the MongoDB server and Windows MongoDB Shell Installation in 3 easy steps.
Table of Contents
What is MongoDB?
MongoDB is a well-known open-source NoSQL database built on the C++ programming language. MongoDB is a document-oriented database that uses JSON-like documents and a Dynamic Schema to store information. It means that while saving your data, you won’t have to worry about the Data Structure, the number of fields, or the types of fields used to store values. JSON objects are identical to MongoDB Documents.
You can change the structure of records by simply adding new fields or deleting existing ones (which MongoDB refers to as Documents). This functionality can be used to describe Hierarchical Relationships, Store Arrays, and other more sophisticated Data Structures in MongoDB. MongoDB is being utilized to store enormous volumes of data by a number of digital companies, including Facebook, eBay, Adobe, and Google.
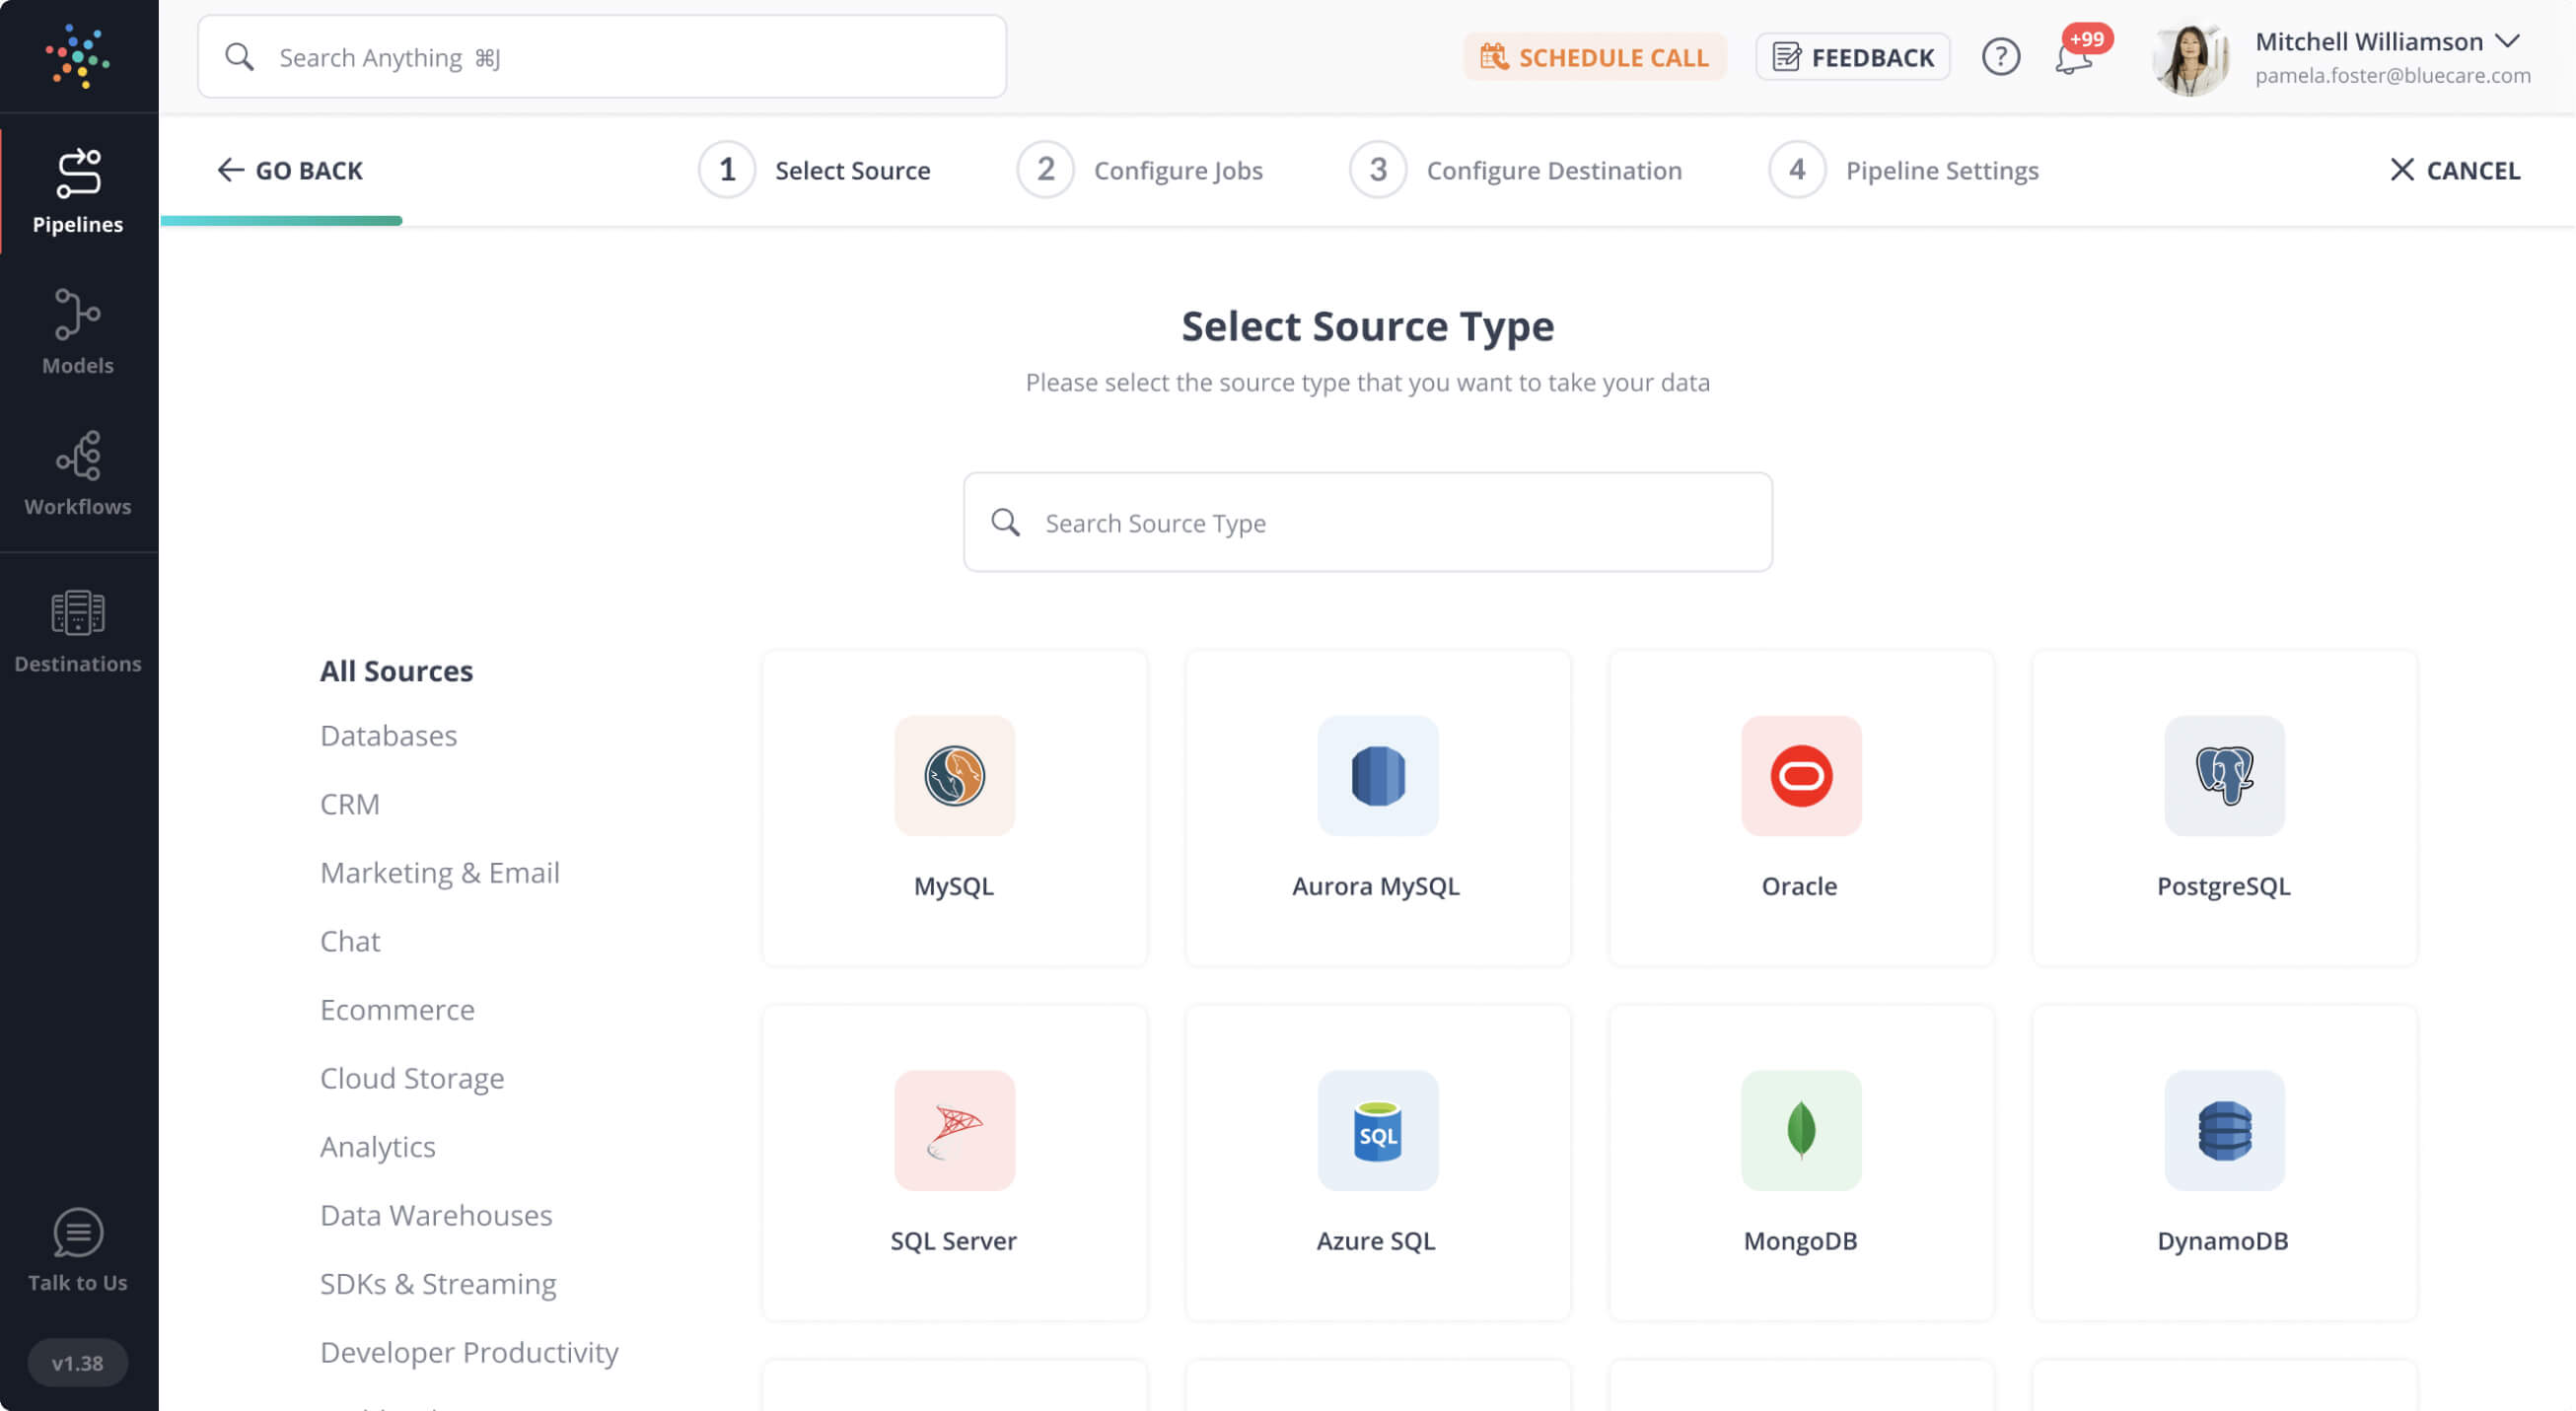
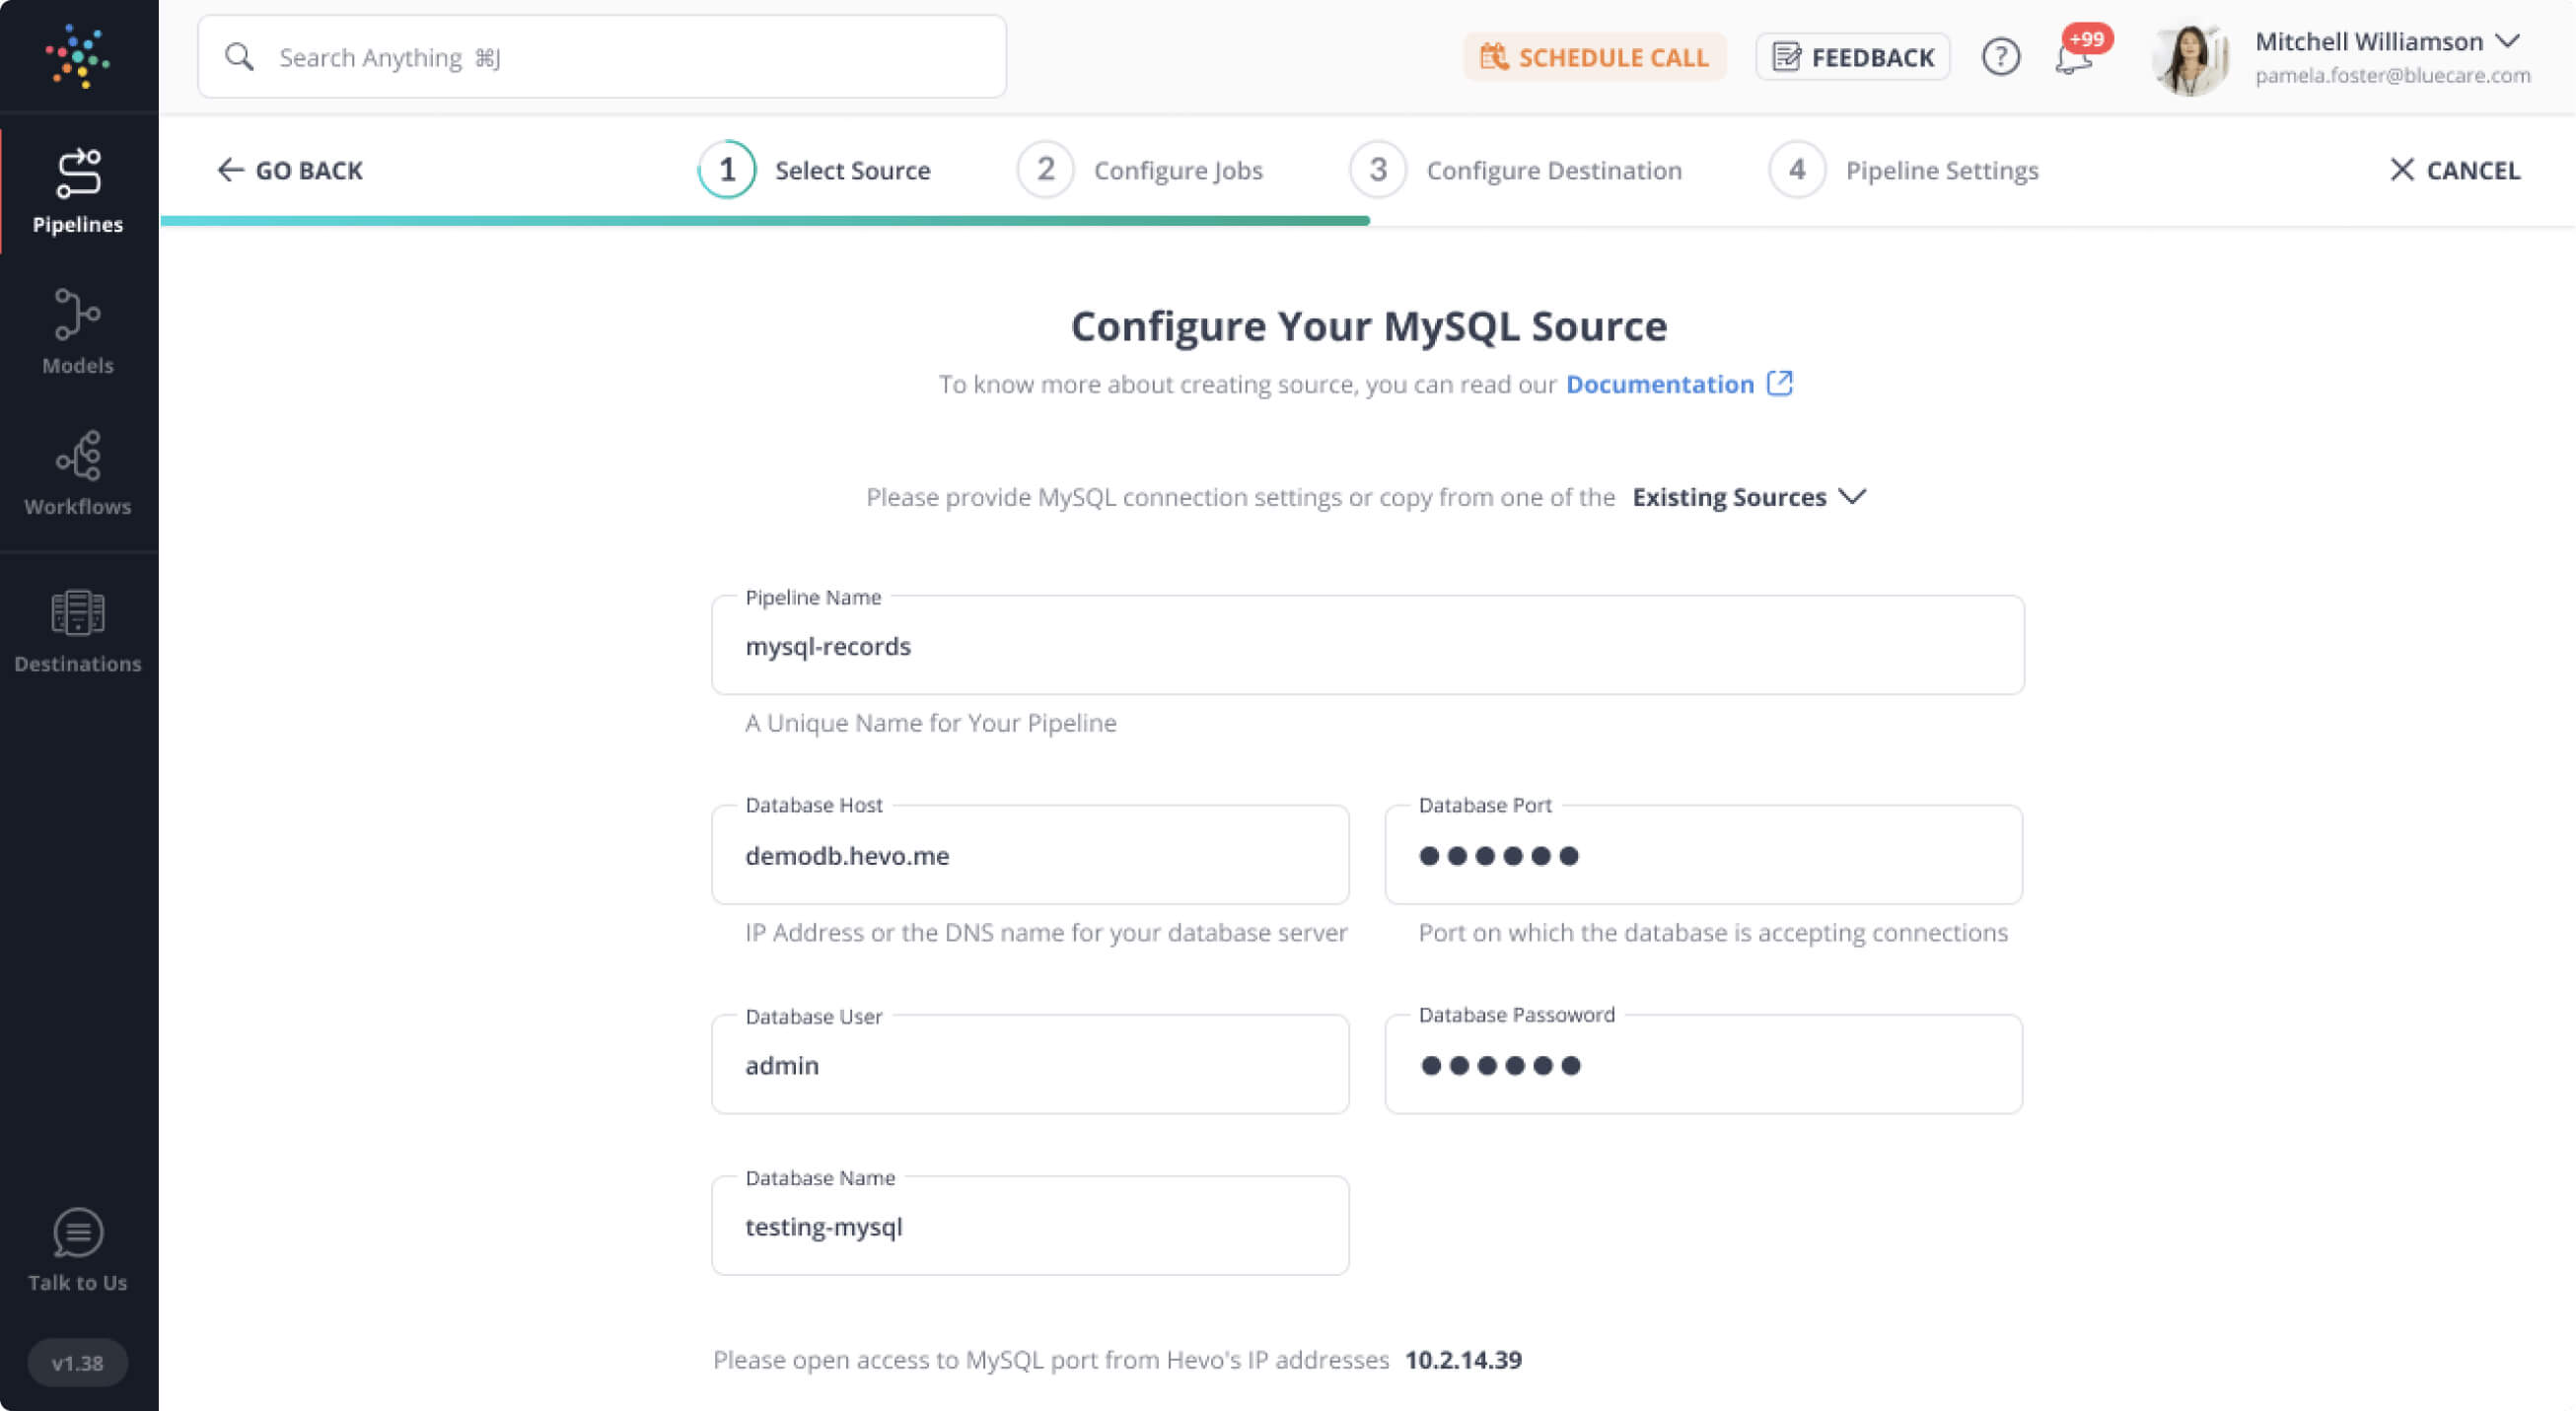
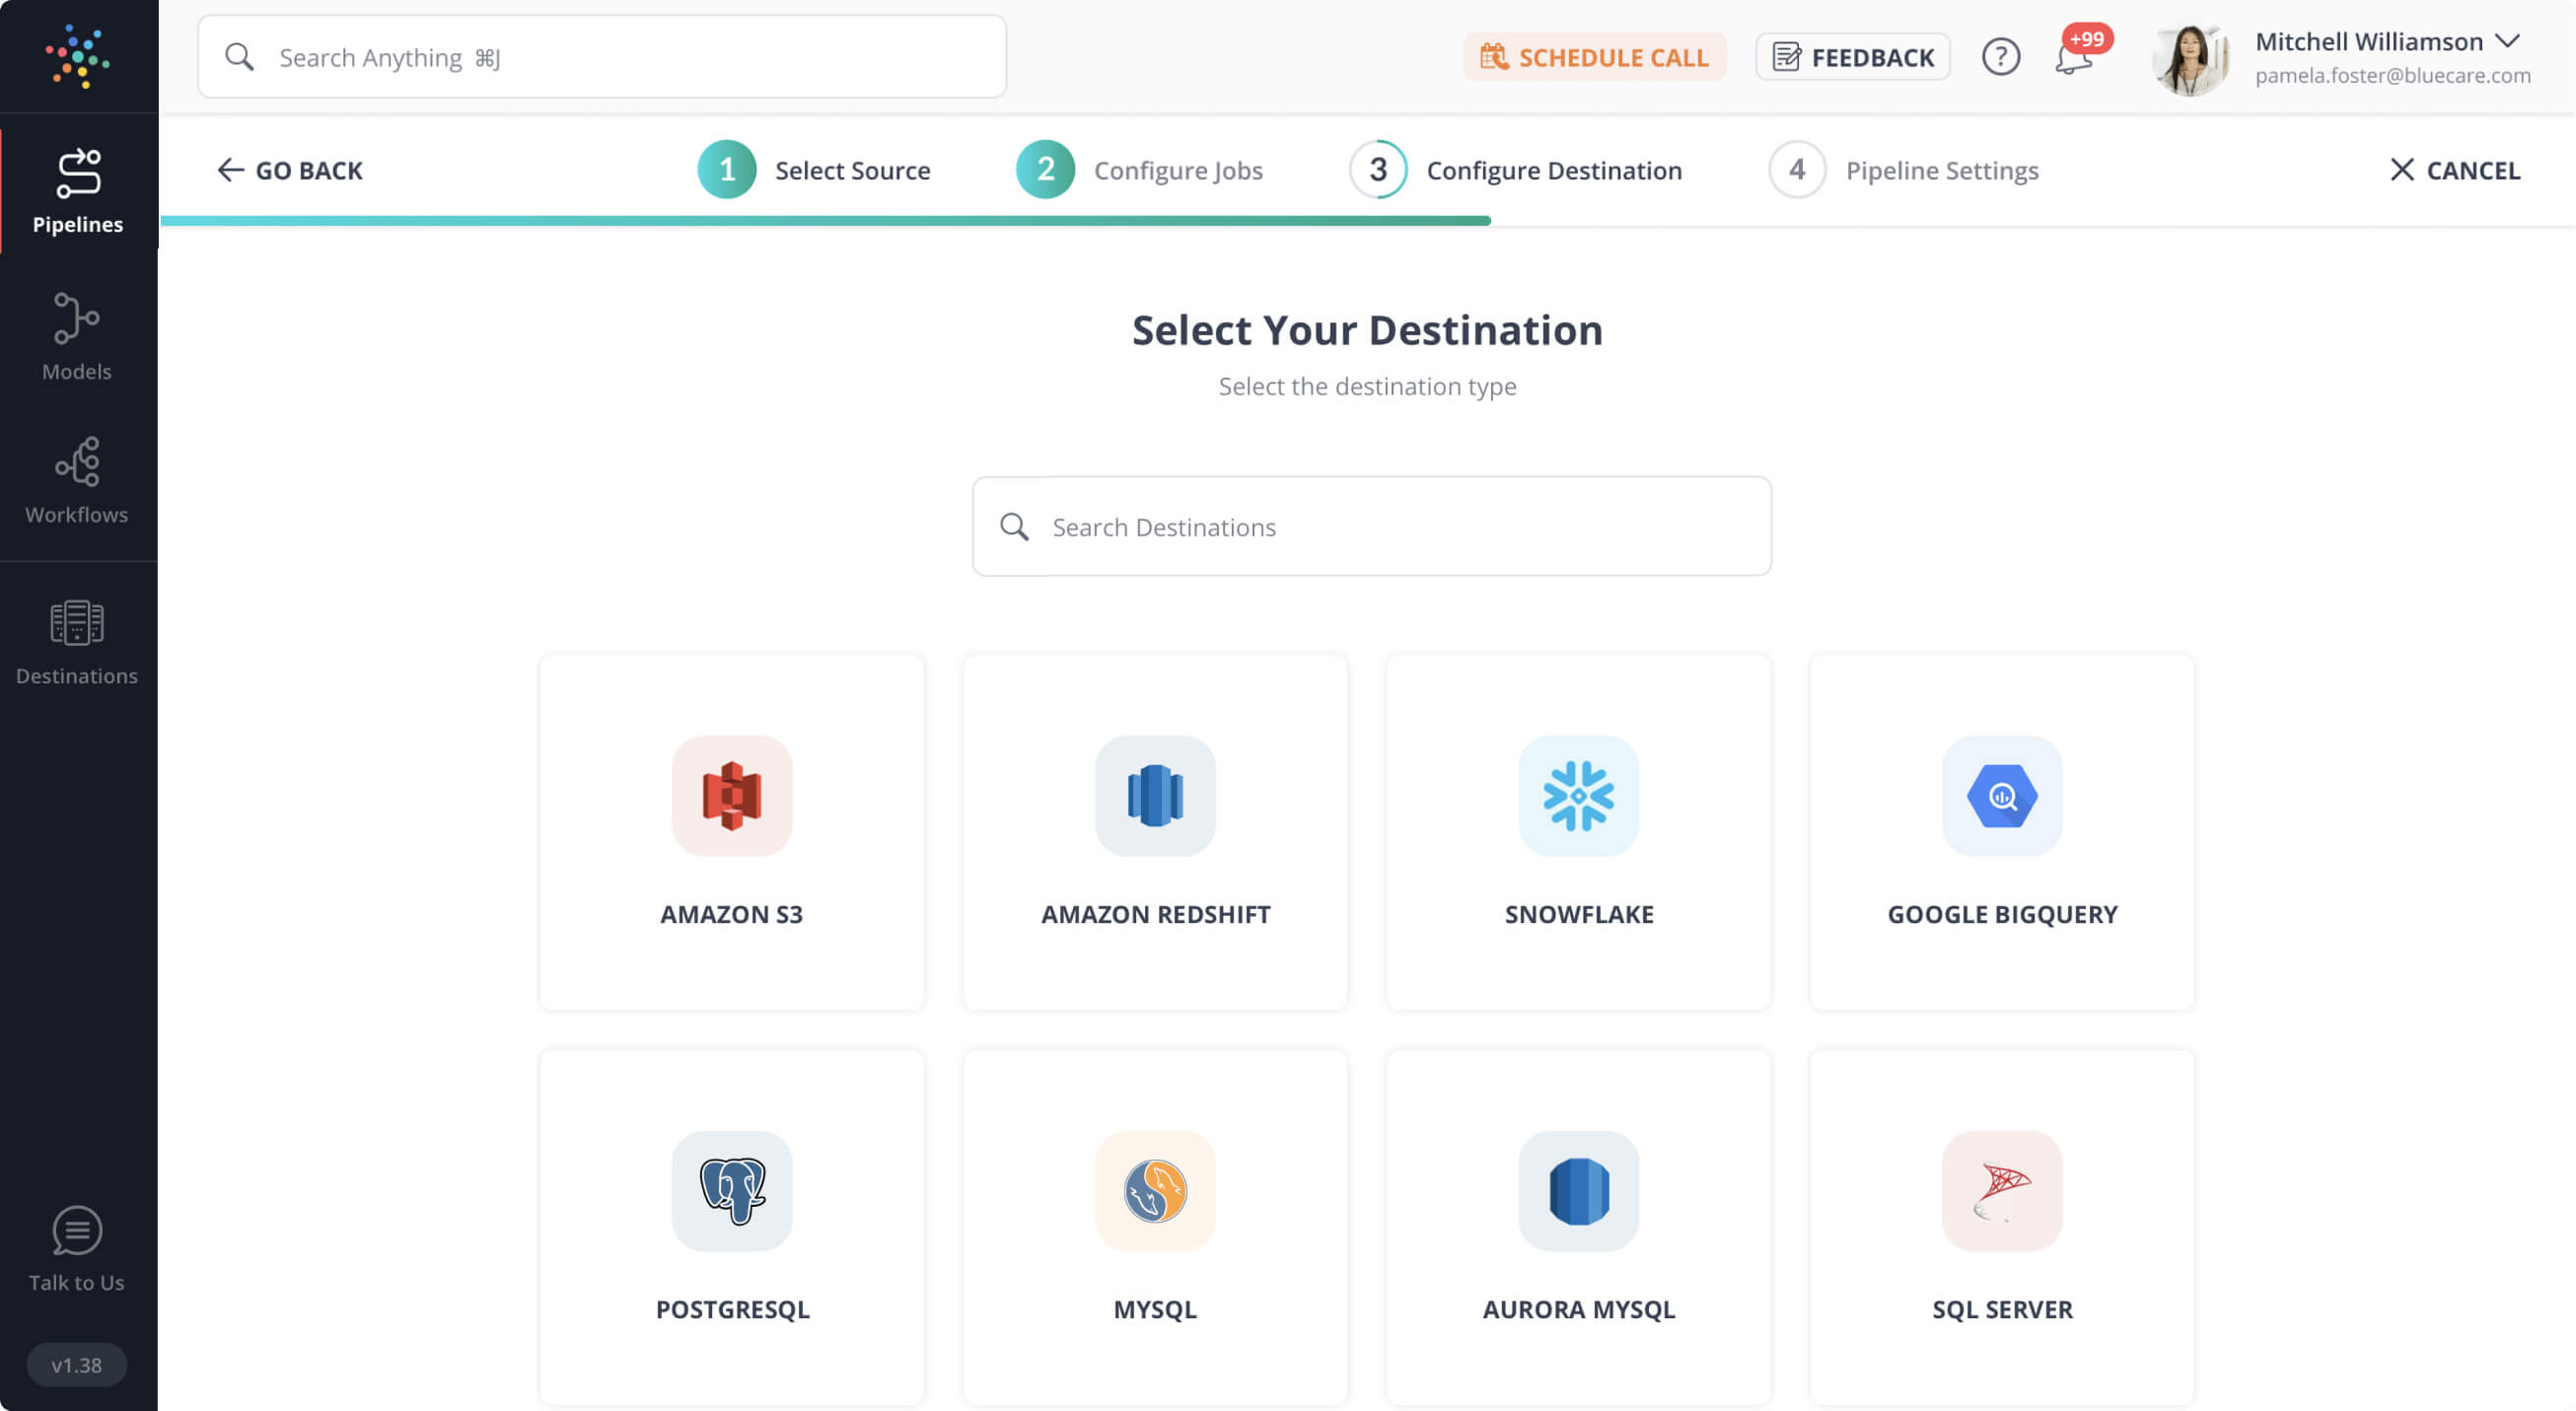
With Hevo Data, you can easily integrate MongoDB with a wide range of destinations. While we support MongoDB as a source, our platform ensures seamless data migration to the destination of your choice. Simplify your data management and enjoy effortless integrations.
Check out how Hevo can be of help:
- No-Code Data Pipelines: Set up data transfers from MongoDB to your desired destination without writing a single line of code.
- Automated Schema Mapping: Automatically detect and map MongoDB schemas to match the destination structure, ensuring accurate data transfer.
- Secure Data Transfer: Ensure your data is protected during migration with encryption and secure connections.
Explore Hevo’s features and discover why it is rated 4.3 on G2 and 4.7 on Software Advice for its seamless data integration.
Get Started with Hevo for FreeKey Features of MongoDB
In comparison to other traditional databases, MongoDB has a number of unique features that make it a superior choice. The following are some of these attributes:
- Index-based Document: In a MongoDB database, every field in the Document is indexed with Primary and Secondary Indices, making it easier to get data from the pool.
- Horizontal Scalability: It is possible with MongoDB’s sharding. The practice of distributing data over numerous servers is known as sharding. The Shard Key is used to partition a huge quantity of data into data chunks, which are then uniformly dispersed among Shards that span several Physical Servers.
- Schema-Less Database: This type of Database stores many sorts of documents in a single collection (the equivalent of a table). To put it another way, a single collection in the MongoDB database can hold numerous documents, each having its own set of Fields, Content, and Size. It is not required that one document be comparable to another, as is the case with Relational Databases. MongoDB provides a lot of freedom to consumers because of this capability.
- Replication: MongoDB provides high availability of data by generating several copies of the data and sending these copies to a separate Server, allowing the data to be retrieved even if one server fails
MongoDB Interface

When you first start using MongoDB, you’ll notice how user-friendly the interface is, especially if you’re coming from a background in SQL. Instead of dealing with rigid tables, you get to work with flexible, JSON-like documents that make organizing and querying data feel intuitive. You can use tools like MongoDB Compass for a visual approach, or stick to the command line if you’re more comfortable there. Either way, you’ll find it pretty easy to dive in and start building.
Installing MongoDB
To start with, to install Windows MongoDB Shell, you need to have MongoDB installed in the first place. If you don’t already have MongoDB installed on your computer, the first section will put you through it just before moving on to the installation of the MongoDB shell. You can skip this section if you have already installed MongoDB on your system.
Before installing MongoDB, it is important to know that there are two editions: the Community Edition and the Enterprise Edition. The major difference between the Community edition(regular enough for developers) and the Enterprise edition is that it provides advanced security options(e.g, LDAP, auditing, log redaction), additional storage engines, real-time server stats, document validation, MongoDB connector for BI, schema analysis, and many more.
Step 1: Download The Installer
- Go to the download page at https://www.mongodb.com/try/download/community
- Choose your OS and your desired MongoDB version.
- Click Download.
Step 2: Run the MongoDB Installer(a .msi file)
- Go to your ‘Downloads’ folder.
- Click on the installer.
- Follow the instructions.
After completing the installation process, you will find the MongoDB software in your C drive. To view it, go to
C: Program FilesMongoDBServer{version}bin. However, you would notice the presence of any executable alongside mongo-mongod. Mongod is a daemon process that runs in the background. It handles database processes like accessing, retrieval, and updates.
If you try using MongoDB right away, you might have to specify a directory structure every time you need to use it. To avoid this, you need to specify an environment variable for MongoDB, which leads us to step 3.
Step 3: Specify An Environment Variable
- Go to your system settings or type “Advanced system settings” in the search bar.
- Click ‘Environment Variables’ under ‘Advanced’.
- Click ‘New’ to create an environment variable.
- Select the ‘Path’ variable and click on ‘Edit’.
- Change the environment variable to
C: Program FilesMongoDBServer{version}bin. Where version is the MongoDB version you downloaded.
- Click Save.
If you run the mongod command now, you would get a log error when the mongod service doesn’t find a data directory.
Step 4: Configure a Data Directory For All MongoDB Files
To configure a data directory for MongoDB, create a directory called ‘MongoDBFiles’ with subdirectories ‘/data/db’. You can do this manually or by typing the command below in the terminal.
> mkdir -p MongoDBFiles/data/dbMake sure you are in the C:/ directory before doing this.
After doing that, type mongodb –dbpath “C:/MongoDBFiles/data/db”.
This command will set the directory to store all MongoDB operations on your computer.
Step 5: Run mongo
Now that you’ve configured MongoDB, run ‘mongod’ in the terminal to confirm if it works. The server should be on port 27017(MongoDB’s default port), which you can connect to. However, to connect and use MongoDB, you have to run the mongod server first.
Step 6: Test Your Installation
To confirm your installation, run ‘mongo’ in the terminal. You should see a command shell similar to the command prompt that allows you to enter commands. Type ‘show dbs’ to see the list of existing databases.
Windows MongoDB Shell Installation
As said earlier, Mongosh works like the typical mongo predecessor, but it requires a MongoDB shell of version 4.0 or higher. Over to the Windows MongoDB Shell installation steps.
Step 1: Download the Mongosh Installer
- To begin the Windows MongoDB Shell Install process, go to the download page at https://www.mongodb.com/try/download/shell.
- Choose your OS and your desired MongoDB version.
- Click Download.
Step 2: Run the MongoDB Installer(a .msi file)
- Go to your ‘Downloads’ folder.
- Click on the installer.
- Follow the instructions.
Step 3: Connect to A MongoDB Instance
This can be done in two distinct ways:
A) Locally
You can connect to a MongoDB instance locally by running the ‘mongosh’ command. The ‘mongosh’ command will connect to the default MongoDB port – 27017. This method is also equivalent to connecting with a connection string.
> mongosh "mongodb://localhost:27017"If you need to connect to a specific database, you will have to add the name of the database to the path.
> mongosh "mongodb://localhost:27017/hevodb"If the connection port can be changed, your MongoDB instance is not on the default. Another way to connect to a mongodb instance is with the command-line option —port.
> mongosh —-port 28089B) Remote
This can also be done with a connection string and command-line options.
- With the connection string:
- Example: mongosh “mongodb://mongodb0.example.com:29058”
- If the remote host in this case is MongoDB Atlas, copy the URL to replace it.
- With command-line options:
- Unlike the local connection, command-line options for remote connection require the –host option.
- Example: mongosh –host mongodb0.example.com –port 28015
You have successfully carried out the process of Windows MongoDB Shell installation.
Real-Life Use Cases of Windows MongoDB Shell
The Windows MongoDB Shell is a powerful tool for interacting with MongoDB databases. Here are some real-life use cases where it’s commonly used:
- Database Administration: System administrators use the MongoDB shell to monitor and manage databases. Tasks like backing up data, checking system status, or adjusting user permissions are handled directly through the shell.
- Data Migration: When moving data between different MongoDB instances or upgrading versions, the MongoDB shell is used to export, import, and manipulate data efficiently.
- Quick Querying and Troubleshooting: Developers use the shell to run quick queries or perform data analysis. It’s also useful for troubleshooting issues by running diagnostic commands or examining logs.
- Automation and Scripting: MongoDB shell scripts can be written to automate repetitive tasks, like data cleanup, backups, or batch processing, helping improve productivity and reduce manual errors.
- Application Development: During application development, developers use the shell to test queries, view documents, and interact with the database to ensure the application is working as expected.
Conclusion
MongoDB is a NoSQL database, document-oriented to be exact. It allows you to update database schemas on the fly without performing migrations like SQL databases. This provides horizontal scaling and performance benefits. This article has shown you the Windows MongoDB Shell installation process for use. In case you want to transfer data into your desired Database/destination, then Hevo Data is the right choice for you!
For a complete view of business performance, consolidating data from diverse sources like Marketing, Sales, and CRM is essential. Hevo Data simplifies this process by automating data integration, transformation, and loading to your preferred destination. Sign up for a 14-day free trial and experience the feature-rich Hevo suite firsthand. You can also have a look at the unbeatable pricing that will help you choose the right plan for your business needs.
Frequently Asked Questions
1. What is the MongoDB shell?
The MongoDB shell is a command-line interface that allows you to interact with your MongoDB database. It enables you to run queries, manage your database, and perform administrative tasks like backups and data migration.
2. How to use MongoDB shell on Windows?
To use the MongoDB shell on Windows, follow these steps:
1. Install MongoDB on your Windows system.
2. Open Command Prompt or PowerShell.
3. Navigate to the MongoDB installation directory or add it to your system’s PATH.
4. Type mongo to start the MongoDB shell and connect to your local MongoDB instance.
3. How to check MongoDB shell version?
To check the MongoDB shell version, open the MongoDB shell and type the following command:db.version()
This will display the version of MongoDB you’re currently using.


