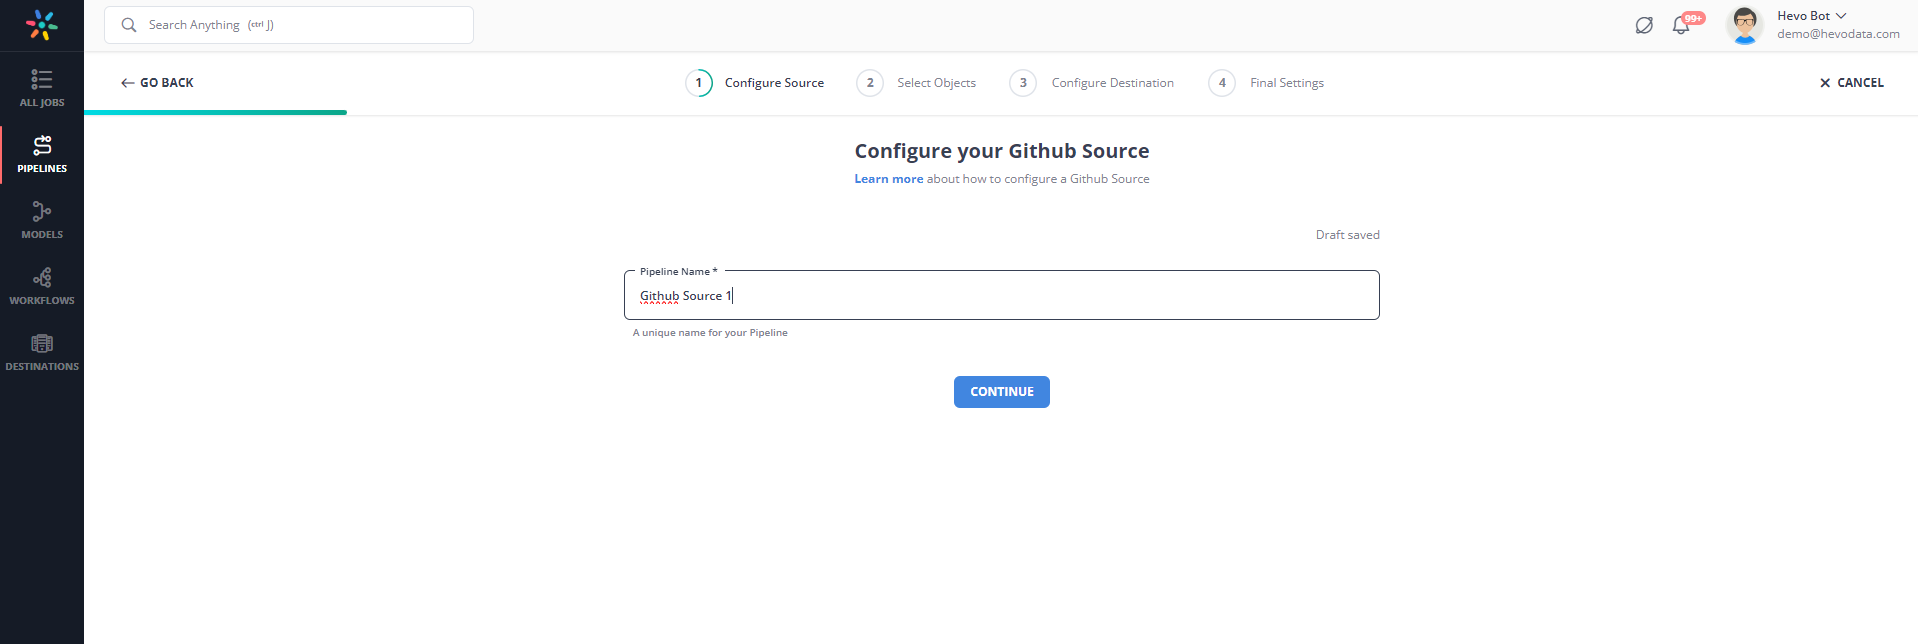
A GitHub App, a specific repository, or an organization can all have webhooks installed on them. The webhook will be sent after installation each time one or more subscribed events take place. Github Webhook allows you to build or set up integrations, such as GitHub Apps or OAuth Apps, which subscribe to certain events on GitHub.com. When one of those events is triggered, you get an HTTP POST payload to the webhook’s configured URL.

Snowflake’s Data Cloud is built on a cutting-edge data platform that is delivered as Software-as-a-Service (SaaS). Snowflake provides Data Storage, Processing, and Analytic Solutions that are faster, easier to use, and more flexible than traditional options.

This article explains the different ways for Github Webhook to Snowflake Integration. It also gives an overview of Snowflake and Github Webhook.

Why Integrate Github Webhook to Snowflake?

To identify opportunities for daily workflow improvement, you can use GitHub Webhook to Snowflake to learn about the team’s pulse, patterns, metrics, progress, and trends within your organization. To speed up the development process, developers can use GitHub Webhook to Snowflake to automate a specific action whenever a commit is made to the source code.

You can keep all the old data in one place by using the GitHub Webhook to Snowflake Integration. You can now get this information more quickly and easily as needed. Additionally, it enables you to run this data through business intelligence tools and derive insightful conclusions from it.

Everyone on your team will be able to use that data without even downloading it because it will all be kept in one place. It is much simpler for you to use the data in your projects now that you don’t have to download any of the potentially enormous amounts of data for later use.

Solve your data replication problems with Hevo’s reliable, no-code, automated pipelines with 150+ connectors.
Get your free trial right away!

Github Webhook to Snowflake Integration

Method 1: Using Hevo Data to Set Up Github Webhook to Snowflake

Hevo provides an Automated No-code Data Pipeline that helps you move your Github Webhook to Snowflake. Hevo is fully-managed and completely automates the process of not only loading data from your 150+ data sources(including 40+ free sources)but also enriching the data and transforming it into an analysis-ready form without having to write a single line of code. Its fault-tolerant architecture ensures that the data is handled securely and consistently with zero data loss.

Using Hevo Data, you can connect Github Webhook to Snowflake in the following 2 steps

  • Step 1: Configure Github Webhook as the Source in your Pipeline by following these steps:
    • Step 1.1: Set up Github Webhook to connect Github Webhook to Snowflake. 

Hevo can use a Webhook source to collect data from a REST endpoint. Real-time access to the data pushed into the endpoint will be possible in your warehouse. Hevo gives you an HTTP endpoint after you create a pipeline using a Webhook Source. Hevo can bring data from your GitHub account to your Destination. Hevo connects to GitHub Webhook to Snowflake.

Copy the generated Webhook URL and add it to your GitHub account.

  • Step 2: To set up Snowflake as a destination in Hevo, follow these steps:
    • Step 2.1: In the Asset Palette, select DESTINATIONS.
    • Step 2.2: In the Destinations List View, click + CREATE.
    • Step 2.3: Select Snowflake from the Add Destination page.
    • Step 2.4: Set the following parameters on the Configure your Snowflake Destination page:
      • Destination Name: A unique name for your Destination.
      • Snowflake Account URL: This is the account URL that you retrieved.
      • Database User: The Hevo user that you created in the database. In the Snowflake database, this user has a non-administrative role.
      • Database Password: The password of the user.
      • Database Name: The name of the Destination database where data will be loaded.
      • Database Schema: The name of the Destination database schema. Default value: public.
      • Warehouse: SQL queries and DML operations are performed in the Snowflake warehouse associated with your database.
github webhooks to snowflake: configure snowflake as destination
Image Source
  • Step 2.5: Click Test Connection to test connectivity with the Snowflake warehouse.
  • Step 2.6: Once the test is successful, click SAVE DESTINATION.
Deliver smarter, faster insights with your unified data

Using manual scripts and custom code to move data into the warehouse is cumbersome. Changing API endpoints and limits, ad-hoc data preparation, and inconsistent schema makes maintaining such a system a nightmare. Hevo’s reliable no-code data pipeline platform enables you to set up zero-maintenance data pipelines that just work.

  • Wide Range of Connectors: Instantly connect and read data from 150+ sources including SaaS apps and databases, and precisely control pipeline schedules down to the minute.
  • In-built Transformations: Format your data on the fly with Hevo’s preload transformations using either the drag-and-drop interface or our nifty python interface. Generate analysis-ready data in your warehouse using Hevo’s Postload Transformation. 
  • Near Real-Time Replication: Get access to near real-time replication for all database sources with log-based replication. For SaaS applications, near real-time replication is subject to API limits.   
  • Auto-Schema Management: Correcting improper schema after the data is loaded into your warehouse is challenging. Hevo automatically maps source schema with destination warehouse so you don’t face the pain of schema errors.
  • Transparent Pricing: Say goodbye to complex and hidden pricing models. Hevo’s Transparent Pricing brings complete visibility to your ELT spend. Choose a plan based on your business needs. Stay in control with spend alerts and configurable credit limits for unforeseen spikes in the data flow.
  • 24×7 Customer Support: With Hevo you get more than just a platform, you get a partner for your pipelines. Discover peace with round-the-clock “Live Chat” within the platform. What’s more, you get 24×7 support even during the 14-day free trial.
  • Security: Discover peace with end-to-end encryption and compliance with all major security certifications including HIPAA, GDPR, and SOC-2.

Try Hevo Today!

SIGN UP HERE FOR A 14-DAY FREE TRIAL

Method 2: Using Custom Code to Move Data from Github Webhook to Snowflake

Github Webhook to Snowflake Integration is a method for calling Github Webhook into Snowflake to connect to external systems. 

This enables Snowflake and other external systems to powerfully integrate in both directions.

Numerous processes and workflows use the ease with which calls and trigger actions can be made from Github Webhook to Snowflake from any other system. However, it is currently difficult to do the opposite, which is to initiate actions or processes in other systems from Snowflake.

An alternative strategy is necessary for Github Webhook to Snowflake because Snowflake does not allow the execution of arbitrary code (or at least code that can communicate over a network). Instead, the strategy you use for this work is to produce “markers” inside Snowflake that an external system can detect and then act upon.

The architecture resembles:

github webhooks to snowflake: snowflake github webhook architecture
Image Source

Following is the logical flow for Github Webhook to Snowflake:

  • Anywhere inside Snowflake can call the call webhook sync or call webhook async procedures.
  • This adds a row to the WEBHOOK METADATA database’s metadata table (or whatever table you specify).
  • The function now returns with a specific Webhook ID if the async method is being used, and the execution of your code continues.
  • Additionally, this creates a file on S3’s WEBHOOK METADATA OUT stage.
  • This file’s creation causes a Lambda function to run.
  • The actual work of calling the external webhook, sending the data, and receiving the response is performed by this Lambda function.
  • In the WEBHOOK METADATA IN stage, the Lambda function creates a file and initiates a read from it.
  • The execution time, HTTP response code, and payload are updated in the row in the metadata table as a result.
  • The procedure polled the metadata table while using the sync method, waited for the response information to appear (or for a timeout to be reached), and then returned an object with the HTTP response code and payload.

Setup

The following are required for setting up your system to run webhooks:

  • SYSADMIN ROLE-equipped Snowflake accounts, etc.
  • IAM Roles, Lambda Functions, S3 Buckets, etc. can all be created by an AWS account with the following permissions.
  • A computer on which to execute the creation scripts. This machine is not required for continuous operation; only for setup. The AWS CLI requires that this machine has been configured, including permissions.
  • Service-Free Application Framework (usually npm install -g serverless if not check Serverless documentation).
  • Use git to clone this repository (typically https://github.com/datalytyx/snowflake-webhooks.git).

Installation

  • A few creation scripts are used during installation as templates. The scripts must be customized to your environment and updated with the information that is unique to you. You can either manually complete this task or use environment variables to set up your particular configuration:

export SNOWFLAKE_METADATA_DATABASE="WEBHOOK_METADATA"
export SNOWFLAKE_METADATA_SCHEMA="PUBLIC"
export AWS_KEY_ID="<your aws key>"
export AWS_SECRET_KEY="<your aws secret>"
export AWS_S3_REGION="eu-west-1"
export S3_BUCKET="your_desired_s3_bucket_location"   # note this will be created for you and cannot already exist
  • Then, use the commands below to create customized versions of the template files:
cat setup.sql.template | sed -e "s~{SNOWFLAKE_METADATA_DATABASE}~$SNOWFLAKE_METADATA_DATABASE~g" | sed -e "s~{SNOWFLAKE_METADATA_SCHEMA}~$SNOWFLAKE_METADATA_SCHEMA~g" | sed -e "s~{S3_BUCKET}~$S3_BUCKET~g" | sed -e "s~{AWS_KEY_ID}~$AWS_KEY_ID~g" | sed -e "s~{AWS_SECRET_KEY}~$AWS_SECRET_KEY~g" > setup.sql

cat serverless.yaml.template | sed -e "s~{S3_BUCKET}~$S3_BUCKET~g" > serverless.yaml

cat lambda.js.template  | sed -e "s~{AWS_S3_REGION}~$AWS_S3_REGION~g" > lambda.js

Set Up Lambda Functions and Triggers from S3 Bucket

Run the following command once you’ve set up your AWS credentials using aws configure:

serverless deploy

As an alternative, you can namespace this by specifying —stage stagename>. Details can be found in the serverless documentation.

Setting Up Snowflake

Although you can run setup.sql’s contents from the CLI (using snowsql, for example) since this is only a one-time setup script, the simplest thing to do is to open a Snowflake workbook in your browser, paste setup.sql’s contents in, and then execute.

When running the setup script, be sure to select a single warehouse and use the Workbench’s SYSADMIN role. It should be noted that the webhook procedures themselves do not alter the user, role, or warehouse being used by the calling code during execution.

Open a Snowflake workbook for testing after that.

After running this script, you must grant the ROLES you want to be able to call webhooks SELECT and UPDATE privileges to this database.

Testing

  • Using https://webhook.site/ is an easy way to test webhooks, ensure that they are being called correctly, and set payload responses for testing. It will provide you with a test URL like:

https://webhook.site/38c60cba-dc45-424e-9f9a-f8e83fa0dc4f.

  • Run the following command in Snowflake to verify that everything is operational.
set myid='anything I want, this is just for me'; 
set payload='THIS IS A TEST';
set good_webhook_url='https://webhook.site/<yoururl>';
set notfound_webhook_url='https://google.com/iamnotavalidpath';
set bad_webhook_url='https://iamnotavalidurl.com';
  • Make sure your good webhook url is set to the custom URL you made at webhook.site.

then execute the subsequent test cases:

call call_webhook_async ($myid,$good_webhook_url,'POST',$payload);
call call_webhook_async ($myid,$notfound_webhook_url,'POST',$payload);
call call_webhook_async ($myid,$bad_webhook_url,'POST',$payload);
  • You should receive a response that reads:
Webhook successfully registered for execution
  • This indicates that a file has been created in the S3 bucket and a row has been written to the SNOWFLAKE METADATA DATABASE that you defined. The writing of this file will cause the Lambda function to be triggered, assuming the Lambda function has been configured properly.
  •  The AWS Lambda pages offer great functionality for verifying the execution of jobs, determining whether they were successful, and viewing the function logs. Running the following command will also stream these logs to you in real-time:
serverless logs --function callWebhook --tail

which is extremely beneficial for debugging.

  • The following sync calls DO yield various outcomes:
call call_webhook_sync ($myid,$good_webhook_url,'POST',$payload);

should respond by saying:

{"httpStatusCode":"200","body":"HELLO"}
  • When you created my URL at webhook.site, you set up the HTTP Response HELLO.
call call_webhook_sync ($myid,$notfound_webhook_url,'POST',$payload);

should give a response like:

{"httpStatusCode":"404","body":"<!DOCTYPE html>
<html lang=en>
  <meta charset=utf-8>
  <meta name=viewport content="initial-scale=1, minimum-scale=1, width=device-width">
  <title>Error 404 (Not Found)!!1</title>
  <style>
    *{margin:0;padding:0}html,code{font:15px/22px arial,sans-serif}html{background:#fff;color:#222;padding:15px}body{margin:7% auto 0;max-width:390px;min-height:180px;padding:30px 0 15px}* > body{background:url(//www.google.com/images/errors/robot.png) 100% 5px no-repeat;padding-right:205px}p{margin:11px 0 22px;overflow:hidden}ins{color:#777;text-decoration:none}a img{border:0}@media screen and (max-width:772px){body{background:none;margin-top:0;max-width:none;padding-right:0}}#logo{background:url(//www.google.com/images/branding/googlelogo/1x/googlelogo_color_150x54dp.png) no-repeat;margin-left:-5px}@media only screen and (min-resolution:192dpi){#logo{background:url(//www.google.com/images/branding/googlelogo/2x/googlelogo_color_150x54dp.png) no-repeat 0% 0%/100% 100%;-moz-border-image:url(//www.google.com/images/branding/googlelogo/2x/googlelogo_color_150x54dp.png) 0}}@media only screen and (-webkit-min-device-pixel-ratio:2){#logo{background:url(//www.google.com/images/branding/googlelogo/2x/googlelogo_color_150x54dp.png) no-repeat;-webkit-background-size:100% 100%}}#logo{display:inline-block;height:54px;width:150px}
  </style>
  <a href=//www.google.com/><span id=logo aria-label=Google></span></a>
  <p><b>404.</b> <ins>That’s an error.</ins>
  <p>The requested URL <code>/iamnotavalidpath</code> was not found on this server.  <ins>That’s all we know.</ins>
"}
call call_webhook_sync ($myid,$bad_webhook_url,'POST',$payload);

should give a response like:

{"httpStatusCode":"520","body":"{"code":"ENOTFOUND","errno":"ENOTFOUND","host":"iamnotavalidurl.com","hostname":"iamnotavalidurl.com","port":443,"syscall":"getaddrinfo"}"}
  • If you look at the raw log table after these six tests:
Select * from <your log table>;
github webhook to snowflake: log table
Image Source
  • You should also see them appear in webhook.site, for example, if the legitimate calls to the proper url have succeeded.
github webhook to snowflake: webhook site
Image Source

Common Faults

If a sync call is made and a response is received

{"httpStatusCode":"520","body":"An unknown error has occurred"}

The Lambda function is not deployed properly, which is the most likely reason.

Uninstall

Delete all the files in your S3 bucket (otherwise, serverless remove won’t work and your system might only have some of the files deleted) and then run:

serverless remove

which will remove the IAM roles, lambda functions, triggers, S3 bucket, and more.

The Snowflake database and schema should then be dropped for everything to be deleted.

Conclusion

This article talks about how to connect Github Webhook to Snowflake in two simple methods. In addition to that, it also describes Github Webhook and Snowflake briefly.

Visit our Website to Explore Hevo

Hevo offers a No-code Data Pipeline that can automate your data transfer process, hence allowing you to focus on other aspects of your business like Analytics, Marketing, Customer Management, etc.

This platform allows you to transfer data from 150+ sources (including 40+ Free Sources) such as Github Webhook and Cloud-based Data Warehouses like Snowflake, Google BigQuery, etc. It will provide you with a hassle-free experience and make your work life much easier.

Want to take Hevo for a spin? 

Sign Up for a 14-day free trial and experience the feature-rich Hevo suite first hand. You can also have a look at the unbeatable pricing that will help you choose the right plan for your business needs.

Harshitha Balasankula
Former Marketing Content Analyst, Hevo Data

Harshita is a data analysis enthusiast with a keen interest for data, software architecture, and writing technical content. Her passion towards contributing to the field drives her in creating in-depth articles on diverse topics related to the data industry.

No-code Data Pipeline For Snowflake