


Amazon Redshift and Heroku Postgres are categorized as “Big Data as a Service” and “PostgreSQL as a Service” solutions.
Heroku is a cloud hosting platform that provides support and services to assist you with infrastructure management. Amazon Redshift is a cloud data warehouse service that processes, stores, and analyzes enormous amounts of data. Administrators create role-based permissions for all systems in your multi-cloud environment with Heroku for PostgreSQL to Redshift connection, offering one-click access to anything you need.
You can accomplish Heroku for PostgreSQL to Redshift connection using either of the three methods listed below:
- Method 1: Heroku for PostgreSQL to Redshift Using an Automated Data Pipeline Platform
- Method 2: Heroku for PostgreSQL to Redshift with SSL Validation
- Method 3: Heroku for PostgreSQL to Redshift without SSL Validation
Table of Contents
Method 1: Heroku for PostgreSQL to Redshift Using an Automated Data Pipeline Platform
Hevo provides an Automated No-code Data Pipeline that helps you move your Heroku PostgreSQL data swiftly to Redshift. Hevo is fully-managed and completely automates the process of not only loading data from your desired source but also enriching the data and transforming it into an analysis-ready form without having to write a single line of code. Its fault-tolerant architecture ensures that the data is handled in a secure, consistent manner with zero data loss.
Manually mapping fields from source to destination, as mentioned in the previous method, is a time-consuming process. Hevo has a feature called Automapping that can help you avoid this hassle. When you enable Automapping, Hevo will automatically create a table in the destination and map it to the source.
It provides a consistent & reliable solution to manage data in real-time and always have analysis-ready data in your desired destination. It allows you to focus on key business needs and perform insightful analysis using BI tools.
You just need to follow a simple process to connect Heroku for PostgreSQL to Redshift using Hevo:
Step 1: Obtain PostgreSQL Database Credentials
- Log in to your Heroku account.
- Select the app containing the PostgreSQL database and open the databases dashboard.
- Access the DATA tab and click on the PostgreSQL database you want to use.
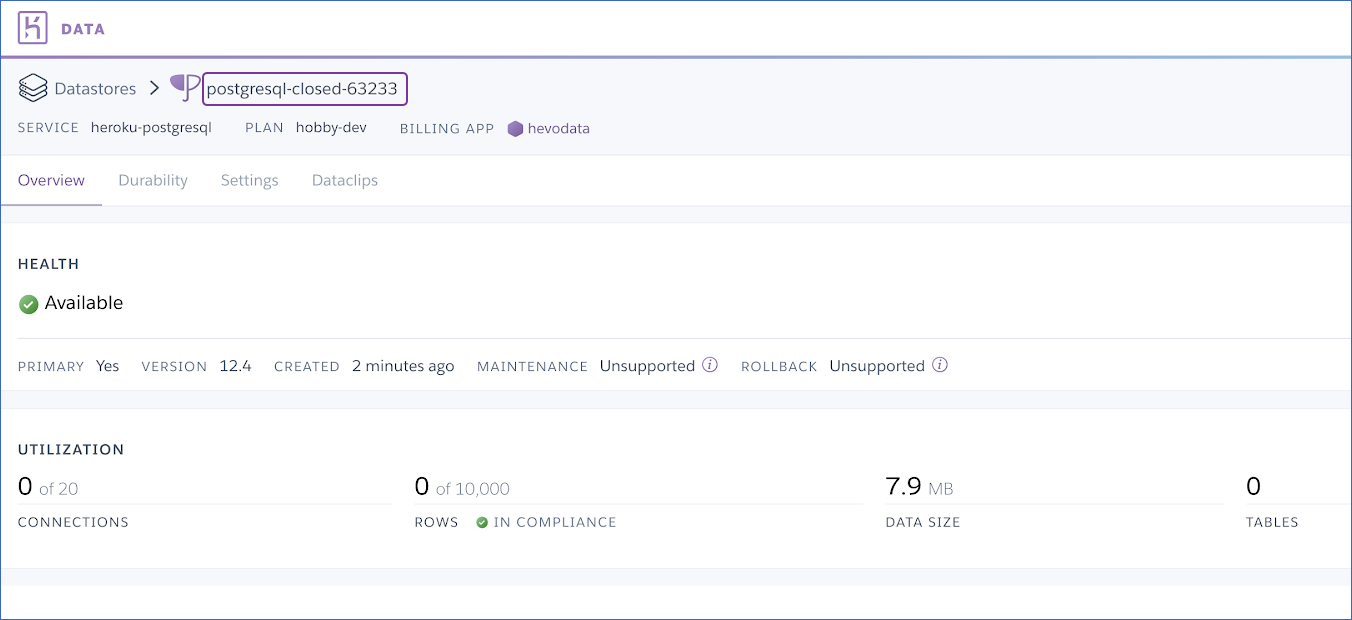
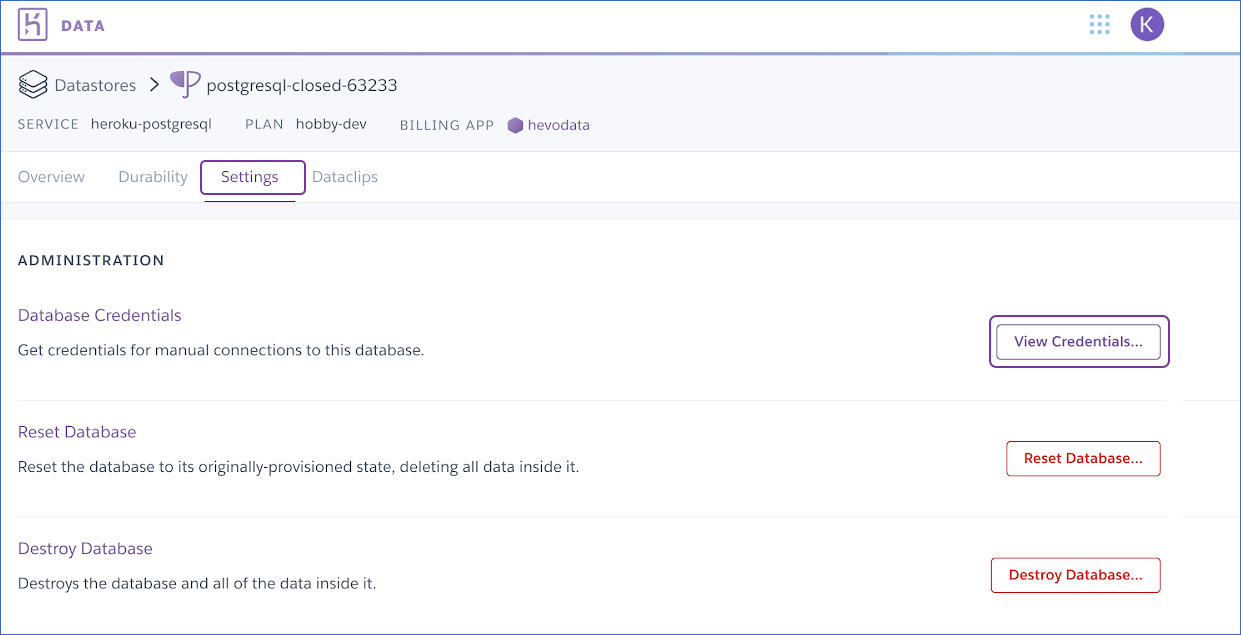
- Use the credentials provided below while setting up your Heroku PostgreSQL Source in Hevo.
Step 2: Set up Amazon Redshift as a Destination
Perform the following steps to configure Amazon Redshift as a Destination in Hevo:
- Click DESTINATIONS in the Asset Palette.
- Click + CREATE in the Destinations List View.
- On the Add Destination page, select Amazon Redshift.
- In the Configure your Amazon Redshift Destination page, specify the following:

You can easily connect Quickbooks to Redshift using Hevo by following the steps outlined above!
Here are more reasons to try Hevo:
- Smooth Schema Management: Hevo takes away the tedious task of schema management & automatically detects the schema of incoming data and maps it to your schema in the desired Data Warehouse.
- Exceptional Data Transformations: Best-in-class & Native Support for Complex Data Transformation at fingertips. Code & No-code Fexibilty designed for everyone.
- Quick Setup: Hevo with its automated features, can be set up in minimal time. Moreover, with its simple and interactive UI, it is extremely easy for new customers to work on and perform operations.
Try Hevo to easily connect Heroku for PostgreSQL to Redshift!
SIGN UP HERE FOR A 14-DAY FREE TRIAL!Method 2: Heroku for PostgreSQL to Redshift with SSL Validation
- Step 1: Creating a Heroku Database
- Step 2: Adding the RDS SSL Certificate for your Application
- Step 3: Dump and Load it on RDS
- Step 4: Testing Heroku for PostgreSQL to Redshift
Step 1: Creating a Heroku Database
If you want to give each app its database and credentials. To do so, you’ll use the psql binary to connect to the RDS instance remotely (make sure port 5432 on this instance is open for 0.0.0.0/0 via its security group):
#Heroku for PostgreSQL to Redshift
$ psql -U $RDS_ROOT_USER -h $NAME.$ID.$DATACENTER.rds.amazonaws.com --dbname=postgresql
It will request your $ROOT_PASSWORD. On the RDS Dashboard, you can find your amazonaws.com URL, and the $ROOT_USER is the one you specified when you created this instance. If you leave this field blank when creating the RDS instance, the dbname is PostgreSQL.
Once connected, you can examine the existing databases and users:
#Heroku for PostgreSQL to Redshift
psql$ list
psql$ du
OK, let’s make a new user and a new database, granting this user full access. Assume your Heroku app is called whiteunicorn1234. To begin, run the following command on your laptop to generate a URL-friendly password:
$ openssl rand -base64 32 | tr -d '=/+'Create a PG user and a dedicated database in the psql prompt. Do not simply copy and paste.
#Heroku for PostgreSQL to Redshift
psql$ create role whiteunicorn1234 with password 'PASTE_P'W'D_HERE' login;
psql$ create database whiteunicorn1234;
psql$ grant all on database whiteunicorn1234 to whiteunicorn1234;
psql$ q
Step 2: Adding RDS SSL Certificate for your Application
#Heroku for PostgreSQL to Redshift
$ cd your_app
$ mkdir -p config
$ curl https://s3.amazonaws.com/rds-downloads/rds-combined-ca-bundle.pem > ./config/rds-combined-ca-bundle.pem
$ git add config/rds-combined-ca-bundle.pem
$ git commit -m "Add RDS certificate to app files"
$ git push heroku master
Step 3: Dump and Load it on RDS
This will force your application to go offline.
$ cd your_app
$ heroku maintenance:on
$ heroku pg:backups capture
$ curl -o /tmp/latest.dump `heroku pg:backups public-url`
Before changing the DATABASE URL environment variable on Heroku, the goal is to send all data stored on Heroku to Amazon RDS.
$ pg_restore --verbose --clean --no-acl --no-owner
    -h $NAME.$ID.$DATACENTER.rds.amazonaws.com
    -U whiteunicorn1234
    -d whiteunicorn1234
    /tmp/latest.dump

#Heroku for PostgreSQL to Redshift
This will prompt you for the whiteunicorn1234 password you generated earlier with the OpenSSL command.
To see if the pg restore command was successful, open a new psql prompt and run the following commands:
#Heroku for PostgreSQL to Redshift

$ psql -U whiteunicorn1234 -h $NAME.$ID.$DATACENTER.rds.amazonaws.com
psql$ SELECT
        nspname AS schemaname,relname,reltuples
      FROM pg_class C
      LEFT JOIN pg_namespace N ON (N.oid = C.relnamespace)
      WHERE
        nspname NOT IN ('pg_catalog', 'information_schema') AND
        relkind='r'
ORDER BY reltuples DESC;Step 4: Testing Heroku for PostgreSQL to Redshift
You must destroy your Heroku Database on Heroku because Heroku does not allow you to override the DATABASE_URL. This can be frightening, so double-check that the pg_restore command worked.
#Heroku for PostgreSQL to Redshift
$ heroku addons:destroy heroku-postgresql
$ heroku config:set
    DATABASE_URL="postgres://whiteunicorn1234:$PASSWORD@$NAME.$ID.$DATACENTER.rds.amazonaws.com/whiteunicorn1234?sslca=config/rds-combined-ca-bundle.pem"
$ heroku maintenance:off
That’s it! The Heroku app seems to be using a PostgreSQL database on Amazon Redshift!
Method 3: Heroku for PostgreSQL to Redshift without SSL Validation
Create a data source connection that corresponds to the data source vendor if you want to connect to Heroku Postgres. In this case, you intend to work with PostgreSQL, so you must establish a connection to it.
SSL is required for the connection to Heroku Postgres (like above). However, to establish a successful SSL connection, you must first upload a certificate to your Heroku application. Each Heroku application requires its SSL certificate. See the Heroku SSL article for instructions on how to configure these certificates.
If you do not intend to add the certificate to the key store, you can use the NonValidatingFactory option to bypass server validation and establish an encrypted connection.
- Create an application in your Heroku account using the Heroku Postgres add-on.
- Get the database credentials from the Heroku Postgres add-settings. on’s
- Access the data source properties. You can access data source properties by selecting one of the following:
- Go to File | Data Sources.
- Ctrl+Alt+Shift+S is the shortcut.
- Click the Data Source Properties icon in the Database Explorer (View | Tool Windows | Database Explorer). The icon for Data Source Properties.
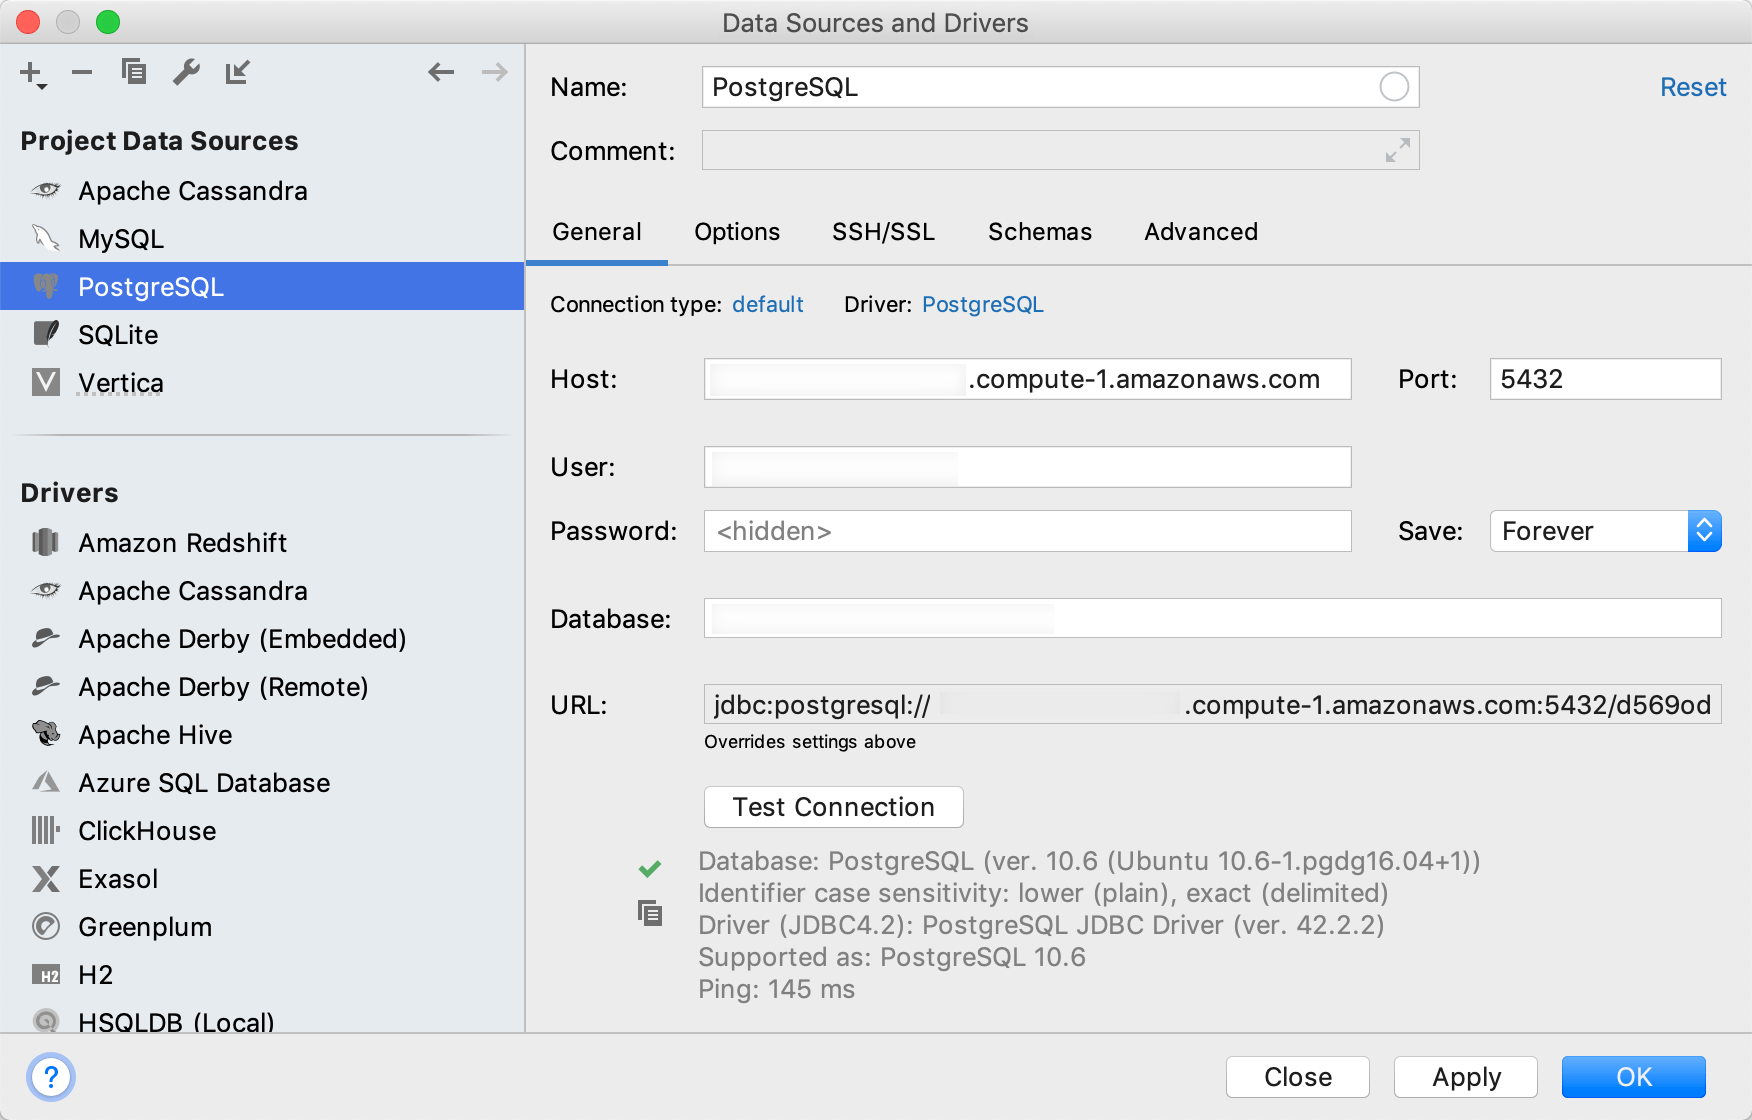
- Click the Add icon (The Add icon) in the Data Sources and Drivers dialog and select PostgreSQL.
- Click the Download missing driver files link at the bottom of the data source settings area.
- Click the Advanced tab in data source settings and modify the following properties:
- To validate both the SSL certificate and the server, use ssl:true
- sslmode:verify-ca: checks the certificate chain up to the root certificate stored on the client to verify the server.
- To allow SSL connections without validating the server certificate, use sslfactory:org.postgresql.ssl.NonValidatingFactory.
- In the Host, Database, User, Password, and Port fields, enter the Heroku Postgres add-on connection information.
Click the Test Connection link to ensure that the connection to the data source is successful.
Heroku for PostgreSQL to Redshift Connection
You can set up Heroku PostgreSQL and transfer data from Heroku to Redshift in a variety of ways to perform insightful analysis. Before that, here are some benefits of Heroku for PostgreSQL to Redshift Connection:
- Easy Fetch: You can map a single Heroku Postgres table to multiple Amazon Redshift tables.
- Simple Complexity: It allows complex mathematical and string operations and conditions to be used for data mapping
- Lookup: Lookup mapping can be used to map target columns to values retrieved from other target objects based on the source data.
- Constant: When integrating data, you can use constant values to fill some Heroku Postgres fields that don’t have corresponding Amazon Redshift fields (or vice versa).
Conclusion
- Redshift is fantastic, but when selecting a data warehouse, you must sometimes optimize for different factors.
- Some people prefer RDBMSs that use similar SQL syntaxes, such as Google BigQuery, PostgreSQL, Snowflake, Microsoft Azure SQL Data Warehouse, or Panoply, which works with Redshift instances. Others opt for a data lake, such as Amazon S3 or Databricks’ Delta Lake.
FAQ on Heroku for PostgreSQL to Redshift
1. How to transfer data from Postgres to Redshift?
To transfer data from Postgres to Redshift, you can use AWS Data Pipeline or AWS Glue for automated ETL processes.
2. Can you host a PostgreSQL database on Heroku?
Yes, Heroku supports hosting PostgreSQL databases through its managed database service called Heroku Postgres.
3. Is Heroku still free?
Heroku offers a free tier for hosting applications, but it is subject to certain limitations and restrictions.
4. What version of PostgreSQL does Heroku support?
Heroku supports multiple versions of PostgreSQL, typically including the latest stable versions and sometimes earlier versions for compatibility

Share it with your connections.
-
 Share To X
-
 Share To LinkedIn
-
 Share To Facebook
-
 Copy Link


