After backing up data throughout the Backup and Restore process, it’s critical to have an efficient and dependable Data Restoration mechanism. Consider the following distinctions:
- By blocking users from accessing and restoring the backed-up data, a poor restoration procedure renders the entire backup process worthless.
- Users can only successfully restore data to its previous state if the restoration procedure is appropriately set.
The Mongorestore command is the Mongodump command’s sibling command. The Mongorestore command can be used to restore the dumps (backups) made by the Mongodump command into a MongoDB Instance.
In this tutorial, you’ll learn everything about Mongorestore along with how to properly restore Database Backup using the Mongorestore command.
Table of Contents
What is MongoDB?
MongoDB is a well-known C++-based Open-Source NoSQL Database. MongoDB is a document-oriented database that stores data using JSON-like documents and a Dynamic Schema. It means you won’t have to worry about the Data Structure, the number of fields or the types of fields used to store values while storing your records. MongoDB Documents are similar to JSON objects.
By simply adding new fields or deleting existing ones, you can change the structure of records (which MongoDB refers to as Documents). MongoDB’s Hierarchical Relationships, Store Arrays, and other more complicated Data Structures may all be represented using this capability. MongoDB is now used by several tech firms, like Facebook, eBay, Adobe, and Google, to store massive amounts of data.
To know about use cases of MongoDB, check out our blog on MongoDB’s real world use cases.
Key Features of MongoDB
In comparison to other traditional databases, MongoDB has a number of unique features that make it a superior choice. The following are some of these attributes:
- Schema-Less Database: This type of Database stores many sorts of documents in a single collection (the equivalent of a table). To put it another way, a single collection in the MongoDB database can hold numerous documents, each having its own set of Fields, Content, and Size. It is not required that one document be comparable to another, as it is with Relational Databases. MongoDB provides a lot of freedom to consumers because of this capability.
- Index-based Document: In a MongoDB database, every field in the Document is indexed with Primary and Secondary Indices, making it easier to get data from the pool.
- Horizontal Scalability: It is possible with MongoDB’s sharding. The practice of distributing data over numerous servers is known as sharding. The Shard Key is used to partition a huge quantity of data into data chunks, which are then uniformly dispersed among Shards that span several Physical Servers.
- Replication: MongoDB provides high availability of data by generating several copies of the data and sending these copies to a separate Server, allowing the data to be retrieved even if one server fails.
What is the Mongorestore Command?
Mongorestore is a straightforward tool for restoring backups. It can read data from the following sources:
- The mongodump command creates a database dump file.
- A mongod or mongos instance’s standard input.
The Mongorestore program is no longer included in the default MongoDB Server Installation package as of MongoDB 4.4. Instead, it’s included in the MongoDB Database Tools package as a distinct package. This enables the utility to have its own versioning scheme, beginning with version 100.0.0.
MongoDB versions 4.4, 4.2, 4.0, and 3.6 are supported via the Mongorestore program. It might work with older versions of MongoDB as well, but compatibility isn’t guaranteed.
It also supports a wide range of platforms and operating systems, from x86 to s390x; the complete compatibility list can be seen in the official documentation.
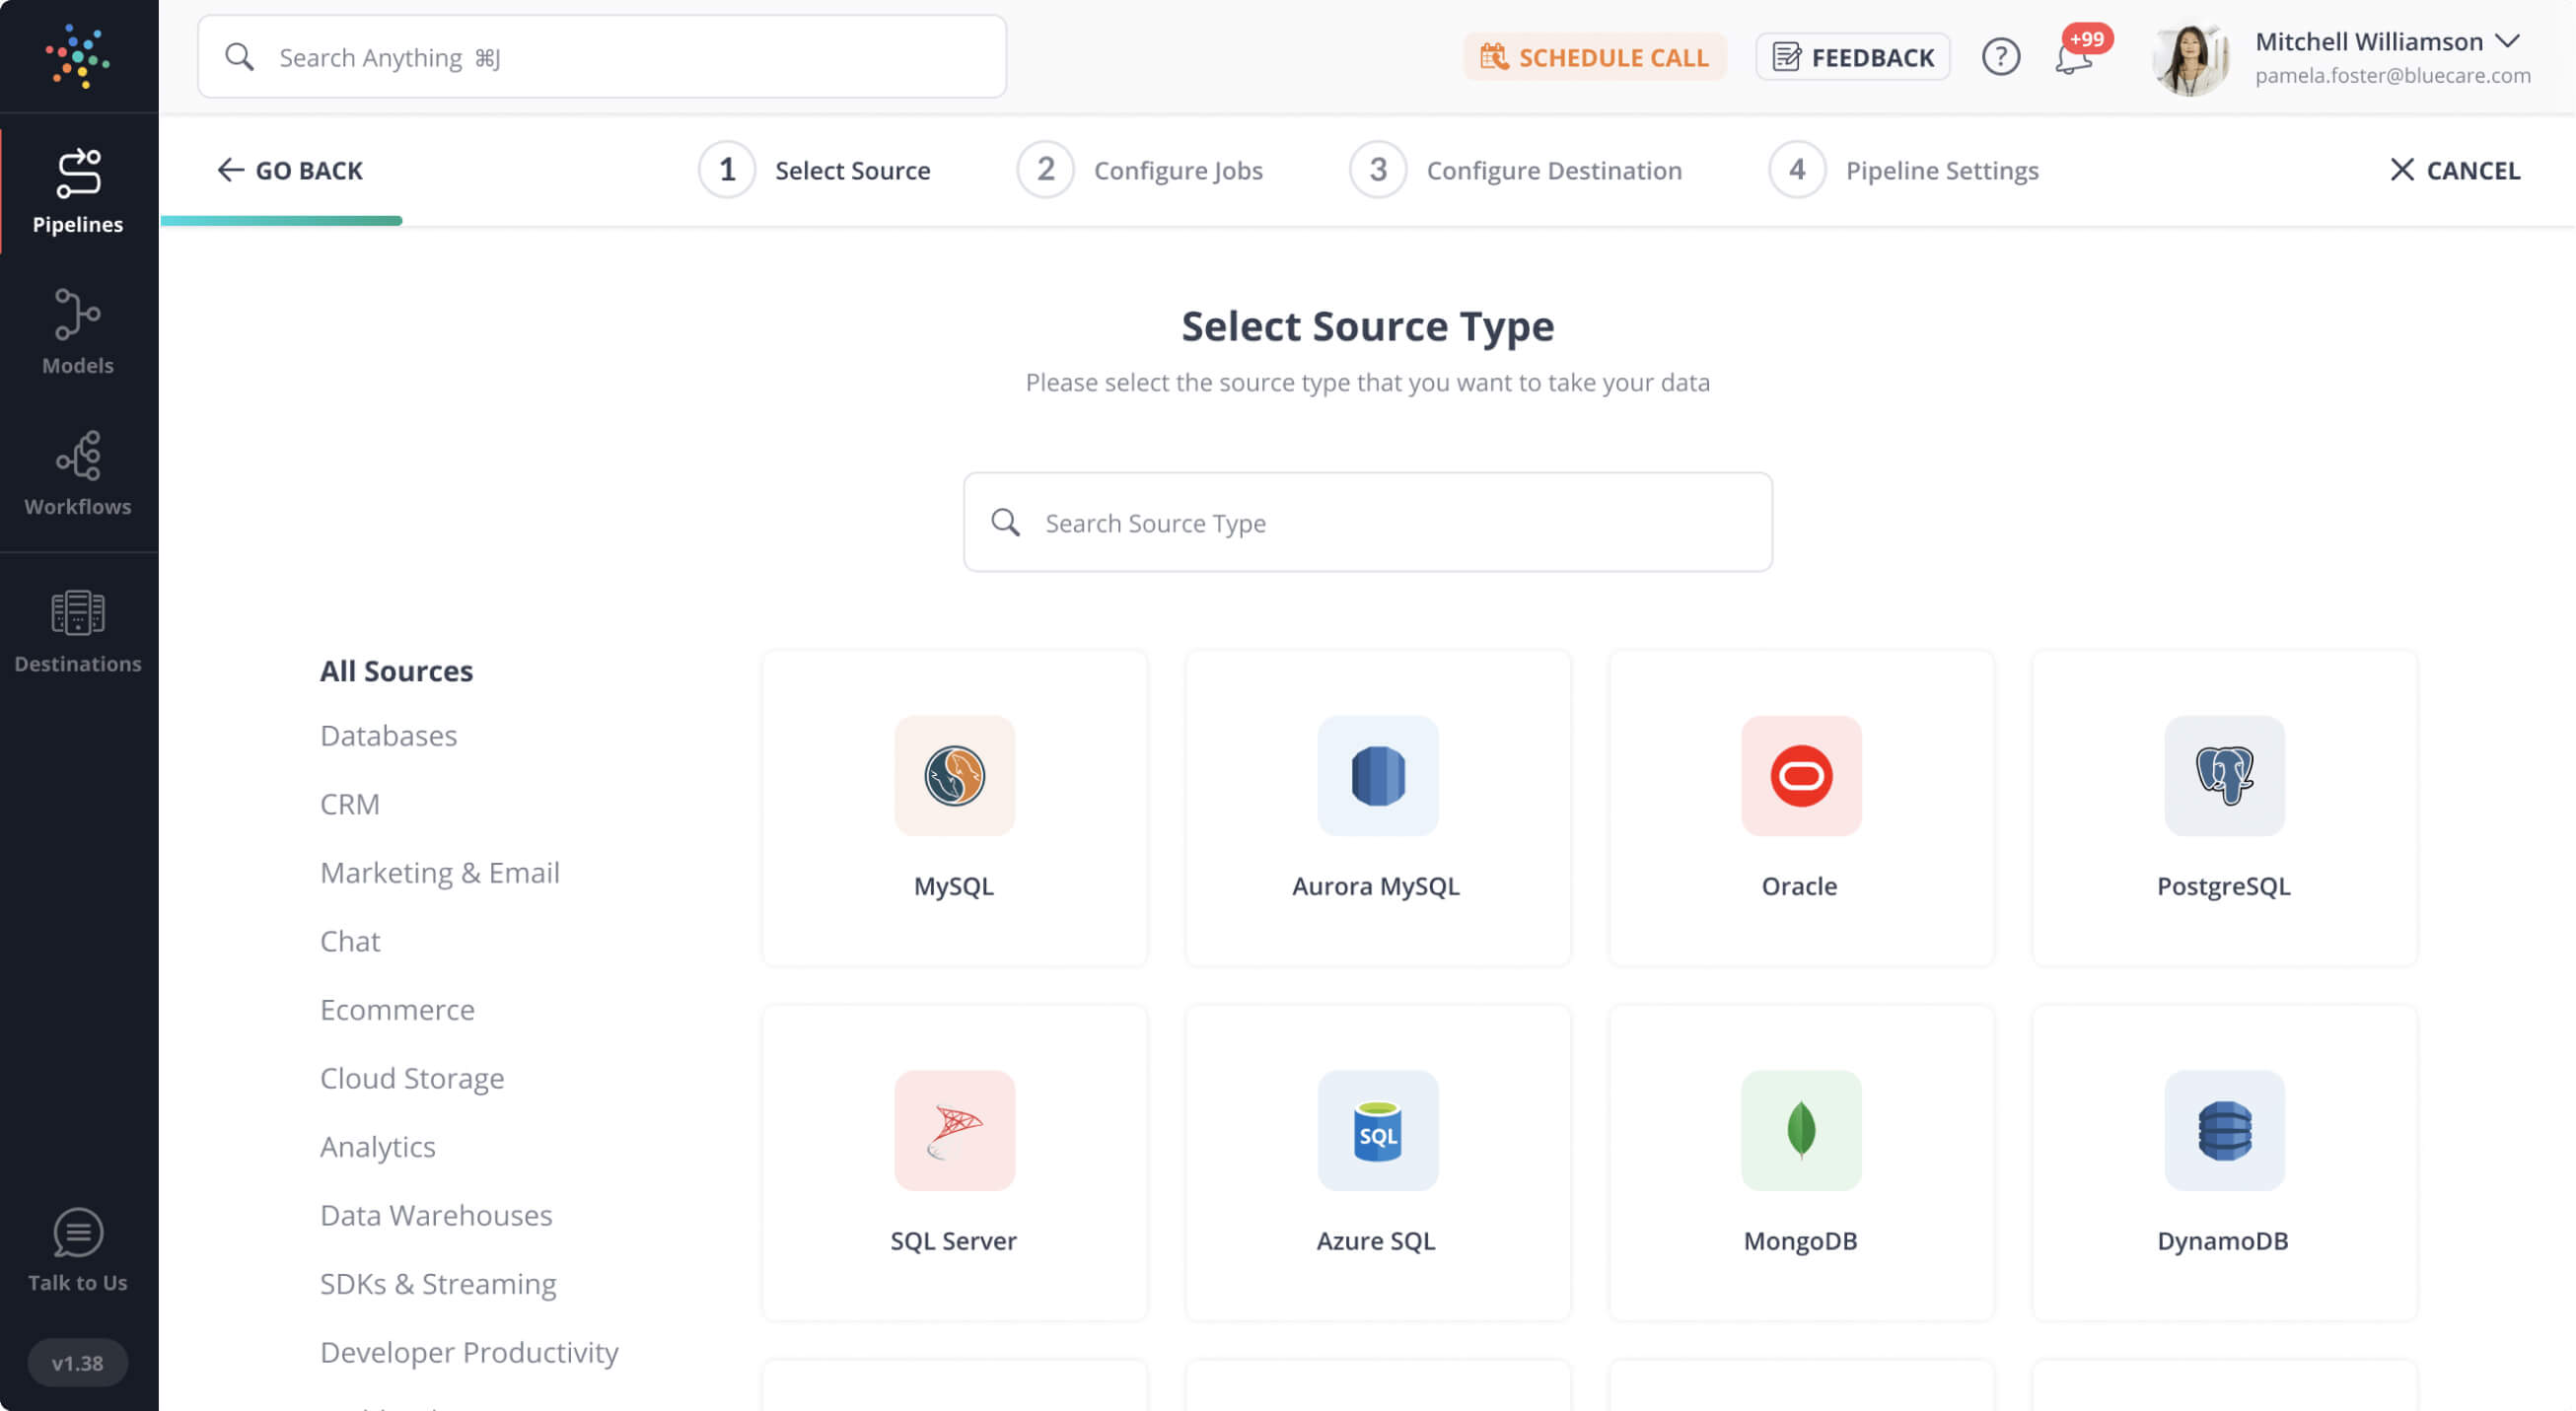
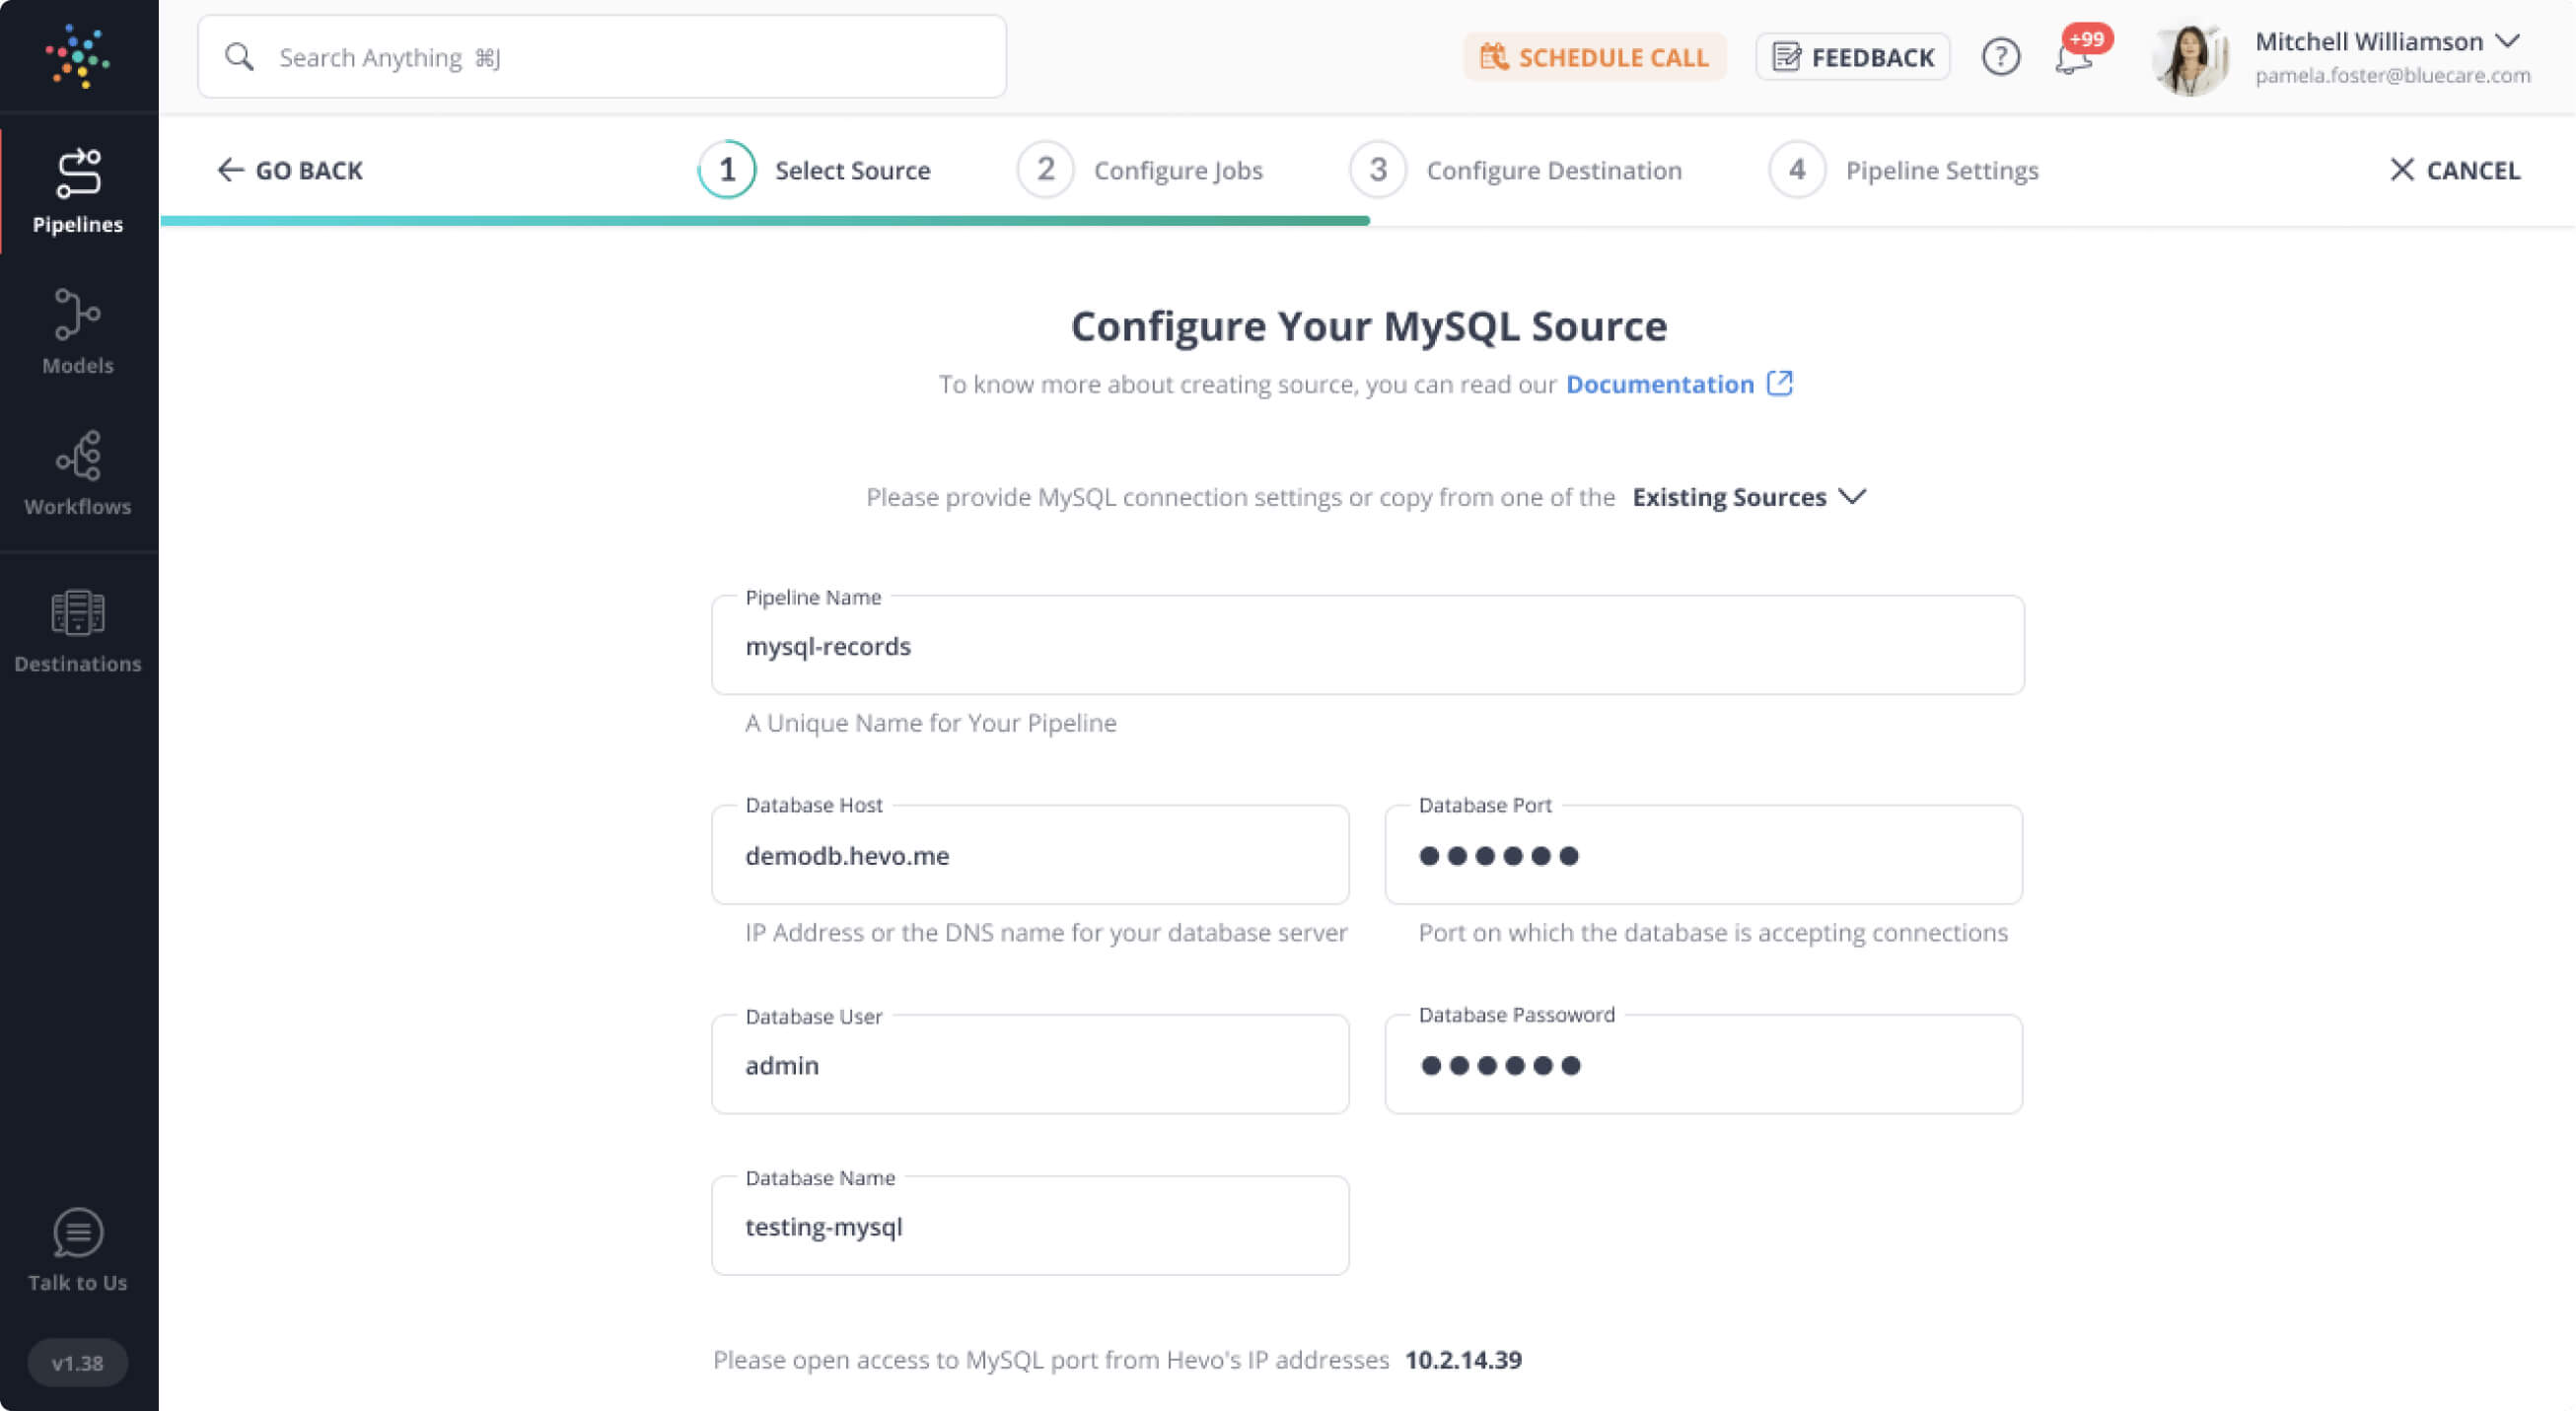
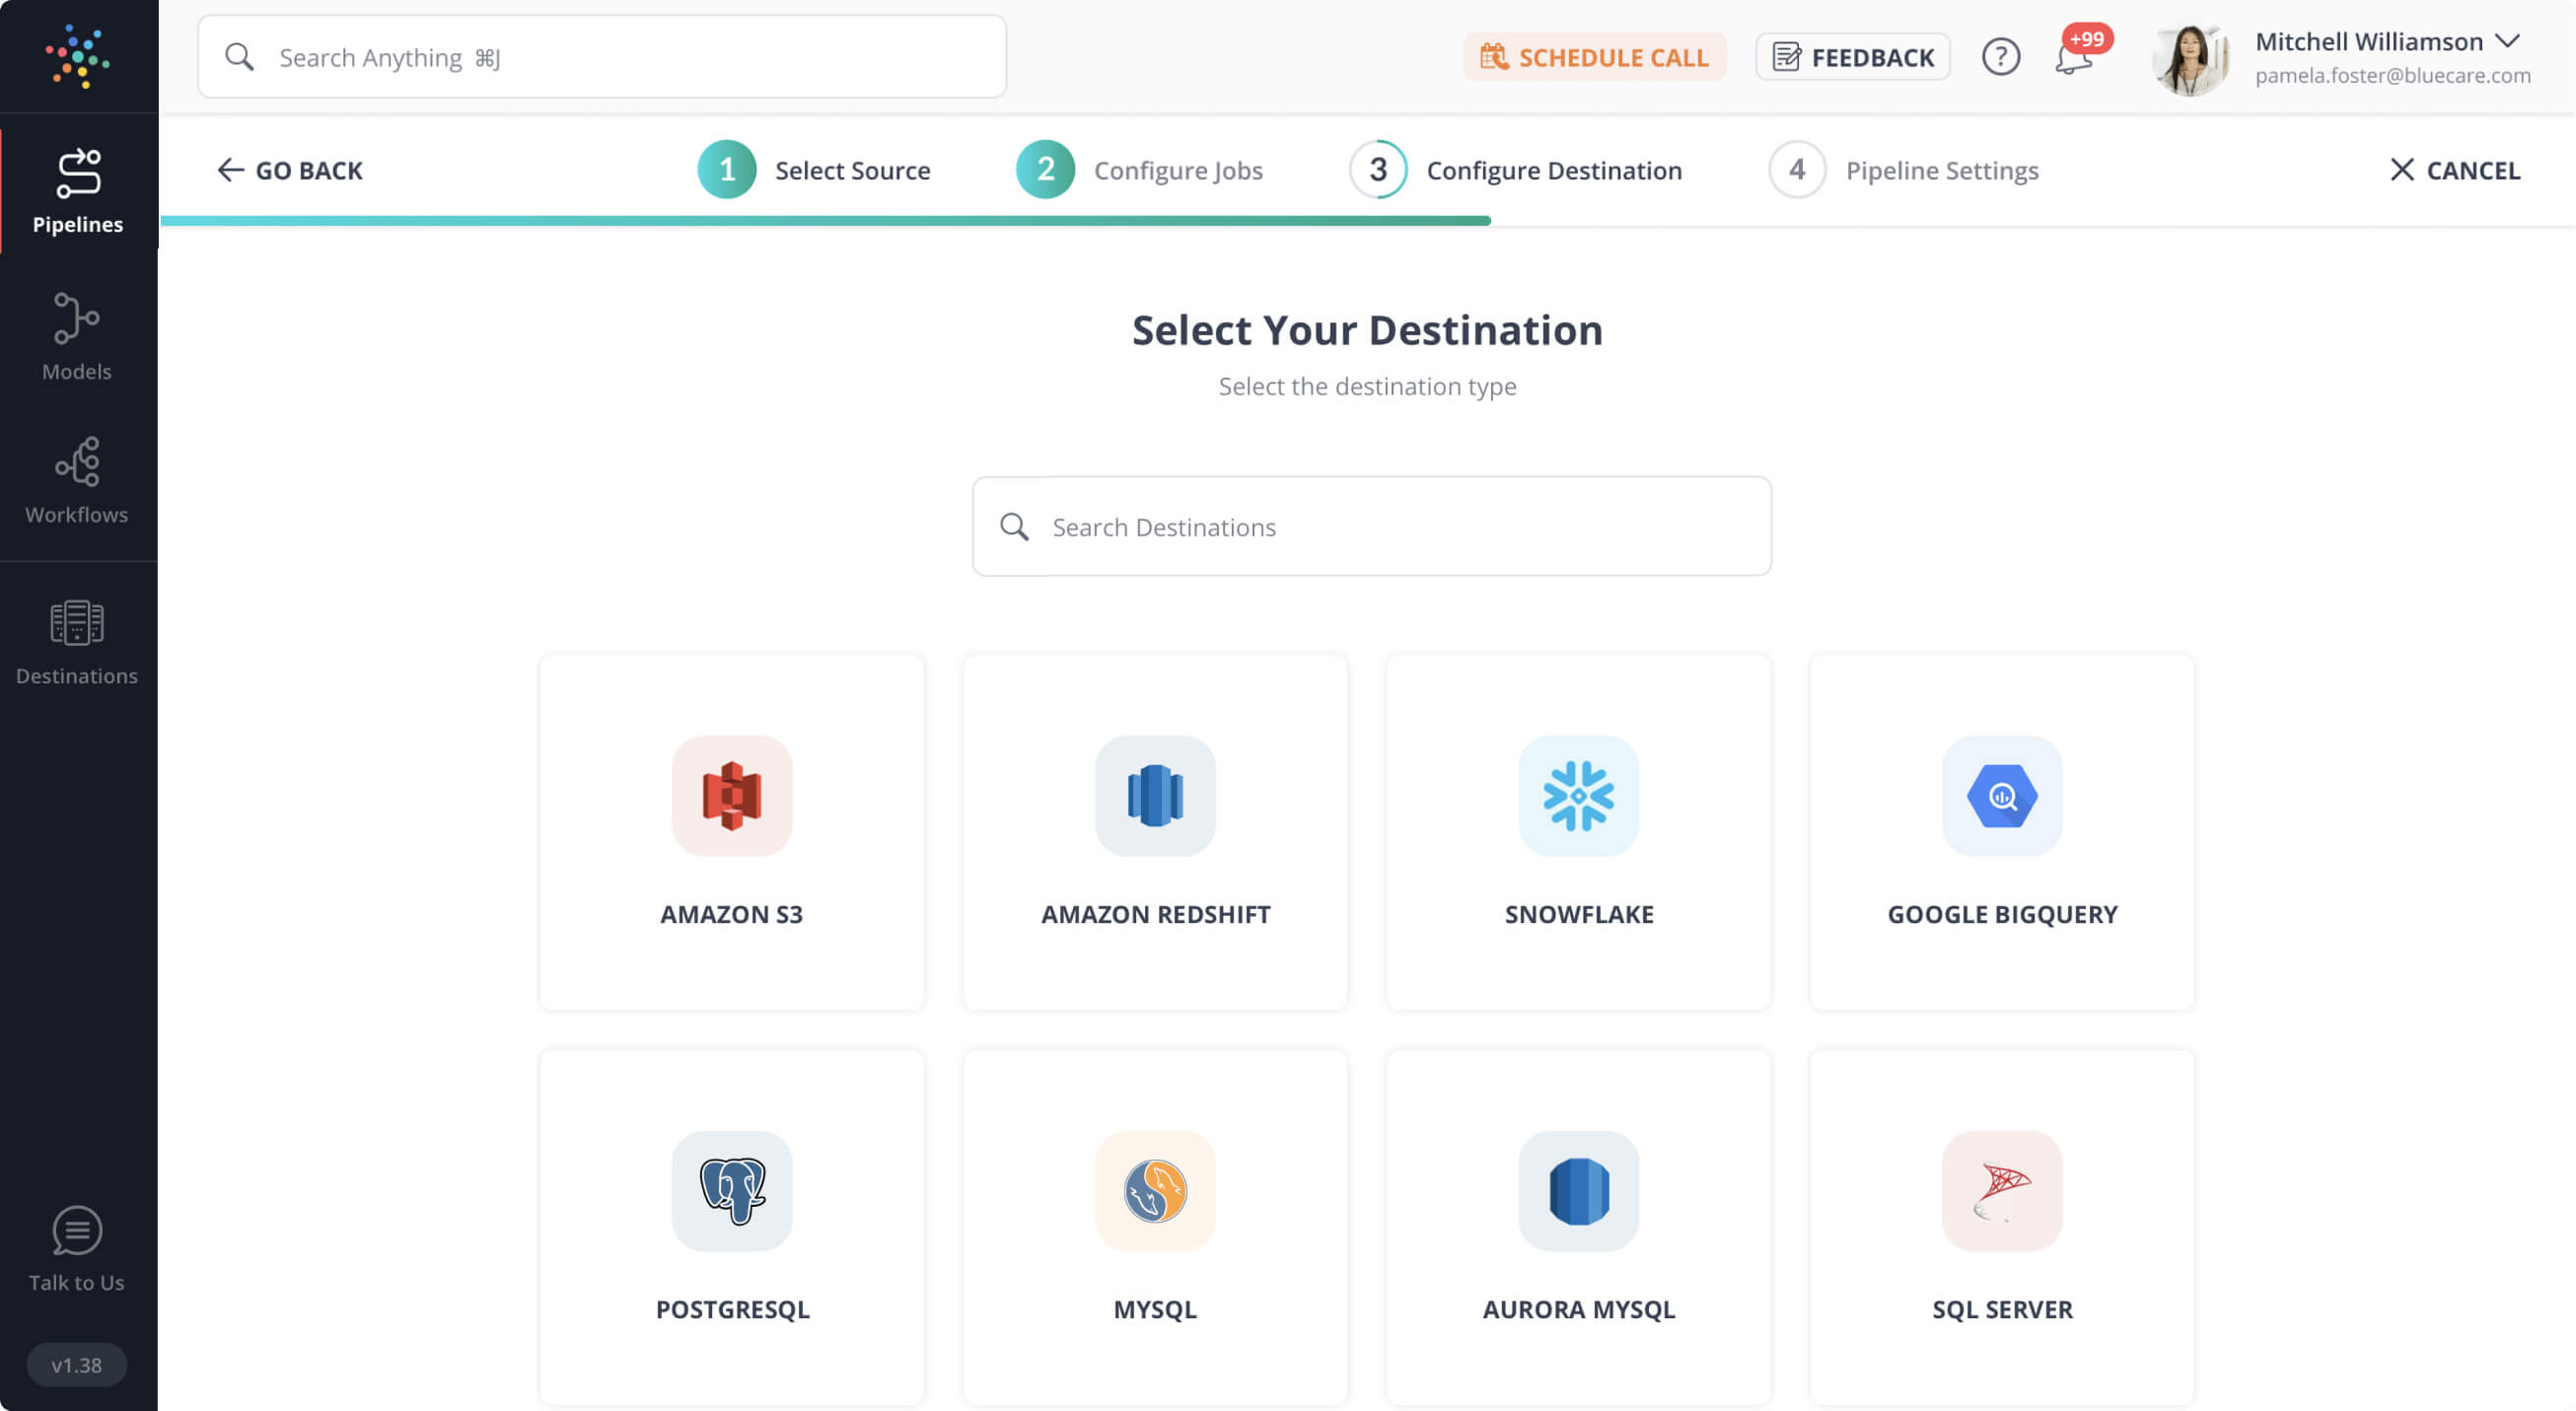
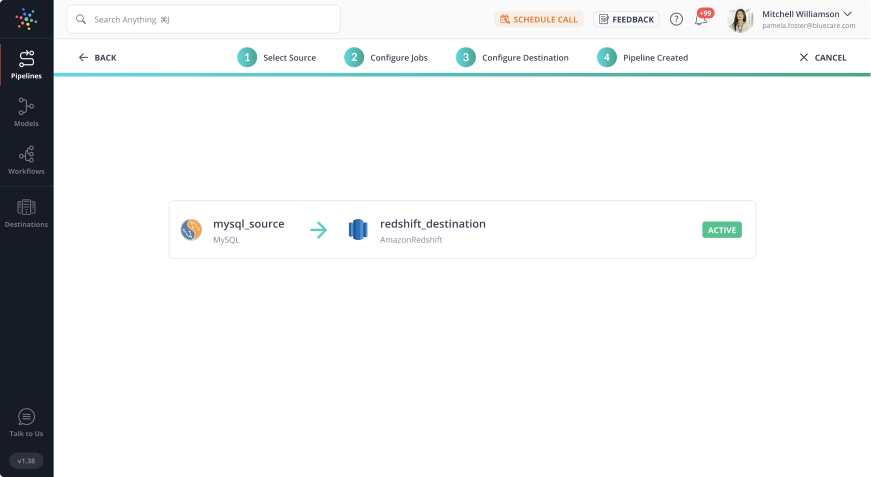
Hevo Data is a No-code Data Pipeline that offers a fully managed solution to set up Data Integration for 150+ Data Sources (including 60+ Free sources) and will let you directly load data from sources like MongoDB to a Data Warehouse or the Destination of your choice. It will automate your data flow in minutes without writing any line of code. Its fault-tolerant architecture makes sure that your data is secure and consistent. Hevo provides you with a truly efficient and fully automated solution to manage data in real-time and always have analysis-ready data.
Let’s look at some of the salient features of Hevo:
- Secure & Reliable: Hevo’s fault-tolerant architecture ensures secure, consistent data handling with zero loss and automatic schema management.
- User-Friendly & Scalable: Hevo’s simple UI makes it easy for new users, while its horizontal scaling manages growing data volumes with minimal latency.
- Efficient Data Transfer: Hevo supports real-time, incremental data loads, optimizing bandwidth usage for both ends.
- Live Monitoring & Support: Hevo provides live data flow monitoring and 24/5 customer support via chat, email, and calls.
How to Install the Mongorestore Command?
MongoDB Database Tools is a collection of command-line tools for working with MongoDB. You can download the suite in Linux, Windows, or macOS. Let’s understand how to download the Database Tools set in Windows.
The MongoDB Database Tools can be downloaded as a ZIP Archive or installed with an MSI installer. You can choose the installation method you prefer, you will learn about the ZIP Archive method below:
Step 1: Download Database Tools ZIP Archive
To get started, head to the MongoDB Download Center. Using the right-hand side of the page’s drop-down menu:
- Choose the Windows x86_64 Platform option.
- Choose a Zip Package.
- Select Download from the drop-down menu.
Step 2: Copy the files from the ZIP you just downloaded.
Unzip the downloaded ZIP archive and copy the Database Tools from the bin directory to your computer’s file system by double-clicking it.
Step 3: Make sure that the DB Tools are added in your PATH.
You might want to add the Database Tools to your system’s PATH environment variable, which allows you to call each tool directly from the command prompt without having to type its full path or navigate to its parent directory.
After you’ve copied the Database Tools to the desired location on your file system, add that path to your system’s PATH environment variable using the methods below.
- Go to the Control Panel and click on it.
- Select System from the System and Security category.
- Select Advanced System options from the menu. A modal window for System Properties appears.
- Select Environment Variables from the drop-down menu.
- Select Path from the System Variables section and click Edit. A popup for editing environment variables appears.
- Add the filepath to the spot where you copied the Database Tools by clicking New.
- To confirm your changes, click OK. To confirm your changes, click OK on each modal.
Once you’ve done that, you may use your command prompt to launch any of the Database Tools. For complete syntax and usage information, go to the reference page for the tool you want to use. The reference page of Mongorestore can be found in MongoDB Docs.
How to use the Mongorestore Command?
You’ll learn how to use the Mongorestore utility on a solitary MongoDB Instance in this section.
A) Syntax
mongorestore <options> <connection-string> <directory or file to restore>B) Example Queries
The Mongorestore command is used to restore a Database by specifying the backup directory (dump directory) without any parameters. This option is appropriate for Databases on localhost (127.0.0.1) that use port 27017. As needed, the restore process will construct new Databases and collections, as well as keep track of its progress.
mongorestore ./dump/You can see how to successfully restore the “vehicles” Database, with all of its collections and documents, in the example above. This will build a new Database called automobiles in the MongoDB Instance, which will include all of the backup’s collections and documents. By logging into the MongoDB Instance, you may verify the restoration procedure.
use vehicles
show collections
db.vehicleinformation.find()
C) Version Compatibility
The following versions of the MongoDB Server are supported by Mongorestore version 100.5.1:
- MongoDB 5.0
- MongoDB 4.4
- MongoDB 4.2
- MongoDB 4.0
While Mongorestore may function with older versions of MongoDB Server, there is no assurance of compatibility.
How to Restore MongoDB using Mongorestore?
A) Restoring a Remote MongoDB Instance
You must first create a connection to a remote MongoDB Instance before you can restore data. A Database Connection can be specified in one of the three ways:
- The connection string for the URL
- The choice to be the host
- Optional host and port
Using the URL option to connect:
mongorestore [additional options] --uri="mongodb://<host URL/IP>:<Port>" [restore directory/file]Using the Host option to connect:
mongorestore [additional options] --host="<host URL/IP>:<Port>" [restore directory/file]Using the Host and Port parameters to connect:
mongorestore [additional options] --host="<host URL/IP>" --port=<Port> [restore directory/file]The following example demonstrates how to recover a remote MongoDB Instance Backup. Users that select the verbose option will receive a full overview of the restoration procedure.
mongorestore --verbose --host="10.10.10.59" --port=27017 ./dump/B) Restoring a Secure MongoDB Instance
When connecting to a MongoDB instance with access restrictions, you must give the following information:
- Username
- Password
- Database Options for Authentication
Mongorestore also supports Key-based Authentication. It’s crucial to make sure the authenticated user has the right permissions/roles to complete the restore process.
Syntax for Authentication:
mongorestore [additional options] --authenticationDatabase=<Database> -u=<Username> -p=<Password> [restore directory/file]The Restoration Command below demonstrates how to connect to a remote MongoDB Server using the login and password authentication method.
mongorestore --host=10.10.10.59 --port=27017 --authenticationDatabase="admin" -u="barryadmin" -p="testpassword" ./dump/C) Restoring Data from Compressed Files
The –gzip option is used by the mongodump software to compress the individual JSON and BSON files. The database can also be restored using these Compressed Backups. The –nsInclude and –nsExclude arguments can be used to filter the compressed file.
mongorestore --gzip [additional options] [restore directory/file]The following commands can be used to restore a compressed MongoDB backup. The backup is compressed and saved in the “backupzip” directory.
mongorestore --gzip -v --nsInclude=vehicles.vehicleinformation --host=10.10.10.59 --port=27017 --authenticationDatabase="admin" -u="barryadmin" -p="testpassword" ./backupzip/A Compressed Archive file can be processed in the same way. How to restore data from a compressed archive file is demonstrated in the example below.
mongorestore --gzip -v --nsInclude=vehicles.vehicleinformation --host=10.10.10.59 --port=27017 --authenticationDatabase="admin" -u="barryadmin" -p="testpassword" --archive=db.archiveD) Restoring Data from an Archived File
Restorations from an archive file are supported by the Mongorestore program. The –archive option can be used to choose an archive file, and the –nsInclude and –nsExclude options can be combined with it.
mongorestore [additional options] --archive=<file>When restoring data, the following example shows how to define an archive file. The –nsInclude option is used to define which collection from the archive file should be restored into the Database.
mongorestore -v --nsInclude=vehicles.vehicleinformation --host=10.10.10.59 --port=27017 --authenticationDatabase="admin" -u="barryadmin" -p="testpassword" --archive=db.archiveHow to Select and Exclude MongoDB Collections & Databases?
Users can indicate which database or collection should be restored using the –nsInclude option. You can use the namespace pattern (Ex: “vehicles.*”, “vehicles.vehicleInformation“) to specify which database or collection should be included when using the –nsInclude option. You can use the –nsInclude command several times in a single command to specify various namespaces. The -nsInclude command also allows you to add wildcards to the defined namespace.
The –db and –collection options are no longer supported and will cause the following error.
The –nsExclude command can be used to exclude a Database or a Collection.
Selecting a Database/Collection:
mongorestore [additional options] --nsInclude=<namespace> (${DATABASE}.${COLLECTION}) [restore directory/file]Excluding a Database/Collection:
mongorestore [additional options] --nsExclude=<namespace> (${DATABASE}.${COLLECTION}) [restore directory/file]The following example will show you how to restore the entire “people” Database. By using the asterisk as a wild card pattern with the “people” namespace, you can include the entire Database. This will restore all of the Database’s data.
mongorestore --nsInclude=persons.* --host=10.10.10.59 --port=27017 --authenticationDatabase="admin" -u="barryadmin" -p="testpassword" ./dump/How to Clone a MongoDB Database using Mongorestore?
The deprecated copydb and clone commands are no longer available in MongoDB version 4.2. Users can also use Mongodump and Mongorestore as alternatives (with the Mongorestore options —nsFrom and —nsTo). For example, to replicate the test database from a local instance running on Port 27017 database on the same instance, you can do the following:
- Dump the test database to an archive with mongodump-test-db.
mongodump --archive="mongodump-test-db" --db=test- To restore (with a database name change) from the archive, use mongorestore with —nsFrom and —nsTo:
mongorestore --archive="mongodump-test-db" --nsFrom='test.*' --nsTo='examples.*'- You can also mongodump the Test database to the standard output stream and pipe it into mongorestore instead of using an archive file:
mongorestore --archive=test.20150715.archive --nsInclude="test.*"What are the Expected Behaviors of Mongorestore Command?
The following is a list of items you should know about the Mongorestore utility’s intended actions.
- Users can use the Mongorestore program to restore data from an existing database or create a new one. Mongorestore only uses insert commands and does not execute any modifications when restoring data into an existing database. As a result, the restoration process will not overwrite existing documents that have a matching value for the _id field of the documents in the backup.
During the restoration process, this will result in a Duplicate Key Error, as demonstrated here:
- The Mongorestore command will reconstruct Indexes stored by Mongodump because Mongodump does not Backup Indexes.
- When backing up and restoring a database, the best practice is to use the matching versions of Mongodump and Mongorestore. If a backup was produced with a specific version of the Mongodump utility, the restore operation should be performed with the equivalent version of the Mongorestore program.
- The “system.profile” collection data will not be restored by Mongorestore.
- To execute restoration operations, the Mongorestore utility is completely compliant with FIPS (Federal Information Processing Standard) connections.
- You should be mindful of the following possibilities when restoring data to a MongoDB instance with access control:
- The “restore” role will offer the appropriate permissions to carry out the restoration operation if the restoring data set does not include the “system.profile” collection and you run the Mongorestore command without the –oplogReply option.
- Even if Mongorestore cannot restore the “system.profile” collection, it will attempt to construct a new “system.profile” collection when restoring backups that include it. In that situation, the “dbAdmin” and “dbAdminAnyDatabase” roles can be used to grant the required rights.
- The user must create a new user-defined role with anyAction in anyResource permissions in order to perform the Mongorestore command with the –oplogReply option.
- When backing up and restoring Sharded Clusters with Shared Transactions in progress, you can’t utilize the Mongorestore function in a Backup Strategy. This modification was made in MongoDB 4.2. MongoDB Cloud Manager or MongoDB Ops Manager are recommended options for dealing with Shared Clusters since they can ensure Transaction Atomicity across shards.
- Since it is a Distinct Database utility, the Mongorestore command should be run from the system’s command shell.
Critical Considerations for using Mongorestore Command
A) Deployment
The Mongodump and Mongorestore programs leverage BSON Data dumps to create backups of modest deployments. Use a file system or block-level disc snapshot function, such as those provided in the MongoDB Backup Methods specification, for robust and non-disruptive backups.
B) Performance Considerations
Since Mongodump and Mongorestore interact with a running Mongod Instance, they have the potential to degrade the performance of your database. The tools not only generate traffic for a functioning database instance but also force it to read all data from memory. When MongoDB reads infrequently used data, it may evict more frequently accessed data, resulting in performance degradation for the database’s normal workload.
Consider the following tips while backing up your data with MongoDB’s tools:
- Label files so that you can quickly identify the backup’s contents as well as the time period it covers.
- If the performance effect of Mongodump and Mongorestore is unacceptable for your use case, consider using File System Snapshots or MongoDB Cloud Manager as an alternative Backup Solution.
- To ensure that the backups represent a consistent data state, use —oplog to capture incoming write operations during the out tool process.
- By restoring your backups to a test MongoDB deployment, you can make sure they’re usable.
Conclusion
This article introduced you to MongoDB along with the salient features that it offers. Furthermore, it introduced you to the concept of Mongorestore and how you can restore data in the MongoDB Database using the Mongorestore and Mongodump.
Hevo Data, a No-code Data Pipeline provides you with a consistent and reliable solution to manage data transfer between a variety of sources like MongoDB and a wide variety of Desired Destinations, with a few clicks. Hevo Data with its strong integration with 150+ sources (including 60+ free sources) allows you to not only export data from your desired data sources & load it to the destination of your choice, but also transform & enrich your data to make it analysis-ready so that you can focus on your key business needs and perform insightful analysis using BI tools.
Want to take Hevo for a spin? Sign Up for a 14-day free trial and experience the feature-rich Hevo suite firsthand. You can also have a look at the unbeatable pricing that will help you choose the right plan for your business needs.
Share with us your experience of learning about the Mongorestore Method in the comments below!
FAQs
1. What does MongoRestore do?
MongoRestore is a command-line tool used to restore data into a MongoDB database from backup files created by mongodump. It re-creates the database, collections, and documents from the backup, making it useful for data recovery or migrating data between MongoDB instances.
2. What is the Mongorestore command for Windows?
On Windows, the mongorestore command is used via the command prompt to restore MongoDB data from backups. A basic example is: mongorestore –host <hostname> –port <port> –db <database_name> <backup_folder_path>. Simply replace <hostname>, <port>, <database_name>, and <backup_folder_path> with your specific values to restore your data.
3. Will MongoRestore overwrite?
Yes, mongorestore will overwrite existing data if the same database and collection already exist unless you use the –drop option to first remove the existing data. Without this option, new data is merged with the existing collection.
4. How can Mongorestore improve performance?
To improve mongorestore performance, you can use the –numInsertionWorkersPerCollection option to enable parallel inserts, and the –gzip option if the backup is compressed. Disabling index creation during restoration with –noIndexRestore also speeds up the process.


