Unlock the full potential of your Redshift data by integrating it seamlessly with Snowflake. With Hevo’s automated pipeline, get data flowing effortlessly—watch our 1-minute demo below to see it in action!
Wouldn’t it be helpful not to parse through complex code jumbles, not face major knowledge lags while migrating from Amazon Redshift to Snowflake? A method exists — and it’s much faster, reliable, and cost-efficient than the manual method.
Continue reading because this article also submits answers to all the prevailing questions and challenges you’ll meet face to face entering the migration phase.
Table of Contents
The Need For An Alternative
Although Redshift’s a powerful tool for a maturing startup, sometimes it becomes too complex, starts having performance, lockups, and scaling and scalability issues. You might, as well, need to manually kick-off dbt, cancel queries, or even restart the Redshift cluster to get things back on track — becoming a nuance for today’s performance-led businesses worldwide.
To mitigate all these challenges, three solutions exist:
- Hire a full-time database administrator,
- Rely upon AWS’s solutions team, or
- Consider migrating your operations to another data warehousing solution.
So, if you fall under those three categories and want to depart away from Amazon Redshift, you came to the right place. This article will only focus on migrating data from Amazon Redshift to Snowflake, provide two solutions for you to endeavor seamlessly. But, if you’re evaluating Google BigQuery as the other option, we have just the right solution for you, too.
Why Choose Snowflake?
Snowflake retorts most, if not all the worries to an end. Snowflake is an agile data warehousing solution, loved by the data community because it aligns with today’s financial and engineering interests — solving major business concerns, regarding cost and enablement.
The best part about Snowflake from a business perspective is that it’s easy to scale up and down. And, based on your usage, Snowflake takes charge of the scalability aspect, saving capital and bringing uniformity to the processes.
Here’s why it makes sense to switch to Snowflake:
- Scale-as-you-go, Data Remains Safe: Snowflake is cloud-agnostic — so, no system failure. And, thanks to multicluster architecture, queries from one virtual warehouse won’t affect others. It auto-appends nodes’ availability based on your actual needs — minimizing cost and maximizing performance.
- Data Security, Encryption, and Data Sharing: With no additional cost involved, and as per Snowflake’s data security compliance framework, Snowflake is end-to-end encrypted. It’s also easy to share data in an easy and secure fashion. And, for another person to access data, it’s instructed to give out permission manually.
- User-friendly UX/UI: For users with/without coding experience, Snowflake’s built design is easy to understand, user-friendly, and robust.
Manual Methods Beget Major Compliances And Due Diligence Issues
The one way to migrate data from Amazon Redshift to Snowflake is by cloning schemas and tables in Redshift with the migration-only approach. With this, you can run both old and new processes. This side-by-side approach will help you gain the necessary confidence while in the transformation phase itself. A great example of the migration-only strategy in action is Instacart’s.
In short, the migration-only approach helps compare data from the old and the new system simultaneously, achieving operational efficiency and maturity gradually.
But, while migrating from Redshift to Snowflake, Instacart fell short on solving compliance and due diligence problems, which were repetitive, time-consuming, and so striking that we’re mentioning them here.
Some of the challenges they faced are as follows:
The SQL Syntax Challenge: Learning the Correct Syntax
Both, Amazon Redshift and Snowflake, use a variant of SQL syntax which might be confusing for some. The main differences are mentioned below in detail:
Redshift | Snowflake
-------- | -------
select GETDATE() | select CURRENT_TIMESTAMP()
select TRUNC(CURRENT_TIMESTAMP()) | select DATE_TRUNC(DAY,CURRENT_TIMESTAMP())
select SYSDATE| select TO_TIMESTAMP_NTZ(CONVERT_TIMEZONE('UTC',CURRENT_TIMESTAMP()))
select DATE(CURRENT_TIMESTAMP()) | select TO_DATE(CURRENT_TIMESTAMP())
date_time_utc > GETDATE() - 7 | date_time_utc > dateadd('DAY', -7, TO_TIMESTAMP_NTZ(LOCALTIMESTAMP))
select coalesce('a')| select coalesce('a', 'b') --you will get error message if you specify only one argument "SQL compilation error: error line 1 at position 7 not enough arguments for function [COALESCE('a')], expected 2, got 1"
DISTSTYLE | not used
DISTKEY | not used
SORTKEY | not used
SORTKEY(col)|not used
ENCODE  | not used
interleaved | not used
bpchar  | char
character varying|varchar
'now'::character varying|current_timestamp
identity(start, 0, ([0-9],[0-9])::text)|identity(start, 1)
While some prefer Snowflake’s “correct syntax,” the DML changes were widely visible, as Redshift’s approach to SQL’s syntax is more lenient for deleting tables. For example, Redshift accepts delete_name without the “from” keyword. The difference looks like this:
Redshift | Snowflake
-------- | -------
DELETE customers | DELETE from customers
If you fancy parsing on JSON, you should know the variations in SQL format because it is different for both, Amazon Redshift and Snowflake. The SQL formats look like this:
Redshift | Snowflake
-------- | -------
json_extract_path_text (properties,'name') | parse_json(properties):name
select json_extract_array_element_text('[111,112,113]', 2); | select parse_json('[111,112,113]')[2];
To learn more, you can also check the variant datatype and performed well, provided by Snowflake — extremely valuable for JSON, Avro, ORC, Parquet, or XML.
The Data Dictionary Challenge: All UPPER
The Snowflake’s Information Schema is all upper case, which might become a nuance. Moreover, you might face schema issues while running SELECT with the UPPER function. If the Information Schema is not selective enough, Snowflake will return an error: “Information schema query returned too much data. Please repeat query with more selective predicates” — check it out for yourself:
select *
from information_schema.tables
where table_name= upper('table_name');
# Instead make sure you send the string in UPPER case. Dont use the upper function.

select *
from information_schema.tables
where table_name= 'TABLE_NAME';
The Default Timestamp Issue: It’s PST or IST, or UTC?
Because Snowflake’s default account time zone setting is set to America/Los_Angeles, the database clock time is set to PST. Many a time, teams will stump over the time zones, potentially becoming a significant roadblock to your data migration journey. To mitigate this challenge try changing timezone settings as per your needs. Here’s how you do it:
show parameters like '%TIMEZONE%' in account;

#change your account setup in case you want a different timezone

alter account SET TIMEZONE = 'UTC';
The Dating Issue: Snowflake Doesn’t Forgive
Yes, the date issue. While migrating, you will find that Redshift was way more forgiving while storing the future dates in a timestamp column, simply because Snowflake rejects them. Furthermore, you will see an error message which is not detailed enough. The solution: Instamart’s team used NULL_IF in the copy command. Have a look for yourself:
copy into {0}{1}
from {2}
truncatecolumns = true
file_format =
(
  field_optionally_enclosed_by='"'
  escape_unenclosed_field='NONE'
  type = csv
  TRIM_SPACE = TRUE
  field_delimiter = '|'
  null_if = ('', '11457-11-09')
);
But, there must exist a better way…
Migrating Data From Amazon Redshift to Snowflake Using Hevo Data: In 2 Simple Moves
Move 1: Configuring The Source, Amazon Redshift
In this data warehouse migration guide, Move 1 requires complying with the prerequisites. The requirements are as follows:
- You should have an active AWS account.
- Your Amazon Redshift instance should be running.
- You should allowlist the Hevo’s IP address.
- The Source instance’s Database hostname and port number should be available.
Let’s begin with the configuration steps…
Step 1: Start with allowlisting Hevo’s IP Addresses for your region to enable a secure connection to your Amazon RDS MySQL database. Follow the steps below to know-how:
- Get access to the Amazon Redshift dashboard
- On the left, in the navigation pane, click on “Clusters”
- Select a cluster to initiate the connection
- Open the “Configuration” tab, search for “VPC security groups” under the “Cluster Properties,” a “security Groups” panel will appear, it should look like this
- Now, click on “Inbound,” then click on “Edit”
- Fill in the required information, and click on “Save” to continue
Step 2: Grant privileges and create a database user to continue. In this section, point 1 is optional.
- To create a user, first, you need to gain “CREATE” privileges or become a ”superuser.” To continue, log in to your Amazon Redshift database and type (or copy-paste) this command.
CREATE USER hevo WITH PASSWORD ‘<password>’;
- Having “SELECT” privileges are essential for Hevo to gain access to the table(s). After gaining access, provide “SELECT” privilege to all tables or a table. Enter these commands to continue
GRANT SELECT ON ALL TABLES IN SCHEMA <schema_name> TO hevo; #all tables
GRANT SELECT ON TABLE <schema_name>.<table_name> TO hevo; #specific table
Step 3: Open Hevo to start with the configuration process and ingesting connection settings for Amazon Redshift. The process should look like this:
- In the Asset Palette, click on “Pipelines”
- In “Pipeline List View,” click on “+CREATE”
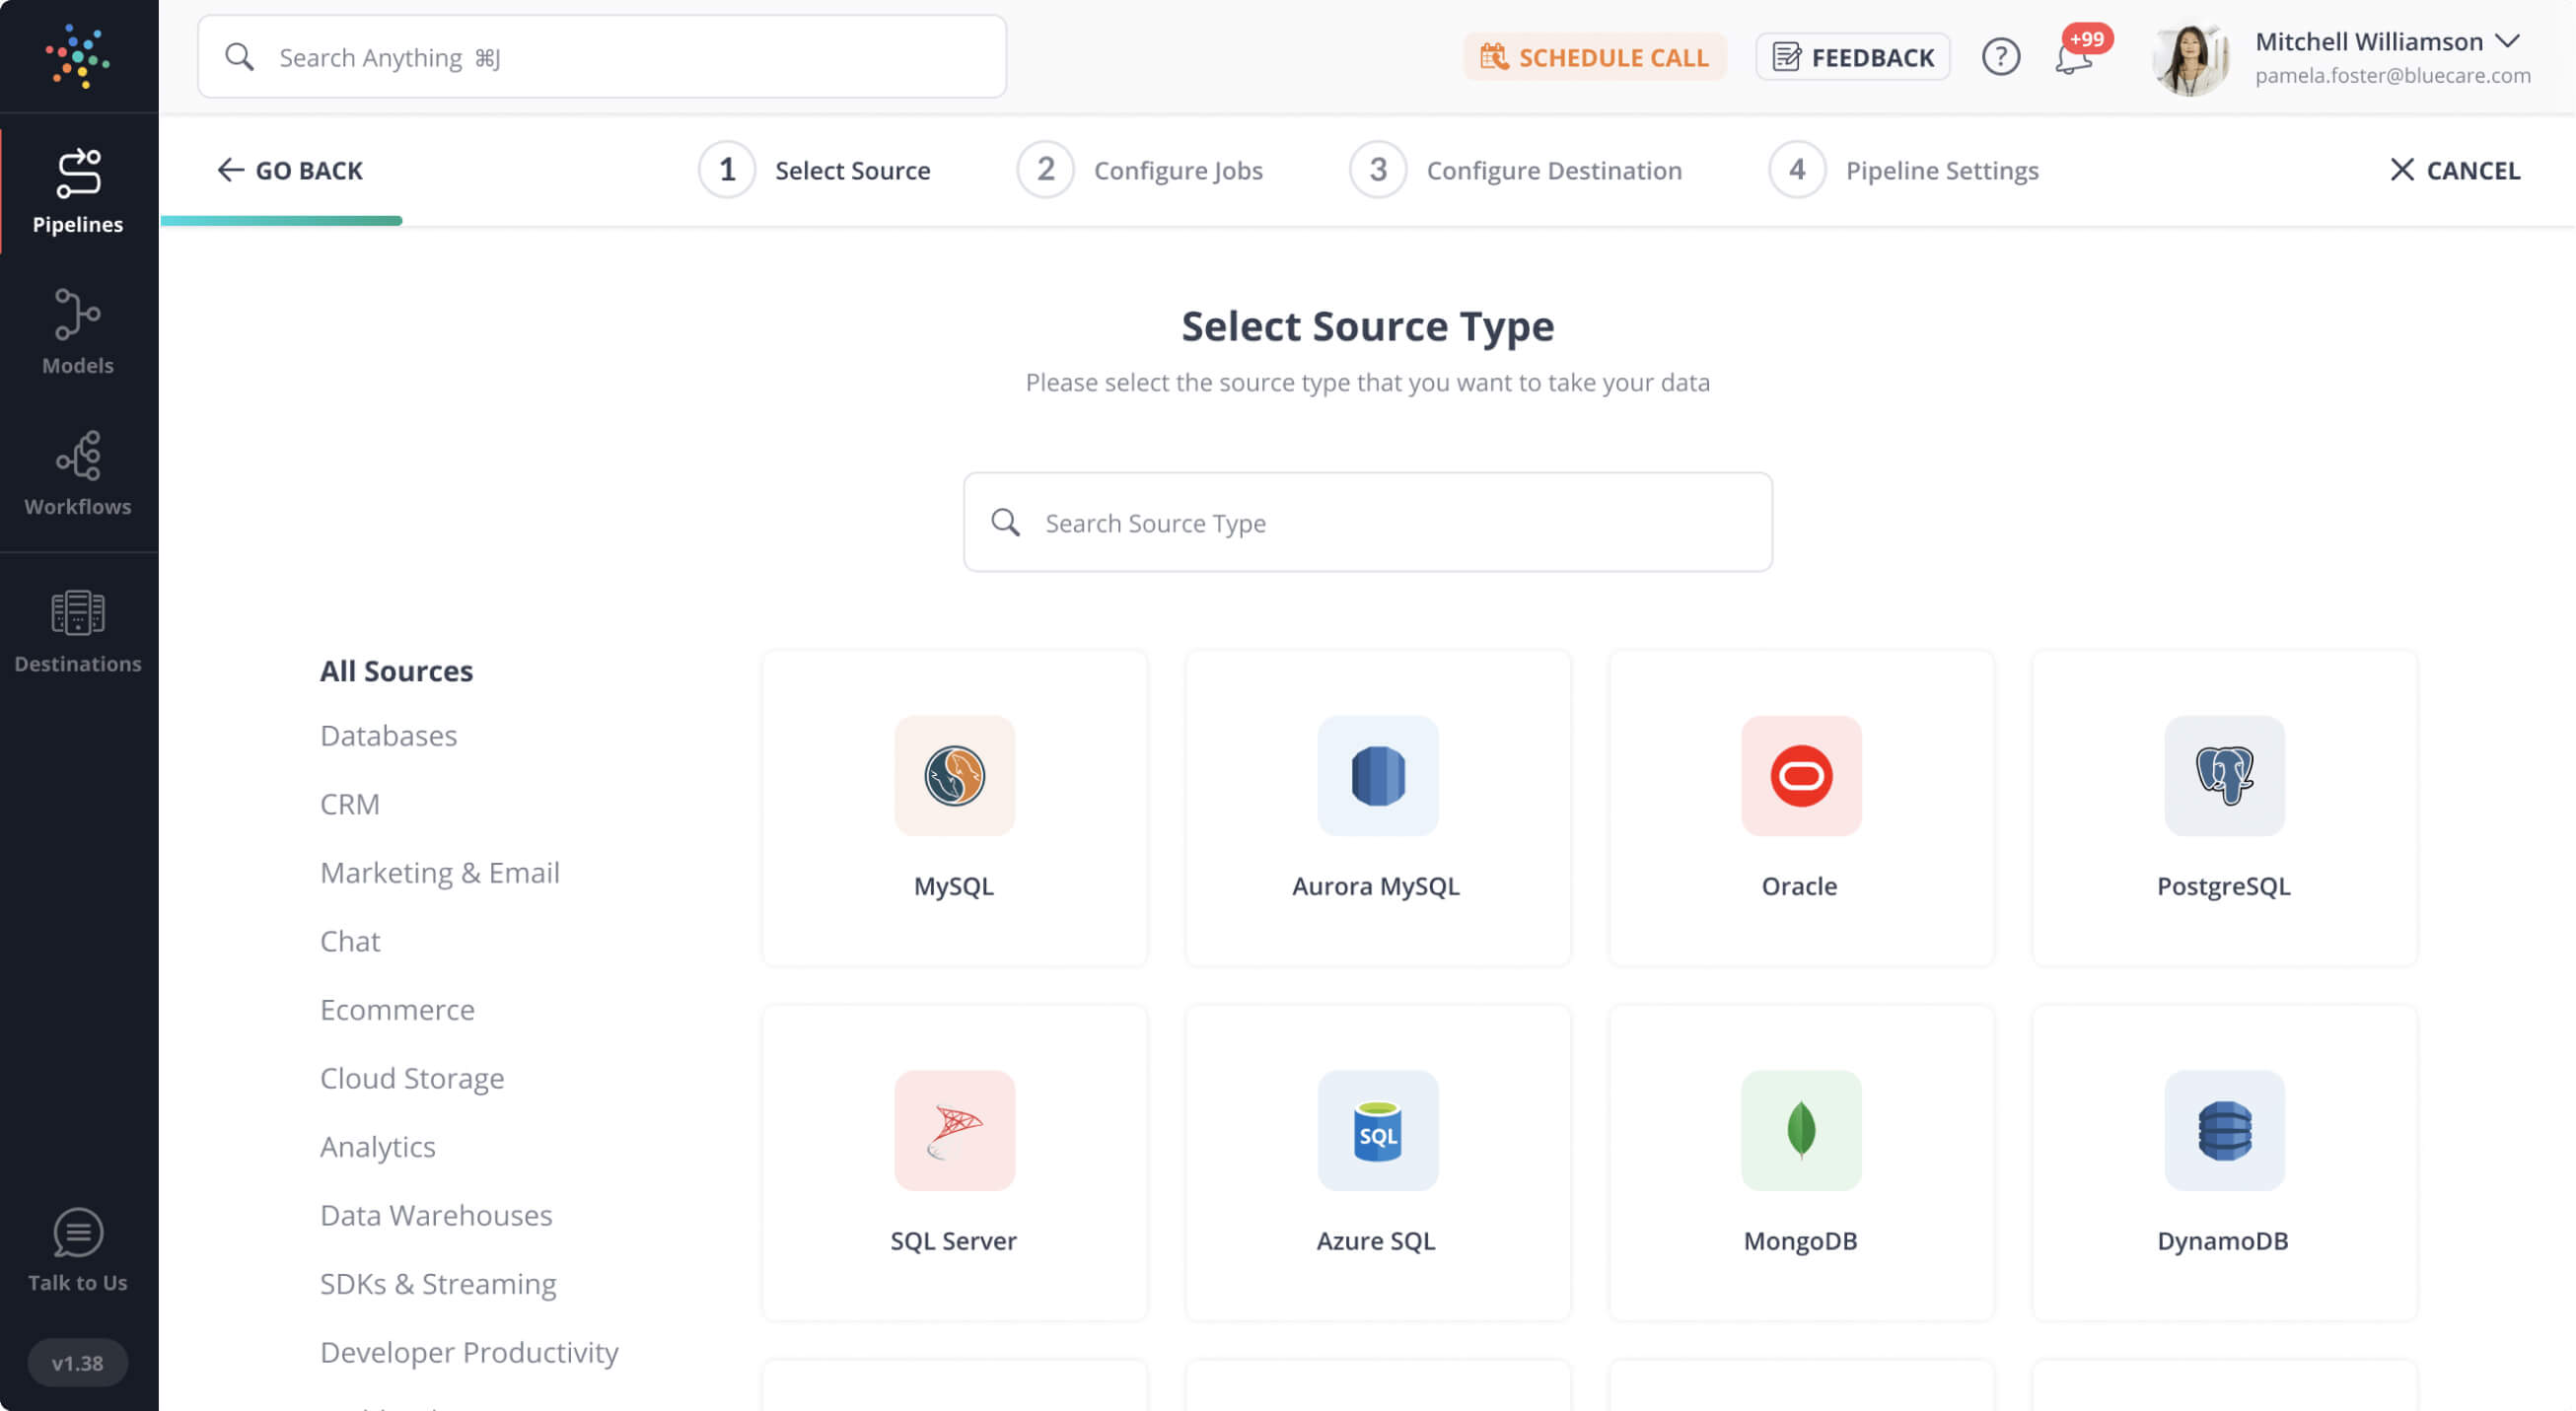
- Select Amazon Redshift in the “Select Source Type” page to continue
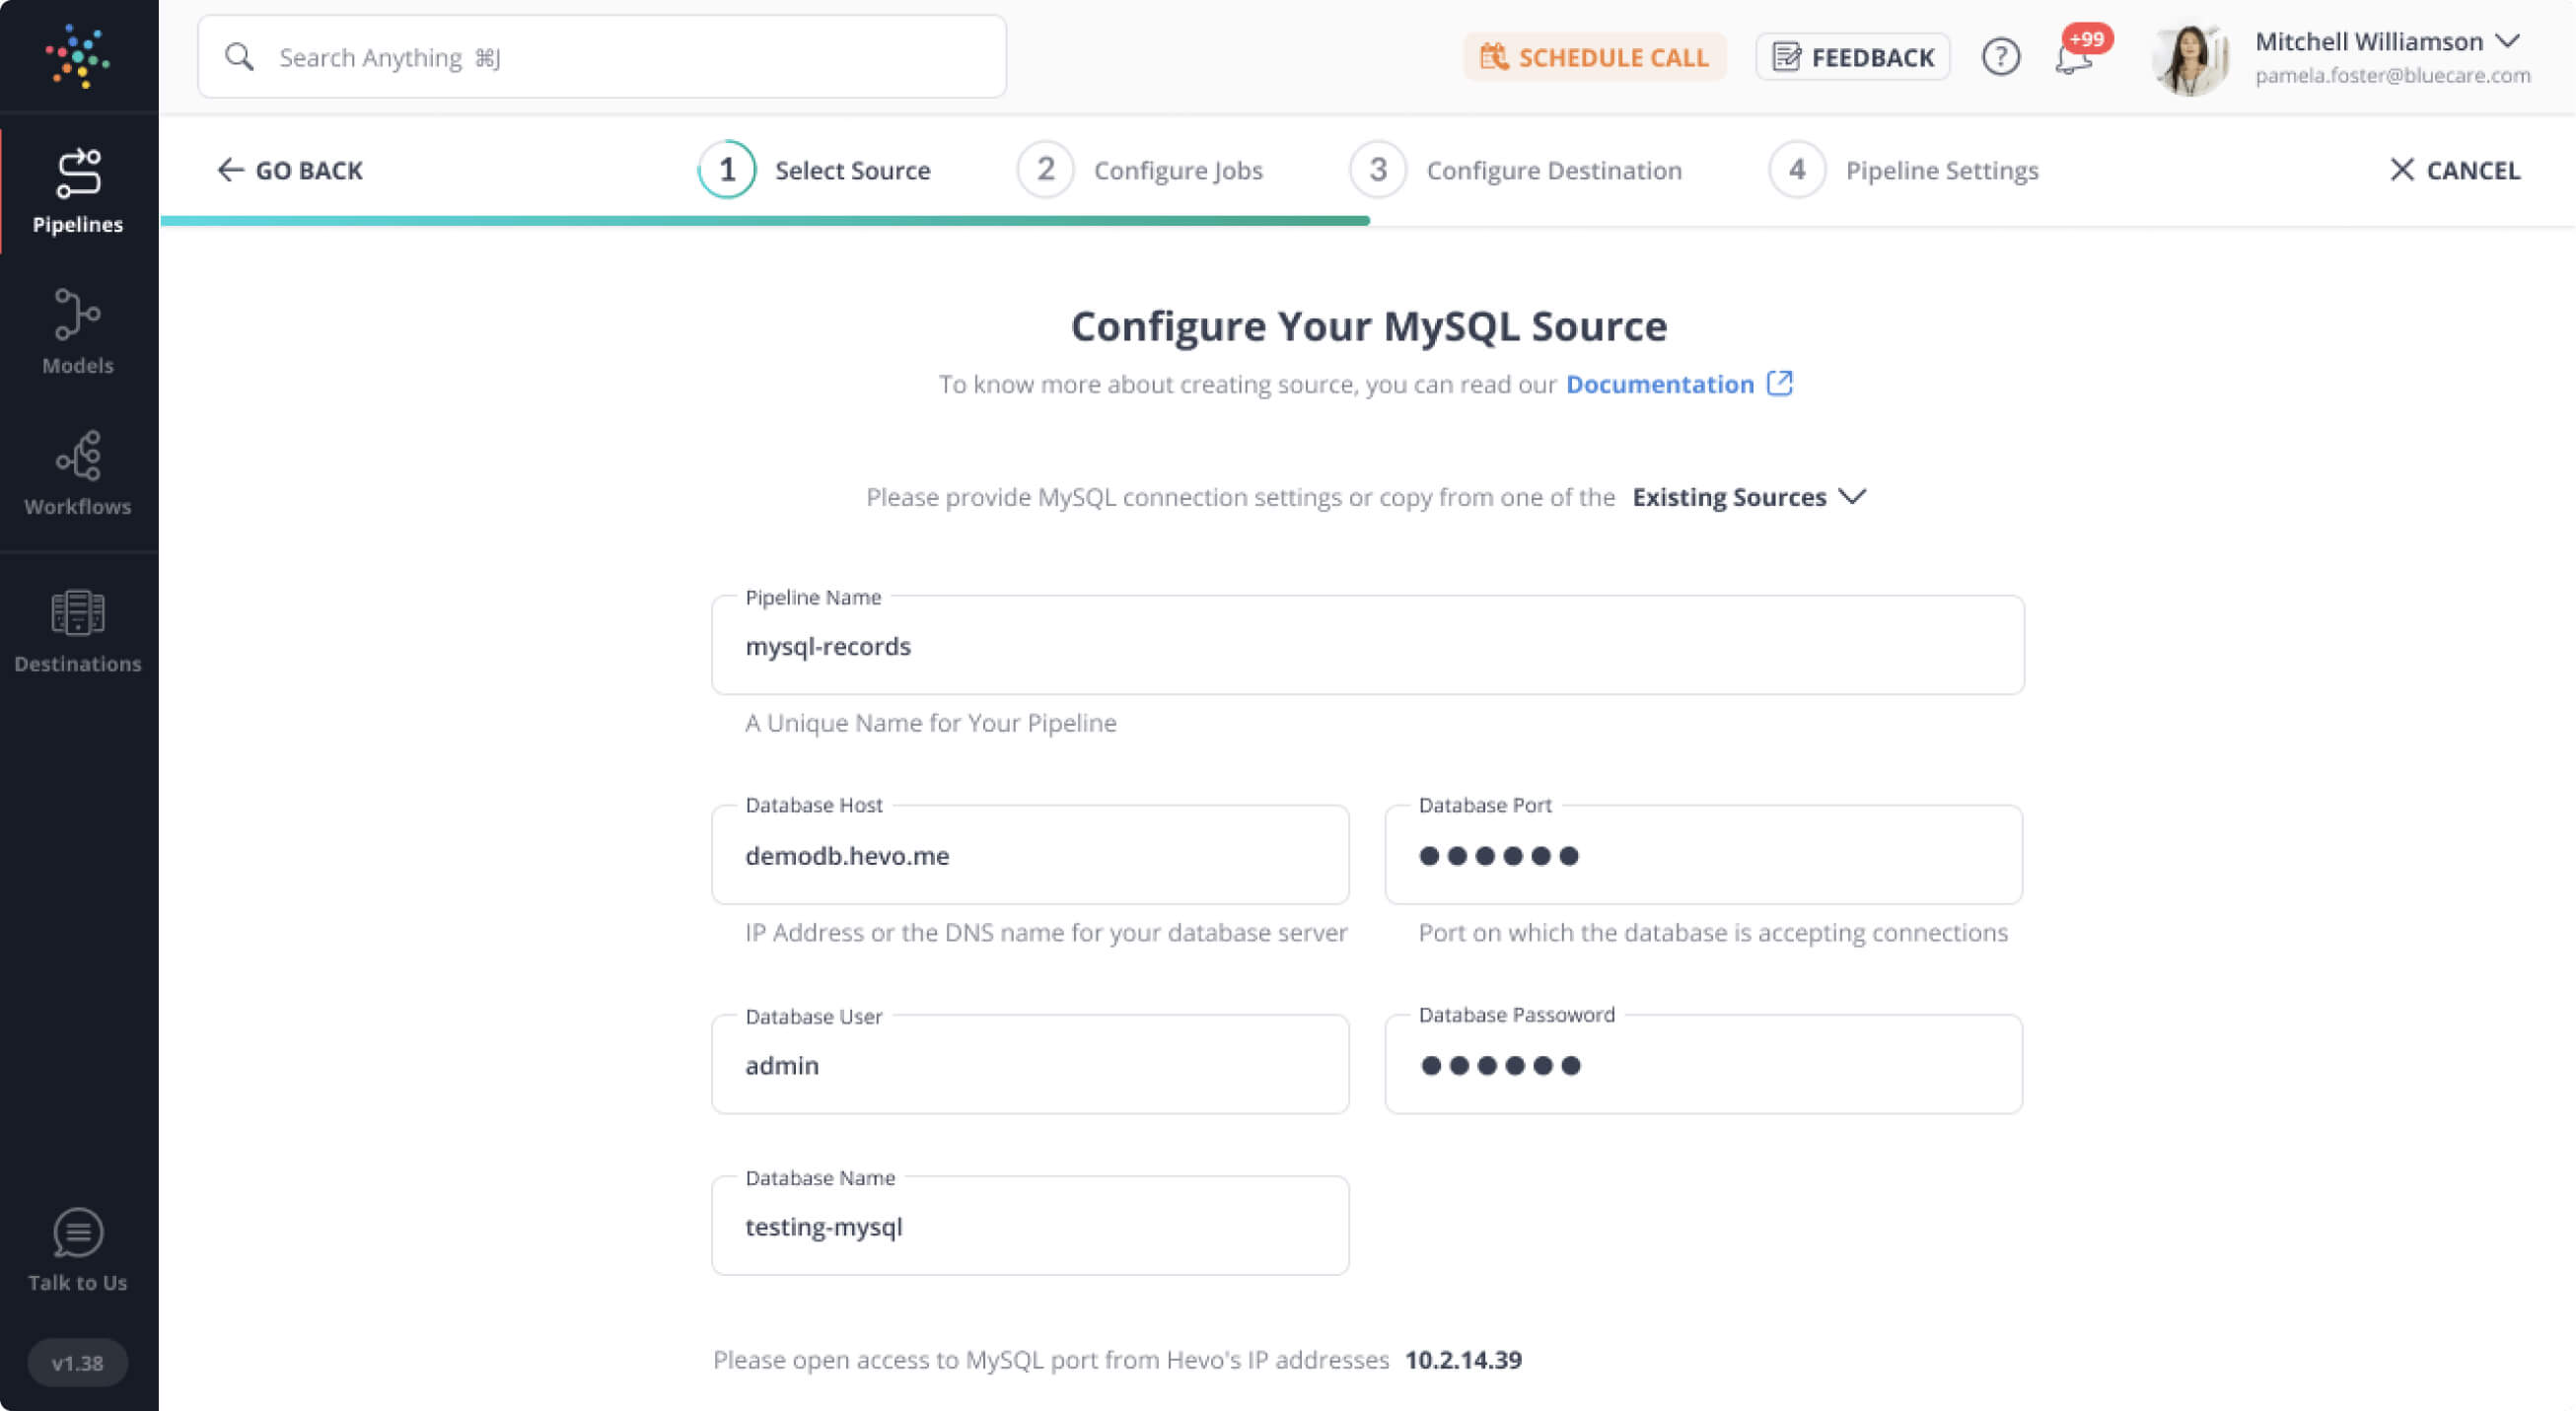
- In the “Configure your AMazon Redshift Source” window, fill in the required information, it should look like this
Move 2: Configuring the destination, i.e., Snowflake
To start with the configuration steps for Snowflake, prerequisites are as follows:
- Privileges required:
- ACCOUNTADMIN or SECURITYADMIN, to create a role for Hevo
- ACCOUNTADMIN or SYSADMIN, if a warehouse is to be configured
- Hevo is assigned to USAGE permissions on data warehouses, USAGE and CREATE SCHEMA permissions on databases, and ALL permissions on the current and future schemas.
Let’s begin with the configuration process…
Step 1: Start with granting Hevo permissions as mentioned in the prerequisites section of Move 2. This process will allow Hevo to connect, create, modify, and monitor usage, in both, warehouse and database, at an object level.
To grant access run these following commands:
- To grant access to warehouse-level privileges:
- GRANT USAGE ON WAREHOUSE <warehouse_name> TO ROLE <role_name>;
- To grant database-level privileges:
- GRANT USAGE,CREATE SCHEMA ON DATABASE <database_name> TO ROLE <role_name>;
- To grant ALL permissions on the schema:
- GRANT ALL ON SCHEMA <schema_name> TO ROLE <role_name>;
- To grant ALL permissions on the future schema:
- GRANT ALL ON FUTURE SCHEMAS IN DATABASE <database_name> TO ROLE <role_name>;
Step 2: Now, open Hevo to start with the configuration process for Snowflake as a Destination.
- On the Asset Palette, click on “DESTINATION”
- On the “Destination List View,” click on “+CREATE”
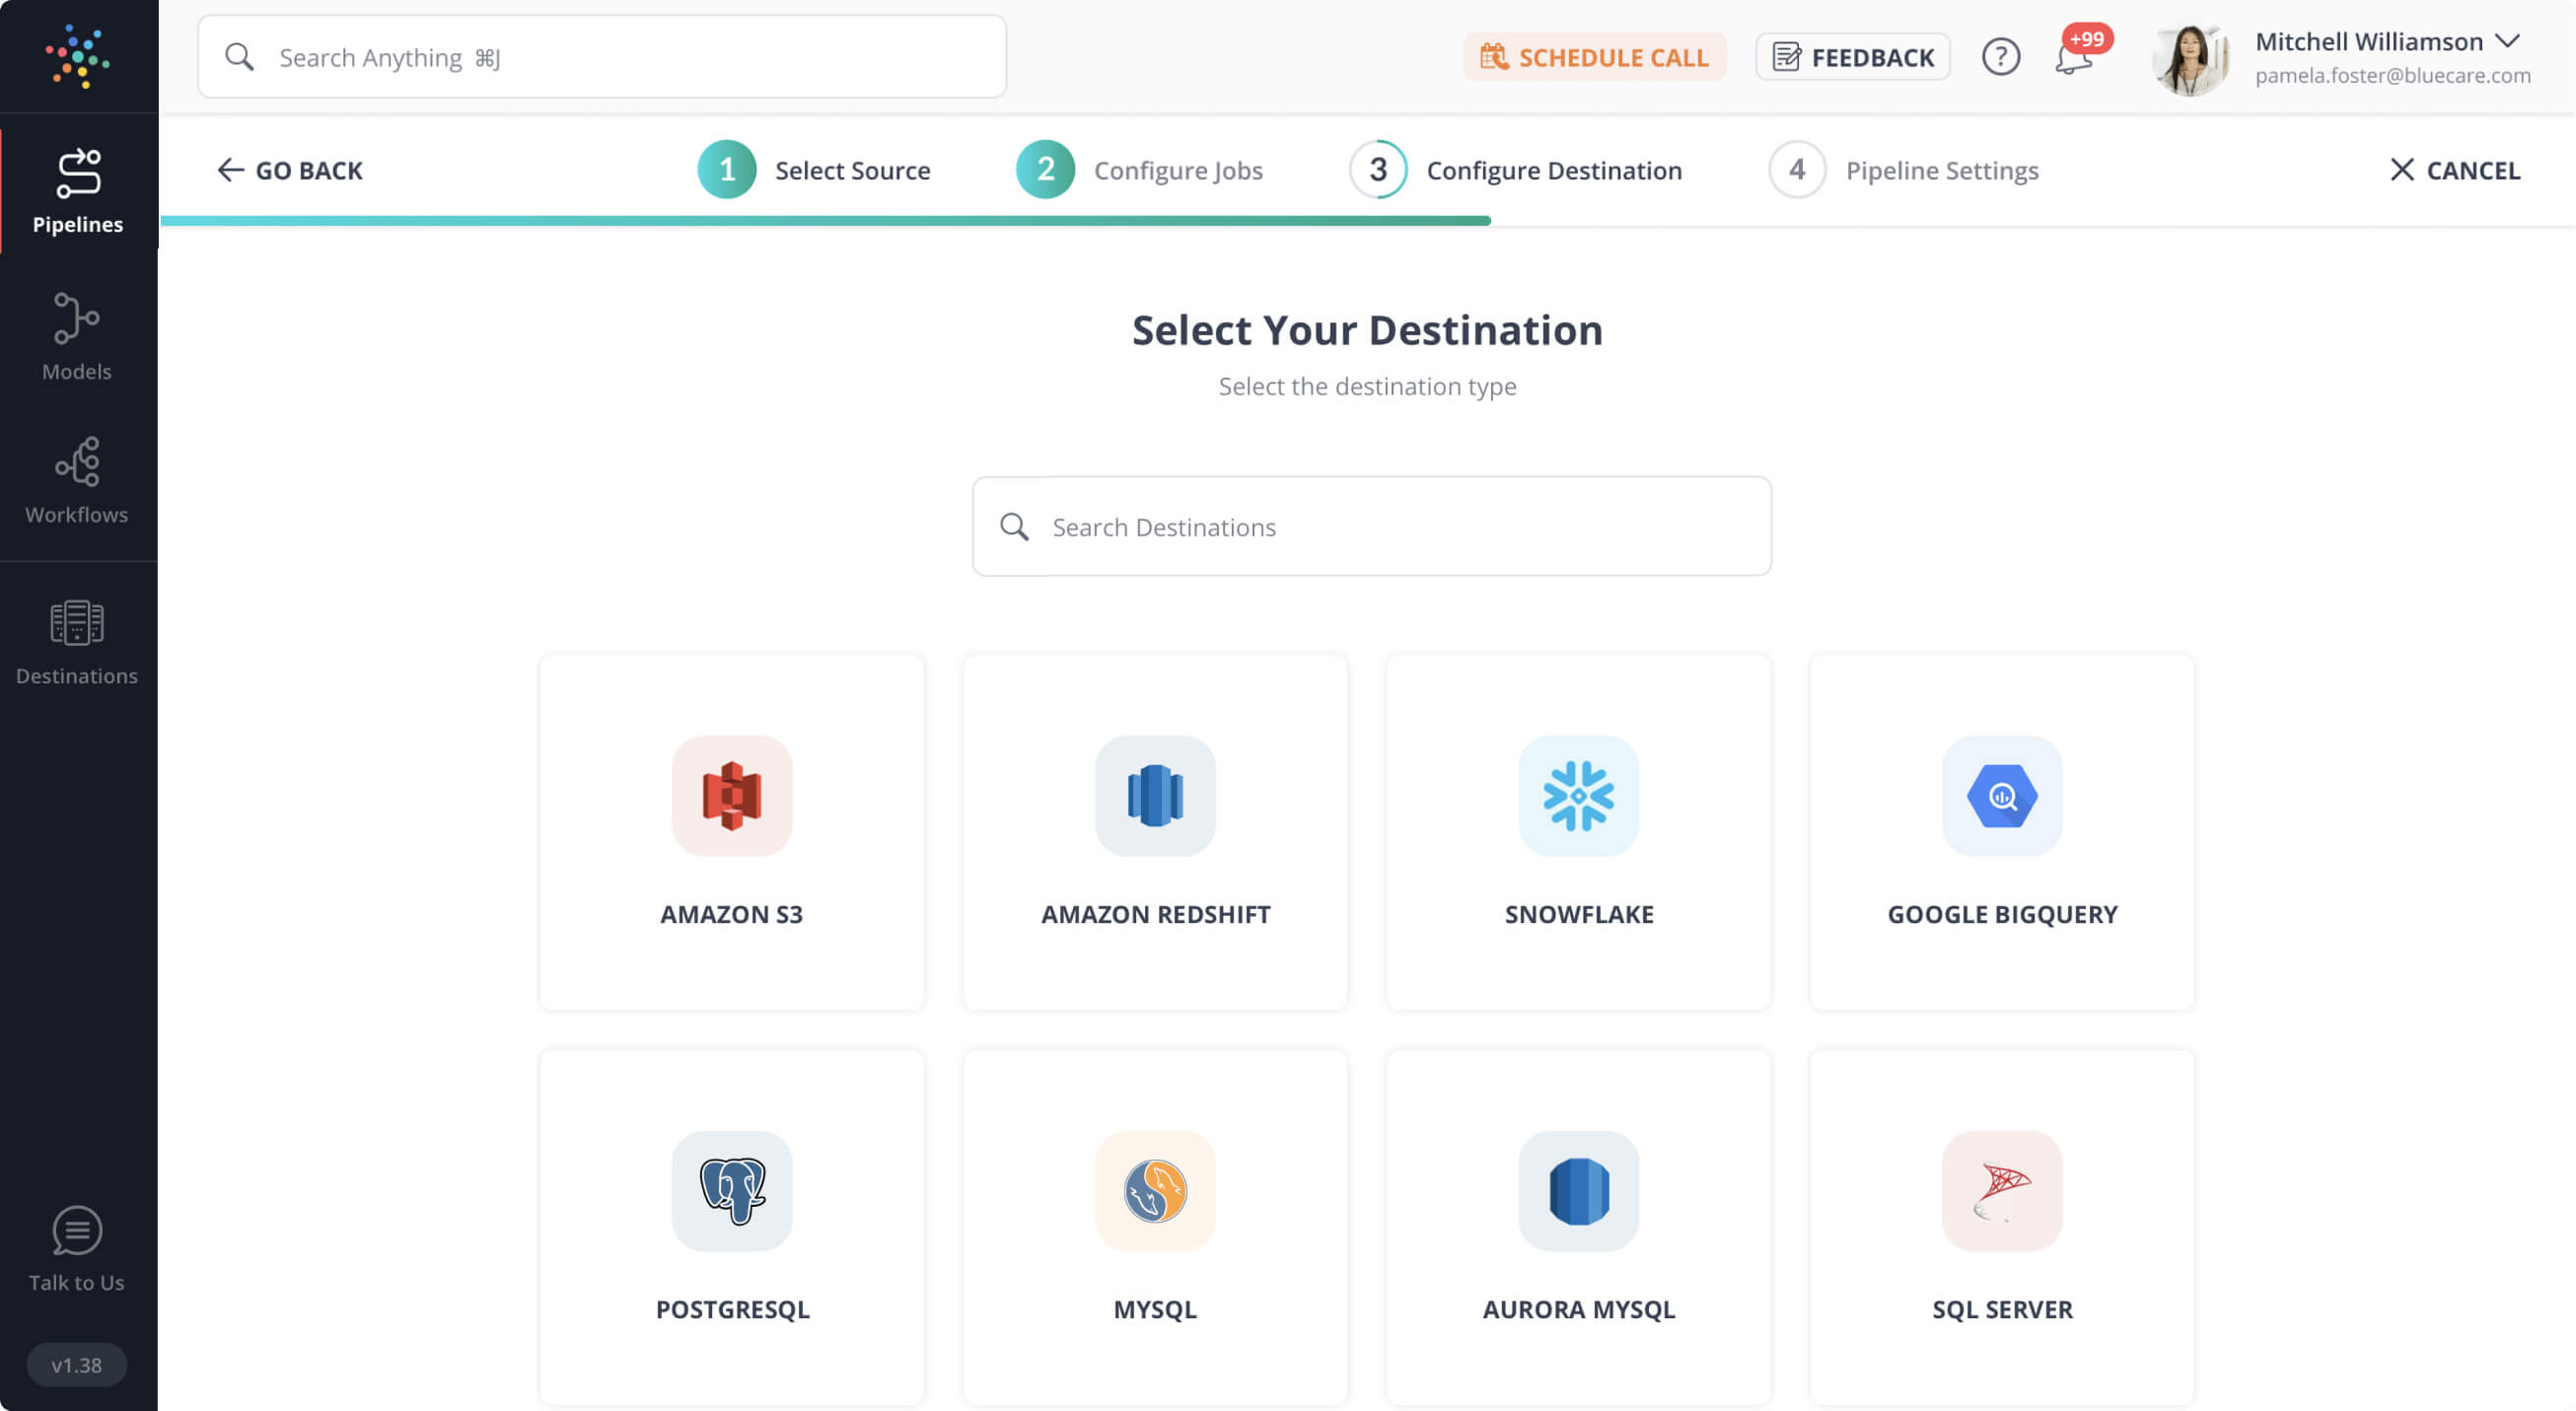
- Add destination as Snowflake in the “Add Destination” page
- Fill in the required boxes on the “Configure your Snowflake Warehouse” page, it should look like this:
Learn More About:
Conclusion
To conclude, here’s what we’ve done to make the migration process simpler:
- Configured Amazon Redshift as the source,
- Configured Snowflake as the destination,
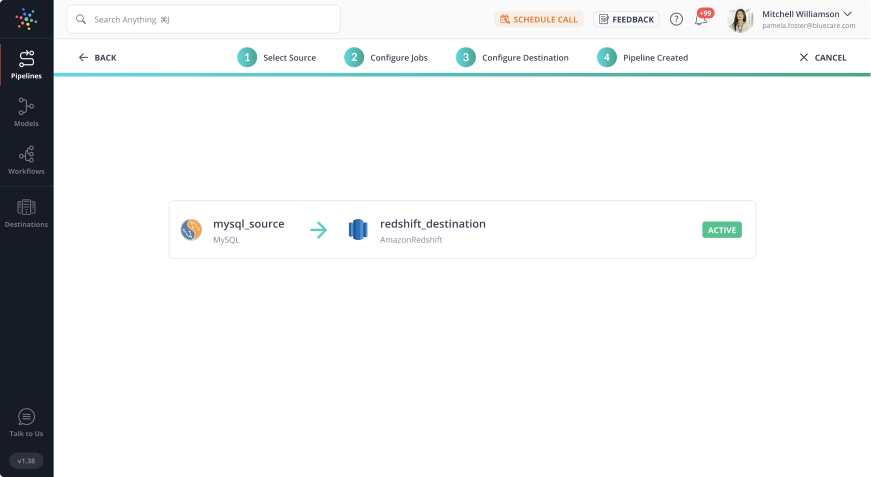
Through this process, we created a Hevo pipeline that automatically migrates data from Amazon Redshift to Snowflake.
Also, through this article, all the major concerns like syntax challenge, timestamp, and data dictionary changes were explored. If you choose to experiment with the manual process it’s advised to run processes in both Redshift and Snowflake in parallel for a few weeks to compare data between the two. Once confident, slowly switch the processes to use Snowflake as the main destination for the data source.


