Easily move your data from Hive To Redshift to enhance your analytics capabilities. With Hevo’s intuitive pipeline setup, data flows in real-time—check out our 1-minute demo below to see the seamless integration in action!
There are some unbeatable technologies out there. What makes them unbeatable? Of course, the pros to using them. Take Hive for instance. What makes Hive unbeatable? Firstly, it allows task tracking to streamline the progress of tasks and improves communication within the team.
It also provides great tools for tracking your internal projects. But, you need to extract the data into a powerful data warehouse like Redshift to perform any analysis. There are many ways for Hive to Redshift integration. Some are manual methods, and a few automated options are also available.
In this blog, I will walk you through the methods to connect Hive to Redshift for data replication. I will also explain the limitations and benefits of each method.
Use Hevo’s no-code data pipeline platform, which can help you automate, simplify, and enrich your data replication process in a few clicks. You can extract and load data from 150+ Data Sources, including Hive straight into your Data Warehouse, such as Redshift or any Database.
Why Choose Hevo?
- Offers real-time data integration which enables you to track your data in real time.
- Get 24/5 live chat support.
- Eliminate the need for manual mapping with the automapping feature.
Discover why Postman chose Hevo over Stitch and Fivetran for seamless data integration. Try out the 14-day free trial today to experience an entirely automated hassle-free Data Replication!
Get Started with Hevo for FreeTable of Contents
Method 1: Using CSV Files to Connect Hive to Redshift
This method consists of two simple steps.
Step 1: Export into a CSV file
For Hive version 11 or higher:
You can use the following command.
ROW FORMAT DELIMITED FIELDS TERMINATED BY ‘,’ dictates that the columns should be delimited by a comma.
<!-- wp:paragraph -->
<p>INSERT OVERWRITE LOCAL DIRECTORY '/home/hirw/sales </p>
<!-- /wp:paragraph -->
<!-- wp:paragraph -->
<p>ROW FORMAT DELIMITED FIELDS TERMINATED BY ',' </p>
<!-- /wp:paragraph -->
<!-- wp:paragraph -->
<p>select * from sales_table;</p>
<!-- /wp:paragraph -->For Hive versions older than 11:
By default, writing to a file after selecting the Hive table would produce a tab-separated file, which is obviously not what you want as you want a comma-separated file.
hive -e 'select * from sales_table' > /home/hirw/sales.tsvWith the code below, you can select a table and pipe the results to the stream editor (sed) while also passing a regex expression.
hive -e 'select * from sales_table' | sed 's/[\t]/,/g' > /home/hirw/sales.csvThe regex expression matches every tab character ([t]) globally and replaces it with a ‘,’.
Thus, the first step is done. What’s left?
Step 2: Import CSV File into Redshift
You can easily import data from your flat files into your Redshift data warehouse by applying the COPY command that Redshift provides. The CSV file needs to be kept in an AWS S3 bucket for this. Simple Storage Service, or S3, allows you to store any kind of file.
The COPY command must be used in conjunction with the steps listed below to import data from a CSV file into Redshift:
- First, create the schema on Amazon Redshift.

- Use the AWS CLI or the web portal to upload the CSV file to an Amazon S3 bucket.
- Use the COPY command to import the CSV file into Redshift.
Let’s take a look at an example to clearly understand how to import a CSV file into Redshift.
First, you can make a cluster in Redshift, and then create the schema in accordance with your needs. The same example CSV schema that you saw in the previous section will be used in this example. Simply create a table with the following command to create the schema in Redshift.
The next step involves loading data into an S3 bucket, which can be accomplished using either the Amazon CLI or the web UI. The use of the Amazon CLI should be taken into consideration if your file is huge.
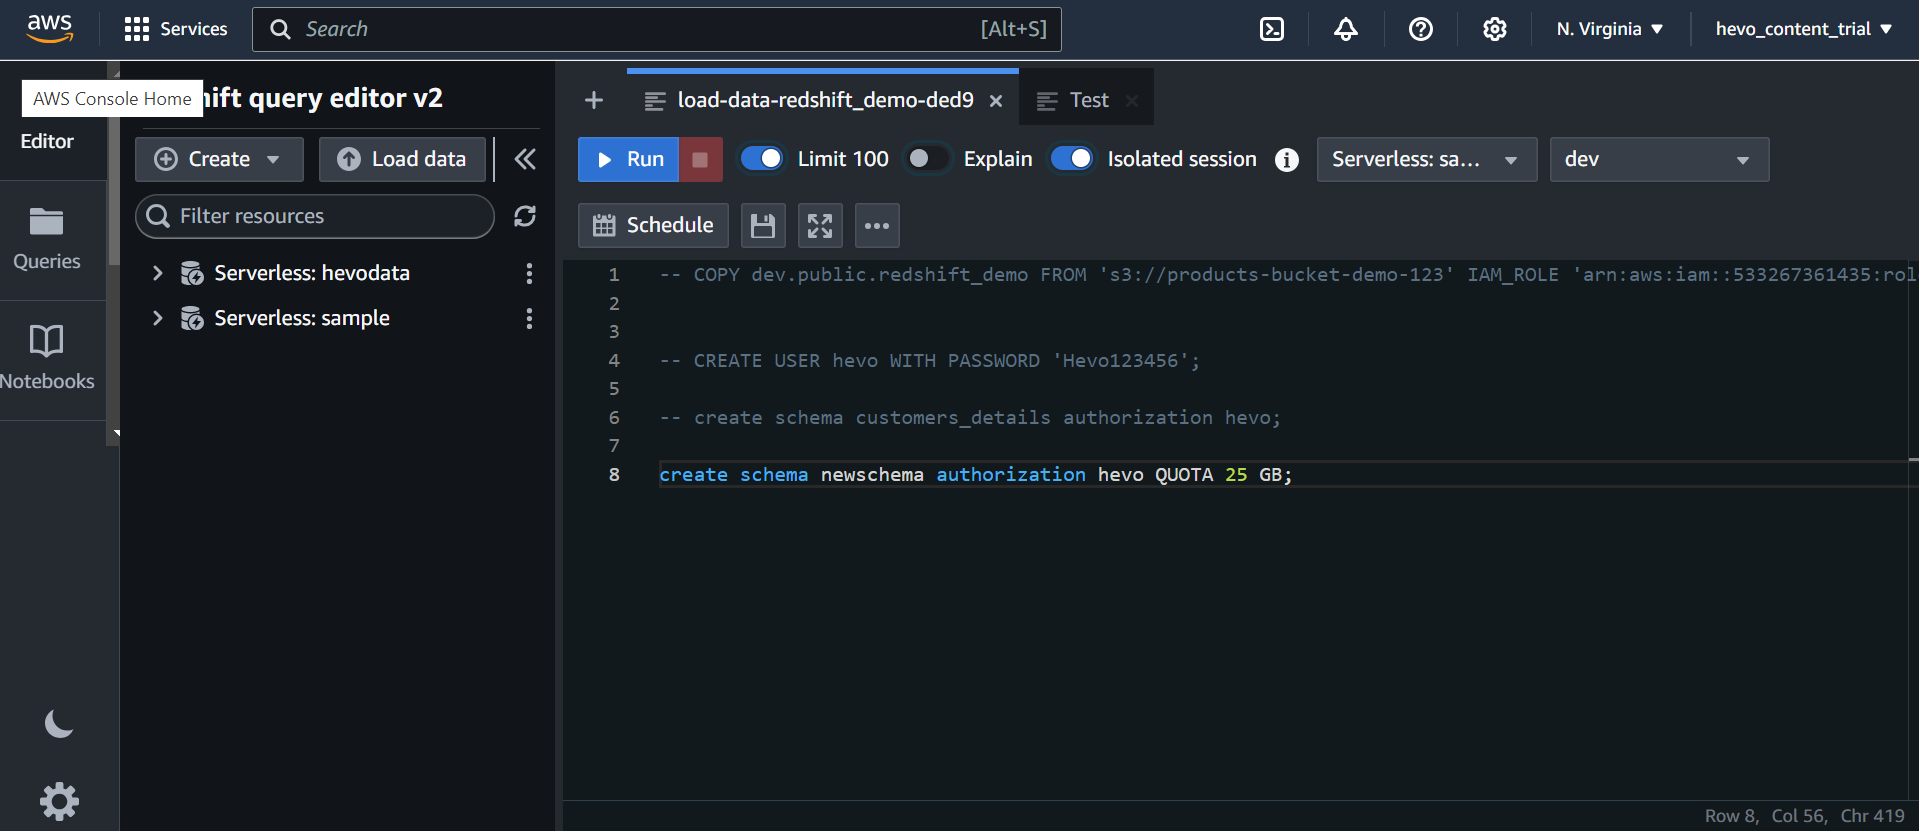
Now that the CSV file is in S3, Redshift will import it using the COPY command. Enter the following command in your Redshift query window.
<!-- wp:paragraph -->
<p>COPY table_name</p>
<!-- /wp:paragraph -->

<!-- wp:paragraph -->
<p>FROM 'path_to_csv_in_s3'</p>
<!-- /wp:paragraph -->

<!-- wp:paragraph -->
<p>credentials</p>
<!-- /wp:paragraph -->

<!-- wp:paragraph -->
<p>'aws_access_key_id=YOUR_ACCESS_KEY;aws_secret_access_key=YOUR_ACCESS_SECRET_KEY'</p>
<!-- /wp:paragraph -->

<!-- wp:paragraph -->
<p>CSV;</p>
<!-- /wp:paragraph -->
The output seen in the screenshot above is what you get after the COPY command has been successfully run. You can now use a simple select statement to query your data as shown below.
There are situations when you might decide not to import every column from the CSV file into your Redshift table. In that situation, you can use the COPY command to specify the columns, and only the data from those columns will be imported into Redshift.
Pro tip:
When using the COPY command to import data from CSV to Redshift, it’s also important to consider the possibility that your CSV file has a header that you do not want to import. In other words, you should avoid importing the CSV file’s header into the Redshift table. In this situation, you must add the COPY command’s unique parameter IGNOREHEADER and indicate the number of lines to be skipped. Typically, you must use 1 for the number if you only wish to skip the header, which is the first line of the CSV file.
That’s about it. This method is not recommended for Hive to Redshift integration for large chunks of data sets because of the following limitations:
- It may produce inconsistent results when working with large datasets.
- You combine Hive and sed (Linux) tools to complete the task, which is not a clean approach.
Now, let’s move on to the next method for Hive to Redshift migration.
Method 2: Using a Fully Automated Data Pipeline
Step 1: Configure Hive as the source
Step 2: Configure Redshift as a destination
The benefits of using a fully automated data pipeline for Hive to Redshift migration are,
- Access to centralized data: You can access data from Hive with a ready-to-use data pipeline and replicate it to Redshift. That gives you centralized access to all of your data from Hive and other sources.
- Your data workflows can be automated from Hive to Redshift: You can stop manually extracting data and automate your Hive Redshift connection without writing any code with the use of an autonomous data pipeline. They will handle all API changes and maintain all pipelines for you.
- Make data-driven decisions possible: By integrating Hive with Redshift, you can give everyone in your organization access to consistent and standardized data. Additionally, this will automate data delivery and track KPIs across several systems.
The benefits of using an automated data pipeline for Hive to Redshift data integration are amazing, right?
Hevo Data is an automated data pipeline service provider in the industry. You can use Hevo Data for connecting Hive to Redshift. For that, you will need to first convert to S3. Let’s take a look at the steps involved in Hive Redshift integration.
Next, let’s get into another important section about how Hive Redshift migration can help your business.
What Can you Achieve by Replicating Data from Hive to Redshift?
Advantages of replicating data from Hive to Redshift include:
- You can develop a single customer perspective using data from your Hive to evaluate the effectiveness of your teams and initiatives.
- You can develop a better understanding of the client journey. You will also receive more in-depth consumer insights. Additionally, this provides knowledge that may be applied at various stages of the sales funnel.
- Analyzing the client interactions with the channels might help you increase customer satisfaction. And while making decisions, you can consider both this data and customer touchpoints from other sources.
Alright. Let’s summarize!
Conclusion
Data replication from Hive to Redshift helps with data optimization and analysis. There are mainly two ways to perform this. One way is by using CSV files. First, you need to export the data into CSV files and then migrate it to Redshift. Another method is to rely on a fully automated data pipeline.
The CSV method may show inconsistent results when working with large datasets. Also, you combine Hive and sed (Linux) tools to complete the task, which is not a clean approach. In such a scenario, it’s better to go for an automated data pipeline. You need to keep in mind why you need to replicate data and decide on which method to adopt.
You can enjoy a smooth ride with Hevo Data’s 150+ plug-and-play integrations (including 60+ free sources. Hevo Data is helping thousands of customers take data-driven decisions through its no-code data pipeline solution. .Check out the pricing details to understand which plan fulfills all your business needs.
Frequently Asked Questions
1. Is Redshift a serverless?
Amazon Redshift is not serverless; rather, it works on a provisioned cluster model wherein users need to manage the underlying infrastructures, which includes node type as well as the size of the cluster.
2. Is Redshift a Rdbms or Nosql?
Amazon Redshift is designed as a relational database management system (RDBMS), particularly for data warehousing and analytics. It uses SQL for queries; it is highly optimized for very complex queries and large datasets.
3. What is AWS Redshift based on?
Based on PostgreSQL, Amazon Redshift draws its robust SQL foundation and all the capabilities from the features of PostgreSQL.


