Digital events are a significant source of information for organizations to understand their customers better. Businesses, from e-commerce to SaaS and healthcare, use events from digital interactions to obtain unique insights to make data-driven decisions. Therefore, it is essential to keep track of the data in near real-time.
Dbt currently supports popular data warehouses like BigQuery, Snowflake, and Redshift. Based on your downstream event data requirements, choosing the right transformation is crucial. This is where dbt comes in. Dbt offers several data transformation techniques that you can use for your downstream applications.
Let’s dive into the details of the incremental model using dbt snowflake!
Table of Contents
Types of Transformations
Transformation in dbt is set through materialization. It is a strategy of persisting dbt model in a warehouse. Here are a few types of materialization for transformations in dbt.
- Table: It is a classical way of providing data to downstream processes. However, table doesn’t update when data gets modified at the source. As a result, you would have to re-run the transformation to fetch updated records.
- View: Views are opposite to the table as it doesn’t store data. It just filters the data you want for your downstream application. The advantage of view is that it always provides updated data. However, it can be resource intensive, thereby it is avoided for complex transformations.
- Incremental: It is either used for updating information or appending new data to the target table.
- Ephemeral: It is a complex way of transforming data as it relies on other dbt modes. As a result, using ephemeral extensively can make queries harder to debug.
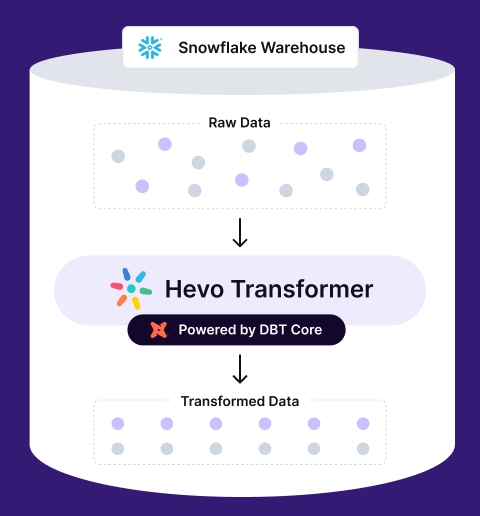
Transform, automate, and optimize your Snowflake data with Hevo Transformer—the ultimate no-code tool for dbt workflows. Experience lightning-fast integrations, real-time previews, and seamless version control with Git. Get results in minutes, not hours.
- Instant Integration – Connect and start transforming in minutes
- Effortless dbt Automation – Build, test, and deploy with a click
- Git Version Control – Collaborate and track changes effortlessly
- Real-Time Data Previews – See and push updates in an instant
Incremental Models in dbt
With dbt incremental models, you can insert or update records into the table since the last time dbt was executed. However, when you run the incremental model for the first time, the entire table is captured. Once all the data is transformed, incremental models only make updates or append rows. This reduces the time required for transformation in the event-style data.
To transform data incrementally, you have to use is_incremental() macro and {{this}} variable. The is_incremental() check for rows created or modified since the last time dbt ran the model. This avoids duplicates so that you don’t repeat the same transform on the same data. And the {{this}} variable is used to simplify obtaining the timestamp from the target table. Collectively, is_incremental() and {{this}} ensures you are only updating or appending data that you need.
Dbt incremental models can be deployed in several data warehouses like BigQuery, Snowflake, and Redshift. Here, we will showcase how to implement an incremental model using dbt snowflake.
Building an Incremental Model Using dbt Snowflake
Step 1: Set Up Snowflake
- Open the Snowflake account and go to the “Marketplace.”
- Search for the ‘Global Weather & Climate Data for BI’ dataset. The dataset consists of weather and climate-specific data across the country. It also includes updates on an hourly basis.
- Click on Get to add the database.
- Check the databases added under Data > Databases.
- Create another database that can be used as a dbt access point to create and store tables and views. Click on the Database button and name the database as dbt_database.
- The next step to create an incremental model using dbt snowflake is creating a warehouse with your Snowflake account under Admin > Warehouses. Name the warehouse as dbt_warehouse.
Step 2: Install and Set up dbt
To build an incremental model using dbt snowflake, install a dbt-Snowflake adapter package for the Snowflake connection and configure dbt with Snowflake-specific information.
Follow the below steps to set up dbt.
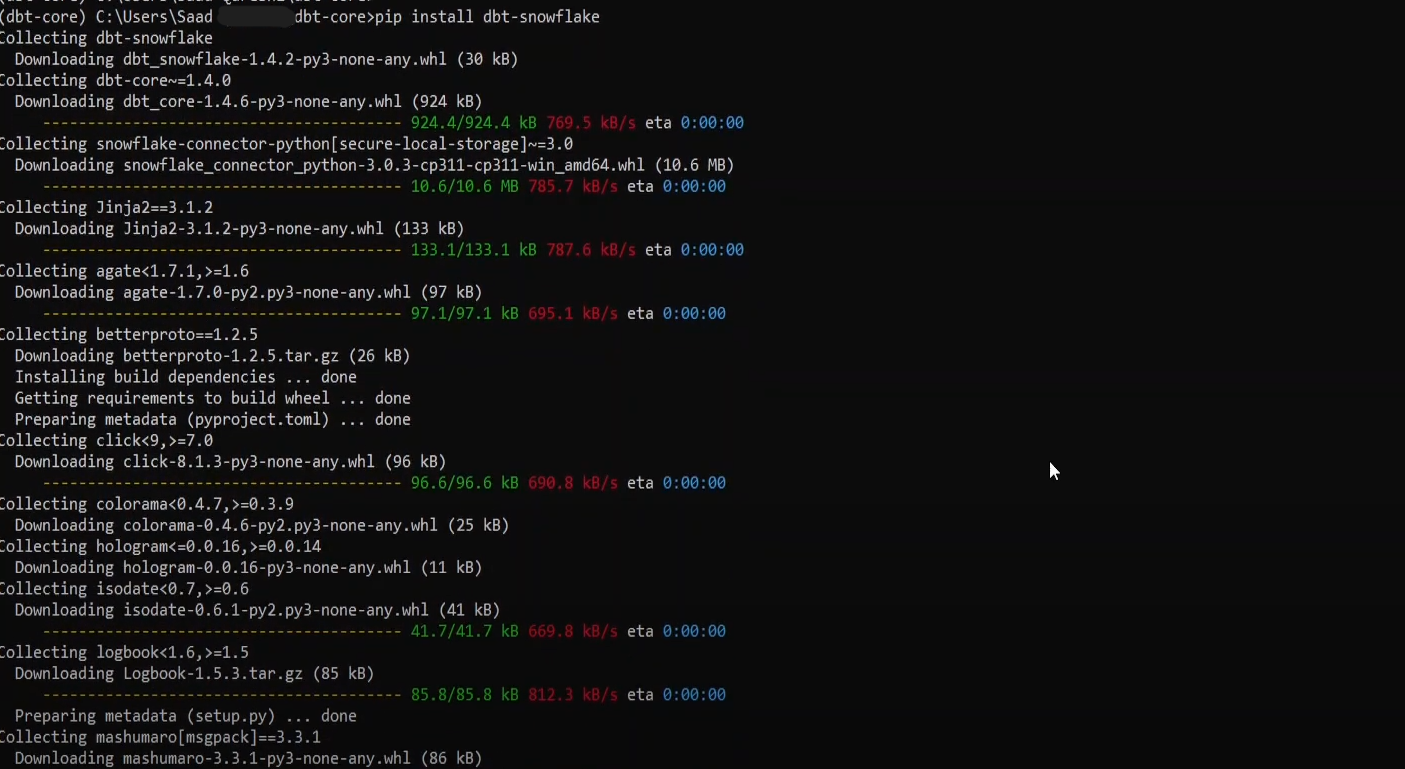
- Install dbt locally with the following command.
pip install dbt-snowflake
Output:

- Use the following command to create your dbt project and connect your Snowflake account.
It will prompt you to input the name of the project and authentication details like account name, username, role, and password. You also need to include details like the database and schema that dbt uses, as shown below.

- A dbt project is created.
- Move to the created directory with the command line interface to check the status of your project using the following command.
cd {dbt_project_name}
dbt debug
The output of a successful connection with Snowflake:

Create an Incremental Model with dbt
After the successful setup of the Snowflake database with dbt, you can transform the data incrementally.
The weather dataset consists of three tables: CLIMATOLOGY_DAY, HISTORY_DAY, and FORECAST_DAY. You can see these attributes under the views in the STANDARD_TITLE schema. We will use the FORECAST_DAY table that contains records of locations and their weather forecasts and measurements.
- To create the incremental model, you need to create a .sql file in the models’ folder of your dbt project.
- Use the following code snippet to create the SQL file and replace the {Weather Database} with the name of your imported weather data and save it:

From the aforementioned code snippet,
- config() block sets the materialization to increment, which overrides the default dbt materialization of view. The code snippet in config() constructs a unique ID for records to avoid duplication during transformation. The unique_key is a combination of the variables representing location, the date of the forecast, and the time it is valid for. Such metadata allows it to filter and append or update only new forecasts for each location.
- is_incremental() function is used to filter records using the SQL command from the incremental model. It checks for rows created or modified since the last dbt model run. You can state that only records after the max date (time_init_utc) in the table should be added on dbt’s subsequent executions.
- select statement is where you take the raw weather data and transform the air temperature data, creating a range of variables from the minimum and maximum values per forecast.
3. Run the following command to execute the incremental model.
<strong><a href="https://hevodata.com/data-transformation/dbt-run-command/" target="_blank" rel="noreferrer noopener">dbt run</a></strong>The output of a successful execution of dbt incremental model with Snowflake.

During the first run, the Incremental model using dbt snowflake takes all the data. However, as the data is updated, you can witness incremental updates on running the model.
Conclusion
An incremental model using dbt Snowflake is one of the most cost-effective ways of transforming data and feeding information to other downstream processes. Dbt allows incremental transformation with materialization. Based on the business requirements, you can select from various materialization options provided by dbt. Although it might sound like a simple process, using dbt tools with incremental models needs technical expertise. However, you can use dbt cloud to simplify working with dbt Snowflake incremental.
You can hop onto a smooth ride with cloud-based ELT solutions like Hevo Data which automates the data integration process for you and runs your dbt projects to transform data present in your data warehouse. Try a 14-day free trial to explore all features, and check out our unbeatable pricing for the best plan for your needs.
Want to know how much Snowflake services will cost your company? Use our Snowflake calculator to know!
Frequently Asked Questions
1. Is dbt good for ETL?
Yes, dbt is great for the “T” in ETL (Transform), as it focuses on transforming and modeling data residing inside your data warehouse. Although it does not implement the “E” or the “L” procedures directly, it integrates well with other most of ETL tools to create a robust data pipeline for analysts to build and maintain their transformation workflows effectively.
2. What is the value of increment in Snowflake?
In Snowflake, the increment value is often used with sequences. A sequence, by itself, generates unique numbers in any order. An increment determines how much larger the sequence’s value is for each call. This way, number generation can be tailored according to the needs of certain scenarios-however modestly, by incrementing by 1, 5, or whatever integer-and so forth.
3. How does incremental refresh work in dbt?
Incremental refresh in dbt refreshes only the new records or changes in the data models rather than rebuilding the whole set every time. This it can do through its feature, if configured, to automatically identify which ones should be added or updated based on a unique key and also a timestamp or version column.
Share your experience of learning about deploying projects using dbt GitHub Actions! Let us know in the comments section below!


