Tableau is a Business Intelligence tool leveraged by organizations to visualize and gain insights from their data. Tableau is known in the community as a leader in Analytics with a platform that is easy to use and offers countless integrations.
Webhooks are automated messages sent from Apps when any event/thing happens. They deliver a Message or Payload to a certain URL, which is the App’s phone number or location. Webhooks are almost always faster than polling and require less effort on your part.
In this in-depth article, you will get to know about Tableau Webhooks Integration, along with the considerations you should have in mind during the process and the main challenges you might come across while integrating them.
Table of Contents
What is Tableau?
Christian Chabot, Pat Hanrahan, and Chris Stolte founded Tableau in 2003 as a Business Intelligence and Data Visualization platform. It became extremely well-known because every firm needed to get critical insights from a variety of data sources while also collaborating with all of the company’s personnel. Visualization is a fantastic way to examine massive volumes of data, and Tableau delivers exactly that.
Method 1: Manually Setting up Tableau Webhooks Integration using APIs
Manually extract data and load it into Tableau which requiring extensive coding and maintenance.This method offers flexibility but demands significant development resources and ongoing management.
Method 2: Using Hevo Data to Set up Tableau Webhooks Integration
Hevo Data, a no-code ETL tool, facilitates effortless Tableau Webhooks integration by automating the process. It uses pre-built connectors for extracting data from various sources, transforms it, and loads it into the destination.
Get Started with Hevo for FreeKey Features of Tableau
- Tableau allows you to ask questions about your data using natural language.
- It links to both On-Premises and Cloud-Based Data.
- It links to any Cloud-based database application, including Salesforce and Google Analytics, as well as SQL-based databases (MySQL, PostgreSQL, MariaDB, MongoDB, etc).
- Tableau features a drag-and-drop mechanism that is simple to use.
- Tableau makes it simple to mix data from several sources.
- Tableau offers a variety of visualization methods for exploring and discovering Data Trends.
- Tableau allows you to create Interactive Dashboards and share them with people inside and outside your company.
What is Webhooks?
Polling and Webhooks are two ways for your Apps to communicate with each other and share information. Polling is like knocking on your friend’s door and asking if they have any sugar (aka information), but you have to go and ask for it every time you want it. Webhooks are like having them throw a bag of sugar at your door every time they buy some. You don’t even have to ask; they just hand it over whenever it’s available.
When something happens, Webhooks send automated messages from Apps. They send a Message or Payload to a unique URL, which is effectively the App’s phone number or address. Webhooks are mostly always faster and take less effort on your part than polling.
Why do you need Tableau Webhook Integration?
Tableau Webhooks enables you to build custom applications or workflows based on the tableau outcomes. With Tableau Webhooks you can send text messages or Slack notifications whenever a data source refresh fails, or when a new workbook is created. You will receive a notification when your workbook is updated. Tableau Webhooks can also be used when a data source is published, email a data steward asking them to review and certify it.
Method 1: Manually Setting up Tableau Webhooks Integration using APIs
- Step 1.1: Install API Library
- Step 1.2: Familiarize with Webhooks Events and Methods
- Step 1.3: Creating Webhooks
- Step 1.4: Verifying if Webhook is Working
Step 1.1: Install API Library
Navigate to the user page after logging in to your Tableau Website. Scroll down to Personal Access Tokens in the settings menu. Select the Create New Token option and give your token a name. Copy this Token Name and use it to establish an environment variable for further customizations.
Now, install the API library in your environment. For installing API library in Python environment, you can use the following code:
!pip install tableauserverclientStep 1.2: Familiarize with Webhooks Events and Methods
According to Tableau’s documentation, Webhooks support the following events:
Tableau Server’s Webhook endpoints can be easily controlled using the tableau-api-lib Webhook methods. These are some of the methods:
- create_webhook
- query_webhook
- query_webhooks
- test_webhook
- delete_webhook
You’ll need to give the Webhook a Name, offer a Valid Source API Event Name, and specify a URL where the Webhook’s payload will be delivered whenever our specified event occurs when creating a Webhook.
Step 1.3: Creating Webhooks
It’s time to start creating Webhooks. You will understand the whole code for two of the Webhooks here, and you’ll have to build the others on your own.
1.3.A) When a Data Source Refresh Begins, a Webhook is Triggered
Code:
response = conn.create_webhook(
webhook_name='webhook_datasource_refresh_started',
webhook_source_api_event_name='webhook-source-event-datasource-refresh-started',
url='https://webhook.site/<YOUR_STUFF_GOES_HERE>')
After sending the request to generate the Webhook, you will receive the following response from Tableau Server:
When anyone triggers a Data Source refresh, the Webhook will send a Payload to the URL you specified while creating it.
1.3.B) When a Data Source Refresh Succeeds, a Webhook is Triggered
Another example of a Webhook is this one, where it will be triggered when a Data Source refresh is successful. Notice how the settings for ‘webhook_source_api_event_name‘ match the event names listed in Tableau’s Webhook event documentation.
Code:
response = conn.create_webhook(
webhook_name='webhook_datasource_refresh_succeeded',
webhook_source_api_event_name='webhook-source-event-datasource-refresh-succeeded',
url='https://webhook.site/<YOUR_STUFF_GOES_HERE>')
That Webhook’s answer is pretty much the same as before:
Step 1.4: Verifying if Webhook is Working
You need to run a Data Source Refresh from Tableau Server setup to make sure the Webhooks are working as they should. You can visit the destination URL and validate that the Webhook is transmitting its payload after you start the Refresh:
Limitations of Setting up Tableau Webhooks Integration Manually
- Using this method requires you to make API Calls and Code Custom Workflow. Hence, it requires strong technical knowledge. Also, it is very time-consuming.
- Updating the Existing API calls and Managing Workflow requires immense engineering bandwidth, and hence can be a pain point for many users.
- Since, all the APIs might not be provided in the API library, for unlisted events to take place, new triggers need to be made. Hence, APIs need to be made and set up for every unlisted Event.
Method 2: Using Hevo Data to Set up Tableau Webhooks Integration
Configure Webhooks as Your Source
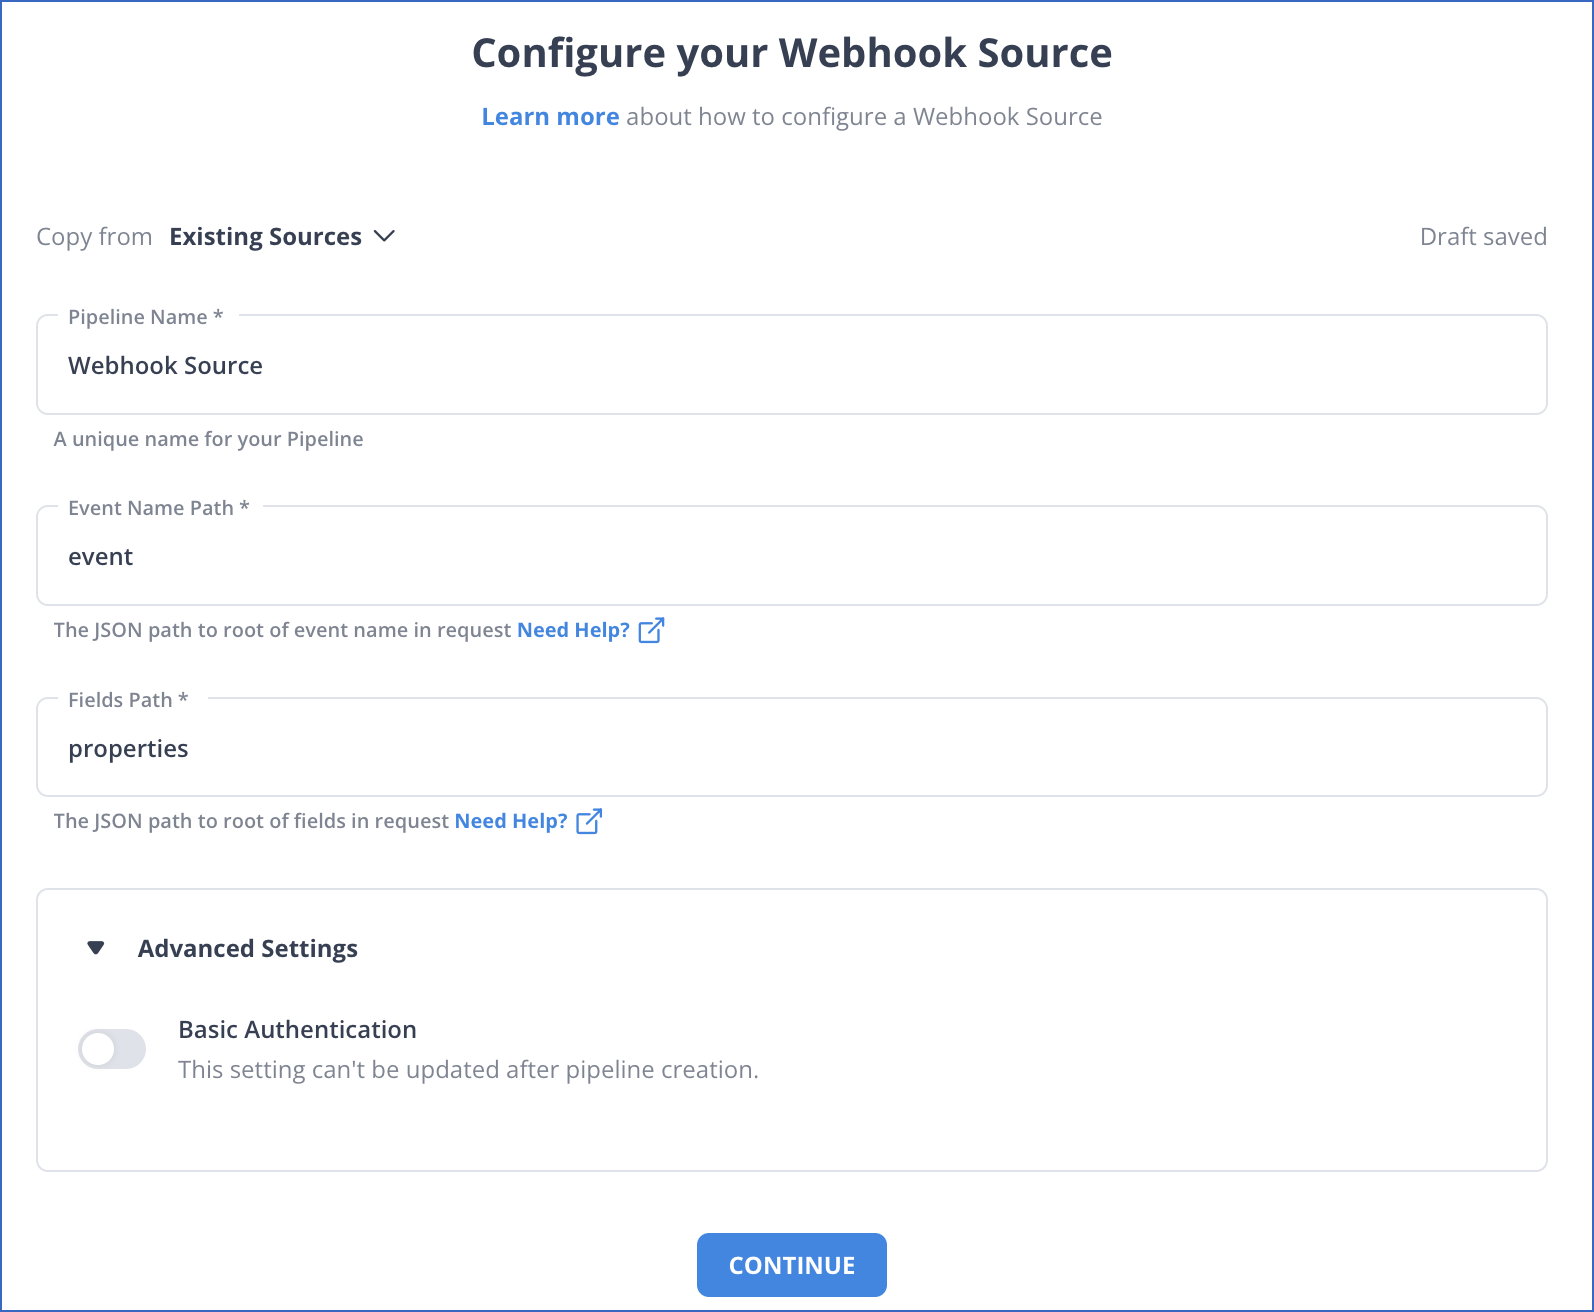
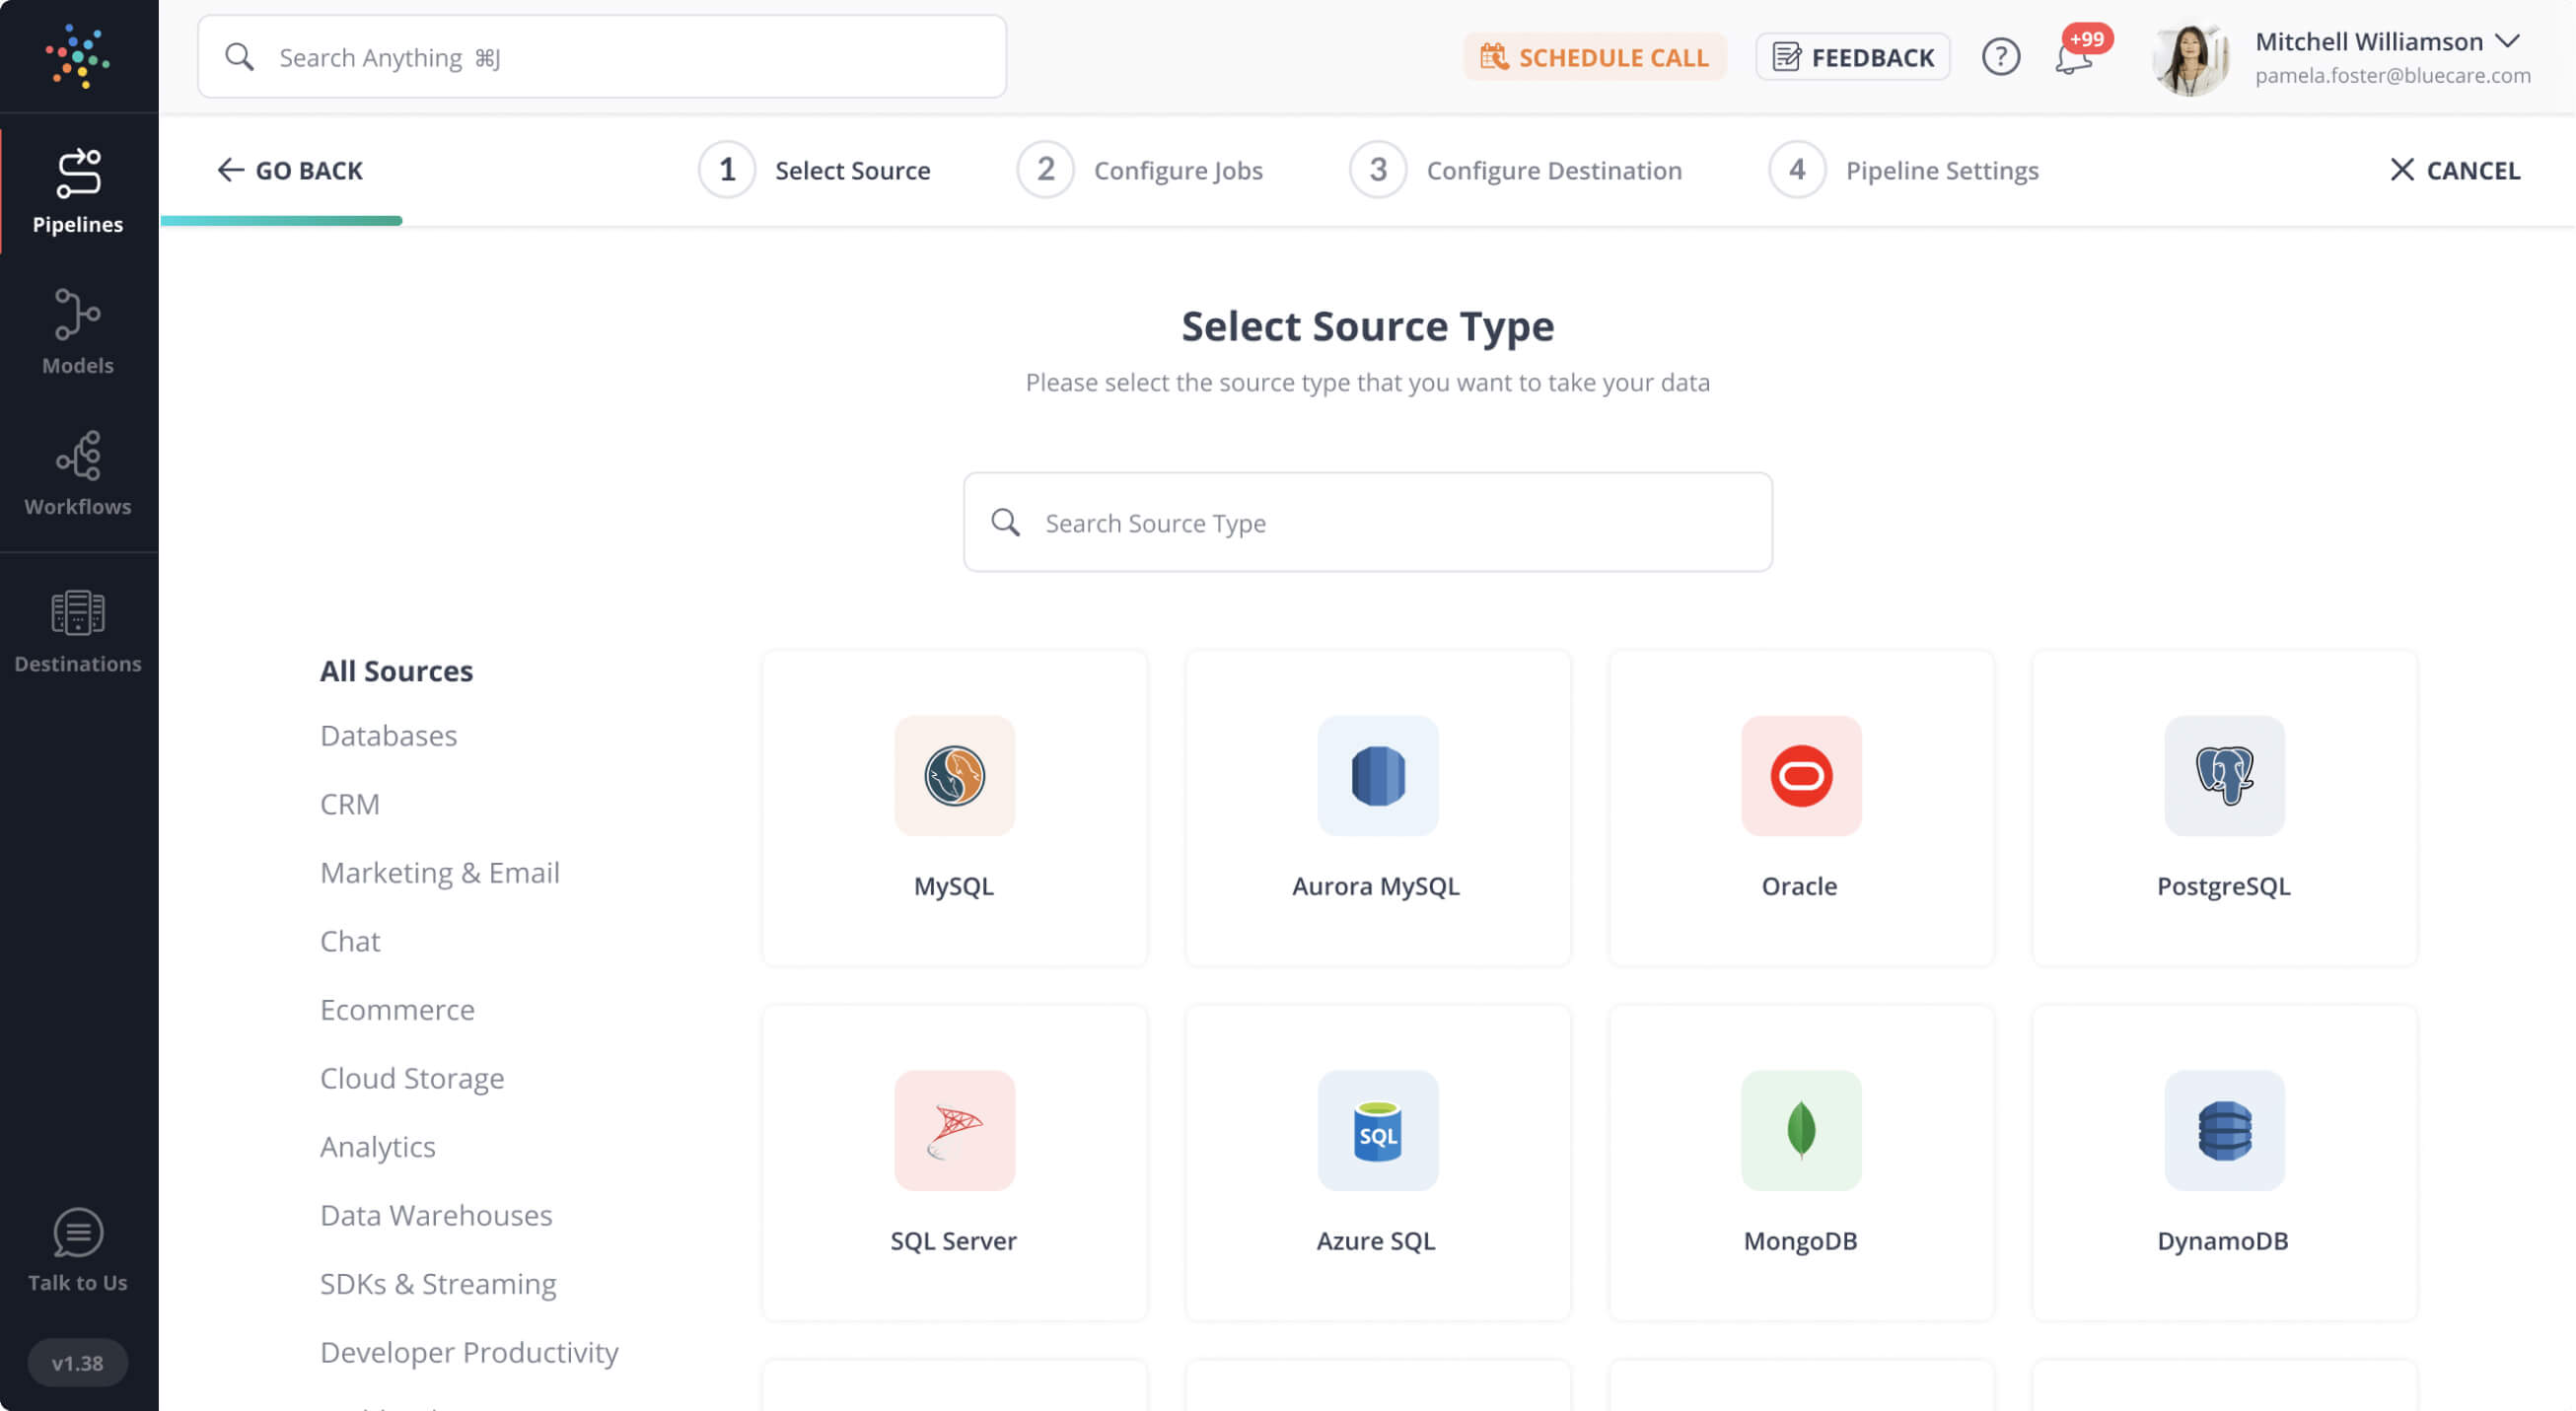
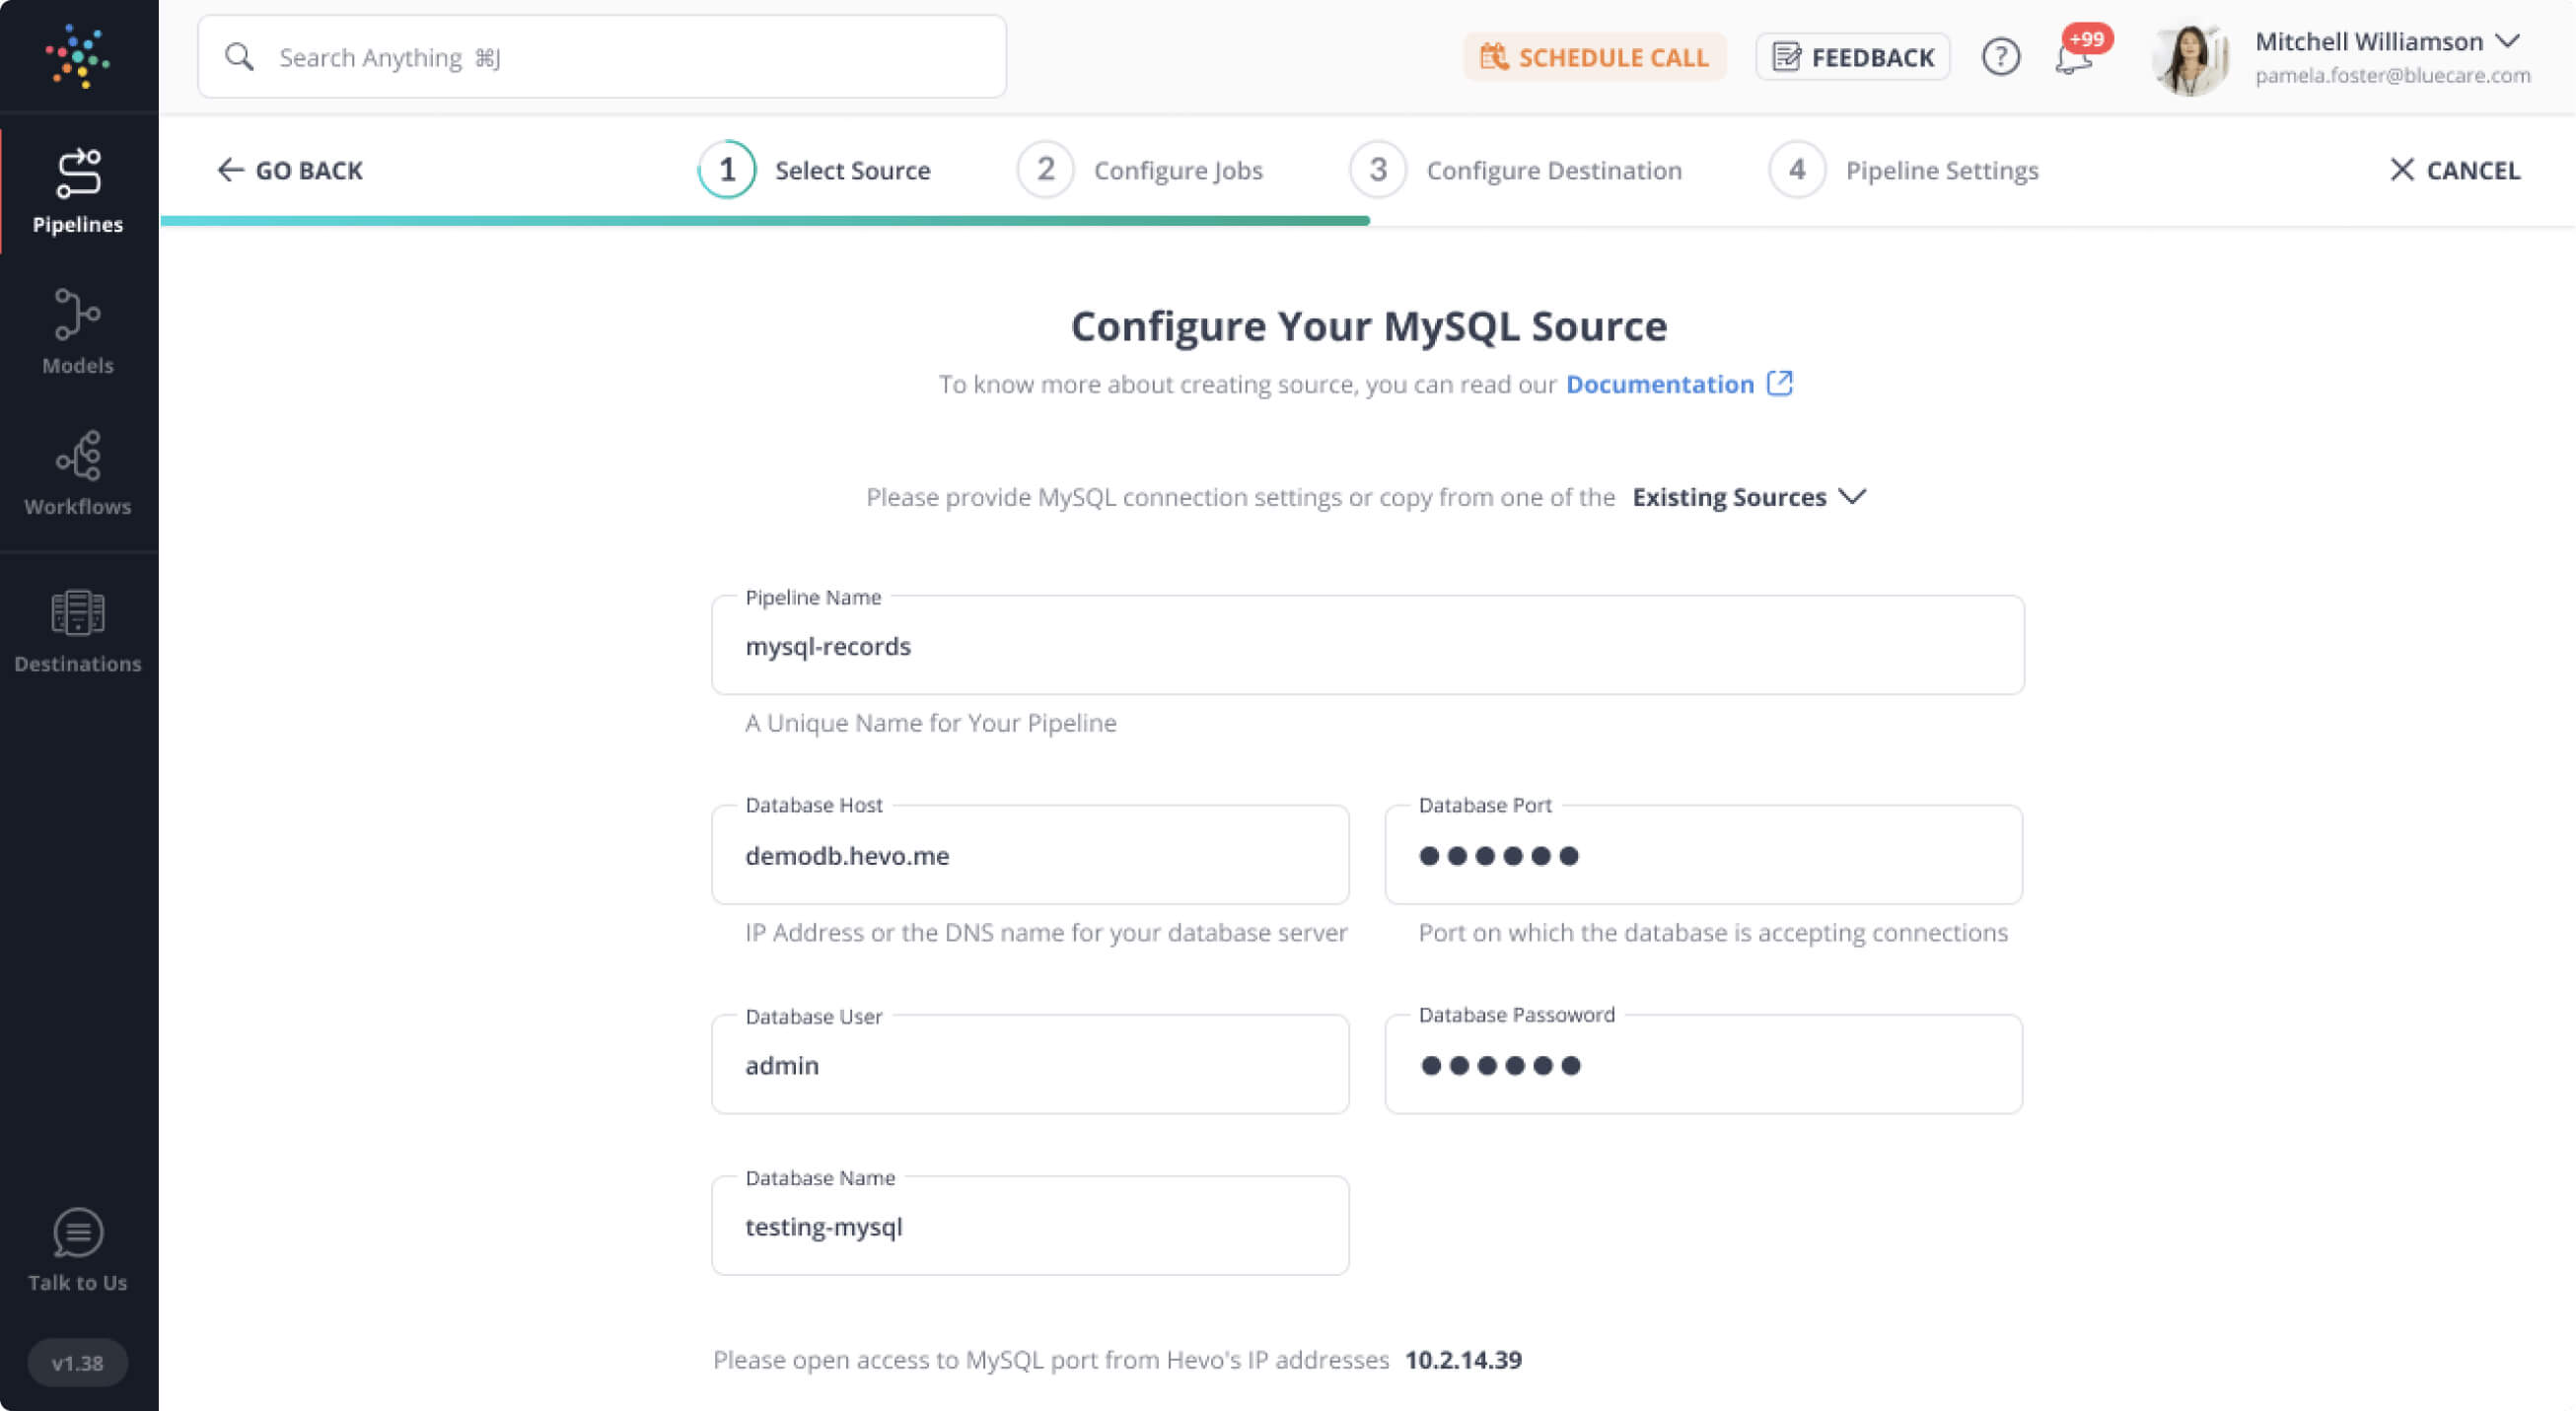
- Connect: Connect Hevo with Webhooks and various other data sources by simply logging in with your credentials.
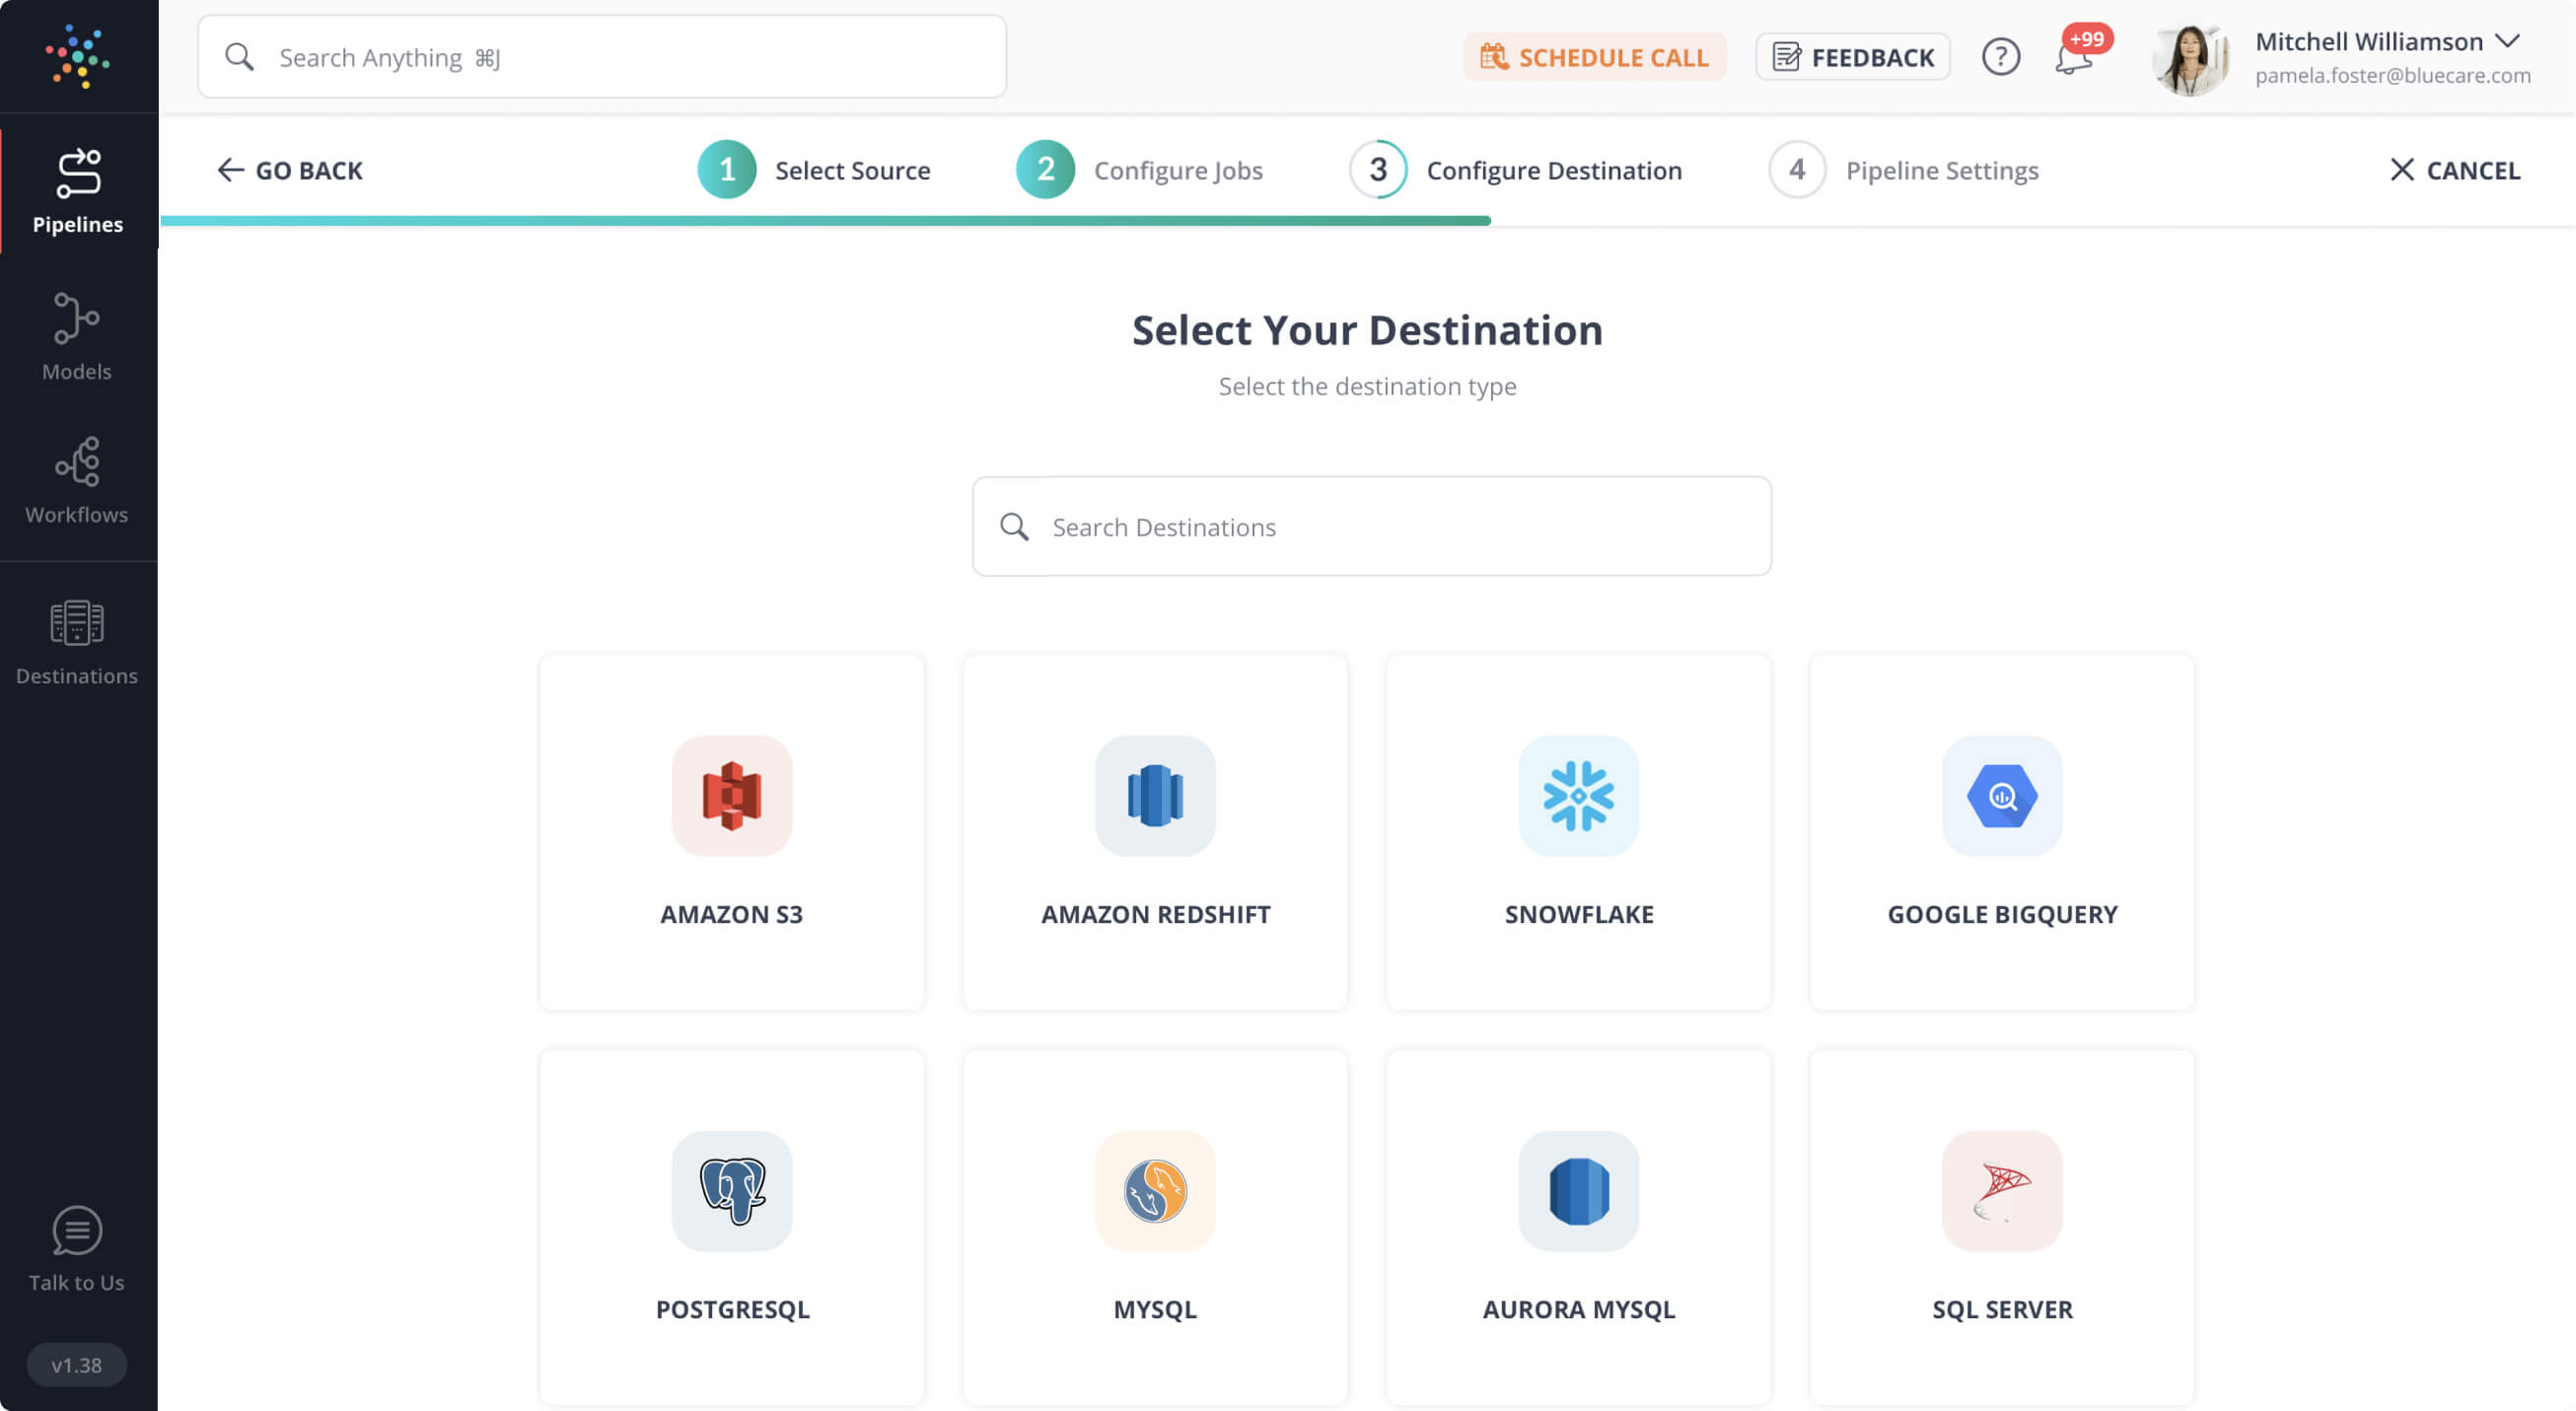
- Integrate: Consolidate your data from several sources in Hevo’s Google BigQuery-powered Managed Data Warehouse and automatically transform it into an analysis-ready form.
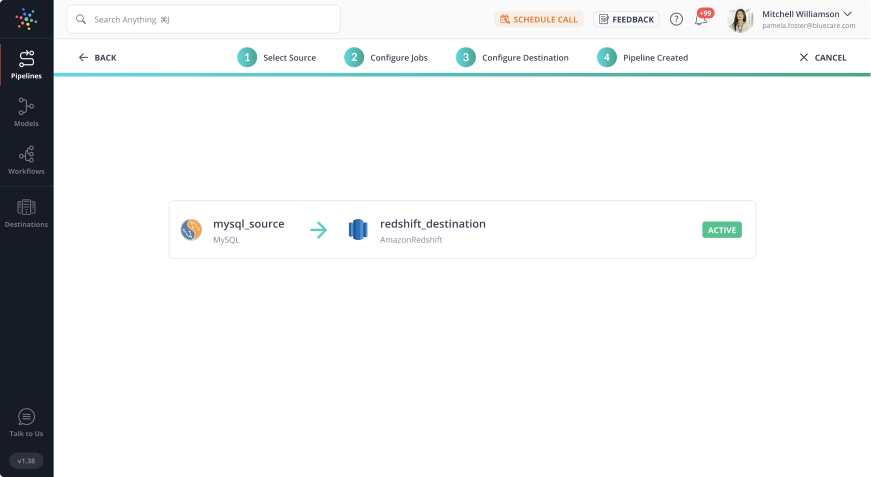
- Visualize: Connect Hevo with your desired BI tool such as Tableau and easily visualize your unified data to gain better insights.
As can be seen, you are simply required to enter the corresponding credentials to implement this fully automated data pipeline without using any code.
Salient Features of Hevo
- Fully Managed: It requires no management and maintenance as Hevo is a fully automated platform.
- Data Transformation: It provides a simple interface to perfect, modify, and enrich the data you want to transfer.
- Real-Time: Hevo offers real-time data migration. So, your data is always ready for analysis.
- Schema Management: Hevo can automatically detect the schema of the incoming data and maps it to the destination schema.
- Live Monitoring: Advanced monitoring gives you a one-stop view to watch all the activities that occur within pipelines.
- Live Support: Hevo team is available round the clock to extend exceptional support to its customers through chat, email, and support calls.
What events in Tableau Server/Online can be used with webhooks?
Trigger Events
The following trigger events are supported in the tableau:
event Name | webhook-source Name |
|---|---|
| DatasourceRefreshStarted | webhook-source-event-datasource-refresh-started |
| DatasourceRefreshSucceeded | webhook-source-event-datasource-refresh-succeeded |
| DatasourceRefreshFailed | webhook-source-event-datasource-refresh-failed |
| DatasourceUpdated | webhook-source-event-datasource-updated |
| DatasourceCreated | webhook-source-event-datasource-created |
| DatasourceDeleted | webhook-source-event-datasource-deleted |
| WorkbookUpdated | webhook-source-event-workbook-updated |
| WorkbookCreated | webhook-source-event-workbook-created |
| WorkbookDeleted | webhook-source-event-workbook-deleted |
| WorkbookRefreshStarted | webhook-source-event-workbook-refresh-started |
| WorkbookRefreshSucceeded | webhook-source-event-workbook-refresh-succeeded |
| WorkbookRefreshFailed | webhook-source-event-workbook-refresh-failed |
| AdminPromoted | webhook-event-user-promoted-admin |
| AdminDemoted | webhook-event-user-demoted-admin |
Datasource Events
Datasource events of payloads are the same:
{
  "resource":"DATASOURCE",

  "event_type":"DatasourceCreated",

  "resource_name":"My Datasource",

  "site_luid":"8b2a95d8-52b9-40a4-8712-cd6da771bd1b",

  "resource_luid":"99",

  "created_at":"2018-11-15T17:14:45Z"
}
| Field | Description |
|---|---|
| resource | Will always be “DATASOURCE” for datasource events. |
| event_type | Type of event that occurred. Can be DatasourceRefreshStarted, DatasourceRefreshSucceeded, DatasourceRefreshFailed, DatasourceCreated, DatasourceDeleted, or DatasourceUpdated. |
| resource_name | Name of the datasource in question. |
| site_luid | LUID for the site that contains the datasource. |
| resource_luid | The datasource ID. |
Workbook Events
The payloads for the workbook events (created, deleted, updated) are the same:
{
  "resource":"WORKBOOK",

  "event_type":"WorkbookCreated",

  "resource_name":"My Workbook",

  "site_luid":"8b2a95d8-52b9-40a4-8712-cd6da771bd1b",

  "resource_luid":"99",

  "created_at":"2018-11-15T17:14:45Z"

}
| Field | Description |
|---|---|
| resource | Will always be “WORKBOOK” for workbook events. |
| event_type | Type of event that occurred. Can be WorkbookRefreshStarted, WorkbookRefreshSucceeded, and WorkbookRefreshFailed. |
| resource_name | Name of the workbook in question. |
| site_luid | LUID for the site that contains the workbook. |
| resource_luid | The workbook ID. |
User Events
The payloads for the user events (AdminPromoted and AdminDemoted) are the same:
{
  "resource":"USER",

  "event_type":"AdminPromoted",

  "resource_name":"Test user",

  "site_luid":"8b2a95d8-52b9-40a4-8712-cd6da771bd1b",

  "resource_luid":"25",

  "created_at":"2018-11-15T17:14:45Z"

}
| Field | Description |
|---|---|
| resource | Will always be “USER” for user events. |
| event_type | Type of event that occurred. Can be AdminPromoted or AdminDemoted. |
| resource_name | Name of the user. |
| site_luid | LUID for the site that the user has permission to. |
| resource_luid | The user ID. |
You can also take a look at the complete guide to Webhooks Testing to get a better understanding on how Webhooks work.
Benefits of Using Tableau Webhooks
- Real-Time Notifications: Stay updated instantly when specific Tableau events, such as data refresh or workbook updates, occur.
- Automation of Workflows: Trigger automated processes in external systems, like sending alerts or updating records, based on Tableau activities.
- Improved Collaboration: Enhance team productivity by notifying relevant stakeholders about critical changes or updates in dashboards.
- Streamlined Integration: Connect Tableau with other tools and systems seamlessly to enable end-to-end data management and reporting.
- Proactive Issue Management: Get alerts for potential issues, ensuring quick resolution and minimizing disruptions in workflows.
Conclusion
As organizations expand their businesses, managing large volumes of data becomes crucial for achieving the desired efficiency. Tableau Webhooks Integration powers stakeholders and management to collaborate their workflow and build a quality product, meeting the requirements with ease. In case you want to export data from a source of your choice such as Webhooks into your desired Database/destination then Hevo Data is the right choice for you!
Sign up for a 14-day free trial and simplify your data integration process. Check out the pricing details to understand which plan fulfills all your business needs.
FAQ on Tableau Webhooks
1. What are Tableau webhooks?
Tableau webhooks are automated triggers that notify an external system when specific Tableau events occur, like data refreshes or workbook changes.
2. Can Tableau connect directly to API?
Yes, Tableau can connect directly to APIs using web data connectors or integrations, enabling it to pull data from various online sources.
3. What are webhooks used for?
Webhooks are used to automate workflows by sending real-time event notifications to other systems, improving efficiency and responsiveness.


