 Quick Takeaway
Migrating data from MySQL to Amazon Redshift involves extracting, transforming, and loading data from the source database to the data warehouse. This can be accomplished using AWS Database Migration Service (DMS), exporting to S3 with Redshift’s COPY command, or automated ETL platforms like Hevo Data for streamlined, no-code migrations.
- Using Hevo Data Platform – Automated no-code solution
- Incremental Load Method – Using mysqldump to export data to files, then uploading to S3 and using Redshift
COPYcommand - Change Data Capture with Binlog – Real-time streaming using MySQL binary logs
- Custom ETL Scripts – Manual programming approach using languages like Python or Java
Is your MySQL server getting too slow for analytical queries now? Or are you looking to join data from another Database while running queries? Whichever your use case, it is a great decision to move the data from MySQL to Redshift for analytics.
This post covers the detailed steps you need to follow to migrate data from MySQL to Redshift. You will also get a brief overview of MySQL and Amazon Redshift. You will also explore the challenges involved in connecting MySQL to Redshift using custom ETL scripts. Let’s get started.
Table of Contents
Prerequisites
1. Running MySQL database and an accessible Redshift cluster
2. Permissions & network access: ensure MySQL/Redshift are reachable and credentials are available
3. S3 bucket available for staging files
4. Ability to read/write CSV/JSON files and use Redshift’s COPY command
What are the Methods to Move Data from MySQL to Redshift?
Method 1: Using Hevo to Set up MySQL to Redshift Integration
Hevo is the only real-time ELT No-code Data Pipeline platform that cost-effectively automates data pipelines that are flexible to your needs.
The following steps can be implemented to set up MySQL to Redshift Migration using Hevo:
Step 1: Check & Enable BinLog Replication
- Check if BinLog is already enabled
mysql -h hostname -u user -p
mysql> SELECT @@log_bin;
If it returns 1, BinLog is active. If it returns 0, BinLog is disabled.
- Enable BinLog (if it’s disabled)
- SSH into your MySQL server.
- Edit the MySQL config (
/etc/mysql/my.cnfor/etc/my.cnf) and add under[mysqld]:
binlog_format=ROW
binlog_row_image=FULL
expire_logs_days=3
log_bin=mysql-binlog
server-id=1
log_slave_updates=1
max_allowed_packet=16777216- Restart MySQL
sudo service mysql restart- Re-check
SELECT @@log_bin;It should now return 1, confirming BinLog is enabled.
Step 2: Whitelist Hevo’s IP Address
You will need to whitelist Hevo’s IP address fro your region for a successful connection.
- Open the MySQL config file
sudo nano /etc/mysql/mysql.conf.d/mysqld.cnf- Under
[mysqld], add:
bind-address = <Hevo IP or 0.0.0.0>- Press
Ctrl + Oto save andCtrl + Xto exit. - This allows Hevo to connect to your MySQL server.
Step 3: Create a Database User and Grant Privileges
- Connect to MySQL as an admin. Use any SQL client (like MySQL Workbench) or terminal:
mysql -u root -p- Create the user (optional if already created)
CREATE USER 'hevo'@'%' IDENTIFIED BY 'your_password';- Grant required privileges
GRANT SELECT, REPLICATION CLIENT, REPLICATION SLAVE ON *.* TO 'hevo'@'%';Note💡: Replace 'hevo' and 'your_password' with your desired username and password. |
Step 4: Configure MySQL Source in Hevo
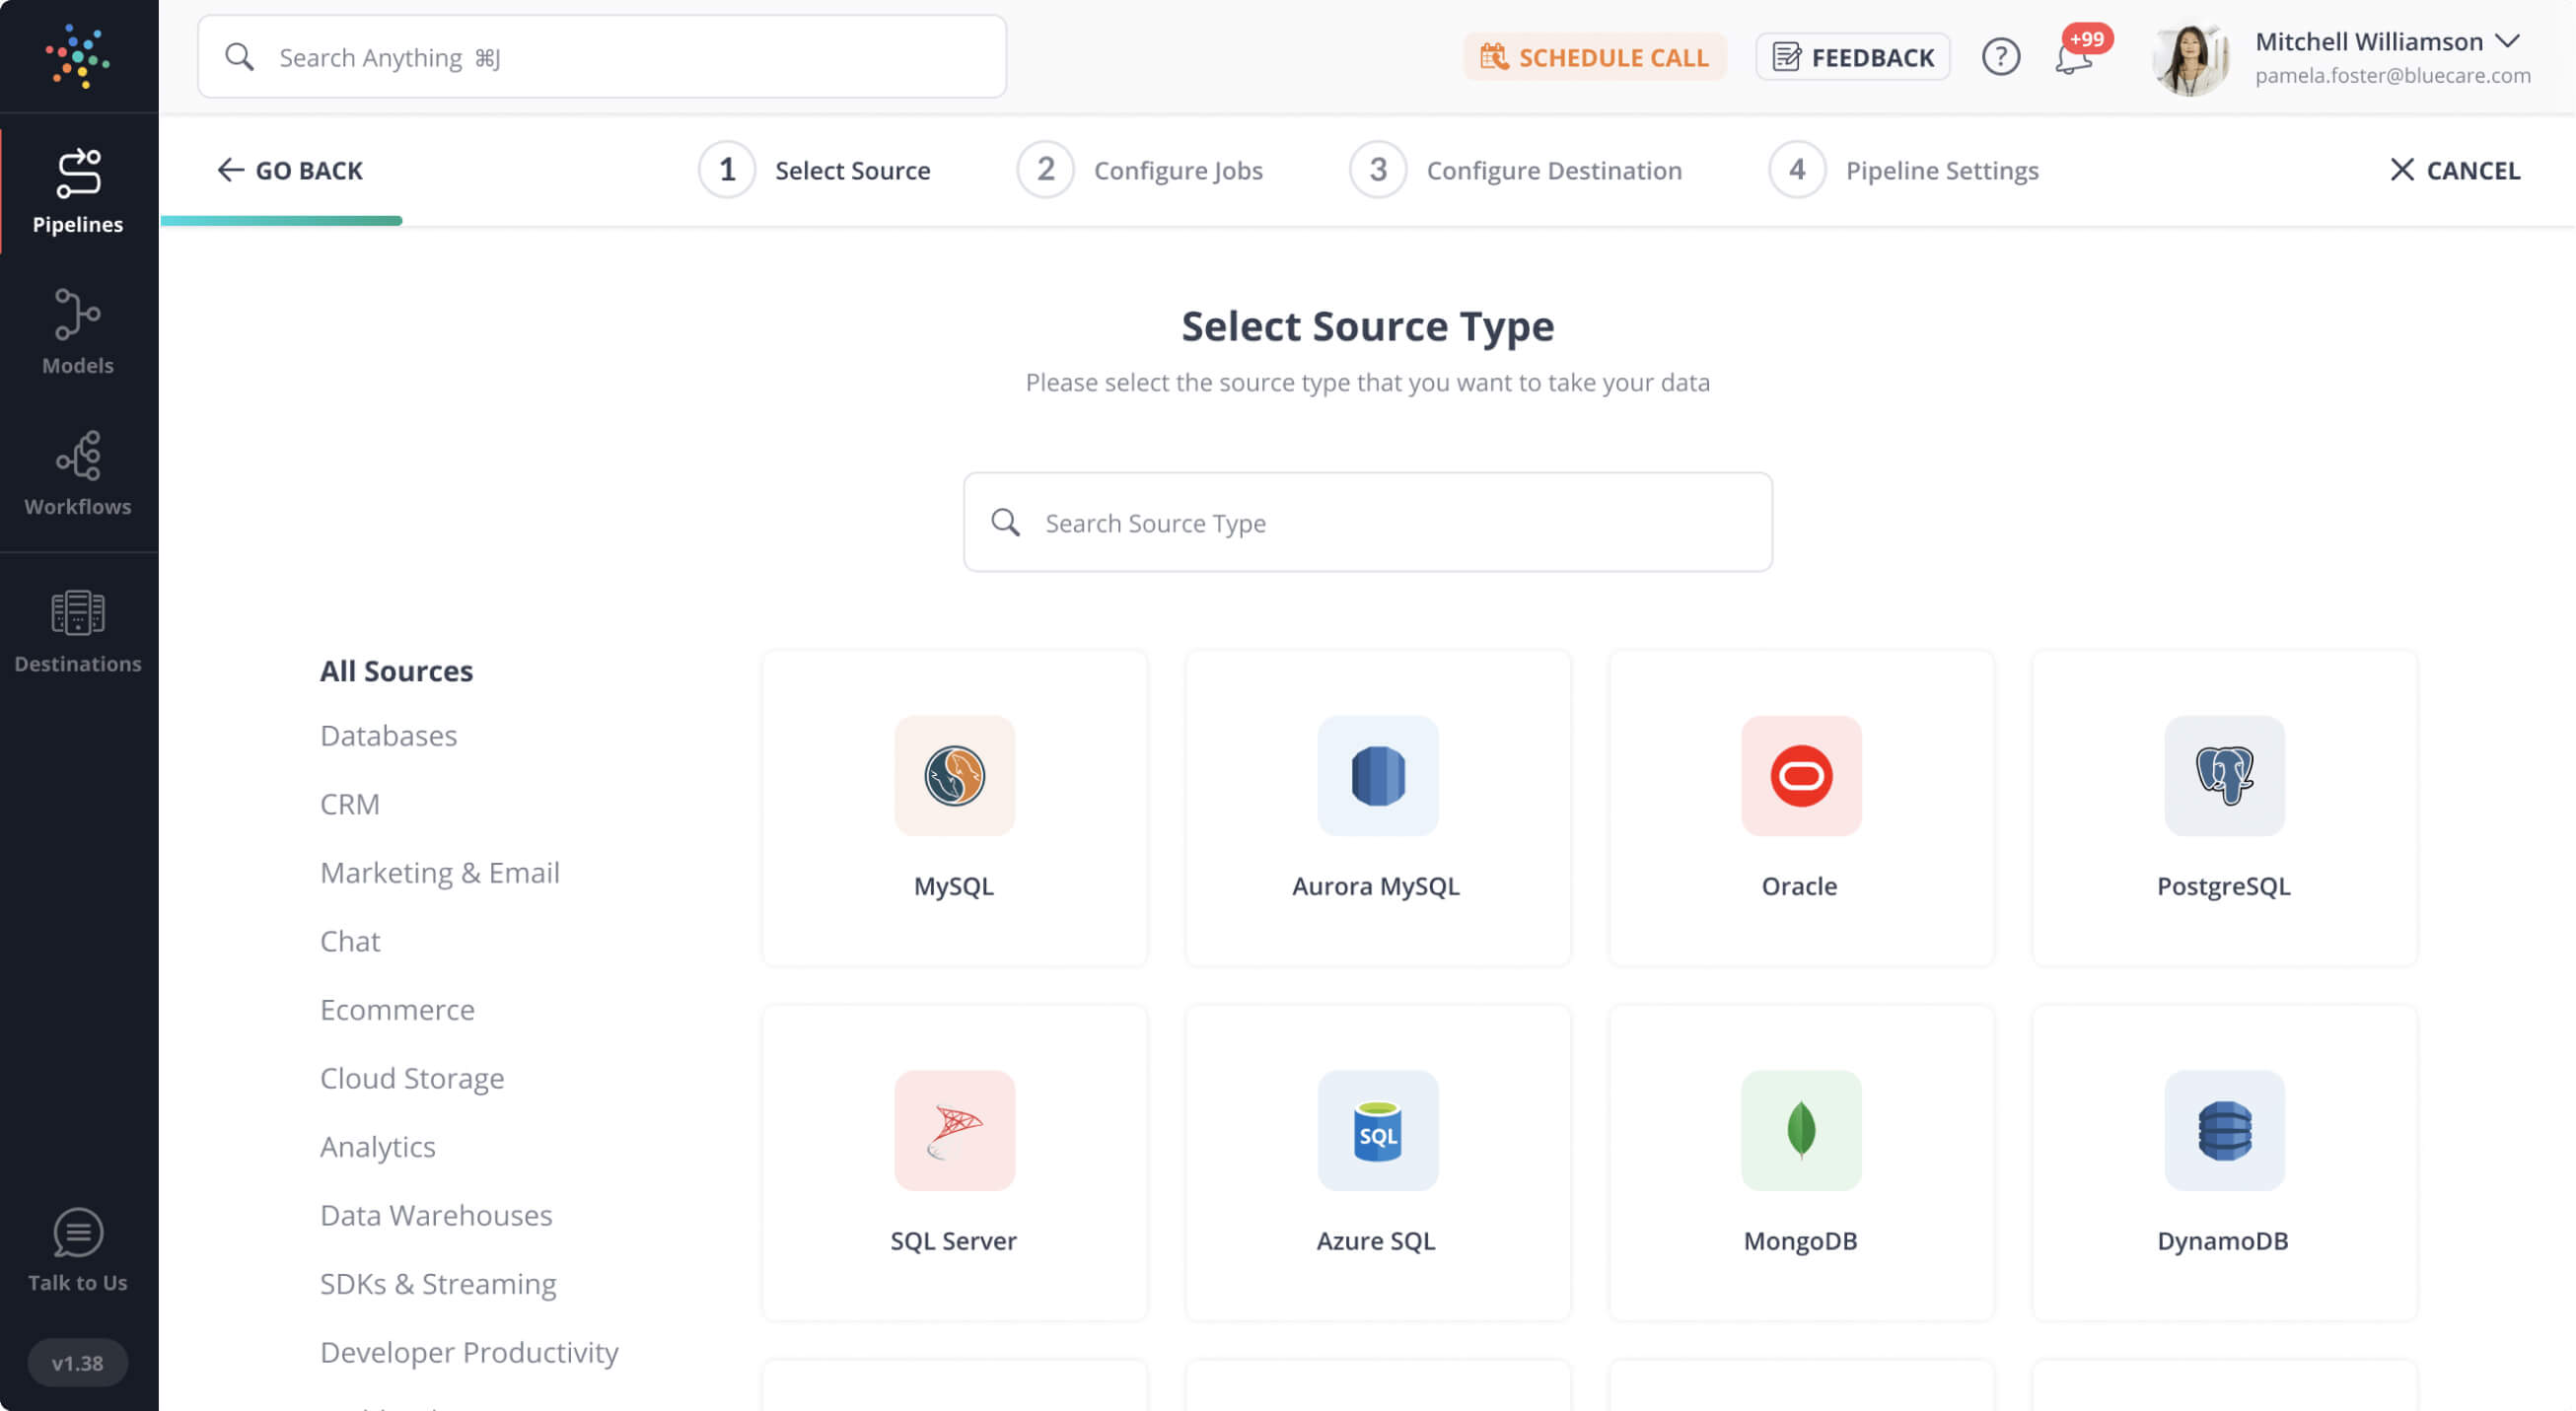
- In Hevo, click Pipelines → + Create Pipeline → Source: MySQL.
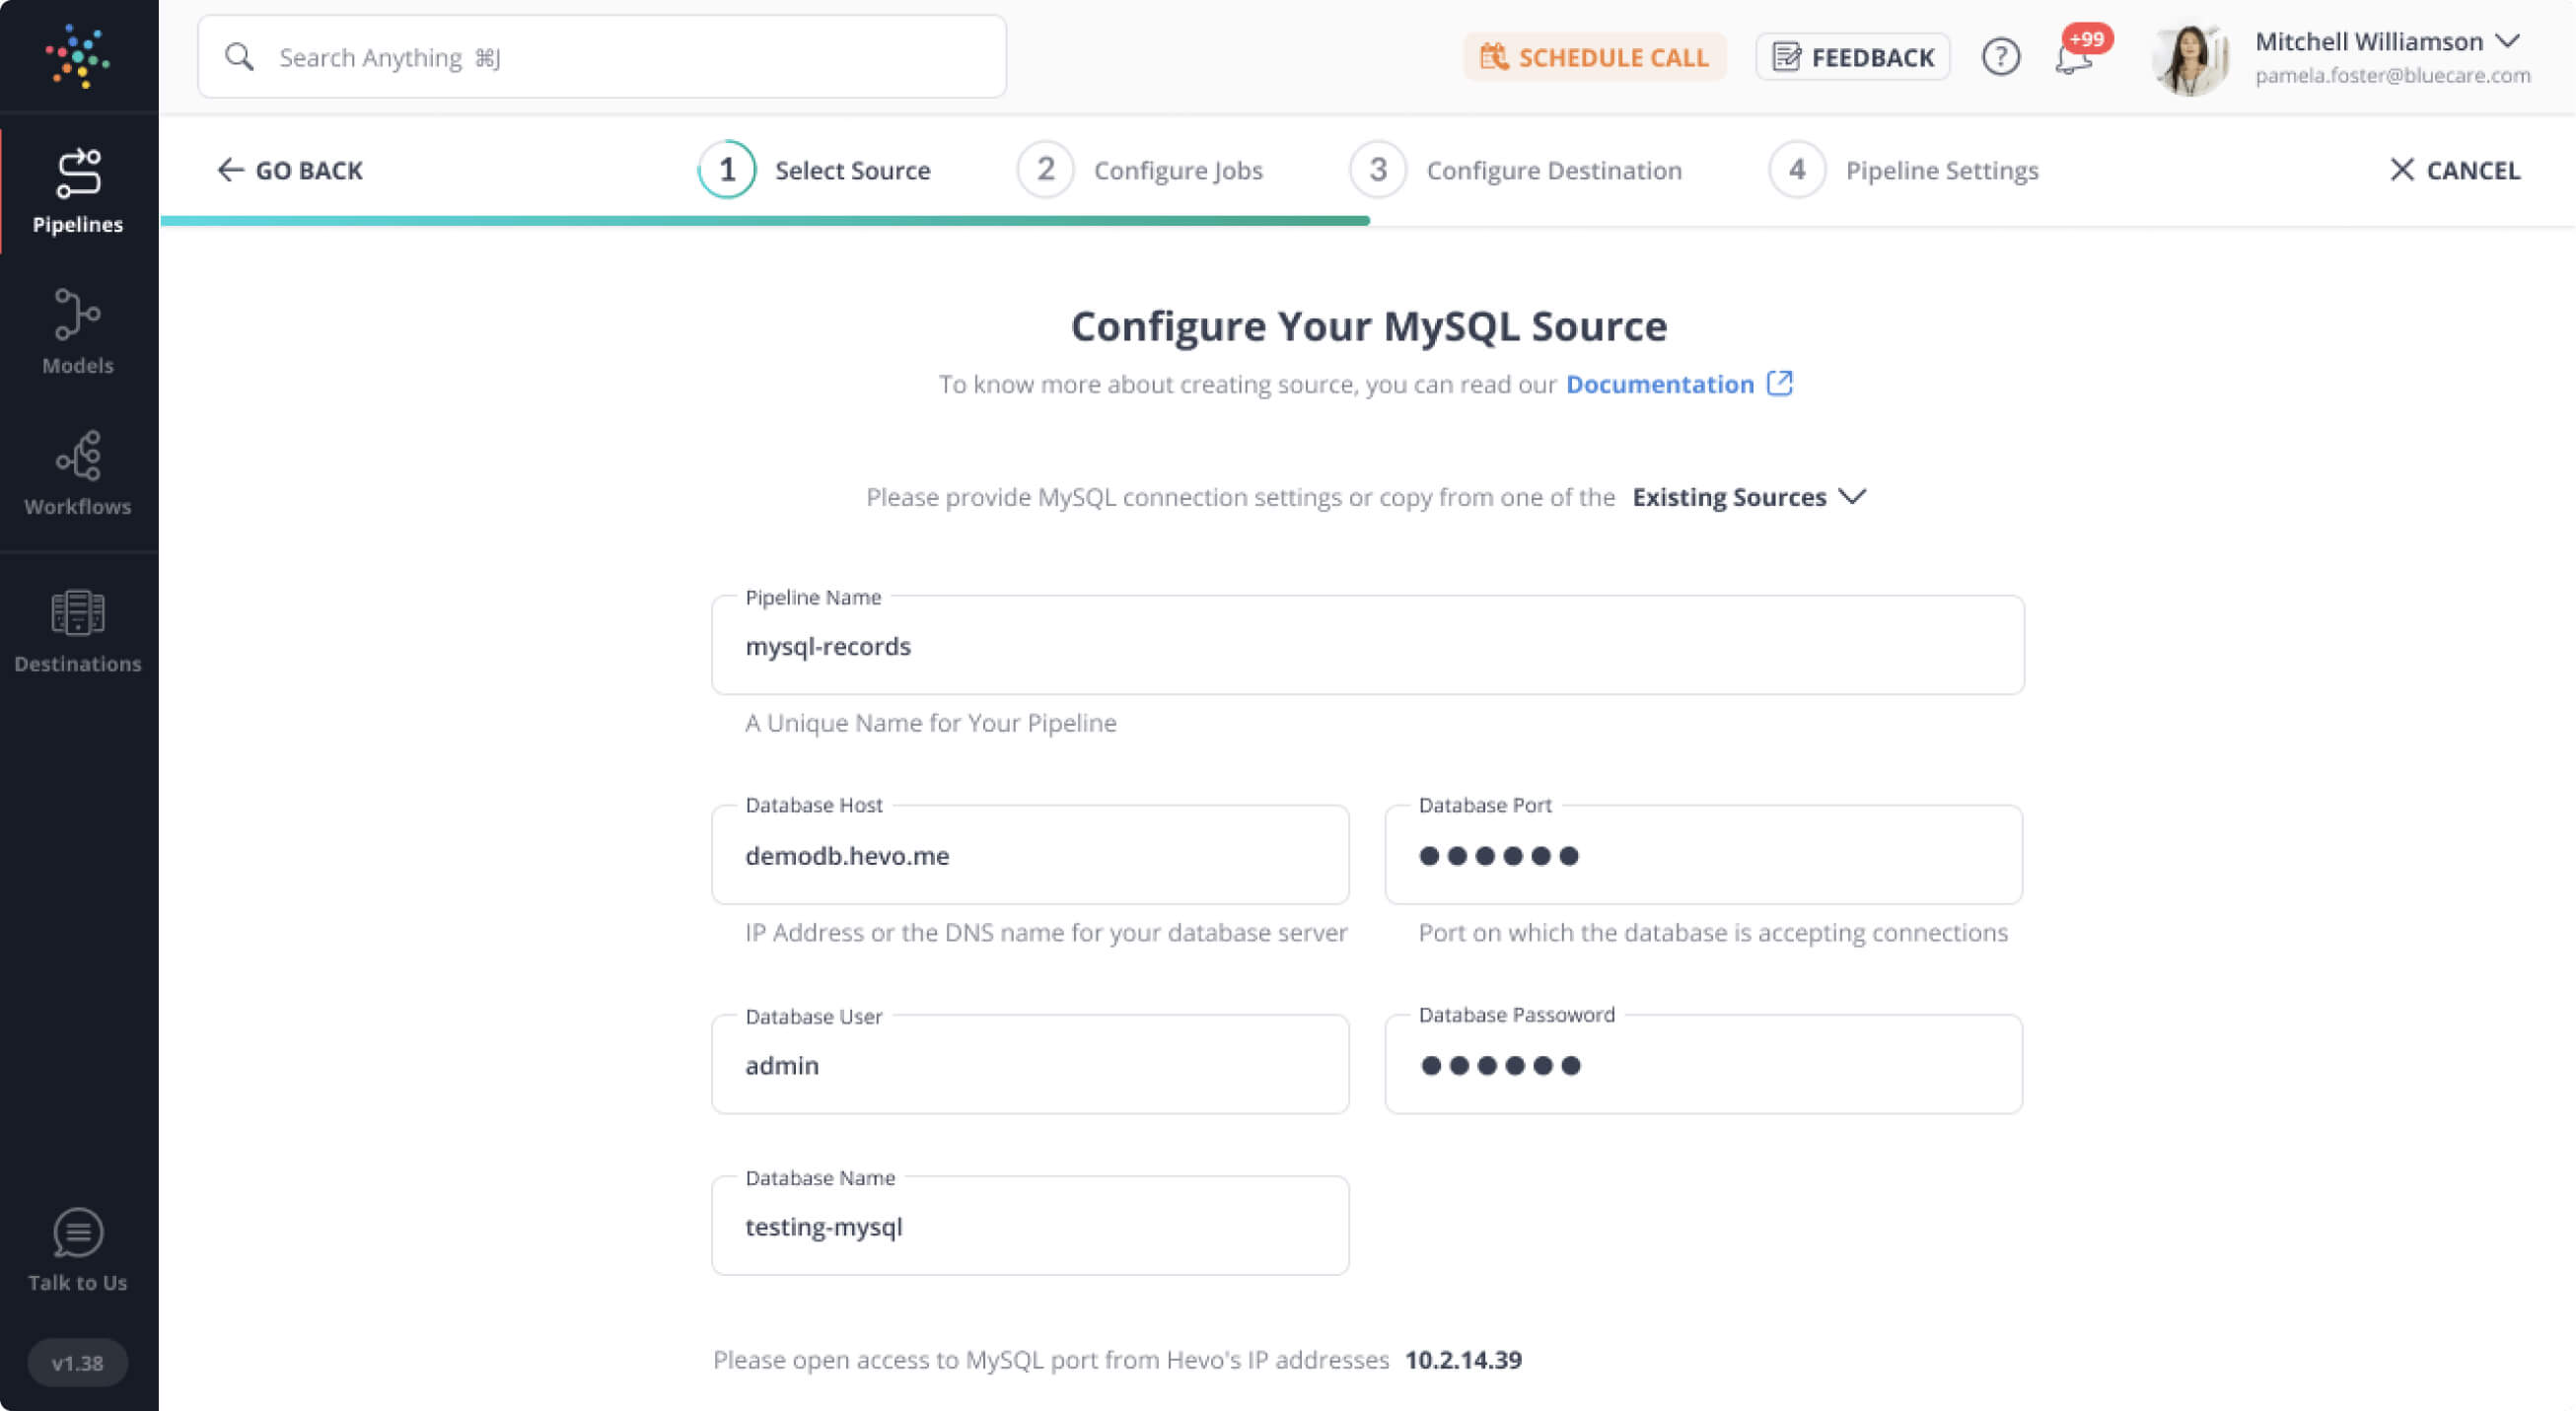
- Enter connection details:
- Pipeline Name
- Host (IP/DNS or ngrok endpoint)
- Port (default 3306)
- Username & Password
- Choose Ingestion Mode: BinLog, Table, or Custom SQL.
- Run Test Connection → Test & Continue.
Step 5: Configure Amazon Redshift as a Destination
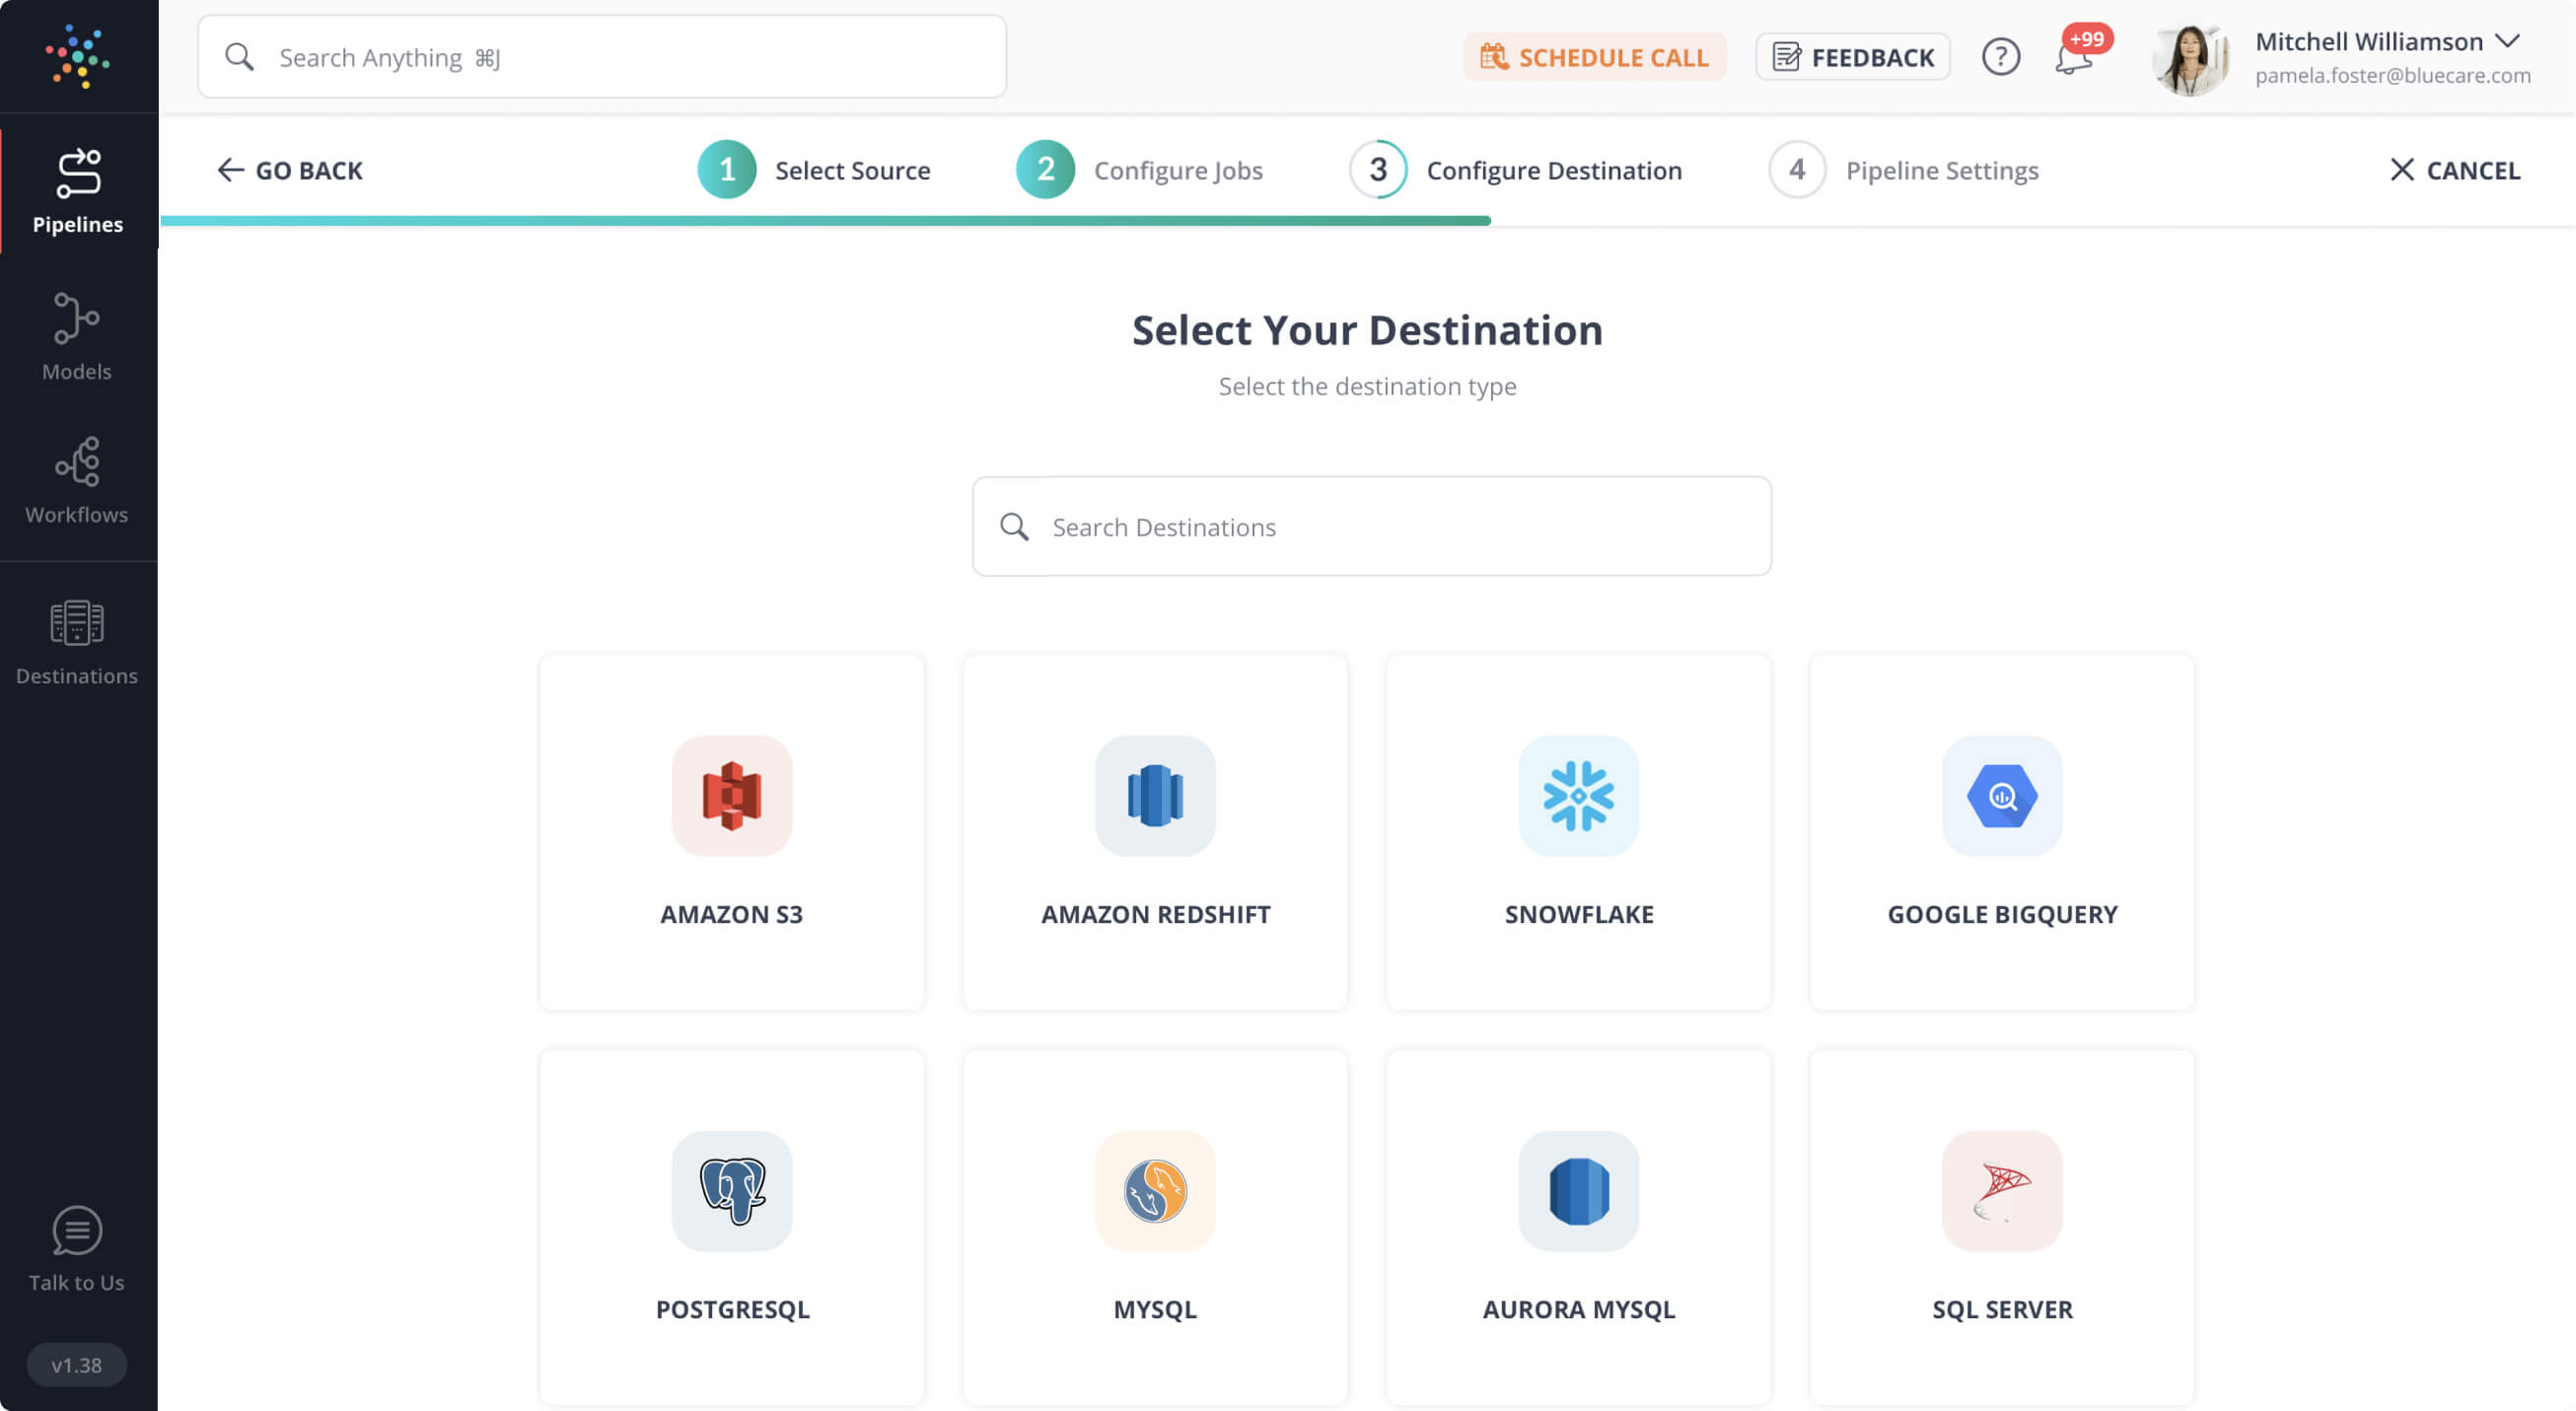
- In Hevo, click Destinations → + Create Destination → Amazon Redshift.
- Enter connection details:
- Connection String
- Database User
- Database Password
- Schema Name
- Click TEST CONNECTION to verify details.
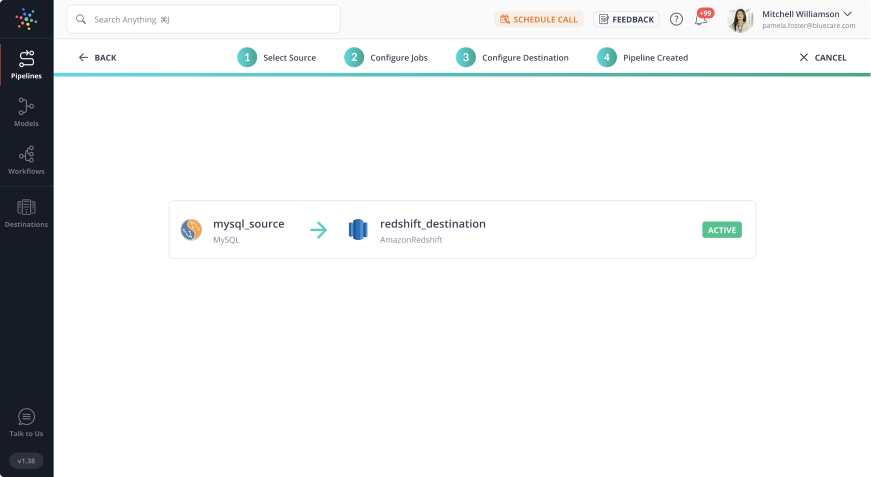
- Then click SAVE & CONTINUE.
Method 2: Incremental Load for MySQL to Redshift Integration
You can follow the below-mentioned steps to connect MySQL to Redshift.
- Step 1: Dump the data into files
- Step 2: Clean and Transform
- Step 3: Upload to S3 and Import into Redshift
Step 1. Dump the Data into Files
The most efficient way of loading data in Amazon Redshift is through the COPY command that loads CSV/JSON files into the Amazon Redshift. So, the first step is to bring the data in your MySQL database to CSV/JSON files.
There are essentially two ways of achieving this:
- Using
mysqldumpcommand.
mysqldump -h mysql_host -u user database_name table_name --result-file table_name_data.sqlThe above command will dump data from a table table_name to the file table_name_data.sql. But, the file will not be in CSV/JSON format required for loading into Amazon Redshift. This is how a typical row may look like in the output file:
INSERT INTO `users` (`id`, `first_name`, `last_name`, `gender`) VALUES (3562, ‘Kelly’, ‘Johnson’, 'F'),(3563,’Tommy’,’King’, 'M');The above rows will need to be converted to the following format:
"3562","Kelly","Johnson", "F"
"3563","Tommy","King","M"- Query the data into a file.
mysql -B -u user database_name -h mysql_host
-e "SELECT * FROM table_name;" |
sed "s/'/'/;s/t/","/g;s/^/"/;s/$/"/;s/n//g"
> table_name_data.csv
You will have to do this for all tables:
for tb in $(mysql -u user -ppassword database_name -sN -e "SHOW TABLES;"); do
     echo .....;
done
Step 2. Clean and Transform
There might be several transformations required before you load this data into Amazon Redshift. e.g. ‘0000-00-00’ is a valid DATE value in MySQL but in Redshift, it is not.
Redshift accepts ‘0001-01-01’ though. Apart from this, you may want to clean up some data according to your business logic, you may want to make time zone adjustments, concatenate two fields, or split a field into two. All these operations will have to be done over files and will be error-prone.
Step 3. Upload to S3 and Import into Amazon Redshift
Once you have the files to be imported ready, you will upload them to an S3 bucket. Then run copy command:
COPY table_name FROM 's3://my_redshift_bucket/some-path/table_name/' credentials
'aws_access_key_id=my_access_key;aws_secret_access_key=my_secret_key';
Again, the above operation has to be done for every table.
Once the COPY has been run, you can check the stl_load_errors table for any copy failures. After completing the aforementioned steps, you can migrate MySQL to Redshift successfully.
In a happy scenario, the above steps should just work fine. However, in real-life scenarios, you may encounter errors in each of these steps. e.g. :
- Network failures or timeouts during dumping MySQL data into files.
- Errors encountered during transforming data due to an unexpected entry or a new column that has been added
- Network failures during S3 Upload.
- Timeout or data compatibility issues during Redshift COPY. COPY might fail due to various reasons, a lot of them will have to be manually looked into and retried.
Challenges of Connecting MySQL to Redshift using Custom ETL Scripts
The custom ETL method to connect MySQL to Redshift is effective. However, there are certain challenges associated with it. Below are some of the challenges that you might face while connecting MySQL to Redshift:
- In cases where data needs to be moved once or in batches only, the custom script method works. This approach fails if you have to move data from MySQL to Redshift in real-time.
- Incremental load (change data capture) becomes tedious as there will be additional steps that you need to follow to achieve the connection.
- Often, when you write code to extract a subset of data, those scripts break as the source schema keeps changing or evolving. This can result in data loss.
The process mentioned above is brittle, error-prone, and often frustrating. These challenges impact the consistency and accuracy of the data available in your Amazon Redshift in near real-time. These were the common challenges that most users find while connecting MySQL to Redshift.
Method 3: Change Data Capture With Binlog
The process of applying changes made to data in MySQL to the destination Redshift table is called Change Data Capture (CDC).
You need to use the Binary Change Log (binlog) in order to apply the CDC technique to a MySQL database. Replication may occur almost instantly when change data is captured as a stream using Binlog.
Binlog records table structure modifications like ADD/DROP COLUMN in addition to data changes like INSERT, UPDATE, and DELETE. Additionally, it guarantees that Redshift also deletes records that are removed from MySQL.
Getting Started with Binlog
When you use CDC with Binlog, you are actually writing an application that reads, transforms, and imports streaming data from MySQL to Redshift.
You may accomplish this by using an open-source module called mysql-replication-listener. A streaming API for real-time data reading from MySQL bBnlog is provided by this C++ library. For a few languages, such as python-mysql-replication (Python) and kodama (Ruby), a high-level API is also offered.
Drawbacks using Binlog
Building your CDC application requires serious development effort.
Apart from the above-mentioned data streaming flow, you will need to construct:
- Transaction management: In the event that a mistake causes your program to terminate while reading Binlog data, monitor data streaming performance. You may continue where you left off, thanks to transaction management.
- Data buffering and retry: Redshift may also stop working when your application is providing data. Unsent data must be buffered by your application until the Redshift cluster is back up. Erroneous execution of this step may result in duplicate or lost data.
- Table schema change support: A modification to the table schema The ALTER/ADD/DROP TABLE Binlog event is a native MySQL SQL statement that isn’t performed natively on Redshift. You will need to convert MySQL statements to the appropriate Amazon Redshift statements in order to enable table schema updates.
Method 4: Using custom ETL scripts
Step 1: Configuring a Redshift cluster on Amazon
Make that a Redshift cluster has been built, and write down the database name, login, password, and cluster endpoint.
Step 2: Creating a custom ETL script
Select a familiar and comfortable programming language (Python, Java, etc.).
Install any required libraries or packages so that your language can communicate with Redshift and MySQL Server.
Step 3: MySQL data extraction
- Connect to the MySQL database.
- Write a SQL query to extract the data you need. You can use this query in your script to pull the data.
Step 4: Data transformation
You can perform various data transformations using Python’s data manipulation libraries like `pandas`.
Step 5: Redshift data loading
With the received connection information, establish a connection to Redshift.
Run the required instructions in order to load the data. This might entail establishing schemas, putting data into tables, and generating them.
Step 6: Error handling, scheduling, testing, deployment, and monitoring
- Try-catch blocks should be used to handle errors. Moreover, messages can be recorded to a file or logging service.
- To execute your script at predetermined intervals, use a scheduling application such as Task Scheduler (Windows) or `cron` (Unix-based systems).
- Make sure your script handles every circumstance appropriately by thoroughly testing it with a variety of scenarios.
- Install your script on the relevant environment or server.
- Set up your ETL process to be monitored. Alerts for both successful and unsuccessful completions may fall under this category. Examine your script frequently and make any necessary updates.
- Don’t forget to change placeholders with your real values (such as `}, `}, `}, etc.). In addition, think about enhancing the logging, error handling, and optimizations in accordance with your unique needs.
Disadvantages of using ETL scripts for MySQL Redshift Integration
- Error Handling and Recovery: It might be difficult to develop efficient mistake management and recovery procedures. In order to ensure the reliability of the ETL process, it is essential to handle various errors.
- Lack of GUI: The flow could be harder to understand and debug.
- Dependencies and environments: Without modification, custom scripts might not run correctly on every operating system.
- Timelines: Creating a custom script could take longer than constructing ETL processes using a visual tool.
- Complexity and maintenance: Writing bespoke scripts takes more effort in creation, testing, and maintenance.
- Restricted Scalability: Performance issues might arise from their inability to handle complex transformations or enormous volumes of data.
- Security issues: Managing sensitive data and login credentials in scripts needs close oversight to guarantee security.
What is MySQL?
MySQL is an open-source relational database management system (RDBMS) based on Structured Query Language (SQL). It is one of the most popular databases for web applications and is widely used for managing and storing data. MySQL is known for its reliability, scalability, and ease of use. It supports multi-user access and can handle large volumes of data.
What is Amazon Redshift?
Amazon Redshift is an Amazon Web Services-based petabyte-scale Data Warehousing solution. It’s also utilized for massive database migrations because it simplifies Data Management.
Organizations turn to Amazon Redshift for valuable insights from their data to enhance decision-making and operational efficiency. It is built with features of scale, usability, and integrations with other AWS services, which makes it very popular with every size of business.
Why Do We Need to Move Data from MySQL to Redshift?
- Every business needs to analyze its data to get deeper insights and make smarter business decisions. However, performing Data Analytics on huge volumes of historical data and real-time data is not achievable using traditional Databases such as MySQL.
- MySQL can’t provide high computation power that is a necessary requirement for quick Data Analysis. Companies need Analytical Data Warehouses to boost their productivity and run processes for every piece of data at a faster and efficient rate.
- Amazon Redshift is a fully managed Could Data Warehouse that can provide vast computing power to maintain performance and quick retrieval of data and results.
- Moving data from MySQL to Redshift allow companies to run Data Analytics operations efficiently. Redshift columnar storage increases the query processing speed.
You can also consider replicating your MySQL data to BigQuery for flexible analytics capabilities.
Conclusion
This article provided you with a detailed approach using which you can successfully connect MySQL to Redshift. You also got to know about the limitations of connecting MySQL to Redshift using the custom ETL method. Big organizations can employ this method to replicate the data and get better insights by visualizing the data. Thus, connecting MySQL to Redshift can significantly help organizations make effective decisions and stay ahead of their competitors.
If you’re looking for an efficient, cost-effective way to transfer MySQL data to Redshift without the complexity of custom ETL, try Hevo. With its automated, no-code platform, Hevo ensures seamless data integration, helping you focus on insights rather than infrastructure. Sign up for Hevo’s 14-day free trial and experience seamless data migration.
FAQs
1. Can MySQL connect to Redshift?
Not directly. However, you can connect through ETL tools like Hevo or by exporting MySQL data to S3 and loading it into Redshift.
2. How to load data from SQL Server to Redshift?
You can export SQL Server data to Amazon S3, then use Redshift’s COPY command or ETL tools like Hevo to load it into Redshift.
3. Is Redshift better than MySQL?
For large-scale analytics, Redshift is generally better. MySQL is optimized for transactional tasks, while Redshift is designed for complex data warehousing and analytics.


