


Airtable provides a visual dashboard for creating new tables, editing existing ones, and connecting to external databases. It also has powerful filters and macros built-in. It offers a simple interface where you can easily add columns and rows by dragging them around.
Organizations are today drawn towards setting up the Airtable REST API Integration. This is because businesses work on data-driven decisions, and REST APIs play a key role in this process. They simplify a software’s access to information by specifying the interaction protocol of other software tools.
Table of Contents
Introduction to Airtable

Airtable is a Web Application that allows you to create various types of spreadsheets without writing any code. You can seamlessly organize your data into Tables by simply dragging and dropping rows and columns. Moreover, Airtable offers multiple features like File Storage, Document Management, Task Lists, Calendar Views, and much more that allow you to generate engaging spreadsheets.
Airtable is also the leading mobile app builder with an integrated CRM solution. It makes it easy to build beautiful mobile apps and also provides powerful features such as form validation, user management, data persistence, and real-time collaboration.
Introduction to REST APIs

REST API is a protocol for accessing RESTful resources from a remote system over HTTP using XML or JSON format. It is used extensively for integrating applications by providing a uniform way of exchanging information between two systems.
For example, if your application needs to update a database when a new record is created on a website, you can use the REST API.
In short, Rest API does exactly what it says, it allows developers to access APIs through HTTP requests. For this, you must know how to use Airtable API.
Understanding the Working of the Airtable REST API Integration
Businesses today, are often implementing the Airtable REST API Integration. Once your users sign up for an account, they can access all the collaborative tools available on airtable.com. Once signed in, users can start creating spreadsheets using a drag-and-drop feature.
To share those spreadsheets or documents, you need to use the REST API. To do so, users have to first install the Airtable app on their devices. After installing the app, they can connect through the browser. After connecting from the browser, the user needs to authenticate themselves.
For example, if they want to share the spreadsheet with another user, they need to provide their email id and password. After successful authentication, the user would get a token to pass to the server to request permission to access the shared document.
Now, the server will check whether the user is authorized to view the document. If yes, then the server returns a URL of the shared document. The URL would contain a unique key. Using this key, the users can access the document. To remove the access right of the document, the user simply clicks on the button “delete”.
Steps to Set Up the Airtable Rest API Integration
Here’s a step-by-step process for the Airtable API integration alongside some Airtable API examples.
To initiate the Airtable REST API Integration requires you to create a backend application that acts as a proxy for the Airtable service. The application must accept requests from clients who wish to interact with Airtable via HTTP POST requests.
To complete your Airtable REST API Integration, You will have to change the Airtable UI, such as adding custom fields and customizing the look & feel. You might also have to add some custom code to the application.
The following steps will help you to set up the Airtable REST API Integration easily:
- Step 1: Create Your Airtable Account and add Your Email Address
- Step 2: Click a New Table
- Step 3: Connect Your Table with Any REST API
- Step 4: Authorization
Step 1: Create Your Airtable Account and add Your Email Address
First things first! You need to create an Airtable account. To do this, you should see something similar to the following screenshot.
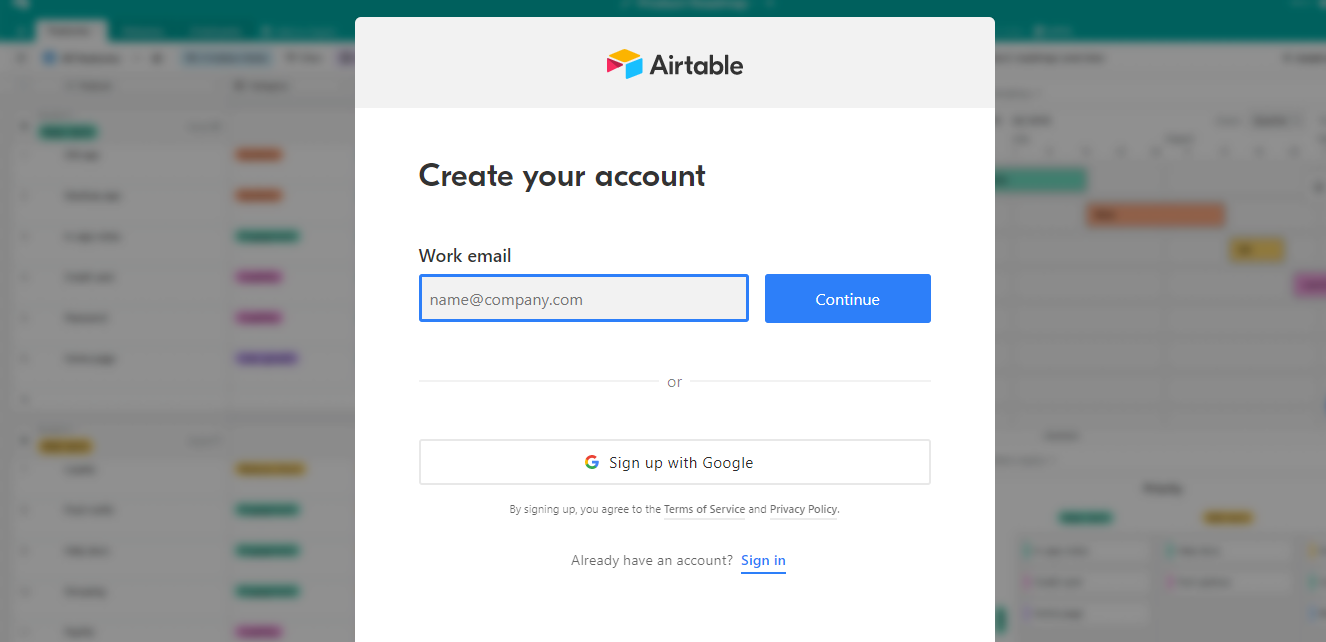
Click on the “Sign-Up” link at the top left corner. Enter your name, email address, phone number, country code, and click on “Continue“. You will now receive an activation email. Open that email and click on the”Activate My Account” link.
Now, enter your username and password (make sure you remember them) and click on “Save Changes“.
Congratulations! You just created your very own Airtable account.
After signing up, click on “Add email address” so that you can receive notifications about updates in your Airtable account. This way, you won’t miss any critical updates.
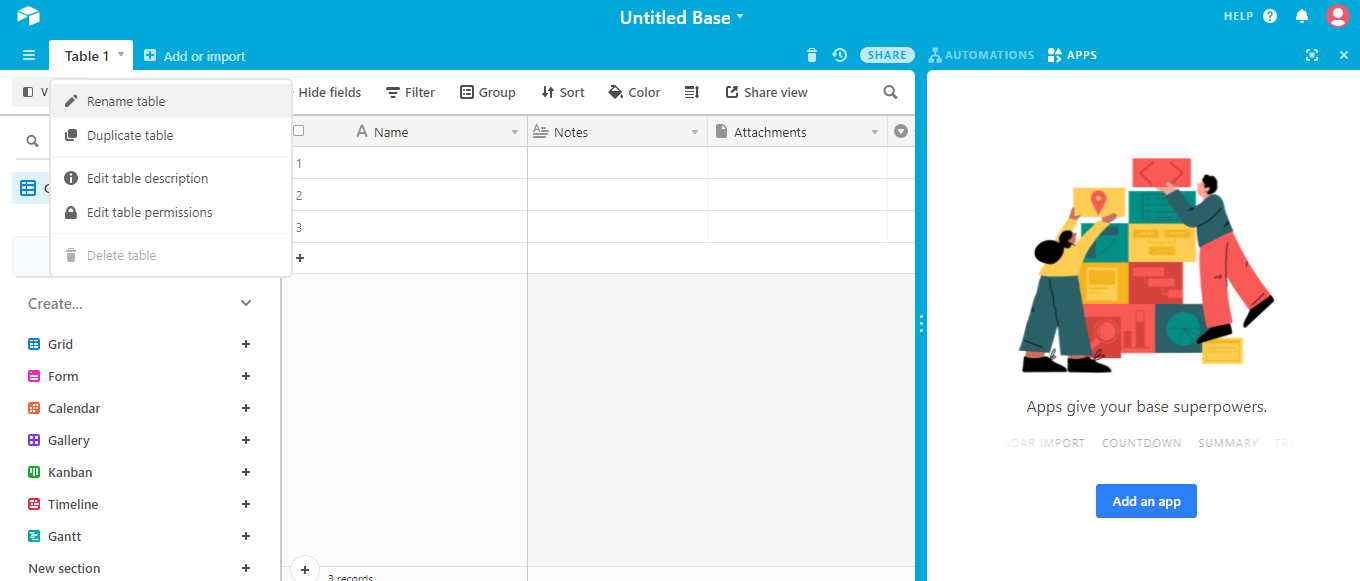
Step 2: Click a New Table
Click on “Create Table“. Now you should see a page where you can choose which database you would like to add your table into. Choose the one that suits your needs best. If you don’t know what database type you’d like to add to your table, too, you can select “Other” or “Custom“. This is shown in the below image.
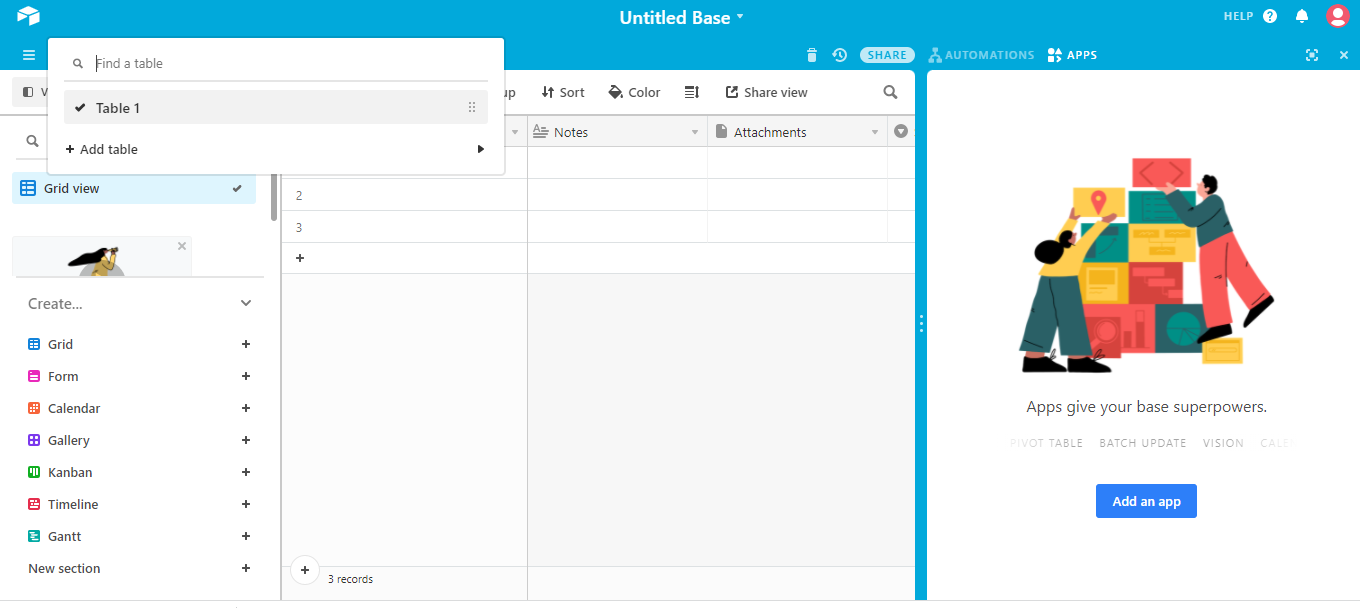
On the next screen, you’ll be asked to give your table a title. Give it a good description as well. Next, you will be taken to the New Row form. Here, you can add columns by clicking on each column heading. Select the desired columns and add the required information.
Give your table a suitable name. Choose whether you want to store your data online or locally. Enter details such as name, description, and location. Click on the “Save Changes” button.
Wait until you get approval from the Airtable team through an email notification. Now, go back to your Dashboard by clicking on the link sent to your registered email address.
You can view your newly created table right away and you can edit it anytime later on.
Step 3: Connect Your Table with Any REST API
The beauty of using Airtable is that you can connect it to almost anything. In this step, however, you have to make sure your table is connected to a REST API. To connect your table with any REST API, then follow the steps below:
- Open the Airtable app on your phone and sign up for RestAPI access.
- Provide a suitable username and password.
- Confirm your email address and verify your phone number.
- Go Back To The Main Screen and click on the Home tab.
- Click on the Create Connection link and choose from the available APIs.
- Select the API that you would like to use.
Learn more about Rest API source set up on Hevo.
Step 4: Authorization
Fill out the authorization form according to your requirements and submit the request. Check if the request was sent successfully. Get an authorization token and log into Airtable and customize it according to your requirements.
That’s it! After completing these steps, you should be able to access your newly added table via your REST API. Thus, your Airtable REST API Integration is complete.
Benefits of Airtable Rest API Integration
There are numerous ways in which the Airtable REST API Integration can benefit your business.
Now more than ever, business organizations today are looking to integrate Airtable and Rest API. The integration is not just limited to sharing files but also to managing data across different platforms.
Collaboration software has really become an integral part of every business organization today. They enable employees to communicate effectively with each other on a real-time basis. This helps in improving the overall workflow within an enterprise.
The benefits of collaboration software cannot be overemphasized, from enabling users to easily manage tasks and share files. The key benefits are as follows:
- Improved User Experience: One of the primary reasons companies adopt the Airtable REST API Integration is to provide an improved user experience. With this type of integration, they can now easily collaborate with others.
- Enhanced Security: Another advantage of the Airtable REST API Integration is enhanced security. You can now prevent unauthorized people from accessing certain areas of the platform. Moreover, you can also monitor who is accessing data and when.
- Better Reporting: You can generate reports based on the data stored in Airtable. This way Airtable REST API Integration can prove extremely useful in developing insights into your company’s performance.
- Real-Time Collaboration: An essential feature of the Airtable REST API Integration is that it enables real-time collaboration. Using the Rest API, you can interact with Airtable directly from your website or application. This means that you don’t need to install the Airtable app on your phone/computer.
- Data Management: It is always beneficial to manage all your data in one place. This helps you keep track of all your tasks and projects.
Learn More About:
Conclusion
This article gave you an overview of Airtable and Rest API and provided a step-by-step guide to setting up the Airtable REST API Integration. It also explained how these 2 tools will work together in a collaboration.
The airtable get data from API allows effortless retrieval and organization of dynamic data from an API to streamline the data flow. Furthermore, the article listed down the benefits of setting up the Airtable REST API Integration.
Now that you have understood the process to set up your Airtable REST API Integration, you may want to go one step further and analyze the Airtable and REST API data. This will require you to transfer data from these tools to a Data Warehouse using various complex ETL processes.
Share it with your connections.
-
 Share To LinkedIn
-
 Share To Facebook
-
 Share To X
-
 Copy Link

