In the E-Commerce market, monitoring your business success is the only way to know if there is room for expansion or if you need to take further steps to secure long-term success. In the E-Commerce industry, there are numerous things to measure; unlike other Internet businesses, it incorporates Direct Transactions.
Trying to quantify the amount of traffic that comes to your website every other day may not ensure success; this isn’t to imply that traffic isn’t important for your E-growth; Business’ it is, but you also need to look at other Intricate Data.
To do so, you first need to ensure that you have the appropriate success measuring instrument. It’s best to have a gadget that can track a variety of data, such as Website Performance, Traffic, Sales, and other Marketing operations.
Google Analytics 4 (GA) is an excellent tool for this, and the best part is that it is absolutely free. So, if you’re seeking a cost-effective way to purchase GA4 for company analysis, this is the way to go. Moreover, by establishing with Google Tag Manager GA4 Integration you will gain additional benefits to ease out the process.
In this article, you will gain a decent understanding of Google Analytics 4, Google Tag Manager, and be able to carry out Google Tag Manager GA4 Integration.
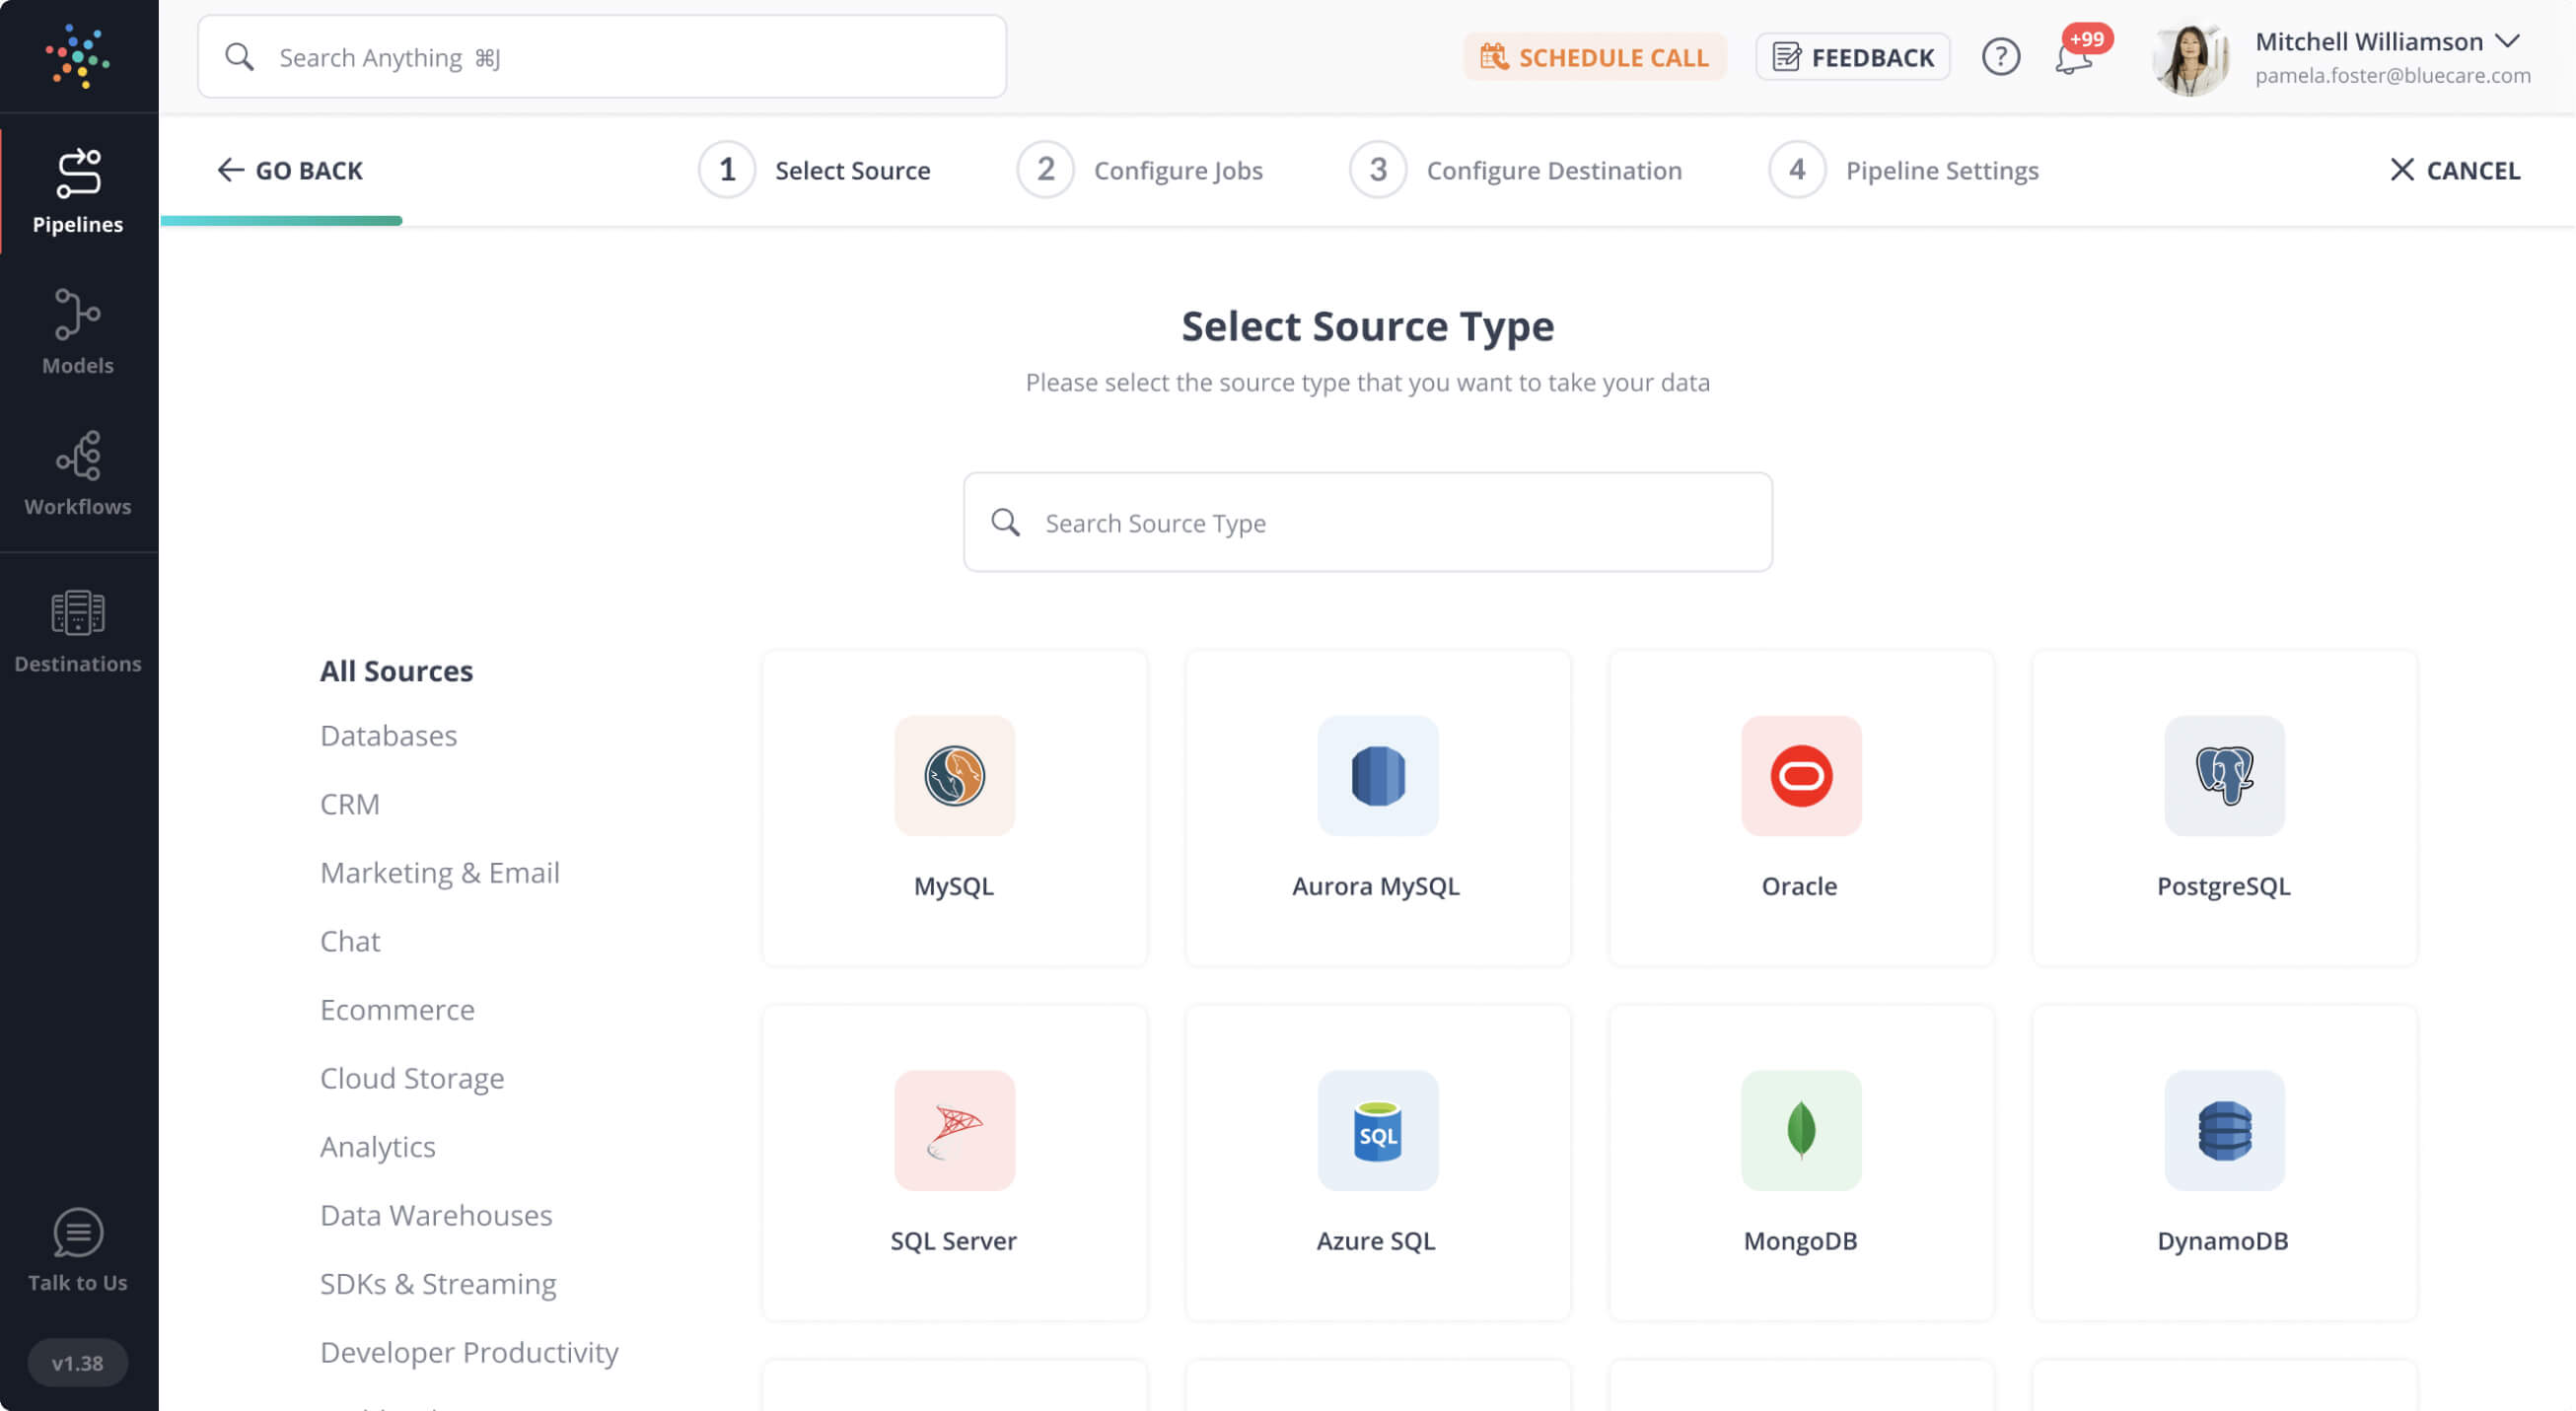
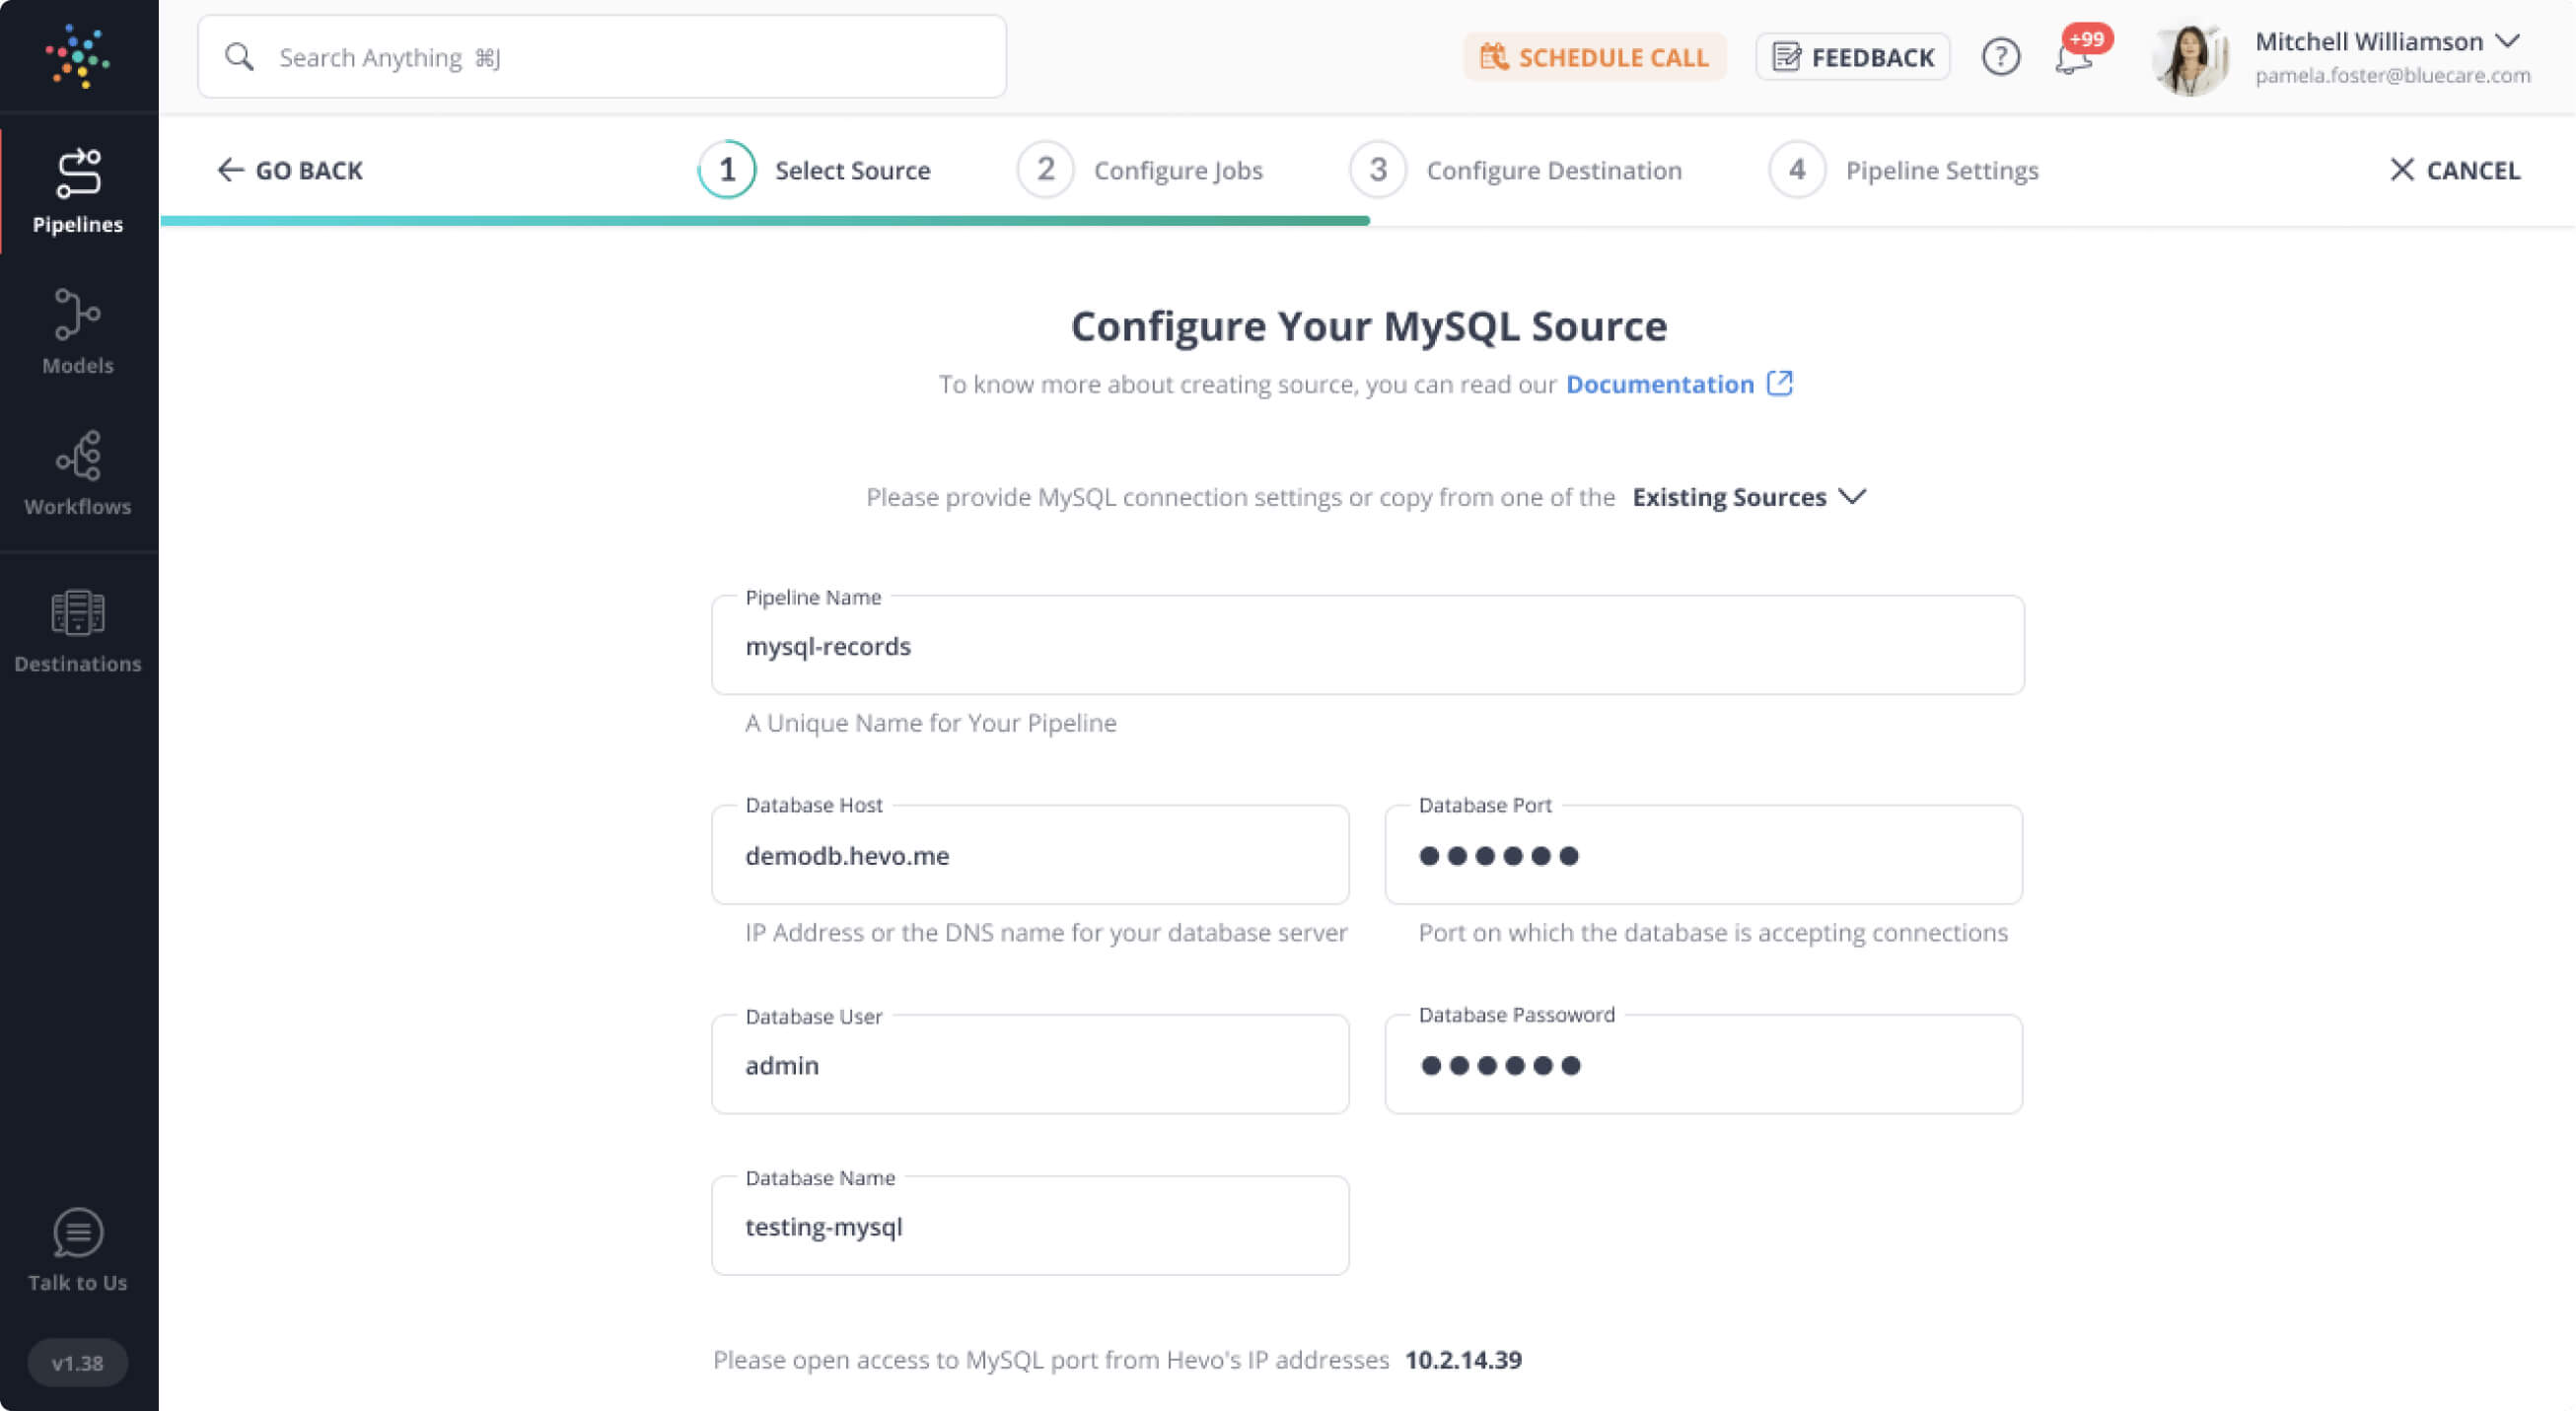
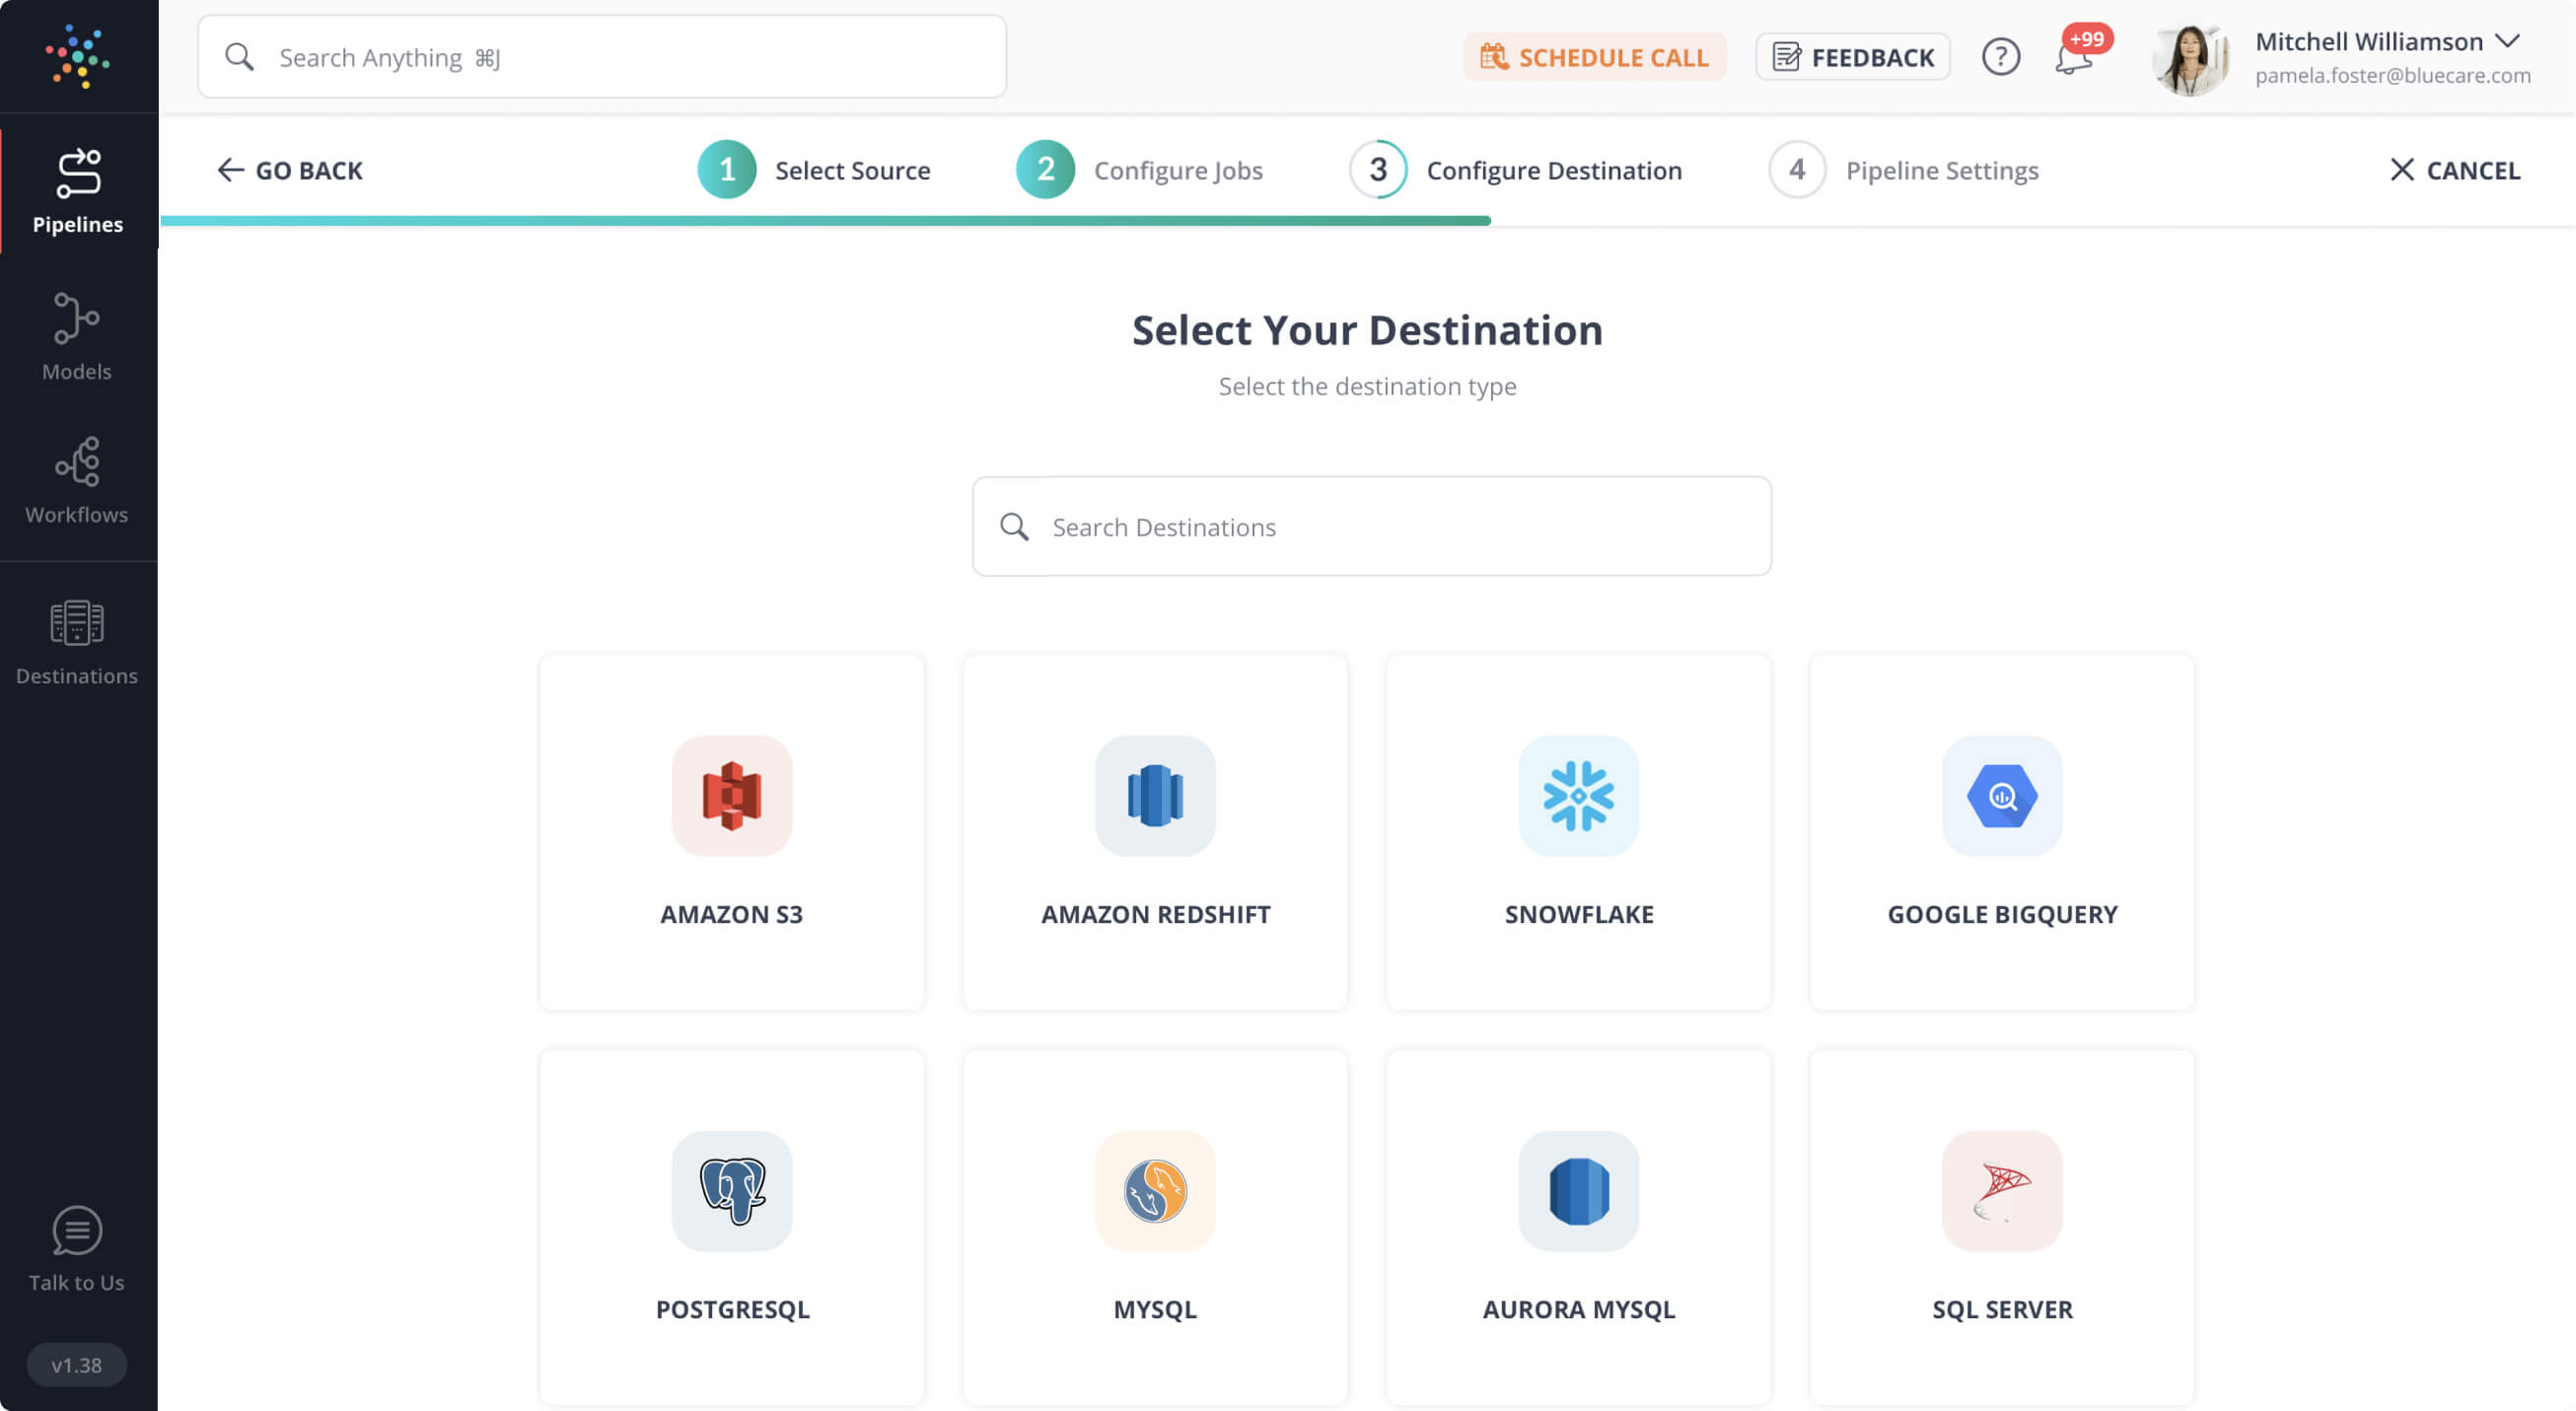
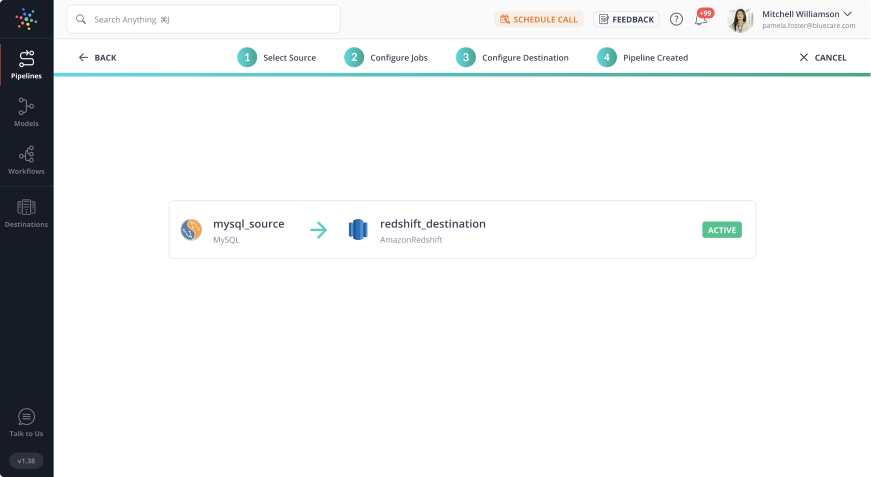
Navigating data from Google Analytics can be challenging. Hevo supports Google Analytics as a source for seamless integrations. Leverage Hevo’s powerful platform to efficiently manage and analyze your data.
- Seamless Integration: Connect Google Analytics data effortlessly with Hevo’s no-code platform.
- Enhanced Insights: Simplify reporting and gain deeper insights from your analytics data.
- Efficient Management: Streamline your data operations with ease and accuracy.
Join over 2000 satisfied customers, including companies like Cure.Fit and Pelago, who trust Hevo for their data management needs. Explore our capabilities with a free personalized demo and see how you can benefit.
Get Started with Hevo for FreeTable of Contents
Introduction to Google Analytics 4
Google Analytics 4 is Google’s third significant upgrade to its Analytics service, and it was released in October 2020. After Mobile App Analysts discovered that standard Google Analytics gave a deceptive impression of users’ engagement with mobile apps, the tech business released Google Analytics 4. The update’s purpose is to ensure that correct user Behavior Analysis is defined by events that occur while using the app rather than the number of pages viewed. This is why Google Analytics 4 analyses user behavior using an Event-Driven Data Model rather than page views.
Consider what occurs when a website visitor purchases a product if this sounds a little confusing. The system directs users to the thank you page when they complete the checkout process. When a buyer hits the ‘thank-you‘ page, traditional Google Analytics can only confirm that they made a transaction.
In Google Analytics 4, this issue is resolved. Rather than capturing your customer’s actions in the form of pages seen, Google Analytics 4 will analyze the activity as if it were a purchase event. You can now rely on your Analytics provider to provide you with an accurate picture of transactions that take place on your website or app.
Key Features of GA4
Google Analytics 4 has three main features that distinguish it from traditional Google Analytics:
1. Google Signal
This feature enables you to use Google’s identification services to recognize people who log in to your website from several devices. This makes it easier for you to figure out a customer’s buying habits and market your product to them strategically. Users who have enabled ‘Ads Personalization‘ on their Google Account can only be identified through the Google Signal service.
In 2018, Google Signal was introduced for the first time. Users can enable the feature on their Google Analytics accounts using the conventional Google Analytics interface. Google Signals, on the other hand, comes pre-installed in Google Analytics 4.
Meanwhile, Google’s Signal feature is built in such a way that it safeguards users’ privacy. Web administrators do not have access to their client’s personal information. The users’ Locations, Interests, and the various devices with which they access the website are the only pieces of information that Google Signals sends to Website Analysts.
2. Global Site Tags
Users had to use code to enable unique Analytics capabilities on their websites or apps in prior Google Analytics versions. Google Analytics 4 on the other hand, allows users to activate Analytics options on their websites without using code or changing Tags.
Go to your Google Analytics 4 user interface and turn on the feature if you want to enable a new Analytics feature on your website. Google will provide you with the code that will enable the feature on your website automatically.
This is far more efficient than copying and pasting code from your Google Analytics account into your site. Even if they don’t know how to code, your Marketers can now control all parts of your Web Analytics.
3. Firebase Analytics (Event-driven model)
Events are used by Firebase Analytics to determine user behavior on a platform. This capability is already present in the majority of App-based Analytics. Google Analytics 4, on the other hand, is the first analytics service to use Firebase Analytics on websites.
The former Google Analytics employed a Page View Model to monitor user behavior on websites, unlike Google Analytics 4. However, this has proven unreliable because app users sometimes interact with content on pages without actually viewing them.
For further information on Google Analytics 4, check the official website here.
Introduction to Google Tag Manager
Google Tag Manager is a free application that lets you manage and install marketing tags (code snippets or tracking pixels) on your website (or mobile app) without modifying the code. Here’s a quick rundown of how GTM works. Through Google Tag Manager, information from one data source (your website) is communicated with another data source (Analytics). When you have a lot of tags to manage, GTM comes in helpful because the entire code is kept in one location.
Google Tag Manager has the advantage of allowing you, the marketer, to manage the code on your own.
Key Features of Google Tag Manager
The key features of Google Tag Manager are:
1. Easy to Use
Your mission-critical data is captured reliably and precisely thanks to easy-to-use error checking and quick tag loading. Even during busy holidays or the launch of a new campaign, the IT team will be confident that the site is functioning properly, ensuring that everyone is delighted.
2. Increased Agility
Google Tag Manager allows you to create and manage your own conversion tracking, web analytics, remarketing, and other tags. There are practically limitless methods to track activity across your sites and apps, and the user-friendly interface allows you to alter tags at any time.
3. Deploying Third-Party Tags
You can add or remove tags as needed with Google Tag Manager. Tag Manager works with any tag and provides turnkey templates for a variety of Google and Third-Party tags for web and mobile apps. If you don’t see what you’re looking for, it’s simple to add a custom tag.
4. Simple Collaboration
Workspaces and granular access controls enable your team to collaborate effectively, while multi-environment testing allows you to publish to many environments to check everything is operating properly. Google Tag Manager 360 allows businesses to provide tagging access to more users, with different levels of access to different sites.
Steps to Set up Google Tag Manager GA4 Integration
The steps involved in Google Tag Manager GA4 Integration are:
- Step 1: Creating New Tags
- Step 2: Adding Data Streams
- Step 3: Configuring Events
- Step 4: Creating Triggers
- Step 5: Setting up the Tag Assistant
- Step 6: Analyzing Real-time Reports
Step 1: Creating New Tags
To begin with Google Tag Manager GA4 Integration you will need to create tags. For creating tags you will need to login into your Google Tag Manager account. You will find a Tags section in the left-hand menu of the Dashboard. On clicking the New button in the Tag section, you will begin with the Tag Configuration process. You will need to name your tag first and then Choose Tag Type.
If you had effectively set a configuration tab, you could feel free to choose it else you can go with None – Manually Set ID. At this point, feel free to enter your Measurement ID.
Step 2: Adding Data Streams
The process of Google Tag Manager GA4 Integration does not end with the selection of a website property. A Data Stream must be added. When you create a GA4 account for the first time or if you already have one, the process is slightly different.
A) For an Existing Analytics Account
If you already have an account, go to your GA4 Dashboard and check out the Admin section by clicking this link. Make sure you select the correct account in the first column. Also, make sure you set the correct website property in the second column.
When you’re finished, click ‘Data Streams‘ to continue your Google Tag Manager GA4 Integration.
B) For a new GA4 account
If you’re creating a new account, make sure to follow all prompts. After clicking on ‘Data Streams,’ you should get the screen below. Don’t forget to accept GA4’s terms and conditions as well.
The next stage in GA4 setup is to decide which platform you’ll use to collect User Data. Web, Android, and iOS are the three alternatives available. Please keep in mind that while you can create multiple data streams on a single property, they all come from the same platform. Select your preferred app from the ‘Add Stream’ menu. If you choose iOS, you will be prompted to submit an OS Bundle ID, the Application Name, and the iOS Store ID to register your application.
The situation is the same with Android. To register your application, you’ll need to enter the package name and application name. Don’t forget to add a new Data Stream by following all of the prompts. If it’s the website you want to track, you’ll need to enter the URL and stream name. You can turn on ‘Enhanced Measurement’ and choose which Metric you want to track.
When you’re finished, click the ‘Create Stream‘ button, and continue Google Tag Manager GA4 Integration.
Step 3: Configuring Events
Now, you have to add the events in the Google Tag Manager. This is the most crucial part of Google Tag Manager GA4 Integration. You have to click Event Parameters in the Tag Configuration menu. You will have to add a Row and enter Event Parameters which are Parameter Name and Parameter Value. You can choose a variable for the Parameter Values. The list of variables for setting parameter values is:
You can add as many Rows as you want. Now, the final Event Box will appear and it will appear like this:
Step 4: Creating Triggers
To establish Google Tag Manager GA4 Integration, configuring events, creating Triggers is an important step, which forms the next step in Google Tag Manager GA4 Integration. On the Google Tag Manager Dashboard click the Trigger Button to create a New Trigger. Now click the + button at the top right-hand side of the menu. You will have to name your Trigger, for example, Button Click, and be able to choose a Trigger Type now.
While Google Tag Manager GA4 Integration process, you can further customize and configure your Trigger according to your use case and finally click Save. You can also Preview the Trigger if you want. The final Tag Configuration Page will look like this:
Step 5: Setting up the Tag Assistant
This is the last step involved in Google Tag Manager GA4 Integration. In this step, you will have to add the URL of your Website in the Google Tag Manager menu and click Start. On adding the URL you will be redirected to that particular Website page. On that page, you will have the Read More Button. On clicking this button you will be able to track the website.
You can also check whether the events are working or not in the Google Tag Manager by clicking on Button Click Tag. Now, a Tag Details page will pop up which would like:
Step 6: Analyzing Real-time Reports
Now, Google Tag Manager GA4 Integration is complete and it’s time to start analyzing the different Metrics with the real-time reports in Google Analytics. Simply, click “Realtime” under the Reporting section in the left menu of Google Analytics Dashboard.
In Real-Time Reports, you will also be able to see the events’ Data. For example, on selecting the Button Click event you will get that event’s data.
Now, you have successfully established Google Tag Manager GA4 Integration.
Learn More About:
Google Tag Manager Shopify Integration
Conclusion
This article introduced you to Google Analytics 4 and its features. It also explained how to carry out a Google Tag Manager GA4 Integration with a few easy steps. Now that you have Google Tag Manager GA4 Integration set up on your website and application, it is time to start leveraging its awesome features to take your business to the next level. Extracting complex data from a diverse set of data sources can be a challenging task and this is where Hevo saves the day!
Share your experience of learning about Google Tag Manager GA4 Integration! Let us know in the comments section below!


