


In the modern world, businesses have to rely on Real-time Data for quickly making data-driven decisions and serving customers better. However, often companies use data from the Static Database Server that contains information about users’ Historical Data. While Batch Processing operations can be advantageous for building several data-driven solutions, making use of generated data in real-time can provide you with an edge in the competitive market.
Currently, many companies and businesses are building and upgrading applications based on real-time user preferences. Real-time customers’ data can be used to enhance the ML Models for seamlessly building Recommendation Systems according to each customer engagement. Today, there are several Data Streaming platforms available for handling and processing real-time infinite or continuous data. One such Data Streaming Platform is Kafka, which allows you to access or consume real-time data to build event-driven applications.
In this article, you will learn about Kafka, features of Kafka, and how to Install Kafka on Windows Systems!
Table of Contents
What is Kafka?

Kafka is a Distributed Streaming platform that allows you to develop Real-time Event-driven applications. In other words, Kafka is a High-Performance Message Processing system that enables you to process and analyze a Continuous Stream of information for building real-time Data Pipelines or Applications. Kafka was originally developed by Linkedin’s Engineering Team in 2010 for tracking various activity events generated on a LinkedIn webpage or app, such as message exchanges, page views, ads presented, etc. However, in 2011, it was made Open-source via Apache Software Foundation, allowing organizations and users to access data that are streaming in real-time for free.
Kafka is also called a Publish-subscribe Messaging System because it involves the action of publishing as well as subscribing messages to and fro the Kafka server by producers and consumers, respectively. Such efficient capabilities allow Kafka to be used by the most prominent companies worldwide. Based on a report, Kafka is being used by more than 20,500 organizations worldwide, including 80% of the Fortune 500 Companies like Netflix, Airbnb, Uber, and Walmart. For instance, based on real-time user engagements, Netflix uses Kafka to provide customers with instant recommendations that allow them to watch similar genres or content.
Hevo makes this process effortless by providing seamless integration and automated data handling, allowing you to focus on deriving insights from your data rather than managing the transfer.
What Hevo Offers?
- Integrate data from 150+ sources(60+ free sources) including Kafka.
- Utilize drag-and-drop and custom Python script features to transform your data.
Key Features of Kafka
- Real-time Analytics: Kafka facilitates seamless analytics operations on streaming data, enabling effective filtering and access to continuous data flows for various use cases.
- Low Latency and High Speed: Kafka’s decoupling of data streams results in minimal latency and exceptionally high speed.
- Consistent Handling of Vast Data: Kafka efficiently manages trillions of data records daily, maintaining the order of occurrence for easy access and consumption based on specific use cases.
- High Accuracy: Kafka ensures precise organization and processing of real-time data, supporting analytics and prediction operations with high accuracy.
- Integrations: Kafka integrates seamlessly with various data-processing frameworks and services like Apache Spark, Apache Storm, Hadoop, and AWS, enhancing real-time data pipelines’ capabilities.
- Fault Tolerance: With data replication across servers or brokers, Kafka ensures high fault tolerance and reliability, ensuring data availability even in case of server failures.

4 Steps to Install Kafka on Windows
Here are the simple steps to Install Kafka on Windows:
- Prerequisites
- Download Kafka
- Install and Configure Kafka
- Starting Zookeeper and Kafka
- Testing Kafka by Creating a Topic
Prerequisites
Before installing Kafka, you should have two applications pre-installed in your local machine.
- Java Development Kit (JDK): Java is the most needed prerequisite before installing Kafka on your computer. You can install the JDK by downloading it from the official Oracle website. Select and download the appropriate installer according to your system type, .i.e, 32 bit or 64 bit. After downloading, you can run the installer by following the on-screen instructions. You should also configure the file path and Java_Home environment variables to enable your operating system to locate the Java utilities. Finally, test your JDK installation by running the command java -version in your command prompt.
- 7-Zip or WinRAR: 7-Zip or WinRAR applications allow you to unzip or extract the downloaded Kafka files.
1) Install Kafka on Windows: Download Kafka
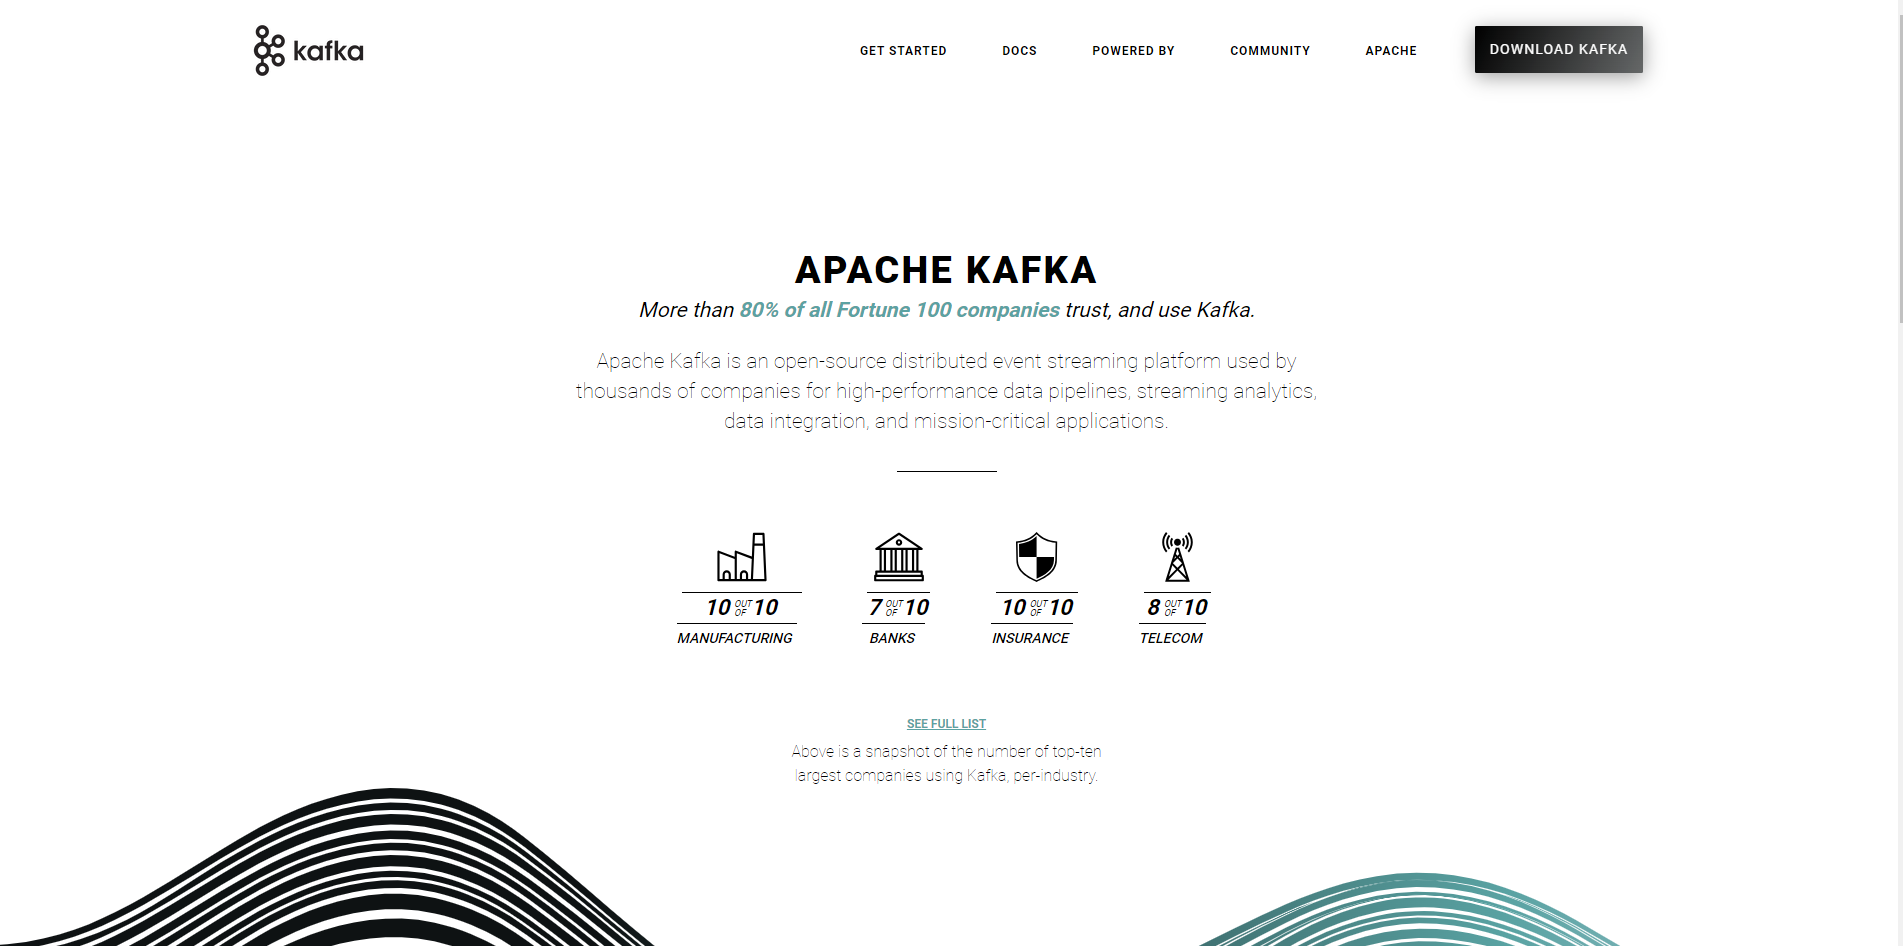
- To install Kafka on Windows, visit the official page of Apache Kafka and click on the “Download Kafka” button.
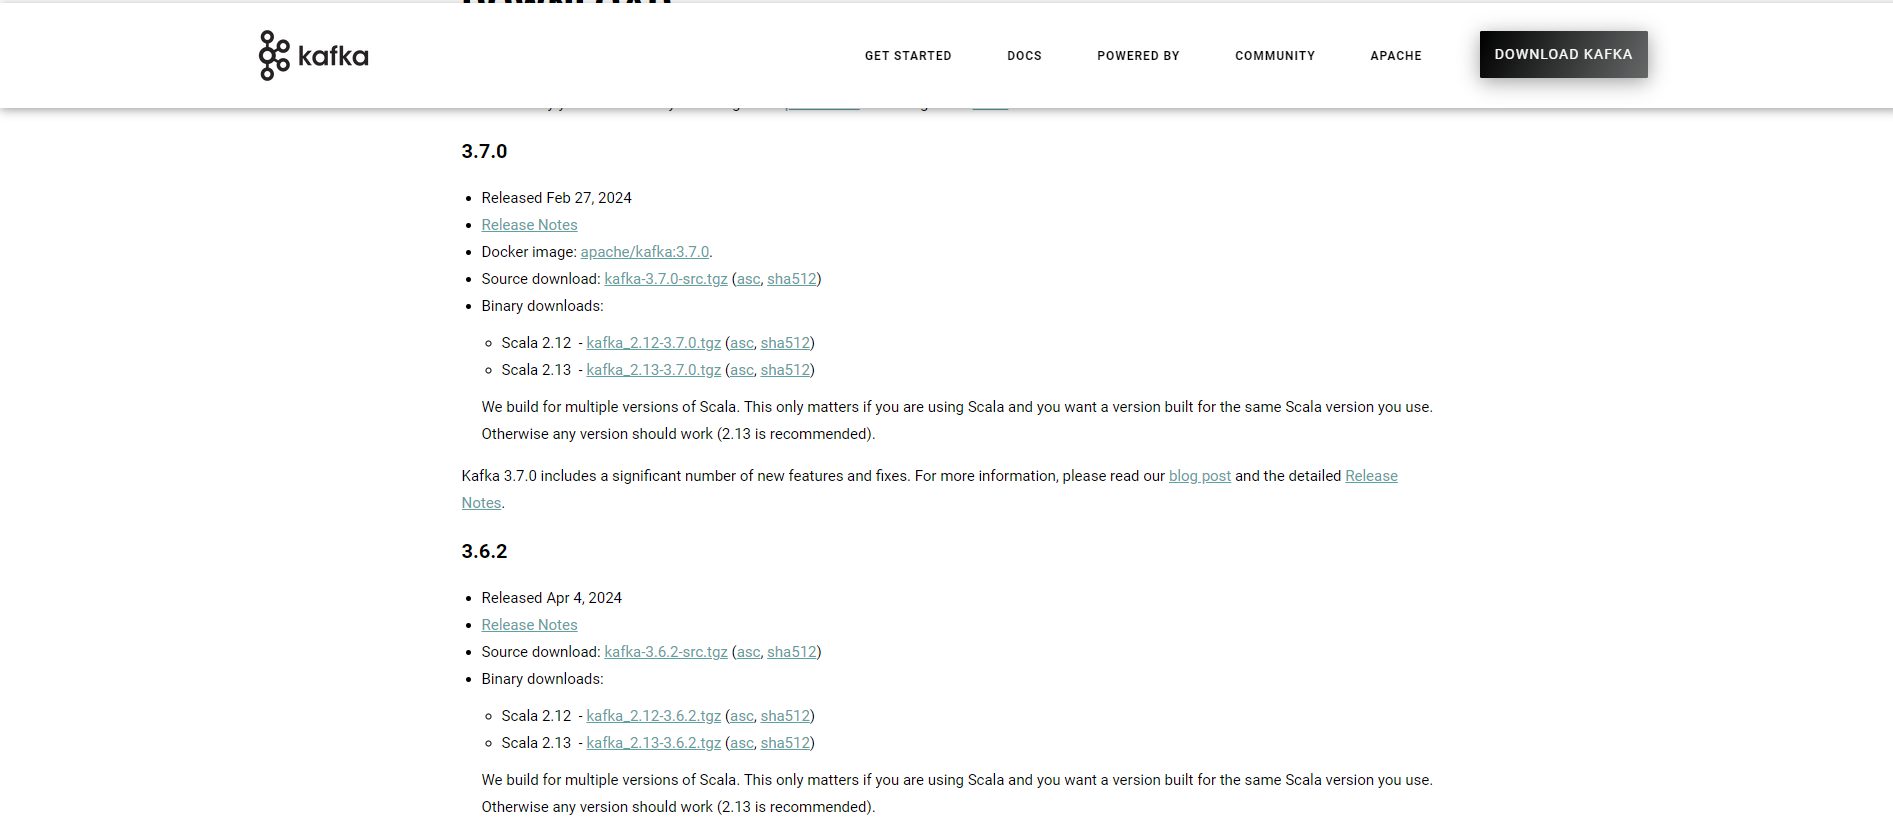
- Now, you will be redirected to the downloading page. You can then see the Binary Downloads option. Under that, select the latest Kafka version that is Scala 2.13.
- Then, you will be taken to another webpage where you will have the direct download link for downloading your Kafka file.
- Click on the respective link. Now, Kafka is successfully downloaded.
2) Install Kafka on Windows: Install and Configure Kafka
- After downloading, extract or unzip the Kafka files. Move the extracted folder to any of your preferred directories for quickly accessing it from the command prompt.
- Now, you have to perform some configurations in the extracted Kafka files to properly install Kafka on Windows.
- Usually, extracted Kafka files have Zookeeper files that run simultaneously with Kafka for managing all the Clusters and Configurations of Kafka servers.
- Instead of storing them in default temp folders, you can configure both the Kafka and ZooKeeper files to store Kafka and ZooKeeper data in separate folders.


- Create a new folder named “Data” inside the Kafka folder. Inside the Data folder, create two separate folders named “Kafka” and “Zookeeper.”
- After creating separate folders for Kafka and Zookeeper, you have to make some changes in the configuration files for pointing to the newly created folders.
- For that, initially copy the file path of the Zookeeper folder created inside the data folder.
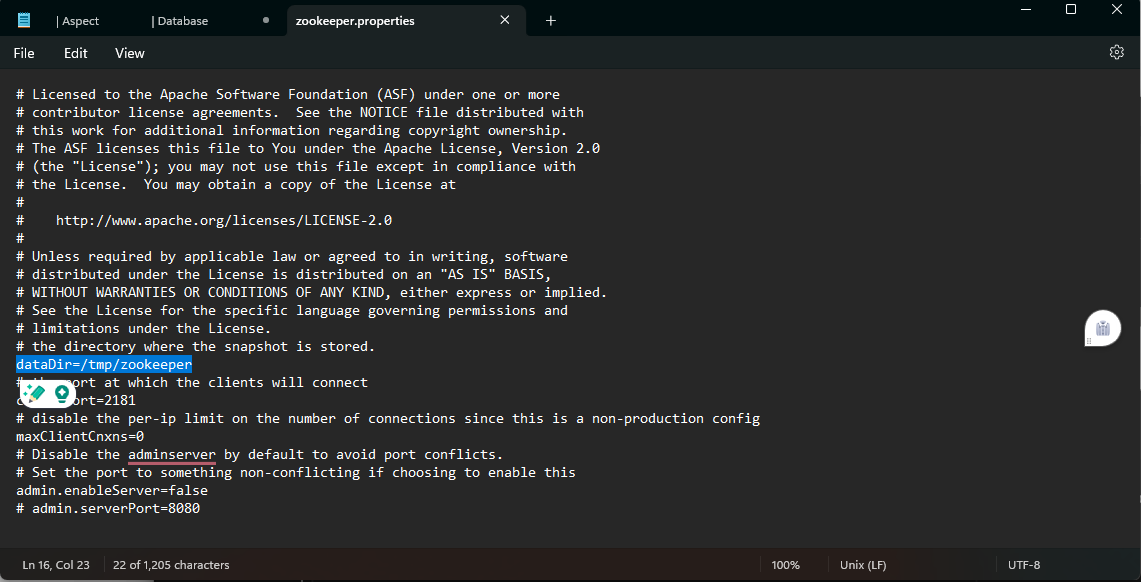
- From the config folder present inside the extracted Kafka files, open the “Zookeeper.properties” file with any text editor applications like Notepad or Notepad++. In the opened file, replace your “datadir” location with the copied Zookeeper folder path, as shown in the above image. Make sure you change the path with forwarding slashes instead of backward slashes. Finally, save the file to update the changes made to the file configurations.
- After configuring the Zookeeper properties, you must configure the Kafka Server properties. For that, copy the file path of the Kafka Folder created inside the data folder.
- Open the server.properties file from the “Config” folder present inside the extracted Kafka files.
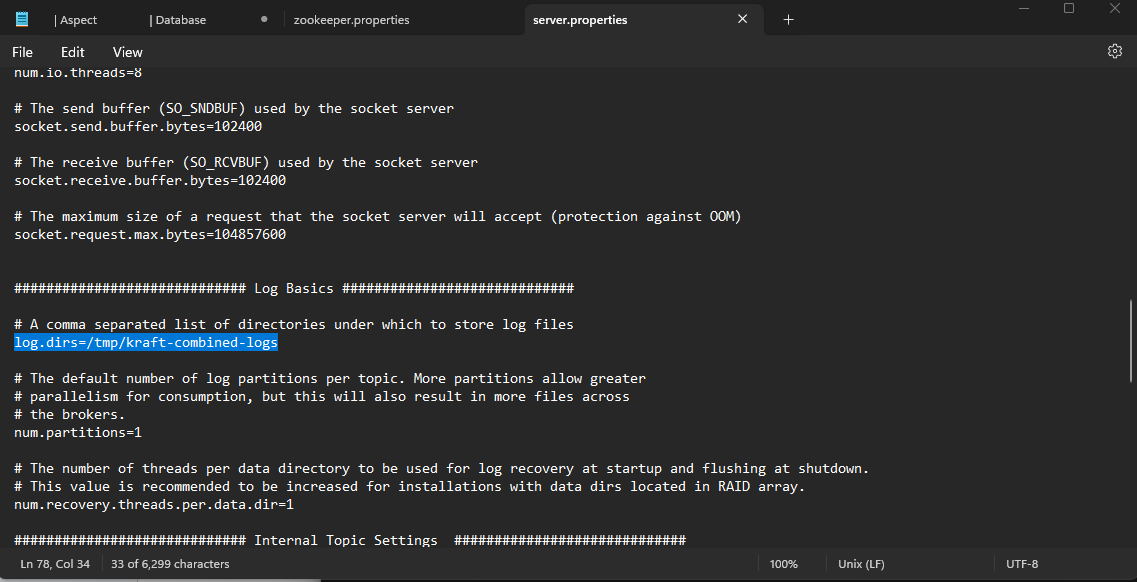
- In the server.properties file, replace the “logs.dirs” location with the copied Kafka folder path as shown in the above image. Make sure you change the path with forward slashes instead of backward slashes. Replace the backward slashes with forward slashes in the file path and save the file.
- Now, you have made the necessary changes and configurations to the Kafka files and are ready to set up and start Kafka on your computer.
These are the simple steps to install Kafka on Windows.
3) Install Kafka on Windows: Starting Zookeeper and Kafka
After configuring Zookeeper and Kafka, you have to start and run Zookeeper and Kafka separately from the command prompt window.
A) Starting Zookeeper
Open the command prompt and navigate to the D:Kafka path. Now, type the below command.
zookeeper-server-start.bat ....configzookeeper.propertiesYou can see from the output that Zookeeper was initiated and bound to port 2181. By this, you can confirm that the Zookeeper Server is started successfully. Do not close the command prompt to keep the Zookeeper running.
B) Starting Kafka
Open another command prompt window and type the below command.
kafka-server-start.bat ....configserver.propertiesThe Kafka Server has started successfully and is ready for Streaming Data.
Now, both Zookeeper and Kafka have started and are running successfully. To confirm that, navigate to the newly created Kafka and Zookeeper folders. When you open the respective Zookeeper and Kafka folders, you can notice that certain new files have been created inside the folders.
4) Install Kafka on Windows: Testing Kafka by Creating a Topic
As you have successfully started Kafka and Zookeeper, you can test them by creating new Topics and then Publishing and Consuming messages using the topic name. Topics are the virtual containers that store and organize a stream of messages under several categories called Partitions. Each Kafka topic is always identified by an arbitrary and unique name across the entire Kafka cluster.
In the below steps, you will learn how to create topics:
For creating a topic, open a new command prompt and write the below command:
.binwindowskafka-topics.bat --create --zookeeper localhost:2181 --replication-factor 1 --partitions 1 --topic TestTopicIn the above command, TestTopic is the unique name given to the Topic, and zookeeper localhost:2181 is the port that runs Zookeeper. After the execution of the command, a new topic is created successfully.
When you need to create a new Topic with a different name, you can replace the same code with another topic name. For example:
.binwindowskafka-topics.bat --create --zookeeper localhost:2181 --replication-factor 1 --partitions 1 --topic NewTopicIn the command, you have only replaced the topic name while other command parts remain the same. To list all the available topics, you can execute the below command:
.binwindowskafka-topics.bat --list --zookeeper localhost:2181By this simple Topic Creation method, you can confirm that Kafka is successfully installed on Windows and is working fine. Further, you can add and publish messages to the specific topic then consume all messages from the same topic.
Conclusion
In this article, you have learned about Kafka and the distinct features of Kafka. You have also learned how to Install Kafka on Windows, create Topics in Kafka, and test whether your Kafka is working correctly. Since Kafka can perform more high-end operations, including Real-time Data Analytics, Stream Processing, building Data Pipelines, Activity Tracking, and more, it makes one of the go-to tools for working with streaming data.
Extracting complicated data from Apache Kafka, on the other hand, can be difficult and time-consuming. If you’re having trouble with these issues and want to find a solution, Hevo is a good place to start!
Hevo Data is a No-Code Data Pipeline that offers a faster way to move data from 150+ Data Sources including Apache Kafka, Kafka Confluent Cloud, and other 40+ Free Sources, into your Data Warehouse to be visualized in a BI tool. You can use Hevo Pipelines to replicate the data from your Apache Kafka Source or Kafka Confluent Cloud to the Destination system. Hevo is fully automated and hence does not require you to code.
FAQ
Can you install Kafka on Windows?
Yes, you can install Apache Kafka on Windows. Although Kafka is primarily designed for Linux-based systems, you can run it on Windows by downloading the binary files, configuring the zookeeper.properties and server.properties files, and starting the Zookeeper and Kafka server using command-line commands.
How to install Kafka on a virtual machine?
To install Kafka on a virtual machine, first, set up the VM with an operating system (Linux is recommended). Next, install Java, download Kafka from the official site, and configure Zookeeper and Kafka server properties. Once set up, you can start Zookeeper, then Kafka, and begin publishing and consuming messages within the VM environment.
How to install Kafka in AWS?
To install Kafka in AWS, you can either manually set up Kafka on an EC2 instance by configuring it like any Linux server or use Amazon Managed Streaming for Apache Kafka (MSK), which handles Kafka cluster setup, maintenance, and scaling. MSK provides a fully managed service, simplifying the installation and operation of Kafka on AWS.

Share it with your connections.
-
 Share To X
-
 Share To LinkedIn
-
 Share To Facebook
-
 Copy Link


