


 Key Takeaways
Transfer Jira data to MySQL using Hevo’s no-code platform or a JDBC connector:
Method 1: Using Hevo (Recommended)
Add Jira as your source in Hevo with API credentials
Select MySQL as the destination and enter your connection details
Method 2: Using JDBC Connector
Install MySQL JDBC driver into your Jira lib folder and restart Jira
Update dbconfig.xml or run the setup wizard with your MySQL host, database, user, and password
Are you looking to move data from Jira? MySQL is one of the most popular and used relational databases which provides a wide range of features that make storage and analysis of data easy, efficient, and secure. Hence, it is beneficial to you and your business to move your data from Jira to MySQL.
This blog will first provide a brief introduction to Jira and MySQL and then will discuss the two methods using which you can transfer your data. It will also discuss the limitations and benefits of these methods. Read along to decide which method suits you more!
Table of Contents
Introduction to JIRA

Jira, created by Atlassian, is a powerful tool for work management, enabling teams to collaborate effectively. Initially a bug tracker, it now supports agile workflows, test case management, and custom workflows.
Key Features of Jira
- Custom Workflows: Design workflows tailored to your projects.
- Agile Support: Built-in tools for agile development and tracking.
- Issue Tracking: Simplifies bug and issue management.
- Collaboration Tools: Enhances team communication and coordination.
- Dashboards: Offers intuitive dashboards for real-time project insights.
Introduction to MySQL

MySQL is a widely-used relational database system, offering an easy-to-use client-server model and SQL for managing and processing data efficiently. The language, structured query language (SQL), enables users to perform any required CRUD operations (create, read, update, delete).
Key Features of MySQL
- High Performance: Optimized for speed and scalability.
- SQL Support: Perform CRUD operations effortlessly.
- Open Source: Free to use, with premium features from Oracle.
- Wide Adoption: Trusted by companies like Uber, Netflix, and Airbnb.
- Cross-Platform: Compatible with various operating systems and platforms.
Facing challenges migrating your data from Jira to MySQL? Migrating your data can become seamless with Hevo’s no-code intuitive platform. With Hevo, you can:
- Automate Data Extraction: Effortlessly pull data from 150+ connectors like Jira (and other 60+ free sources).
- Transform Data effortlessly: Use Hevo’s drag-and-drop feature to transform data with just a few clicks.
- Seamless Data Loading: Quickly load your transformed data into your desired destinations, such as MySQL.
Try Hevo and join a growing community of 2000+ data professionals who rely on us for seamless and efficient migrations.
Get Started with Hevo for FreePrerequisites
- A clear idea of what data you need to transfer.
- A Jira account.
- A MySQL account.
- Working knowledge of JDBC connector.
Methods to Set Up JIRA to MySQL Integration
Method 1: Using Hevo Data
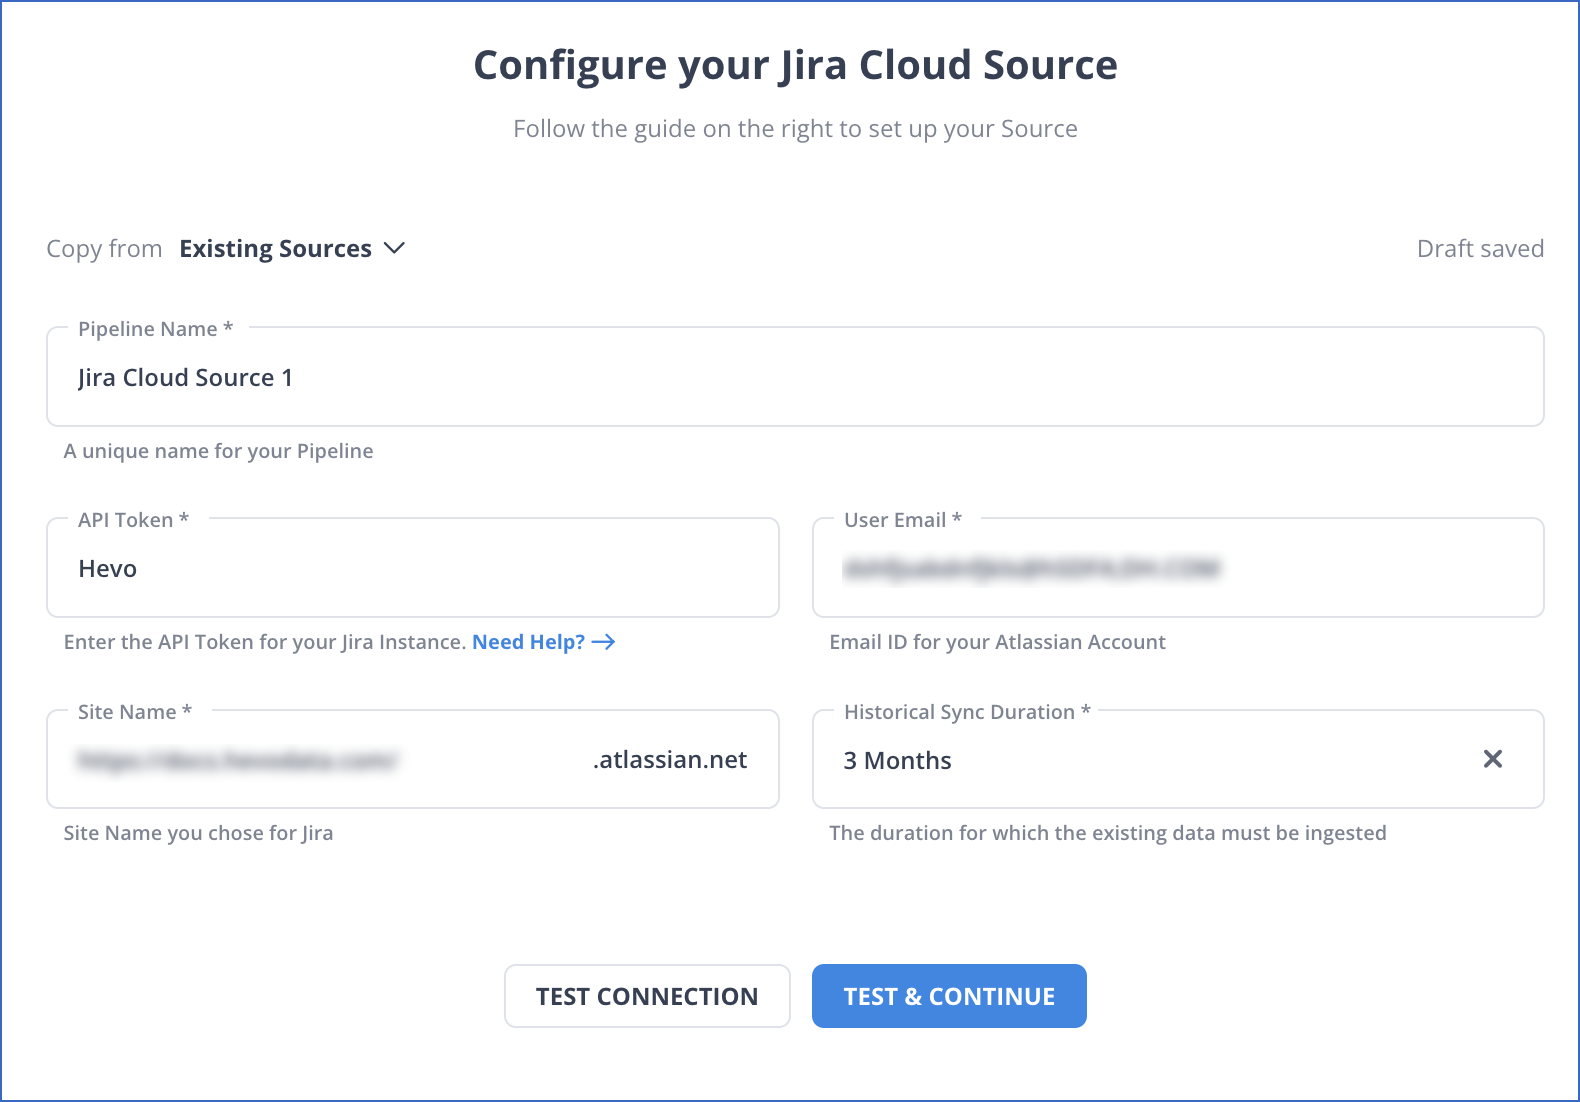
Step 1.1: Configure Jira as Your Source
Step 1.2: Configure MySQL as Your Destination

Following these two simple steps, Hevo Data has successfully set up your Jira MySQL connection. It is as simple as that!

Method 2: Using JDBC Connector
Step 2.1: Create and Configure your MySQL Database
- First, create a database user to connect to Jira, for example,
jiradbuser. - Next, create a database that Jira will use to store issues, for example,
jiradb.
It is necessary for the database to have a character set of UTF8. To set it, you can use the following command from within the MySQL command client:
CREATE DATABASE jiradb CHARACTER SET utf8mb4 COLLATE utf8mb4_bin;
NOTE: Make a note of the database name, user name, and port number while creating your database, as you will require them later to connect it to Jira.
- Ensure that the user has the required permissions to connect to the database and create and populate tables. These permissions can be granted by using the following commands:
- For MySQL 5.7.0 – 5.7.5:
GRANT SELECT,INSERT,UPDATE,DELETE,CREATE,DROP,ALTER,INDEX on <JIRADB>.* TO '<USERNAME>'@'<JIRA_SERVER_HOSTNAME>' IDENTIFIED BY '<PASSWORD>';
flush privileges;
- For MySQL 5.7.6 and later (must also include the REFERENCES permission):
GRANT SELECT,INSERT,UPDATE,DELETE,CREATE,DROP,REFERENCES,ALTER,INDEX on <JIRADB>.* TO '<USERNAME>'@'<JIRA_SERVER_HOSTNAME>' IDENTIFIED BY '<PASSWORD>';
flush privileges;- Next, you have to edit my.cnf or my.ini (Windows) file in your MySQL server. For details on this process, you can read the MySQL Option Files.
- The following parameters must be added and/or edited in the [mysqld] section in the file:
- A default storage engine is set to InnoDB:
[mysqld]
…
default-storage-engine=INNODB
…- Initialize the character set that the database serve user:
[mysqld]
…
character_set_server=utf8mb4
…- The default row format is set to DYNAMIC:
[mysqld]
...
innodb_default_row_format=DYNAMIC
...- The large prefix must be enabled:
[mysqld]
...
innodb_large_prefix=ON
...- The InnoDB file format is set to Barracuda:
[mysqld]
...
innodb_file_format=Barracuda
...- The value of the innodb_log_file_size should be set to be at least 2G:
[mysqld]
...
innodb_log_file_size=2G
...- Make sure that the sql_mode parameter does not specify NO_AUTO_VALUE_ON_ZERO
// remove this if it exists
sql_mode = NO_AUTO_VALUE_ON_ZERO- Your MySQL server must be rebooted for the changes to take effect.
Step 2.2: Copy the MySQL JDBC Driver
- Download the suitable MySQL driver JDBC Connector/J 5.1 for your operating system.
- Copy the driver to the directory given below:
<Jira-installation-directory>/lib
NOTE: If you have installed JIRA through the Windows installer, you have to do this step after running the Windows installer, but before running the setup wizard. - Restart the Jira service.
- If you are installing Jira, you can access Jira in your browser to run the setup wizard.
To learn more about the Setup Wizard, take a look at the Confluence docs.
Step 2.3: Configure Jira to Connect to the Database
The following two ways can be used to configure your Jira server to connect to the MySQL database:
a. Setup Wizard
This method can be used if you have just installed JIRA, and are setting it up for the first time. The settings will be saved in the dbconfig.xml file in your Jira home directory.
You will see the Jira setup wizard when you access Jira for the first time in your browser.
- On the first screen, ‘Configure Language and Database,’ set “Database Connection”.
- Set “Database Type” to MySQL 5.7+.
- The fields should be filled out according to the database connection fields section.
- Test whether your connection works and save.
b. Configuration tool
You can use the configuration tool if you already have an existing Jira instance. The settings will be saved in the dbconfig.xml file in your Jira home directory.
- Run the Jira configuration tool as follows:
- Windows: In the command prompt,
run config.batin the bin sub-directory of the Jira installation directory. - Linux/Unix: In a console, execute config.sh in the bin sub-directory of the Jira installation directory.
- Windows: In the command prompt,
- Go to the “Database tab” and specify “Database type” as MySQL 5.7+.
- The fields should be filled out according to the database connection fields section.
- Test whether your connection works and save.
- Restart Jira.
Your Jira account is now configured to connect to your MySQL Database. The next step is just to start it up!
Limitations of Using JDBC Connector
- Complex Configuration: Setting up the JDBC connector requires technical expertise and can be time-consuming.
- Performance Issues: Transferring large datasets may result in slow performance or timeouts.
- Lack of Automation: JDBC connectors don’t offer built-in features for scheduling or real-time data updates.
- Error Handling: Limited capabilities to detect and resolve errors during data transfer processes.
You can take a look at how you can set up Looker Jira integration to easily analyze and visualize your Jira data.
Why Should You Move Your Data from Jira to MySQL?
- Centralized Data Storage: Consolidate Jira data in MySQL for easier access and management alongside other business data.
- Advanced Reporting: Use MySQL’s robust querying capabilities to create detailed reports and uncover insights.
- Custom Integrations: Enable seamless integration with other tools and applications using MySQL as a common database.
- Improved Performance: Offload data from Jira to MySQL for faster analytics and reduced load on Jira’s platform.
- Scalability: Leverage MySQL’s ability to handle large datasets as your data grows over time.
Here are some other migrations that you may need:
Conclusion
This article introduced you to Jira and MySQL and provided a step-by-step explanation of the two methods using which you can move your Jira data to MySQL. The blog highlighted the limitations of the JDBC method.
Hevo Data, on the other hand, helps you directly transfer data from a source like Jira to MySQL or a Data Warehouse/Destination of your choice for free in a fully automated and secure manner without having to write the code repeatedly.
Want to take Hevo for a spin? Sign up for the 14-day free trial and experience the feature-rich Hevo suite firsthand. You can also have a look at our unbeatable pricing that will help you choose the right plan for your business needs!
FAQs
1. How to connect Jira to MySQL?
To connect Jira to MySQL, you can configure Jira’s database settings with MySQL JDBC driver and connection details in Jira’s configuration file (dbconfig.xml).
2. Does Jira support SQL?
Jira itself does not support SQL directly within its user interface for querying or manipulating data. Instead, it uses JQL (Jira Query Language) for querying within its application, which is specific to Jira’s data model and operations.
3. How to connect MySQL with Git?
To integrate MySQL with Git, version control SQL scripts (e.g., schema.sql), and data queries within a Git repository. Use Git commands to commit changes (git add, git commit) and manage database schema revisions collaboratively, facilitating version history and rollback capabilities.
4. Where is Jira data stored?
In Jira, data is typically stored in a relational database management system (RDBMS).

Share it with your connections.
-
 Share To X
-
 Share To LinkedIn
-
 Share To Facebook
-
 Copy Link


